Busy weekend

We made major progress on the tiny house this weekend thanks to our many handy friends (and the almost perfect cooperation of the weather).  We hung the first window.  Special thanks to James Fraumeni, who brought exactly the knowledge and experience we needed for hanging windows and the spirit of sharing his time and energy to show us how it’s done.  We were able to prep most of the other windows (holes cut, house wrap taped back).  We finally sheathed the hip roof, the hardest part of the roof to measure, and because it was the final part, the hardest part to drill into place.  Our friends drilled down the entire roof sheathing, which required hundreds of screws to be drilled into place, some in tricky-to-reach places.  The tarp came off and went back on again.

2015-04-18 15.56.30 2015-04-18 16.25.49 2015-04-18 16.16.48
2015-04-18 16.15.17 2015-04-18 13.14.55 2015-04-18 14.07.51
2015-04-18 13.55.35 2015-04-18 14.01.38 2015-04-19 13.37.30
2015-04-19 14.37.28 2015-04-19 14.07.53 2015-04-19 15.33.08
2015-04-19 15.49.12 2015-04-19 16.27.23 2015-04-18 12.46.42

Work resumes!

With the snow melted and the thermometer finally above freezing, Char and I have resumed working on the Tiny House.  The first order of business was to start clearing away scrap wood left over from last year, and generally clean up the work site.  Char graciously did most of this work, carrying ruined scraps from the heap in the back yard around to the Junkster we bought.

A mostly-full Junkster bag

The junkster isn’t especially cost-effective. 3300 pounds may sound like a lot, but at ~160$ including pickup, it’s a pricy way to get rid of waste. Next time we will probably get a regular dumpster instead. Dumpsters charge by the pound instead of a flat fee, and they hold a lot more stuff.

After we got things moved out of the way, I got to work on framing the loft window and cutting the last funny-shaped pieces of sheathing. It was good to pick up the tools again and find that I hadn’t forgotten how to use them.

The loft window is framed and ready for sheathing.
Various triangles and trapazoids

The last pieces of sheathing are for the hip roof. The whole hip roof is a little warped and uneven due to my inexperience with double-angled cuts, so there will be some annoying gaps when we go to attach the sheathing. I’m hoping we can just fill in the gaps with some shims to get everything to connect.

Tiny House Electricity

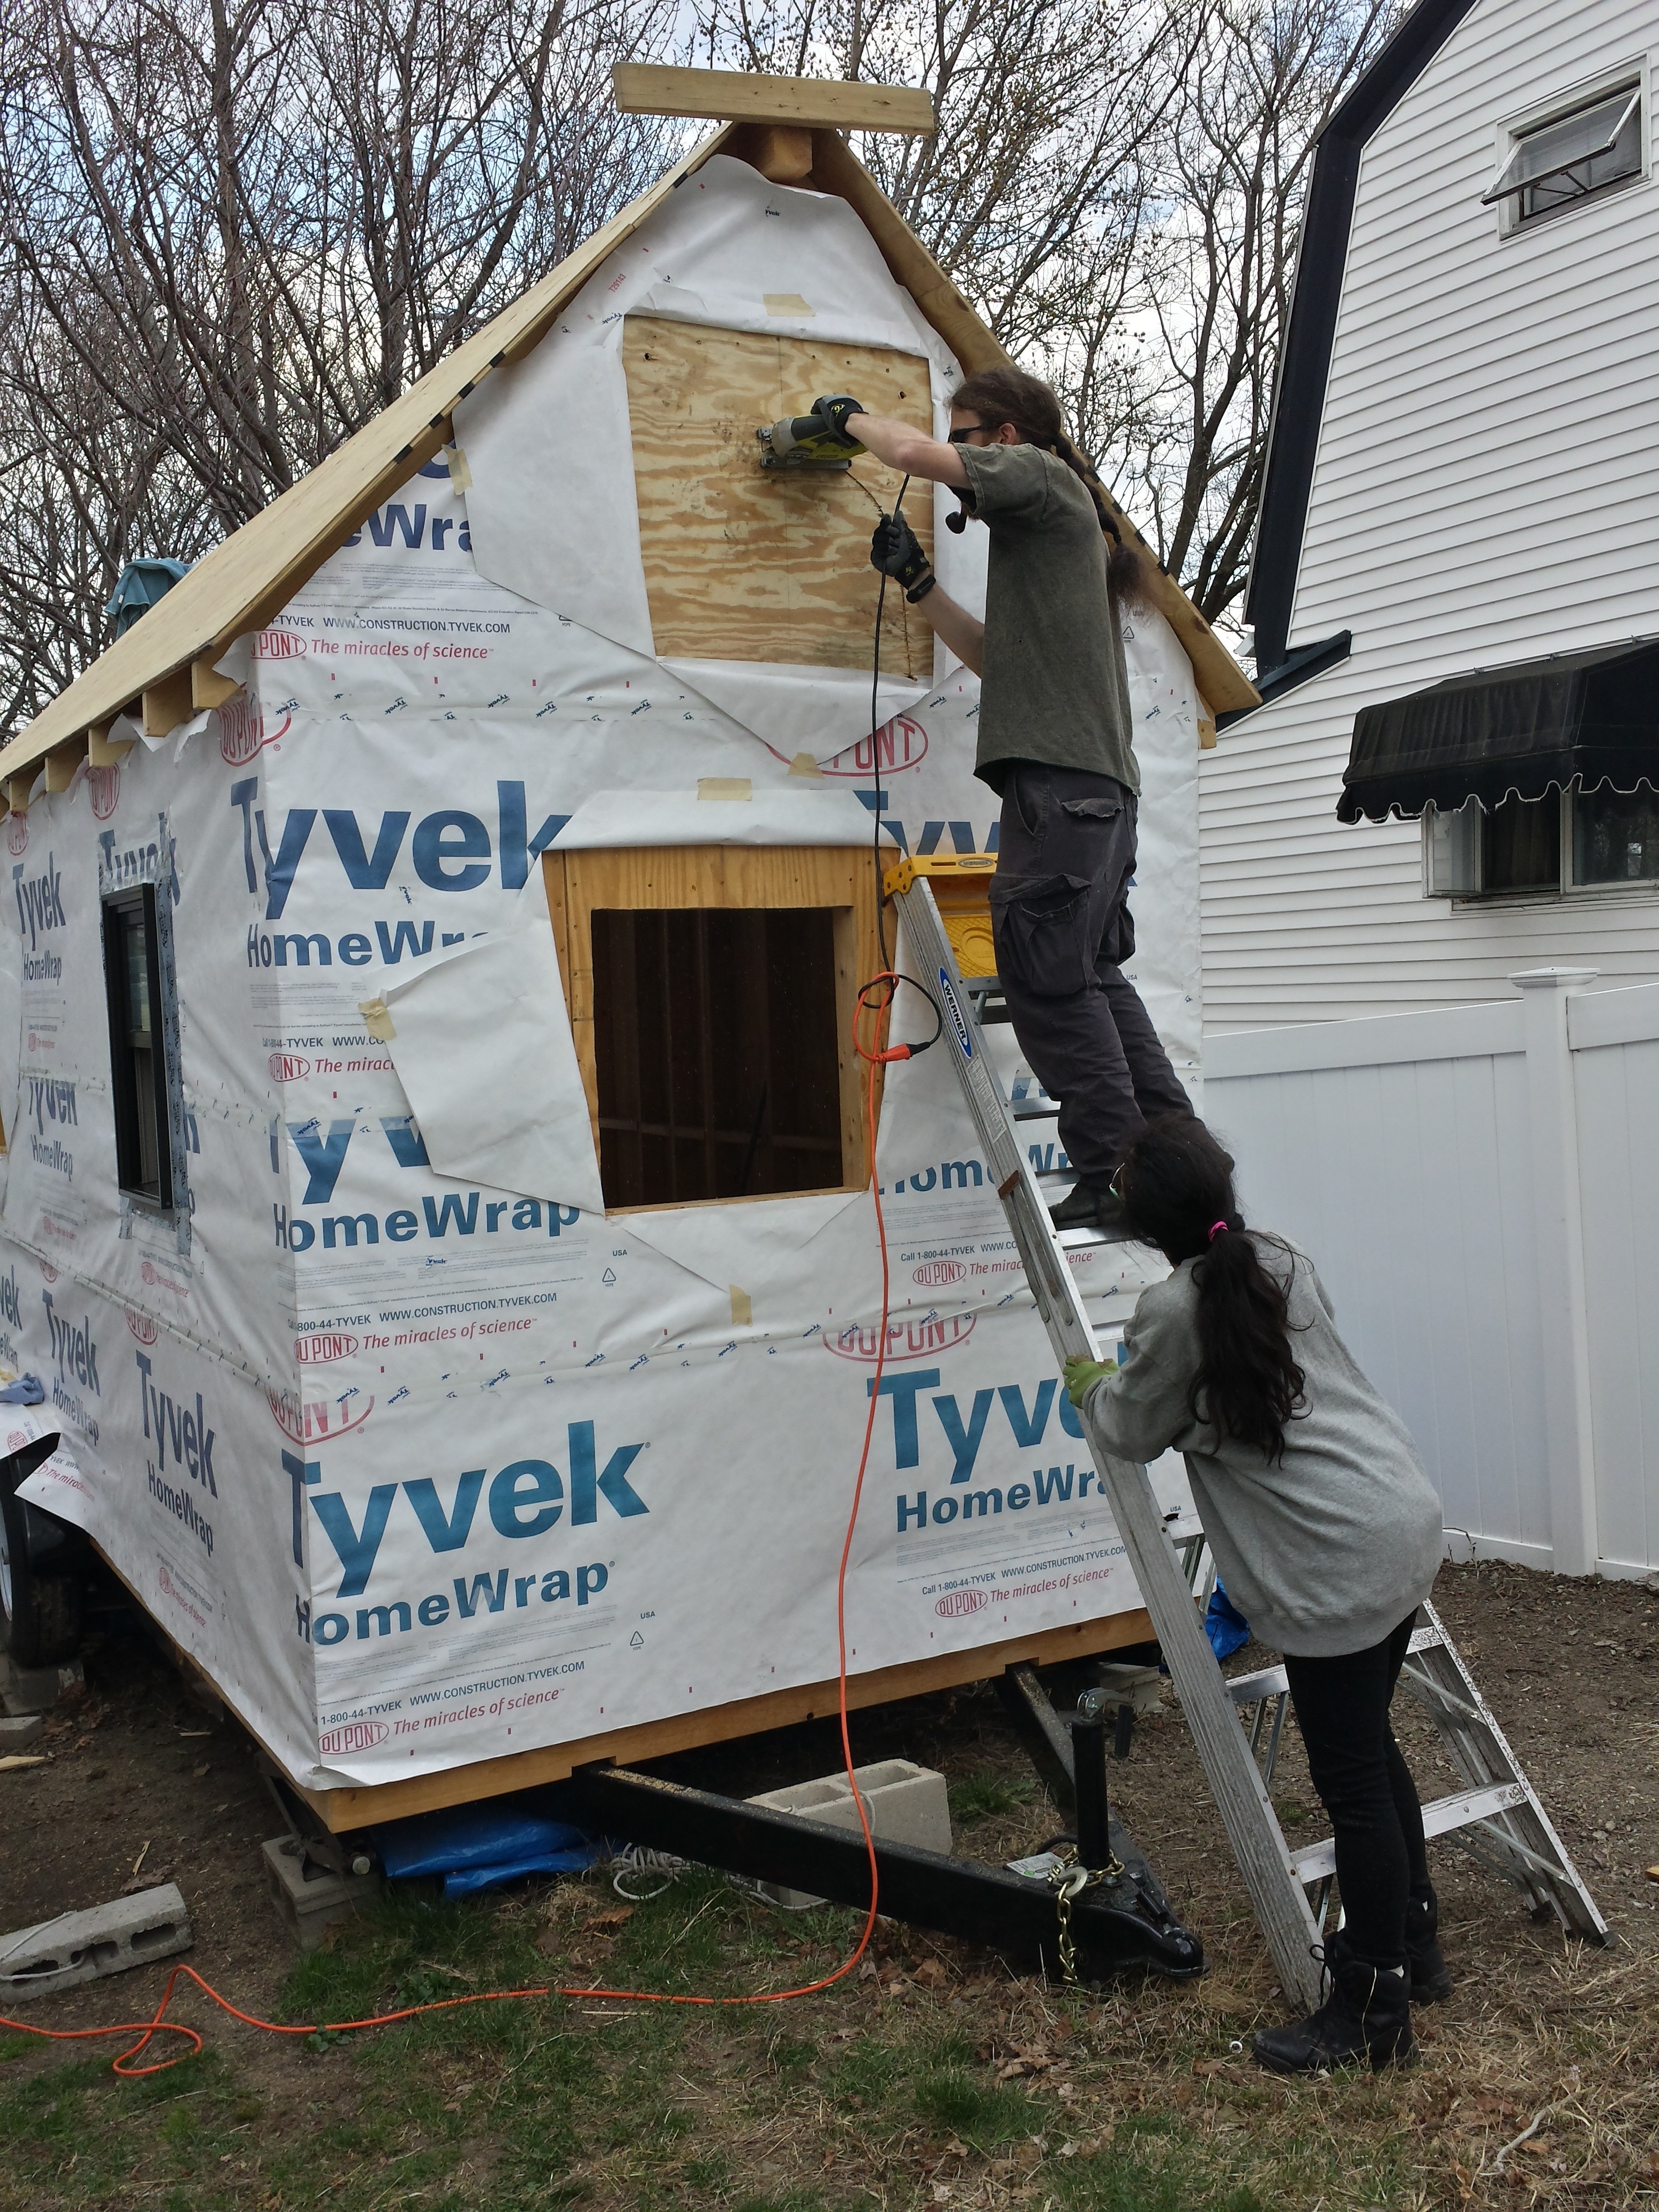
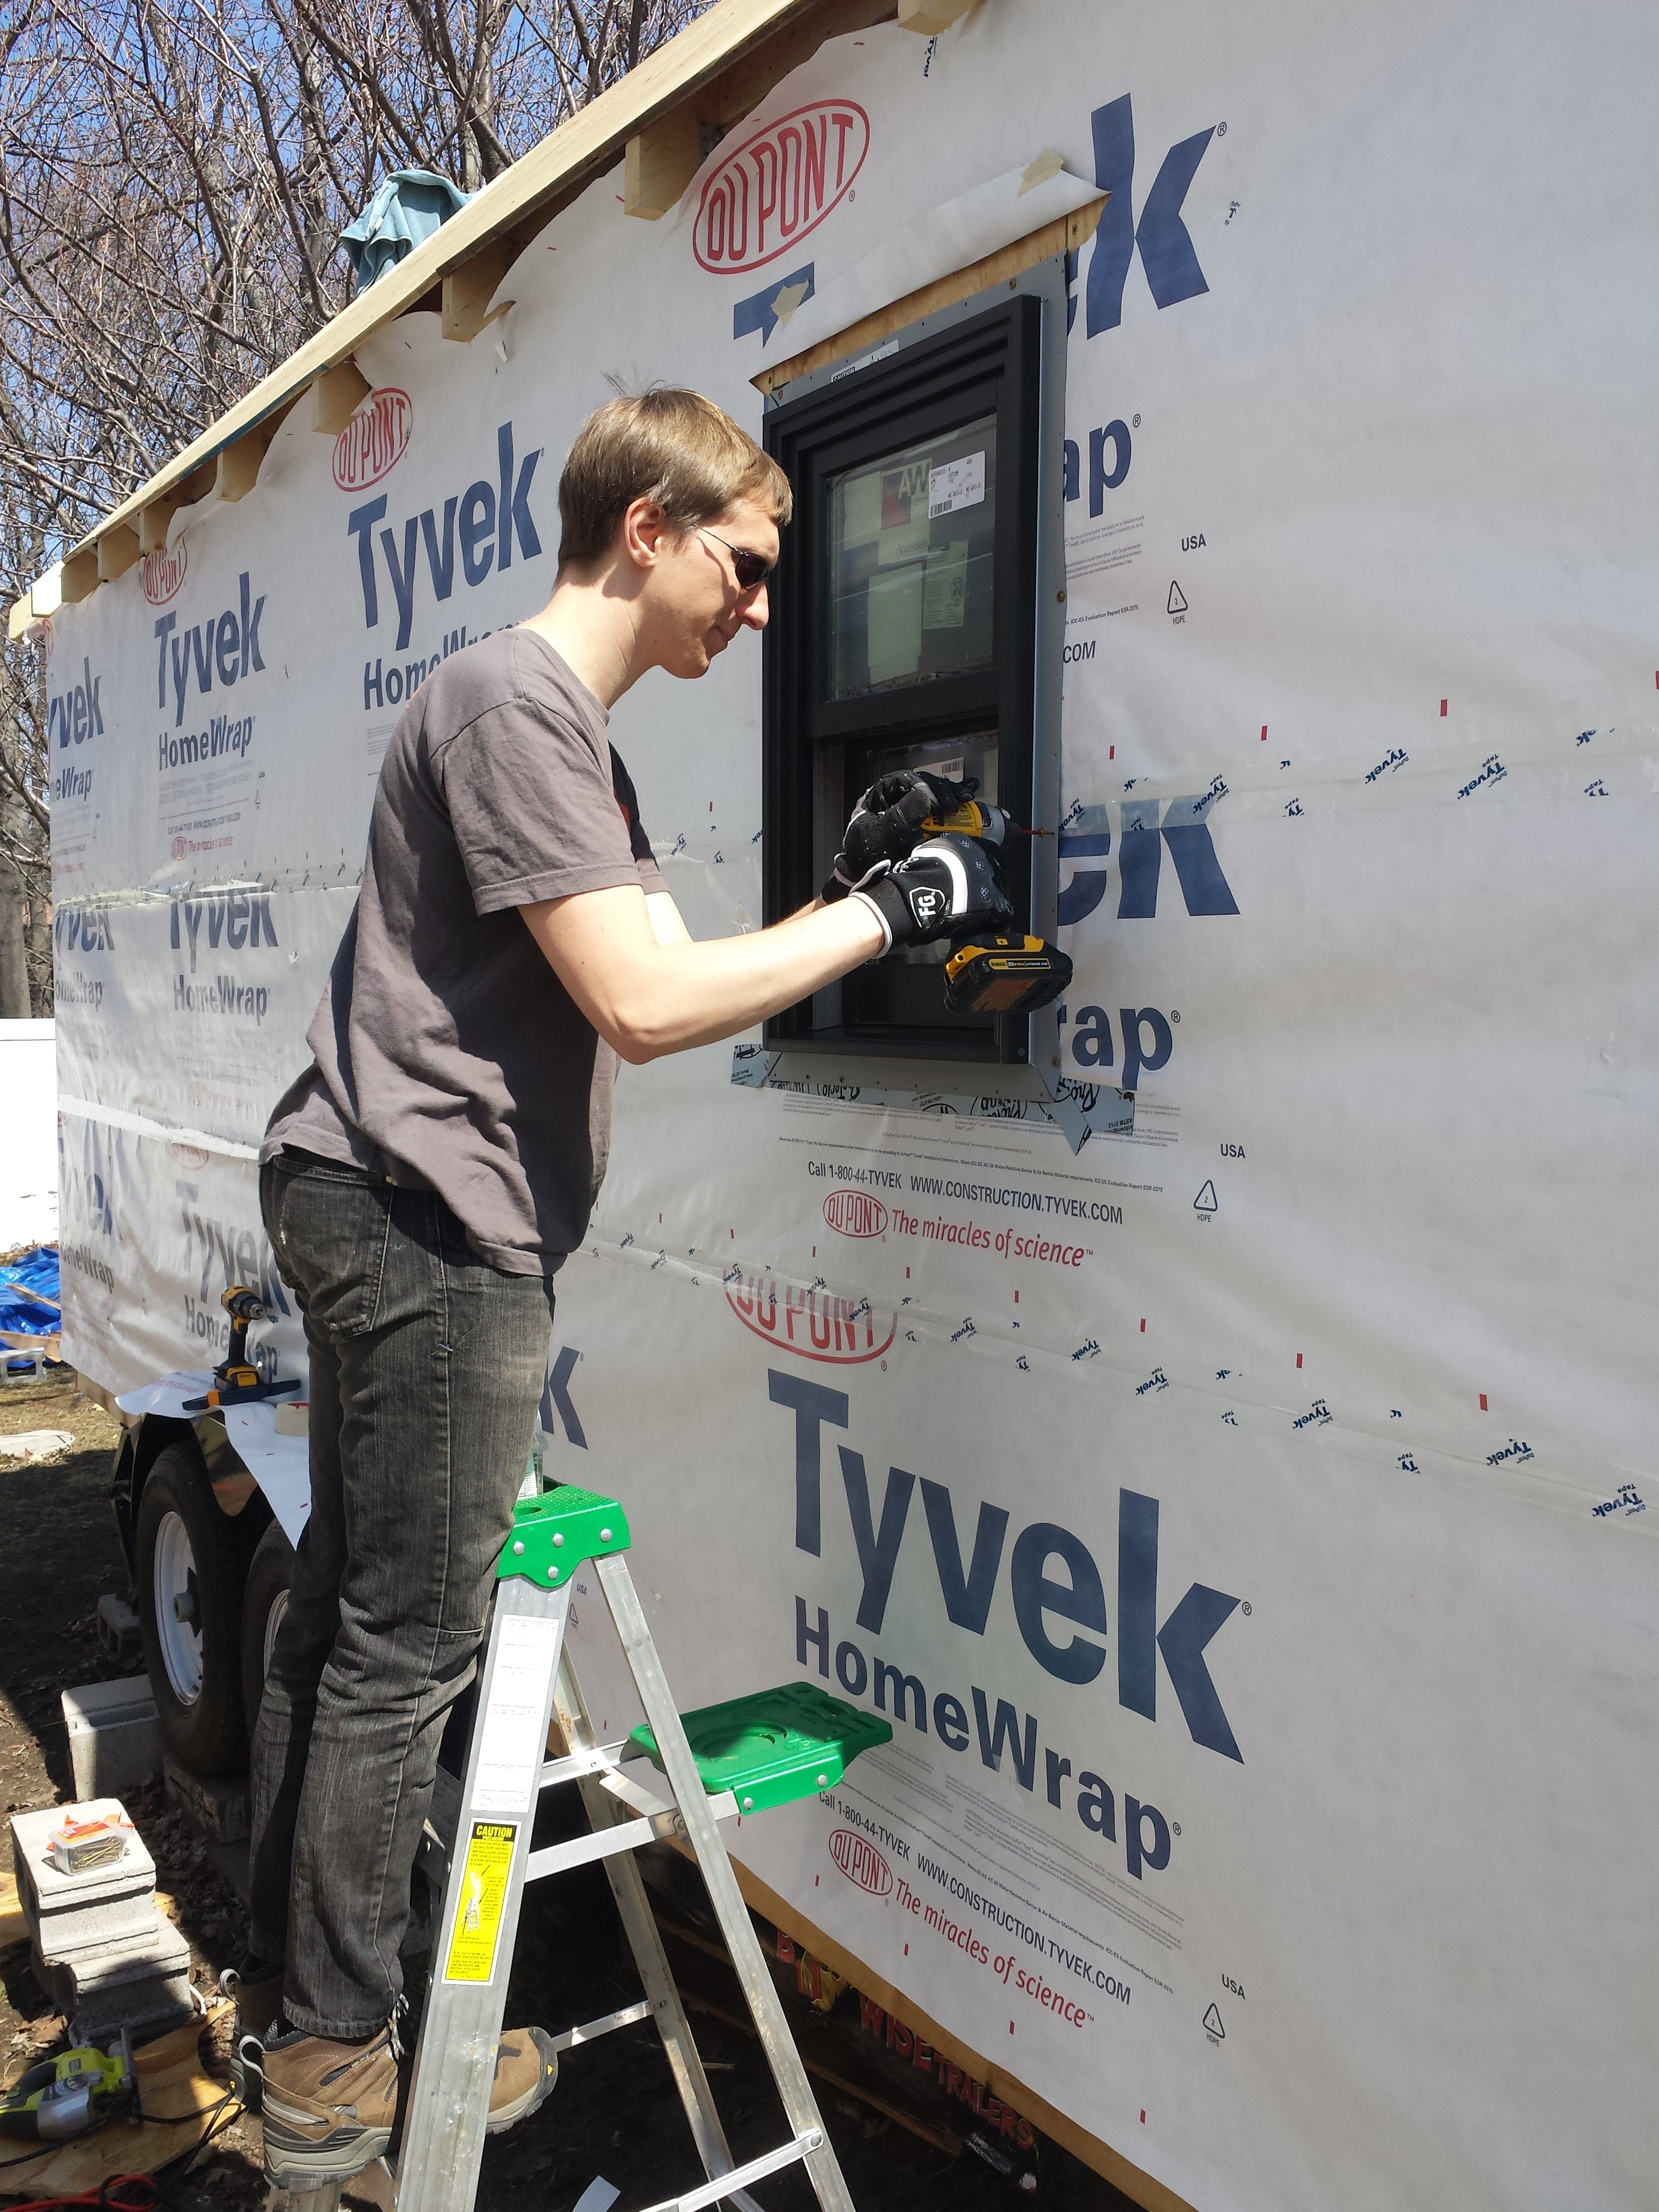
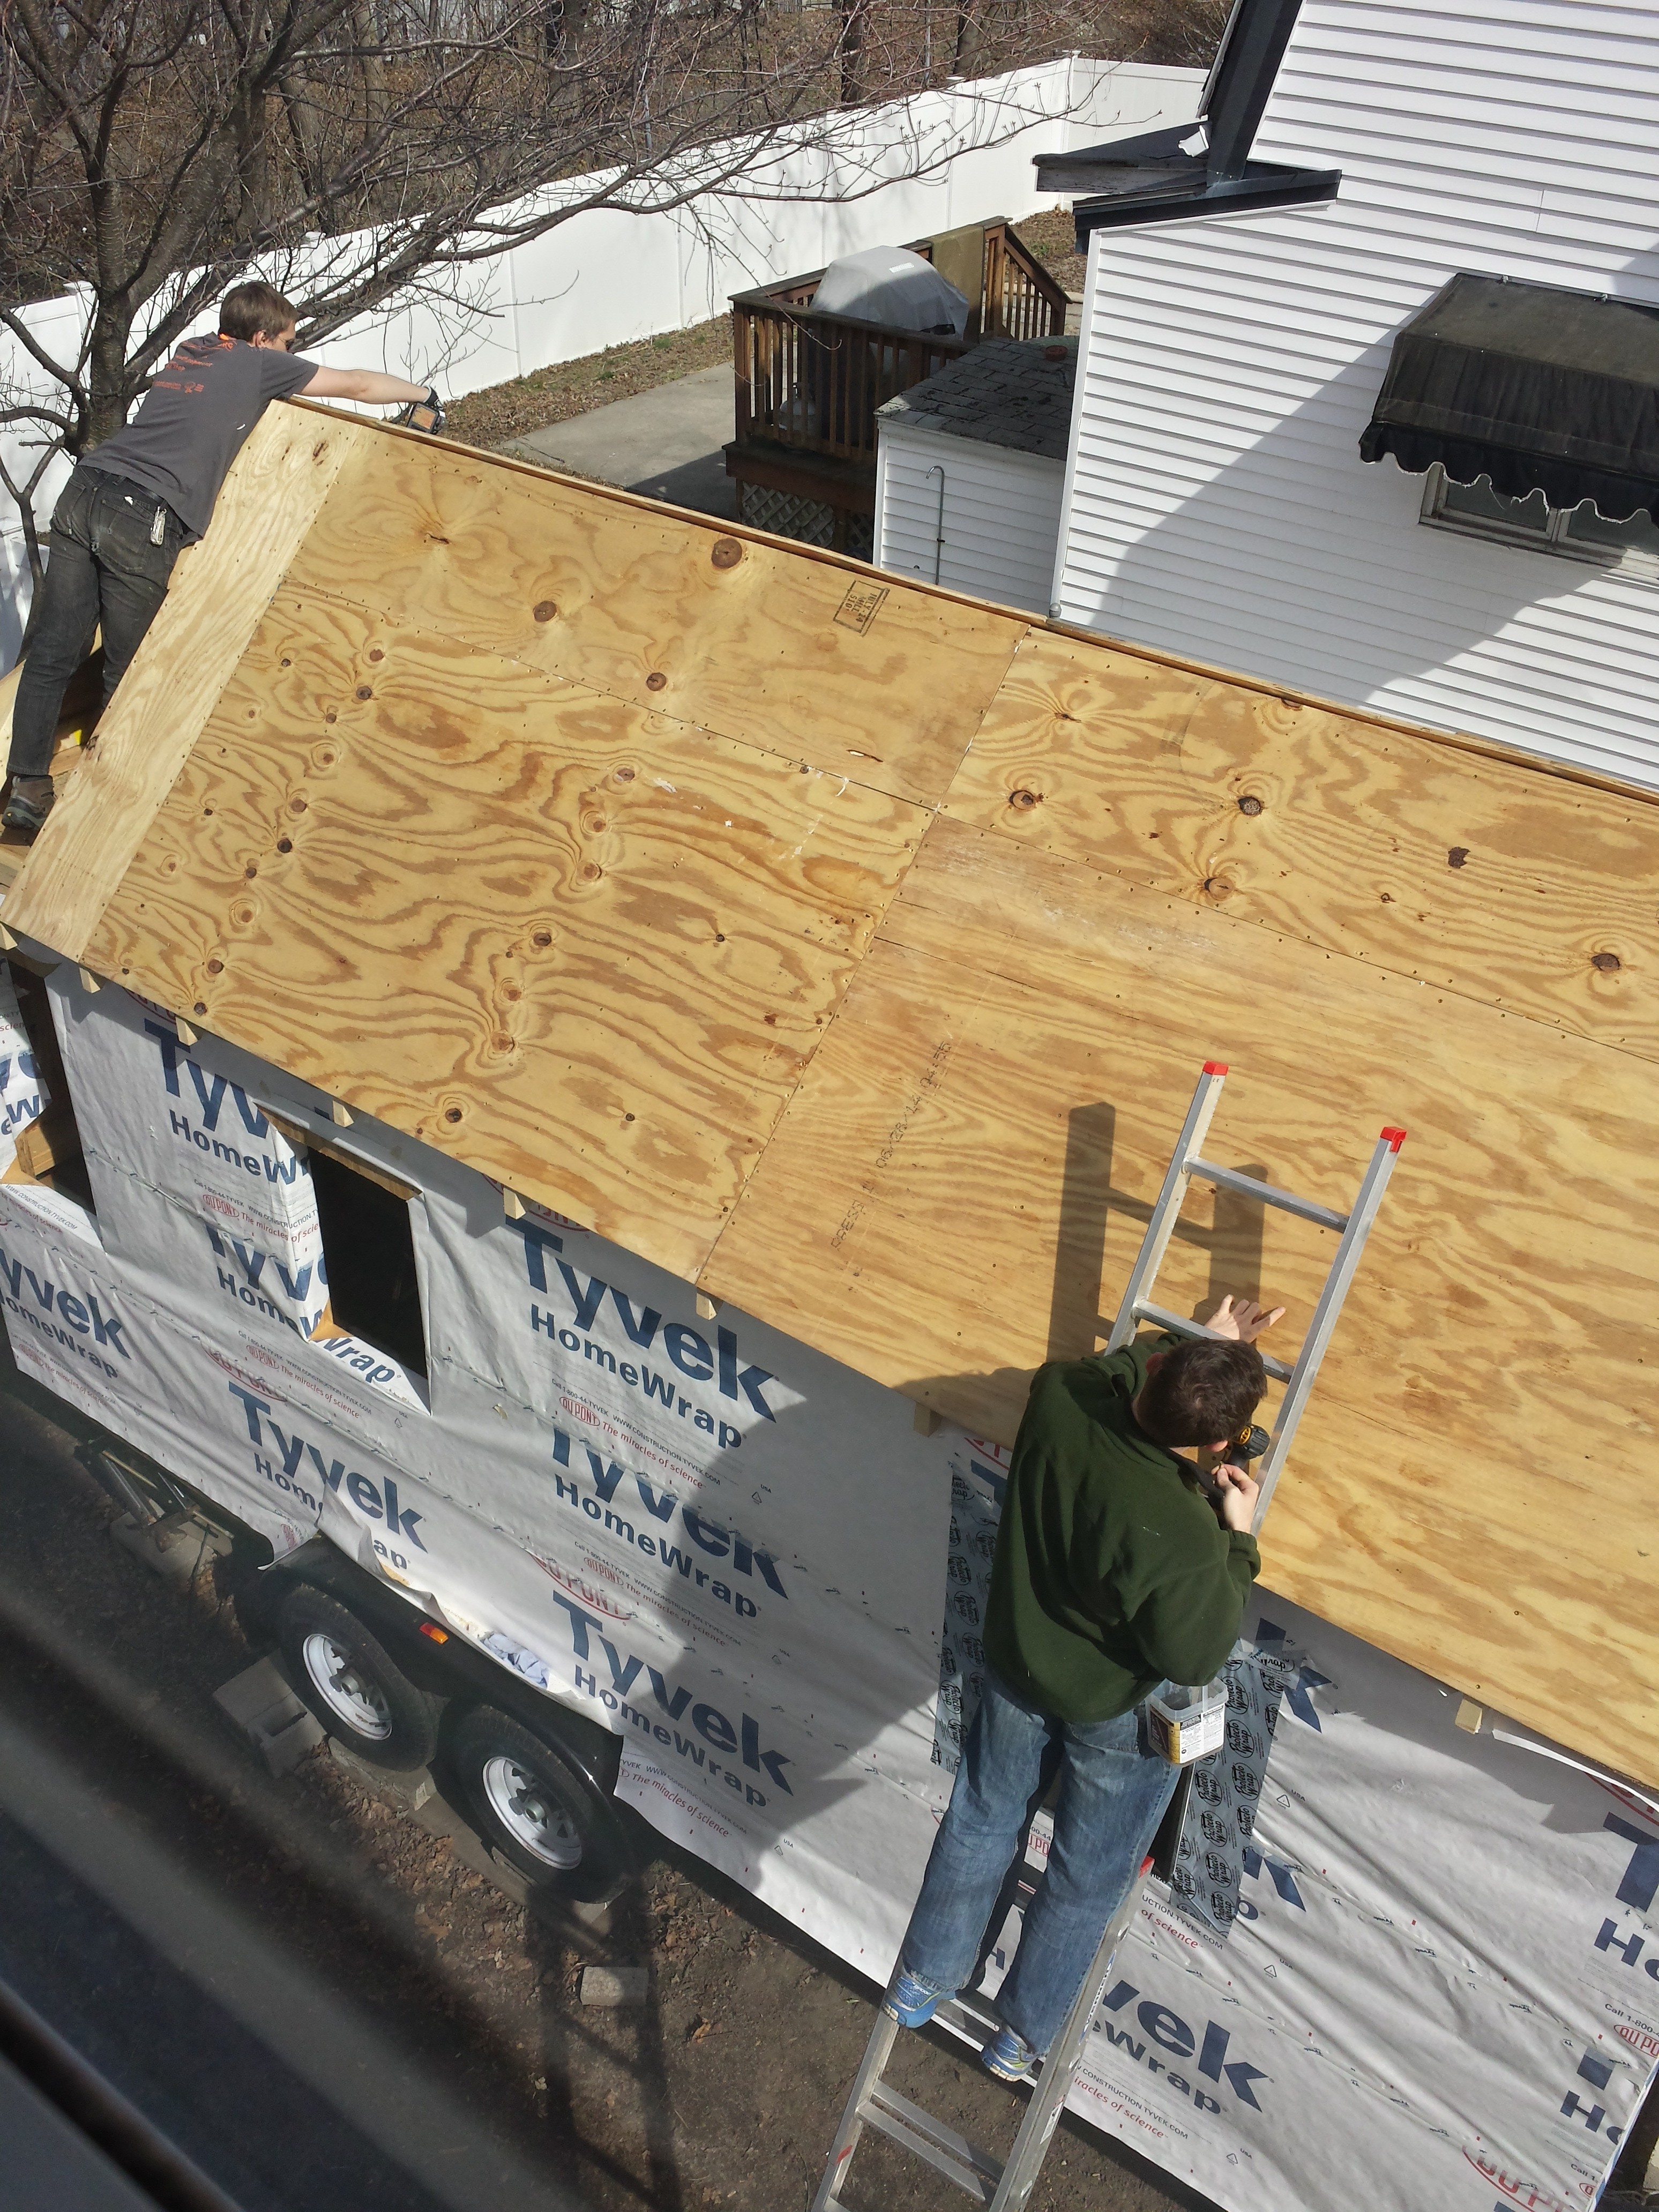
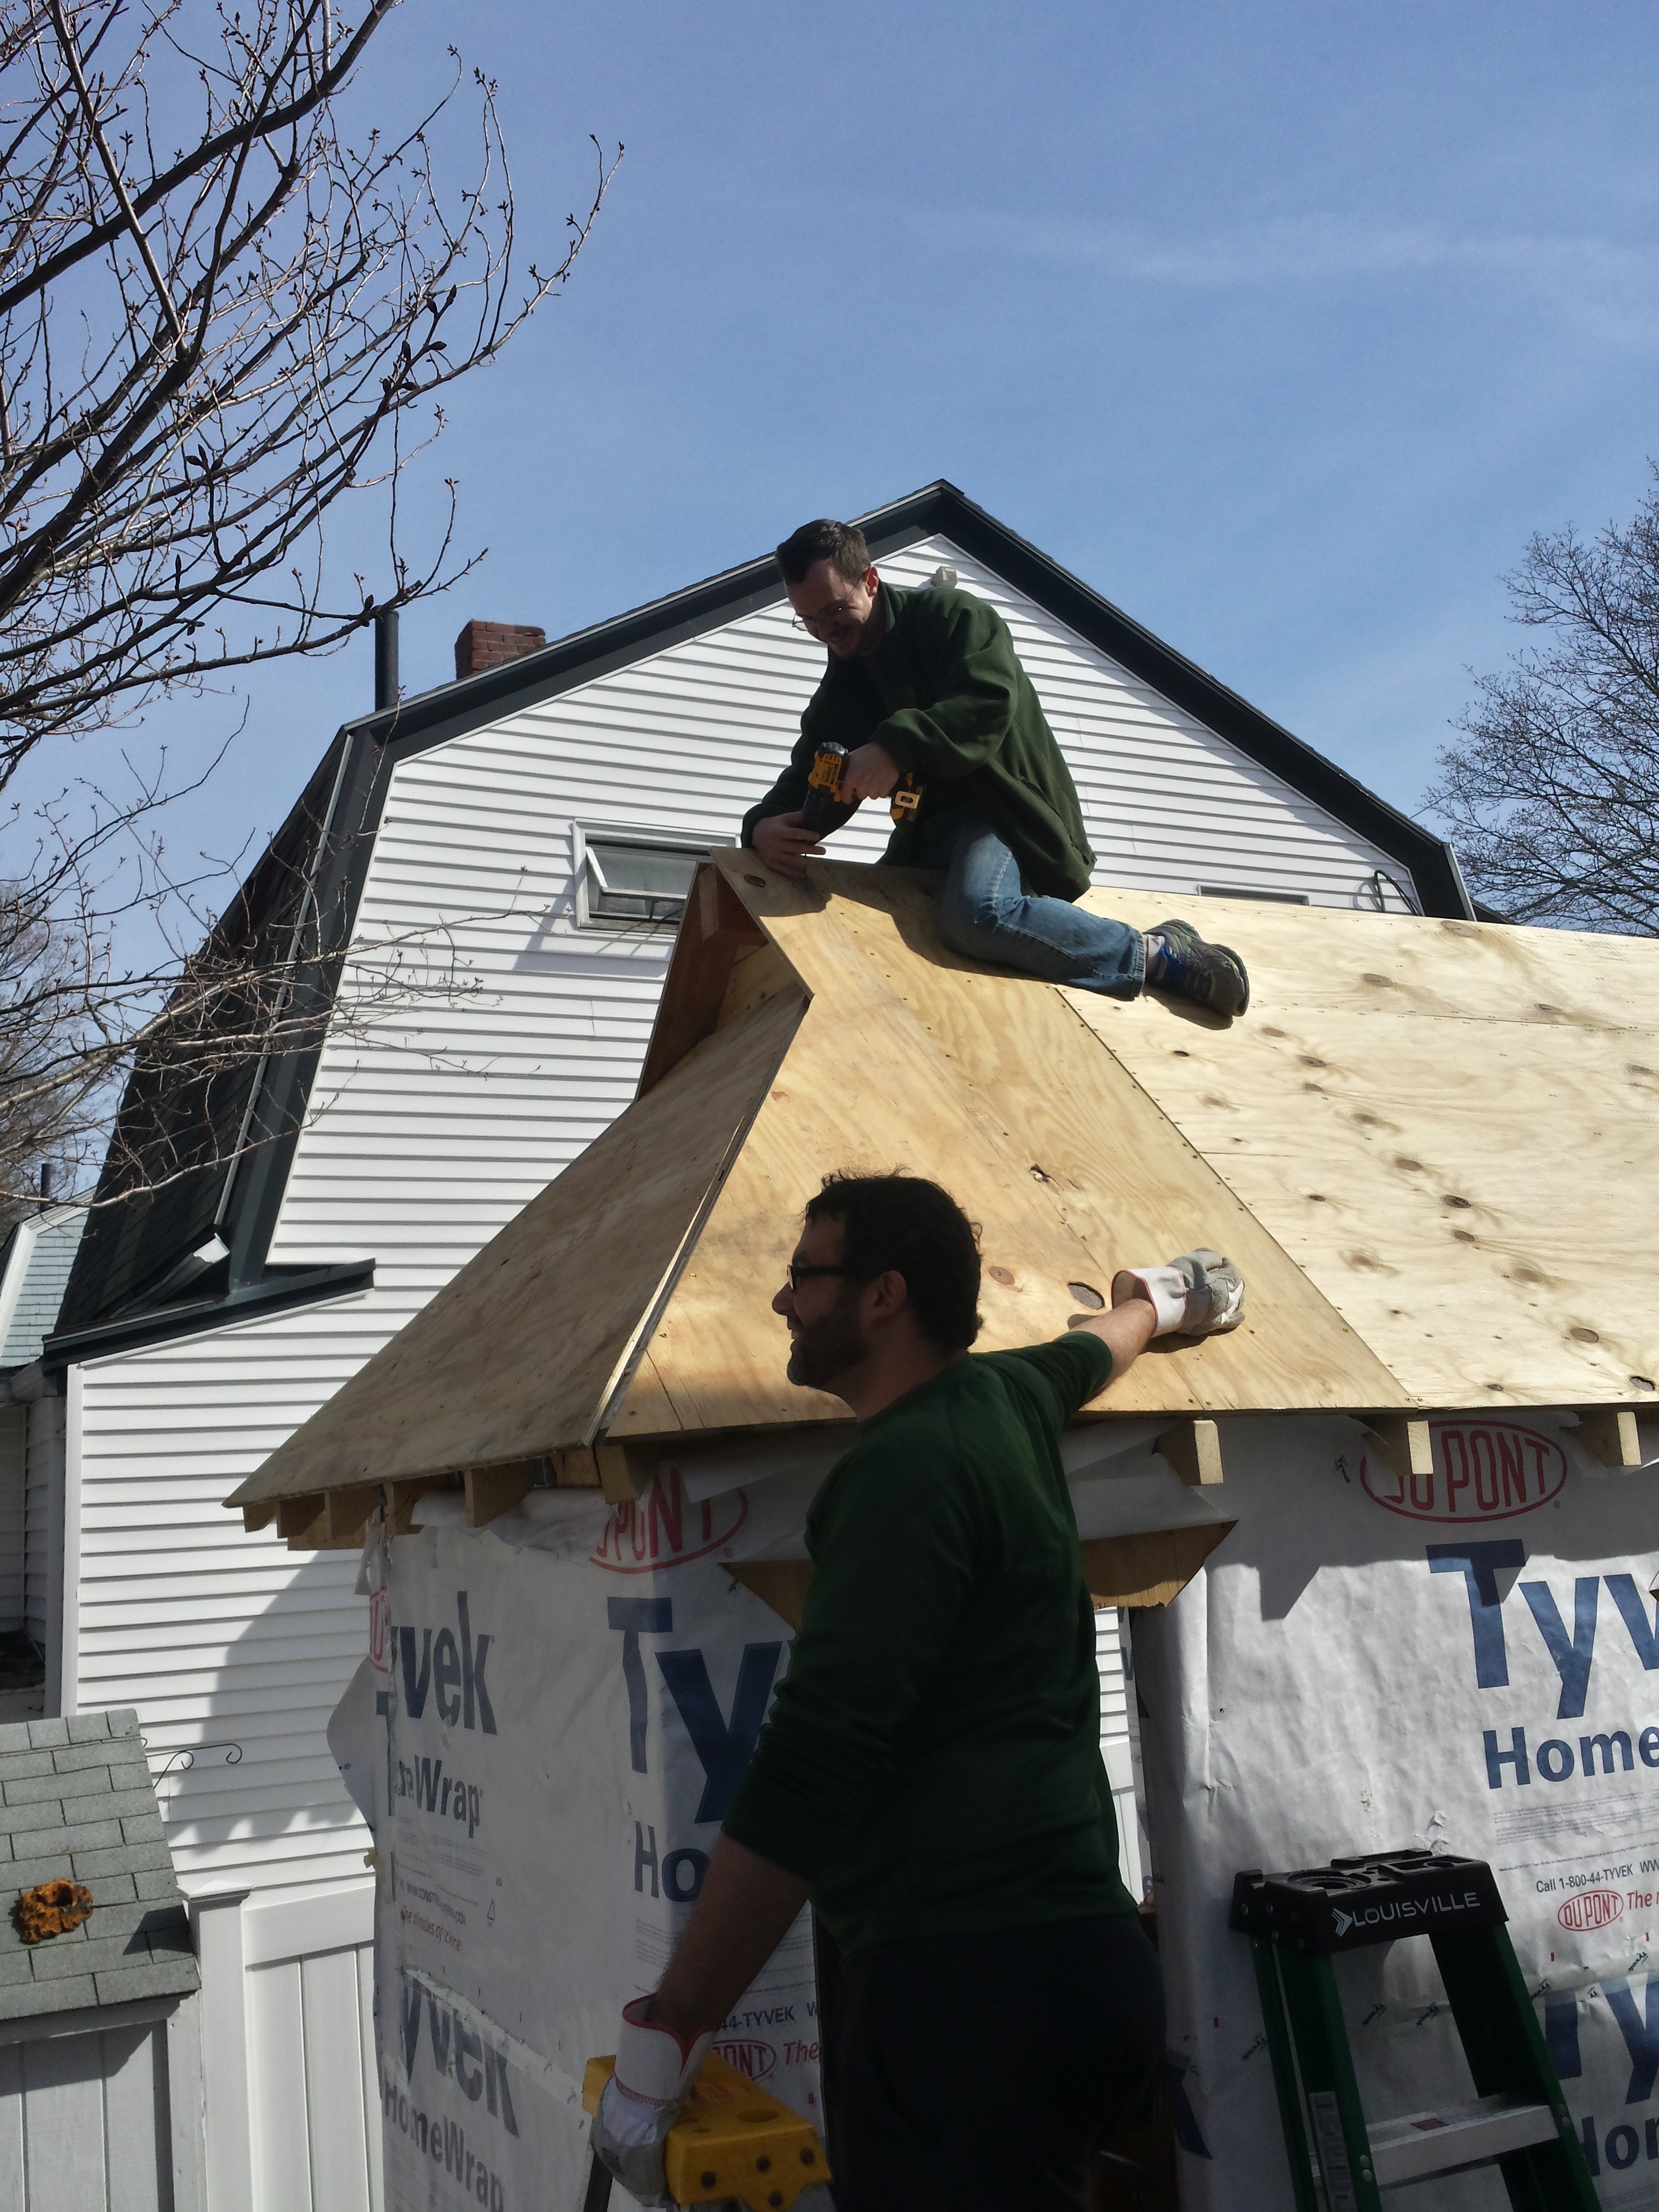
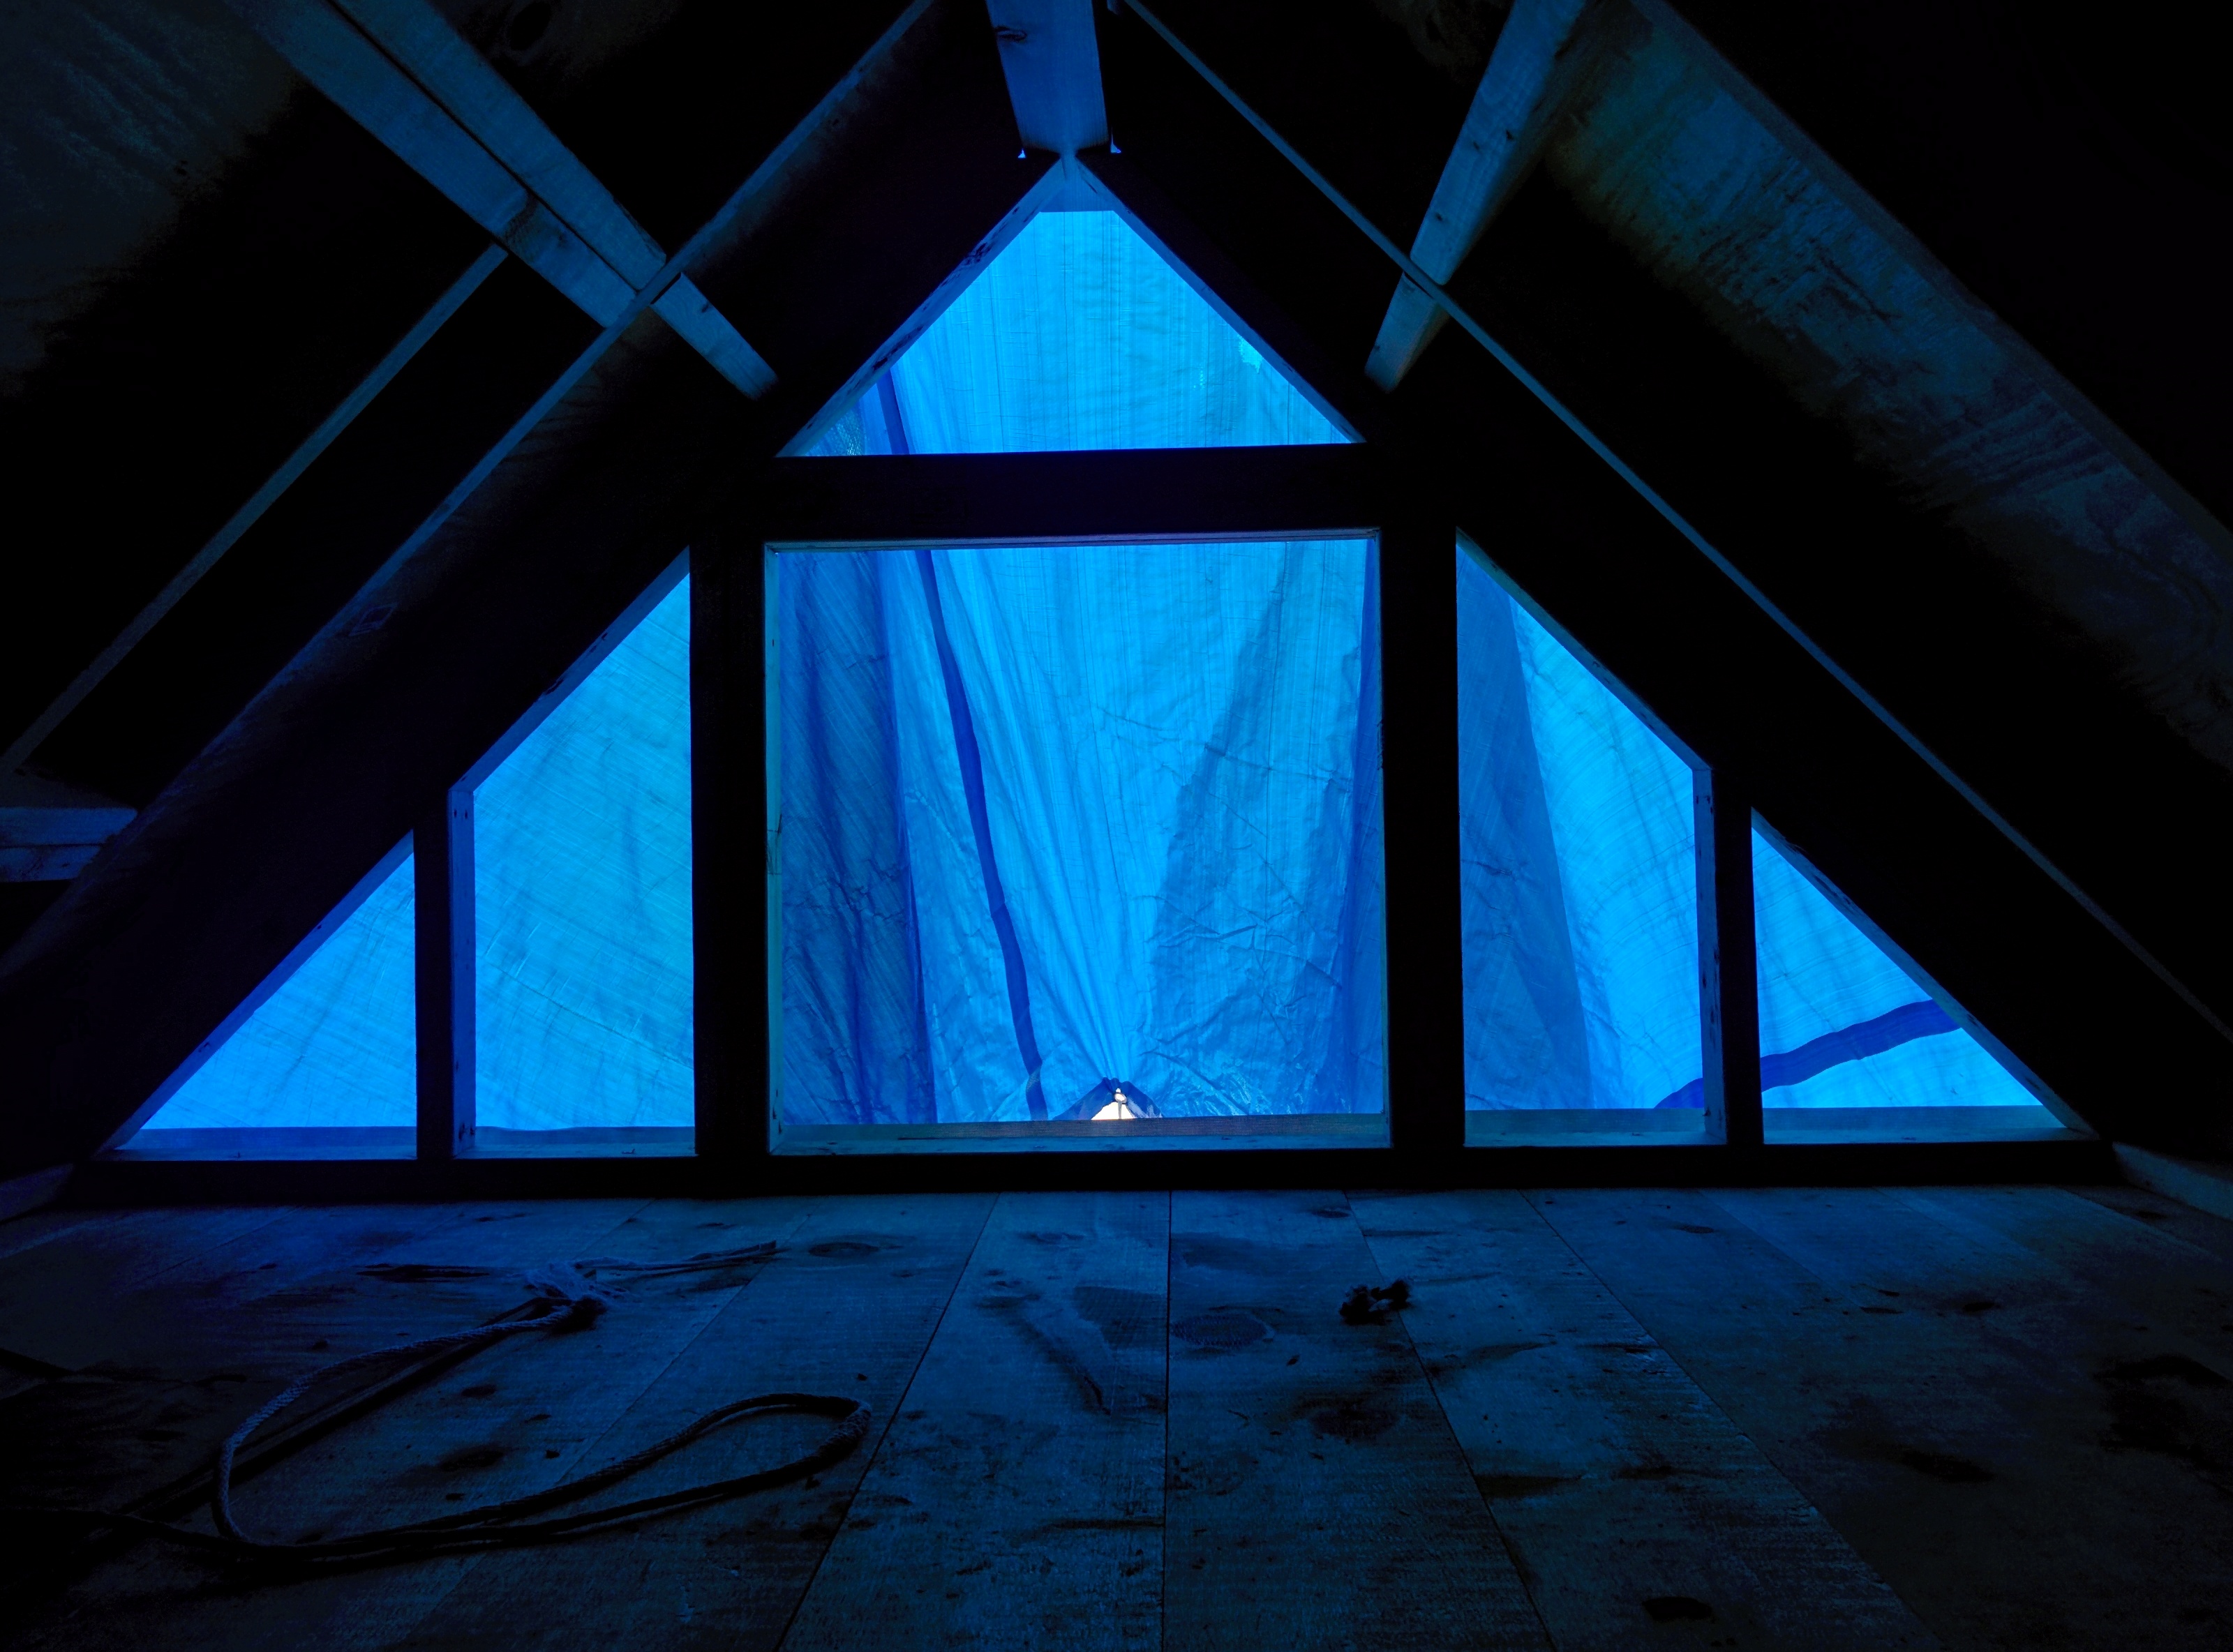
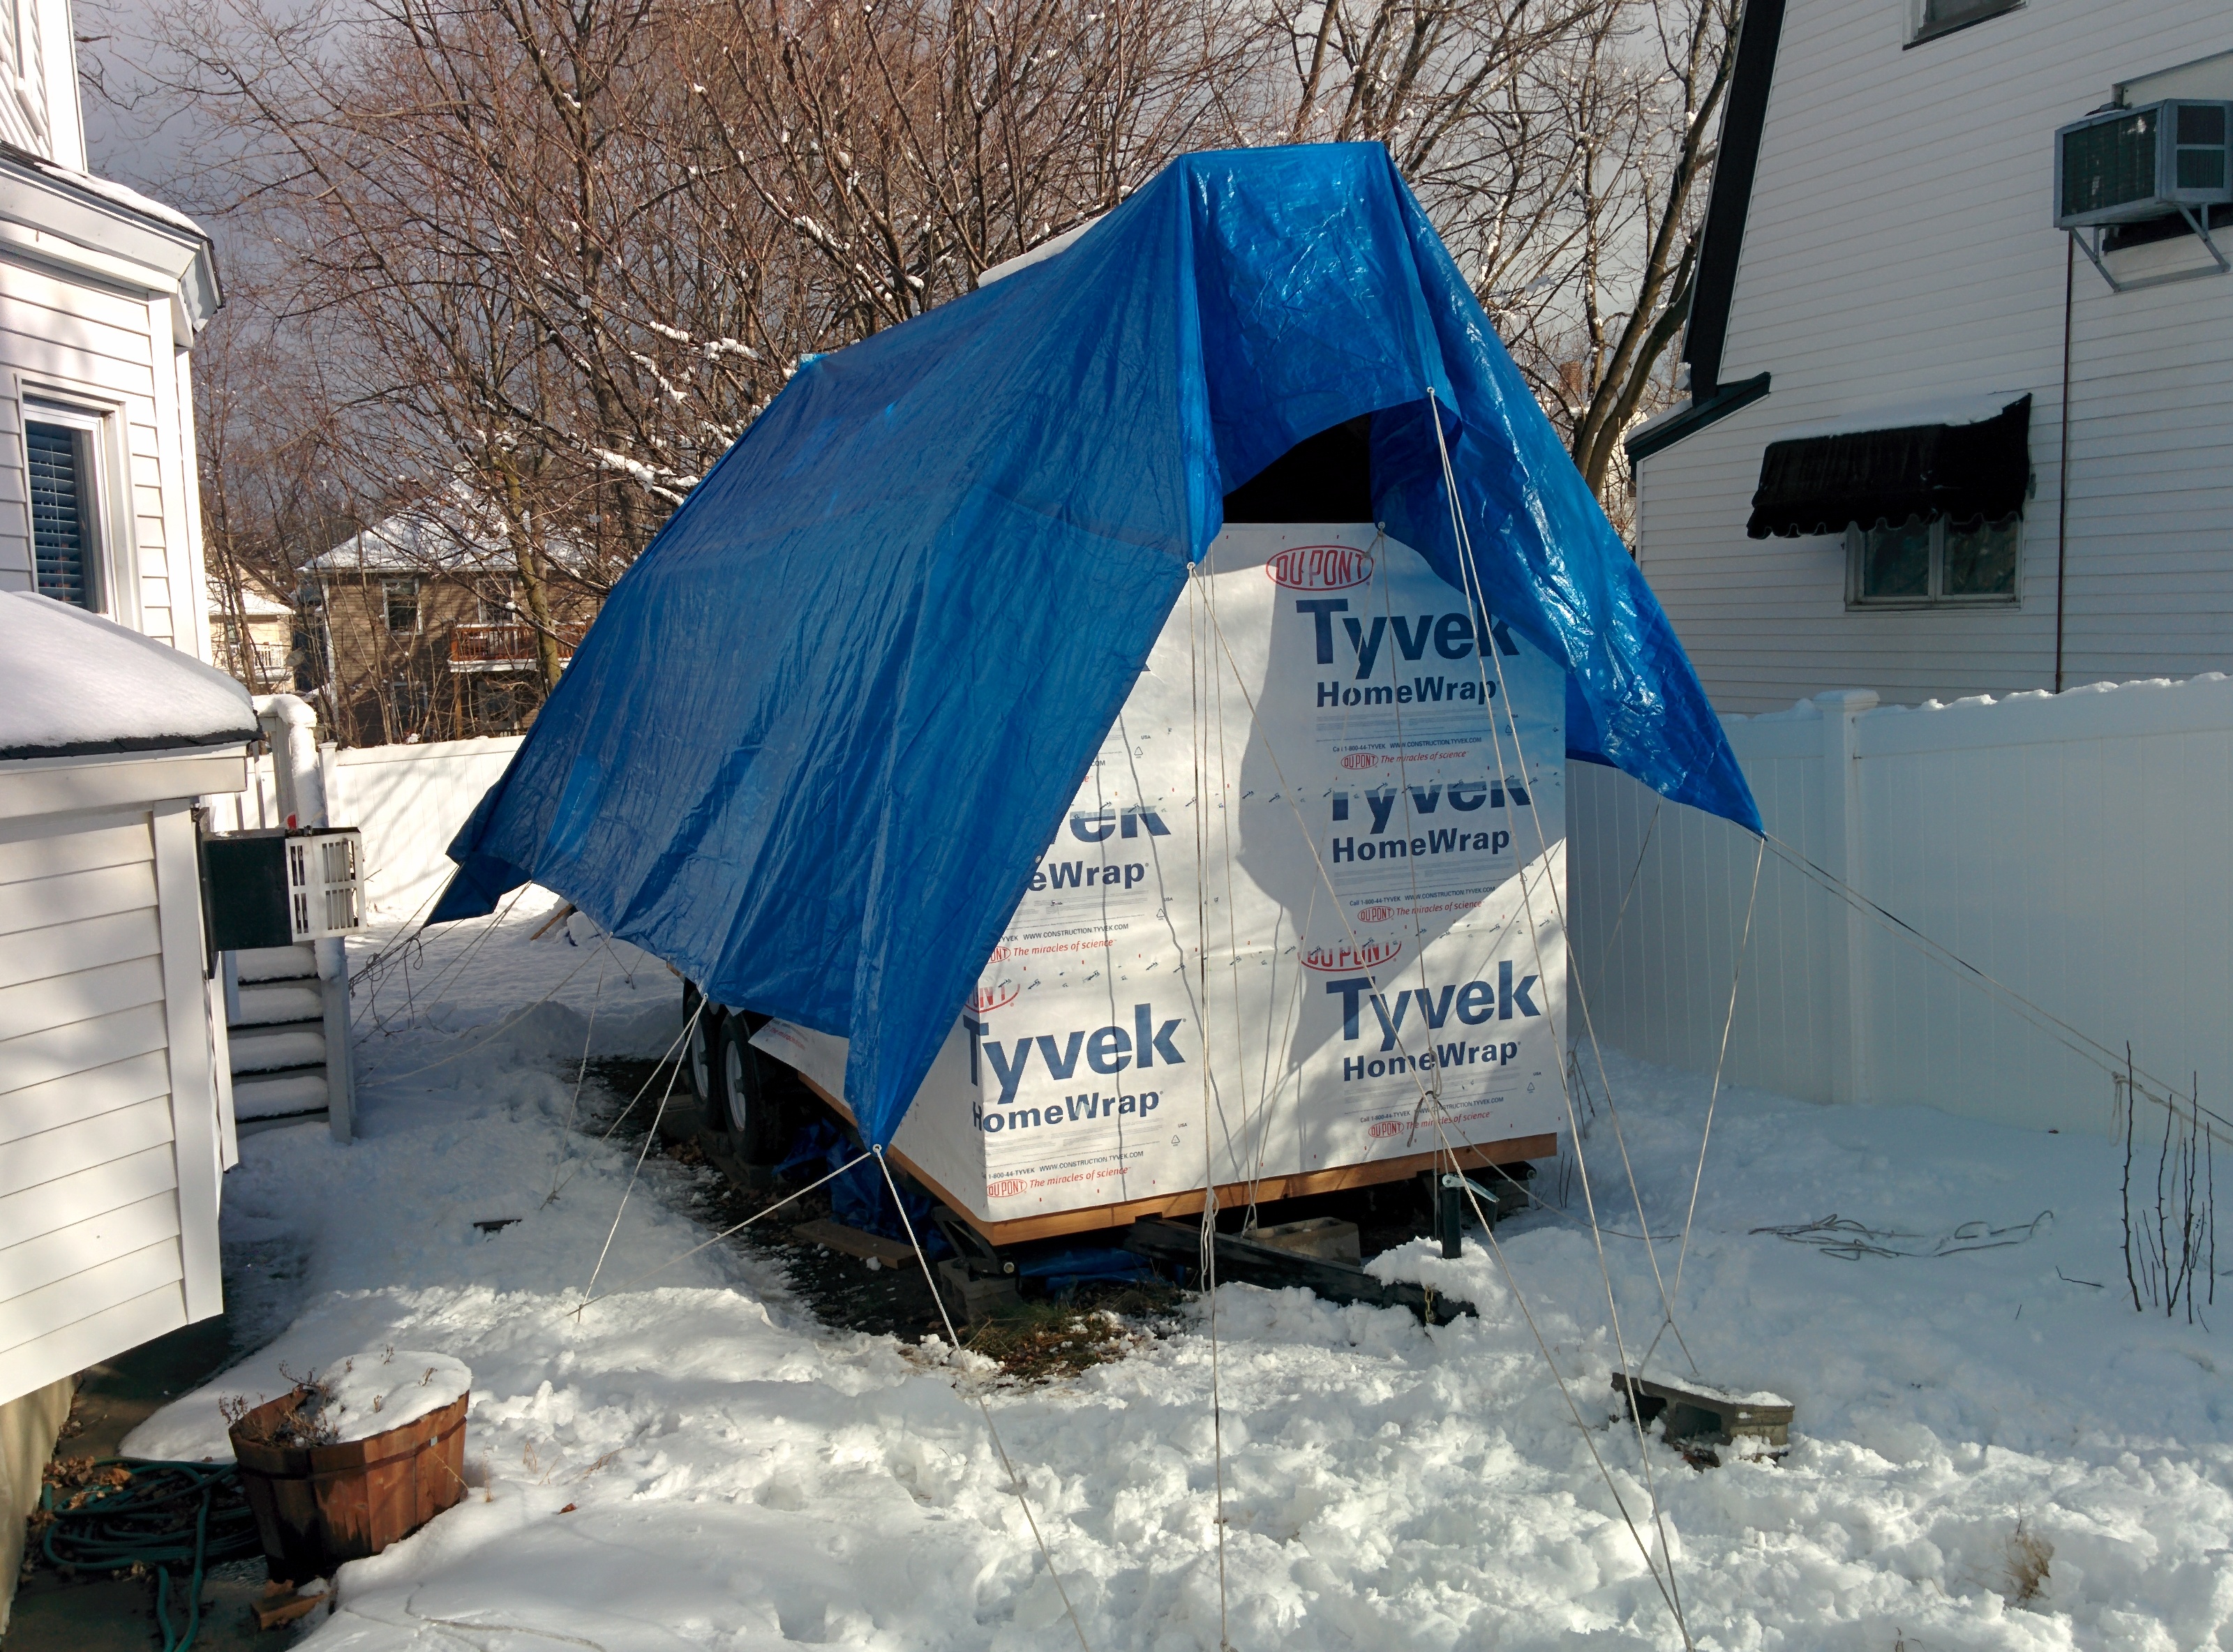
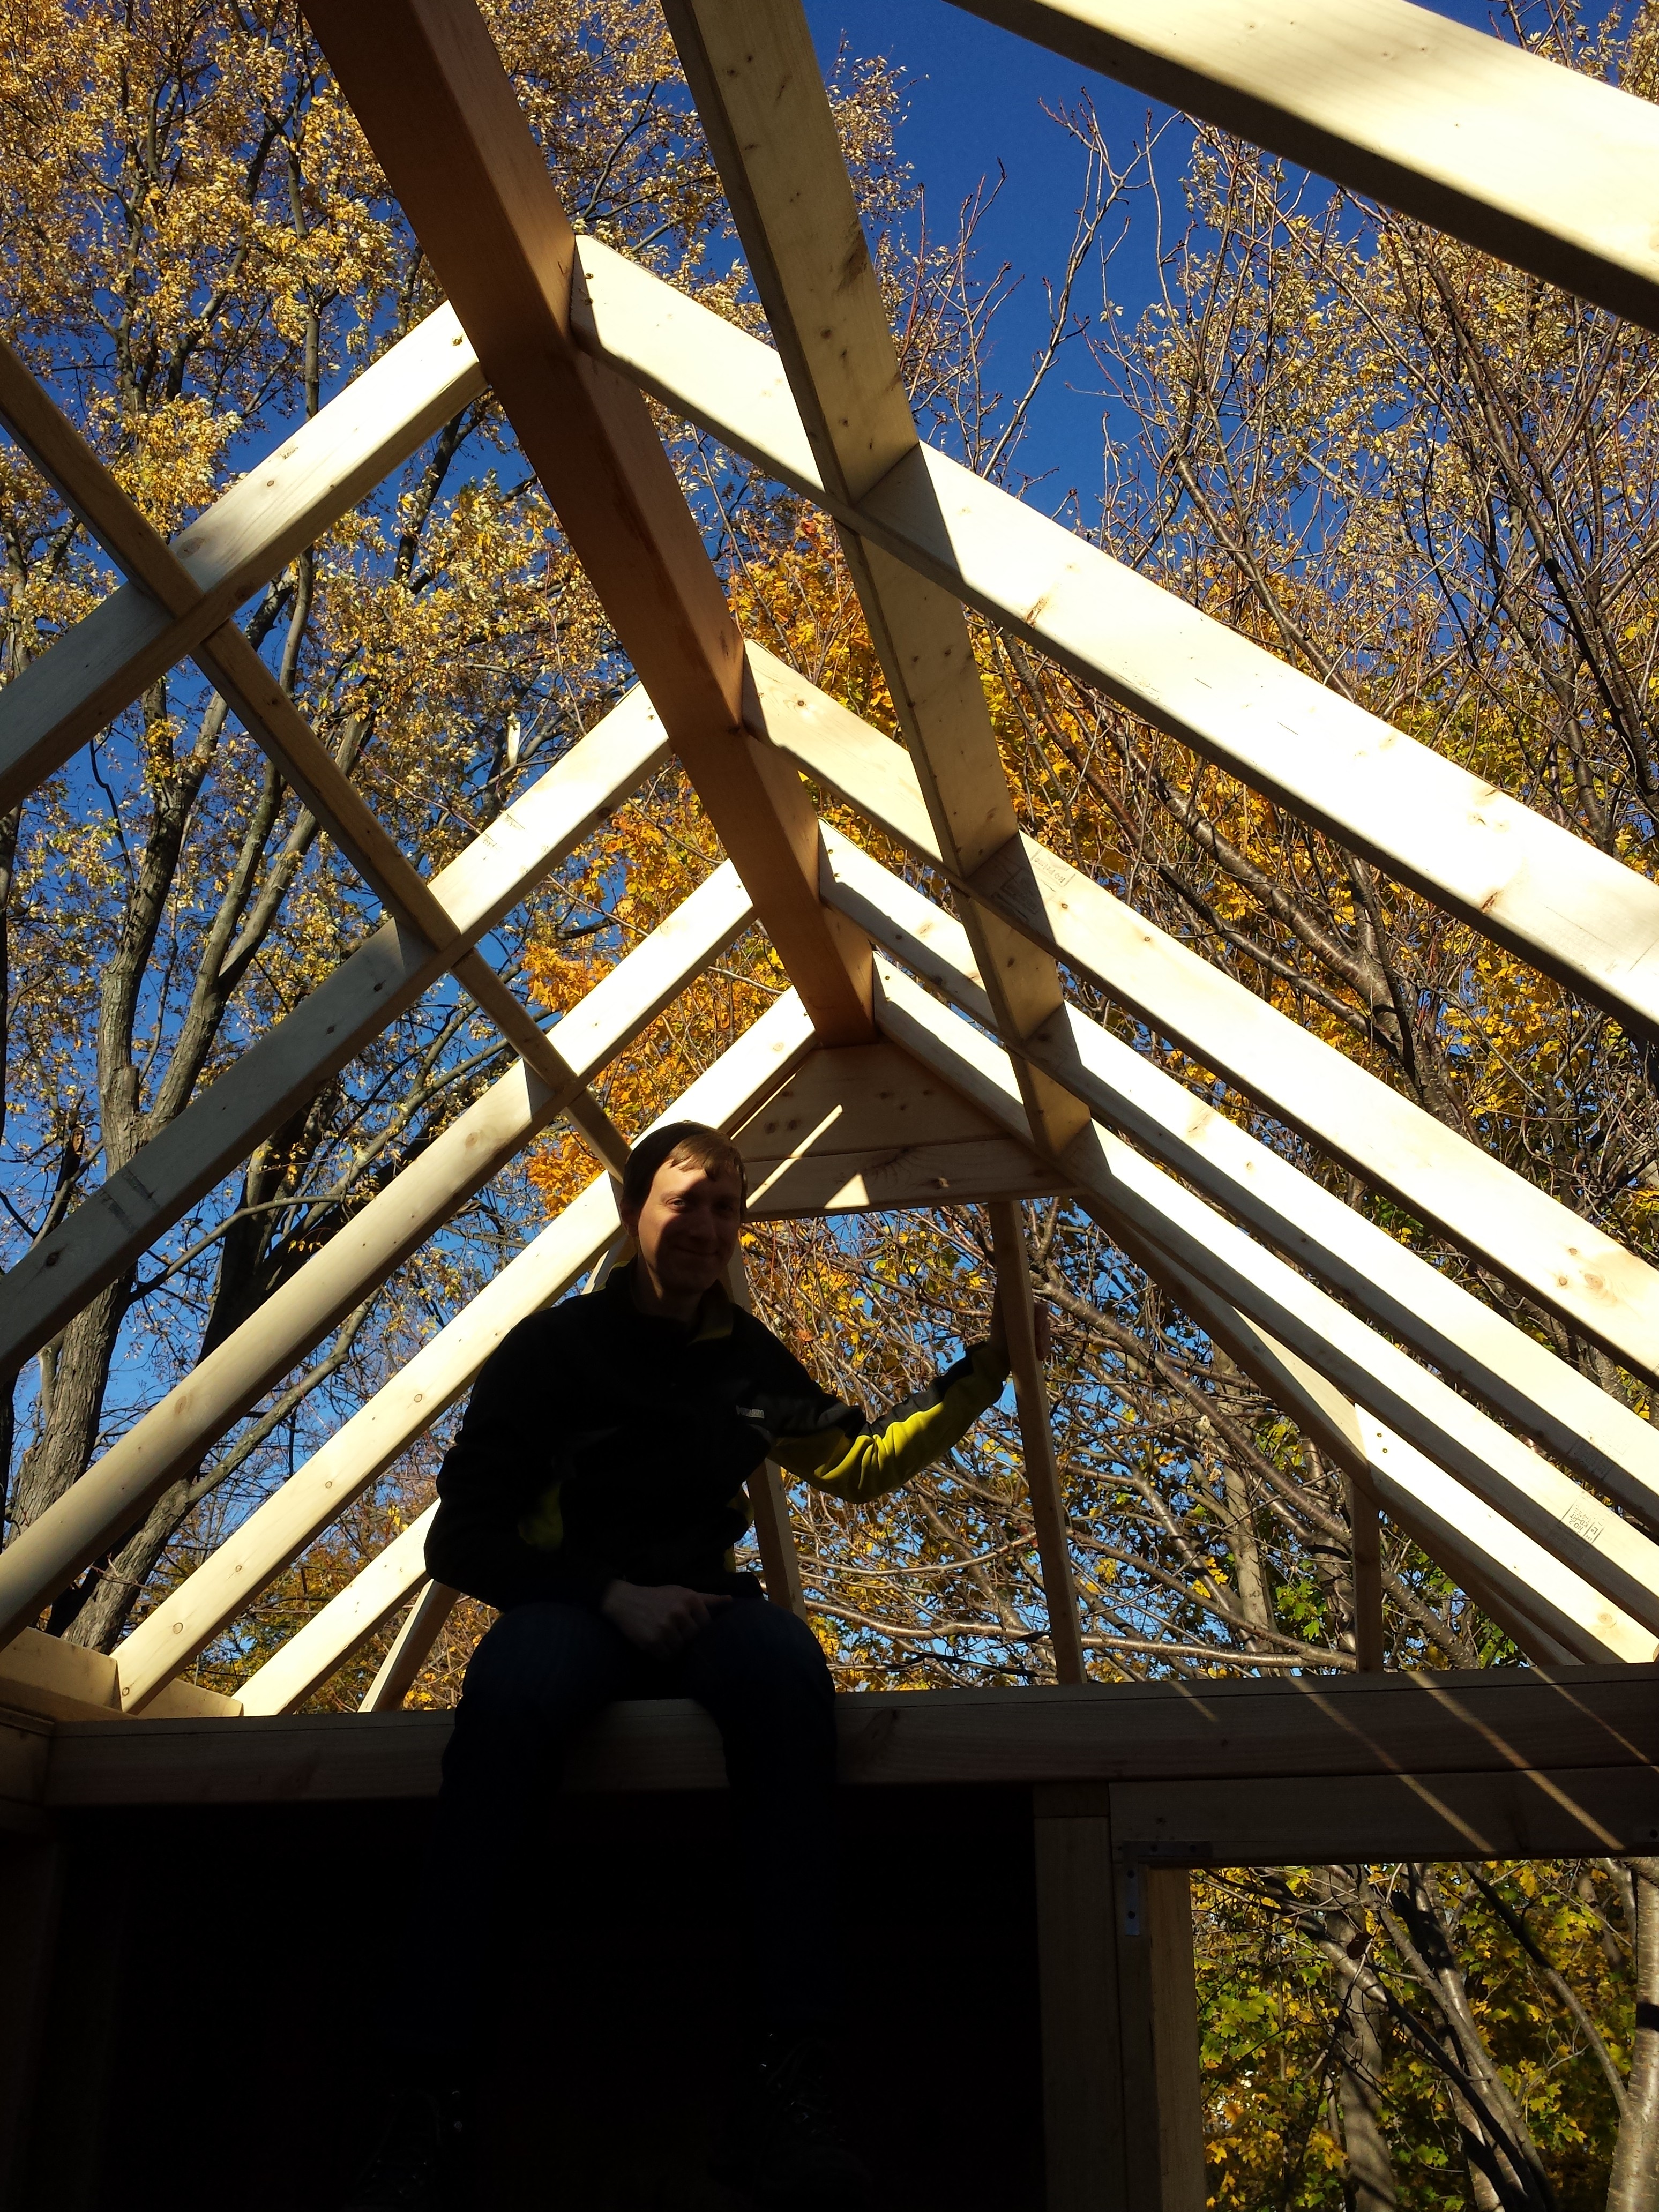
One of my more ambitious goals with my Tiny House is to make it work off-grid — that is, livable even in a location with no dedicated power, water, or sewage connections.

My vague (mostly uninformed) plan has been to buy a large, deep-cycle marine battery or perhaps a high-end high-capacity Li-Ion battery, occasionally charge it with a generator with DC output, and run as much of the house off of that 12V current as possible.  So far I have found all the necessary utilities that run off 12V, including a water pump, water heater, propane stove, and even a propane refrigerator.  And, in my ignorance, I thought I would just run 12V DC all over the house for LED lighting.

Turns out, that’s a bad idea:

Many people when first contemplating going off grid expect to use 12V DC power because they see 12V batteries and 12V lights used in RV; so they think this is how power is used in off-grid applications. It’s is a reasonable assumption but fraught with technical problems.

If you choose to wire with 12V you will need specialized hardware, fuses and or breaker or breakers. In many cases special (read expensive) terminals bus bars and definitely larger and thus more expensive copper wires. The cheap stuff is simply an invitation for a fire down the road.

— Electronic Navigator, Why Not Use 12V DC For Off-Grid

After doing more reading, it sounds like the best thing to do is use an inverter to convert the 12V DC into standard household 110AC, and use standard wiring all over the house for sockets and lights.  I still have to do more research to make sure that everything will be safe, and the battery won’t be working too hard, but at least the general plan is still sound.

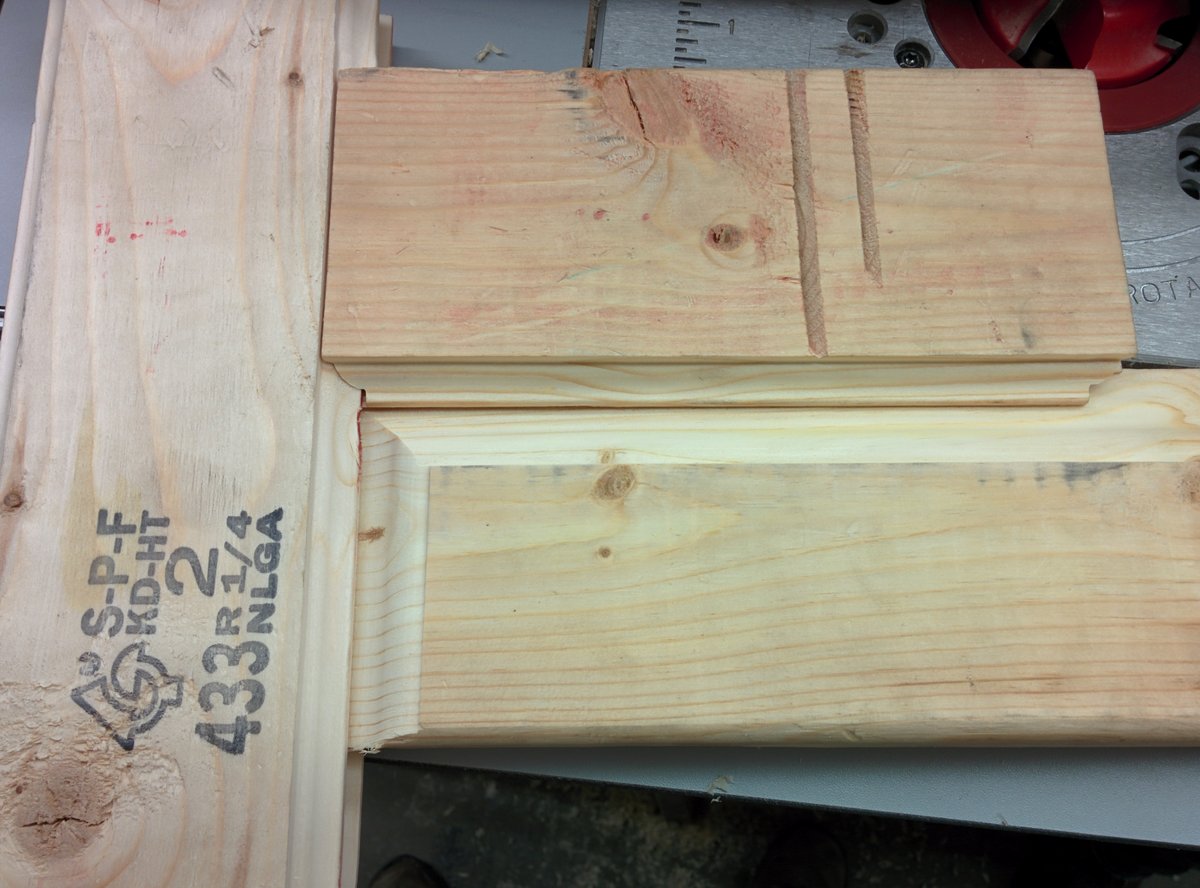
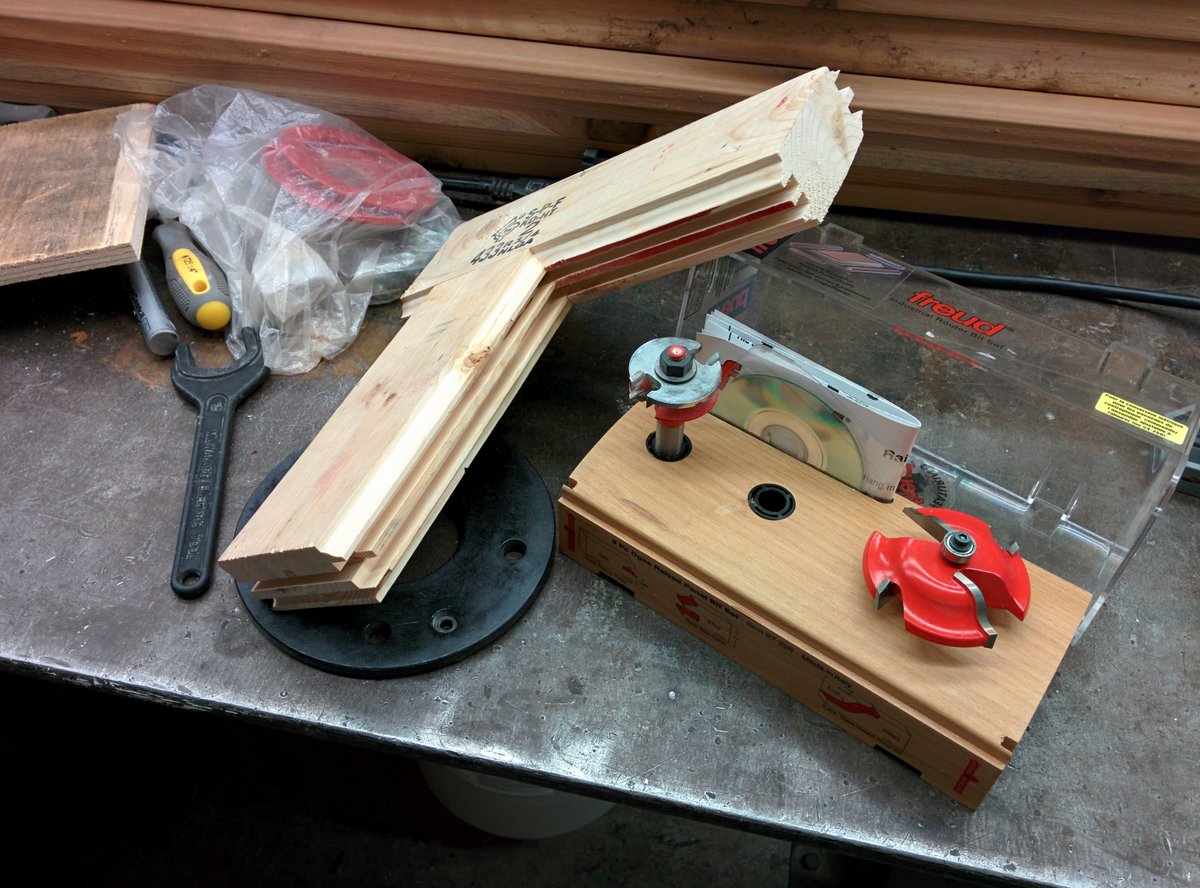
It’s very easy for me to gloss over details, and building the Tiny House has helped me learn when to recognize when I’m doing that, and instead focus and really think deeply about a small aspect of a large project.  Getting the electricity right could mean the difference between a livable house and one that’s frustrating, or worse, one that’s burned to the ground.

Snow update

Some of you were wondering how our Tiny House fared after the record snow we received in January and February. Thanks to the slippery blue tarp, pretty well!

This is actually after a full day of melting!
This is actually after a full day of melting.

Since the snow was so light and fluffy, it never accumulated on the roof. Instead it was all shed to the sides, piling up some pretty impressive snowbanks. At this point it’s not really possible to get to the back yard — the snow is up to the edges of the tarp, so I have to crawl underneath or dig through the snow. The tarp is in sad shape, with a large hole and almost half the grommets ripped out. But I’ve been tending it as I go, and it’s still doing its job.

The presence of the snow will slow down construction because we have to wait for it all to melt before we can really start building again.

Scene from February 11th.

Anticipating a Blizzard

heavy snow and strong winds will result in the potential for blizzard conditions with near zero visibility. Along the southeast New England coast…the snow may be wet enough to result in some downed tree limbs and power outages. Travel may become impossible and life threatening across the entire region. This has the potential to be a historic storm.

— National Weather Service

Is this Tiny House ready for 12-18 inches of snow?  I hope so.  We got 4-5 inches of wet snow over the weekend, and the tarp shed it all quite easily.  But there was still a lot of tension on the ends of the roof, and I wouldn’t be surprised if the small hole that’s already there gets bigger.  I tried to adjust the tarp to cover up most of the hole in the front of the house, but if the wind is high enough it may not make a difference and the loft could get covered in snow.  We’re definitely crossing our fingers on this one.

Hopefully not too much snow will blow in the front.
Patience, little house.

That’s a wrap

This weekend, despite the December cold, Owen wrapped the house. As a timesaver, no holes were cut for the windows. That will have to be addressed later.  The tarp has been holding so far.

2014-12-28 14.14.28

Our door is in progress

A piece of the advice from the Tumbleweed workshop we went to in April 2013 is: While we tiny house builders can build most of the house ourselves, certain things are best left to experienced craftspersons, if you can find one. They suggested the top of this list is the door, which needs to be sturdy, weather-resilient, and fit (it’s smaller than any standard sized house door).  Hopefully also stylish. Marc, a maker from Toronto, is making our door! There may be some fun details to this (more on that later). Here are some pictures he sent from his work on it yesterday.

2014-12-19 19.03.57


2014-12-19 18.18.02

Hibernating for the winter

2014-12-13 15.40.02

Things are quieting down on the work site now that the sun sets at 4:30 and the temperature is regularly near freezing.  But that doesn’t mean we’re not still working on the tiny house!

The most important thing I’ve been doing is checking and rechecking the tarps and weatherproofing.  I have the tarp hanging pretty much down to a science now, so I no longer have problems with holes in the tarp or water collecting anywhere.  It has even snowed once, so I could see that the tarp shouldn’t have any major problems with snow cover either.  Most of the wood still in the yard is scrap.  Anything that I will need has been moved into the house itself or underneath it.  I bought a Junkster, which I will fill with scrap to clear out some of the mess.

Char and I have been pushing forward on planning some of the eventual finishing details.  We’ve been working on a design for the vertical post that will go on our front porch, and we’re also moving ahead on having a master carpenter build our front door.  Some time in January we’ll go to Ikea to look at counters for the kitchen.  I’ll also start getting serious about ordering appliances and the windows, too.

I also plan to do small pieces of work on the house itself — there’s still one more window to frame, for instance.  Also I could cut out holes for the windows and affix the house wrap to help protect the structure from weather.  And I don’t just want to leave it out there for 4 months without checking on it once in a while!

It’s obvious why most people try to build their tiny houses in one summer, but that was never a realistic possibility for us given our full-time jobs.  I look forward to spring when we can finish the exterior and get rid of the tarp for good!


Framing finished

I talked to Owen about his recent work:

“Today I finished framing the roof, including the hip roof.  The hip roof was probably the most difficult thing the project has required so far.  The plans are too vague about how big the hip roof should be. I made it too small.  Therefore, the rafters were supposed to be at 45 degrees, but they were not able to be.  After much trial and much error, I was able to construct rafters that look ok from a distance, although up close you can see how they are imperfect. Others who have built the FENCL eliminate the hip roof.  Now I know why.

“I think the way I was able to construct it is ok, but we won’t know for sure until we try to put the plywood sheathing on it tomorrow.

“Hip rafters are difficult to cut because they require compound cuts. This is a cut that is at an angle in two different directions. For each individual rafter, I probably had to cut ten practice cuts on scrap wood, trying to find the right pair of angles. There were 6 rafters, all different. Two weekends were spent trying to get these angles right. I eventually gave up on trying to measure the pieces, because it wasn’t producing good, consistent results.”

2014-11-15 14.32.38 2014-11-15 14.34.48 2014-11-15 14.35.17 2014-11-15 14.36.10