- July, 2009: Find out through twitter that Apple released a new version of Final Cut Studio with the softest launch ever, a tiny box in the lower left of the homepage.
- Read over the “What’s New” page, and see that, actually, there are lots of decent bugfixes and even some new features!
- Wait until some other sucker gets a copy.
- Keep waiting as they discover new bugs, problems, and technical headaches introduced by Apple’s “What, me worry?” backwards- and standards-compatibility policy.
- Pour over Stu’s inevitable updated post on Final Cut / Quicktime gamma issues. Understand nothing.
- Read over John’s inevitable post on the new version of Color, and how it’s still worse for color correction than using a highlighting marker on the monitor.
- Read Avid editor bloggers dissing FCP, feel better about not using it yet.
- December, 2009: A point release is made that actually works. Purchase it and install on cloned version of hard drive you call “FCS3(?) QUARANTINE”.
- Gingerly boot cloned drive and launch FCP.
- Oooh new splash screen.
- Spend a few minutes reconnecting all your media. Ah well, you’d be suspicious if nothing was offline.
- What’d’ya know, not so bad.
- Announce to your clients that you support the new version of Final Cut.
- Tell them no, not version 6, there’s a new one after that. … It’s been out for, like, 6 months now. … I know you’ve been editing for 2 years, I don’t upgrade in the middle of a project either … No, I can’t online your cut made on version 5 on Panther!
- Wait for projects cut on the new version to work through their edit schedule.
- Finally switch over to the cloned “Quarantine” drive as your new default boot drive.
- July, 2010: do your first online in Final Cut 7 — discover some stupid missing feature or bug.
- Sign inevitable petitions to Apple. Geez, when is the new Final Cut coming out??
Category: Editing
Building an Online Suite: Mac Pro Card Slot Fun
In creating my online suite, I am attempting a feat which many say cannot be done: creating a system that can run both Avid and Final Cut. Furthermore, I wanted to have Avid and Final Cut hardware installed on the same machine — Mojo DX for Avid and AJA Kona for Final Cut.
This type of hybrid system is not for the faint of heart. Video editing is a high-performance activity, and the editing packages are very picky about what software is installed, which versions, and how the hardware is set up. I was able to get everything running fairly easily, but the question is, is it running well or just limping along?
For instance, when I first set up the system, I thought everything was working just fine. Avid was working handsomely, Final Cut seemed to be working ok, and my disk benchmarks showed that my hard drives were working very quickly. However, I found out that external video playback in Final Cut was very poor. The video image on my external monitor would lag behind the desktop window by several seconds. This evening, I discovered that I couldn’t capture more than 2 minutes of high-quality video (1080i uncompressed) into Avid without throwing up an error. Clearly, the two sides of this black and white cookie were not getting along ((That’s right, I’m making a goddamn Seinfeld reference.)).
Both of these problems stemmed from hardware issues, specifically card slot configuration. The Mac has four slots inside it where one can install hardware cards. Two slots are extra-fast “16x” slots. The others are slower “4x” slots. But even then the two 16x slots are meant for different things. For instance, Slot 1 is for the graphics card. And tonight I found out that the 4x slots aren’t identical either.
Because of all the hardware I have (3 additional cards), there are 6 possible combinations for how I can install them. Trying each combination entails 15-20 minutes of rearranging cables and fastening tiny screws, and then another 15-20 minutes of testing. This is on top of the hours of troubleshooting to discover that, in fact, card slot arrangement was the source of my problems.
At this point I feel like I’ve tried all six. My first arrangement was like this:
- 16x: Graphics
- 16x: RAID
- 4x: Kona
- 4x: Mojo
Both the Kona and Mojo claim to be 4x devices, so I put them in the 4x slots. I wanted my storage to be as fast as possible, so I put that in the 16x slot.
But, I was getting these problems. Working with my colleagues on twitter, I discovered that the Kona card really wanted to be installed in Slot 2. Once I moved it there, my monitor playback in Final Cut was fixed. So for a couple months, I’ve had the cards arranged like this:
- 16x: Graphics
- 16x: Kona
- 4x: Mojo
- 4x: RAID
But then, my Avid problems. Well tonight, I found an obscure document that revealed that the Mojo card wants to be in Slot 2 or 4. Of course since I had it in slot 3, I had to move it again:
- 16x: Graphics
- 16x: Kona
- 4x: RAID
- 4x: Mojo
Now, finally, I think I’ve nailed the right order. Avid is able to capture long clips in high quality, Final Cut plays back correctly, my RAID is still reporting very high read and write speeds, and nothing else has exploded (yet).
Moral of the story: If you can afford to have separate machines for Avid and Final cut, yeah, it’s probably wise to do it that way. I wouldn’t want to pay myself for the hours I’ve put in to fixing these issues. But for those adventurous-types, combining the two is not impossible.
Building an Online Suite: Almost done
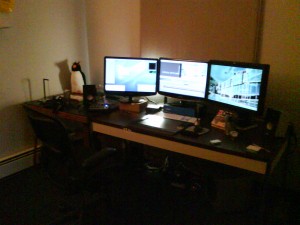
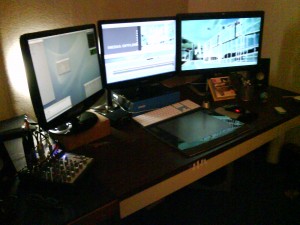
Aside from the desk and some simple things like an end table and filing cabinet, my edit suite is done. I’ve already had one client in to do an HDCAM output, and other than my own ignorance of 720p issues, everything worked as expected. Other than my desk, I just need to take care of various paperwork and my company website.
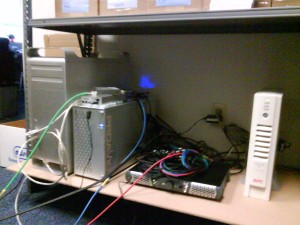
The room turned out just like I wanted. It’s nice and quiet inside the edit suite, and the light is pleasing. All the equipment is hidden in the next room where I can get at it easily. One sucky thing is that I don’t have a rack, so inputs and outputs are spread across the back of the Mac Pro tower, the Mojo DX, and the loose Kona cables. I can probably solve that problem with some short BNC cables and female / female adapters. Then I’ll have short extension cables that I can bundle together and hook up as necessary without crawling around the back of the machines.
Building an Online Suite: Early Messy Progress
Today I went to my new online room and started piecing things together. A lot of my gear has arrived, and now I’m just waiting on the major pieces of equipment from my reseller, and the desk. The desk will be the very last thing to arrive (end of January), so it’s going to look crappy for now while I use a temporary desk.
And here it is:
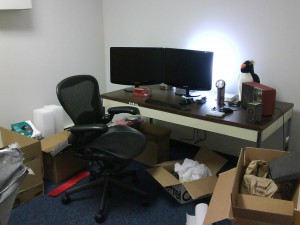
What a mess. Here you can see the small, temporary desk I’m using for now, and the two Samsung desktop monitors. I also need room for the grading monitor and scopes. You can also see the chair I got, which is a used Aeron I scored today. I’ve resisted Aerons for a long time because I felt they were the symbol of all that was wrong with the dot-com era. But that was the year 2000, and 8 years later everyone still recommends the Aeron so I broke down and finally gave in. What I really like is that it has a feature that lets you either lock the back upright or allow you to recline. While I’m working I can lock the chair, and when I view cuts I can recline. Ahhhh.
You can also see a stuffed penguin ((more on that in a later post)) and some other desk tchotchkes.
The RAID
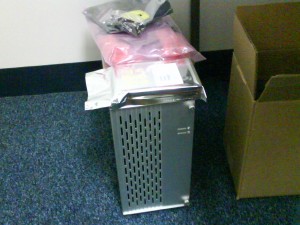
This is my LifeZero RAID, echoblack variation. It consists of a ProAvio Editbox 8MS, 8 1TB drives, and a RocketRaid 3522 hardware RAID card ((I’ll post a more complete analysis of the RAID once I get the rest of the system)). The target price for a LifeZero RAID is 2K$, but I decided it was ok to go a little higher than that by getting better-quality drives. The drives I bought are 1TB Hitachi 7K1000’s, which has a reputation as being a benchmark high-performance drive even though it’s a couple years old.
I also bought one extra drive as a spare. If a drive dies in a few years, it’ll be next to impossible to find the same model of drive so I would probably have to get something “similar” and hope everything works out ok. Instead, by spending an extra 110$ on a drive now, I have a nice insurance policy that should help extend the life of the RAID.
I ripped open all the packages, screwed the drives onto their rails, and inserted them into the enclosure. Even though I don’t have a computer to connect it to, I powered it up just to see what would happen. It did not explode. All the lights lit up and it’s extremely quiet. This is going to be fun!
Other bits and pieces
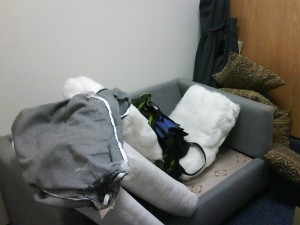
Aside from the RAID, I also took care of some little issues. The free couch I got was looking a little dirty, so I ripped off the cushions so I can wash them. They’re in the drier now 🙂
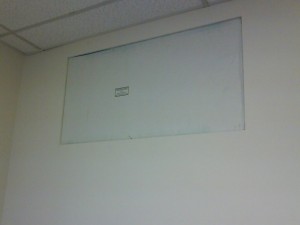
There’s also a window near the ceiling letting in ugly fluorescent light from the rest of the office, so I blocked that with a hi-tech rectangle of cardboard. It’s not as hideous as it sounds:
The room is still a mess, but I can start to see the editing suite underneath it all. Within a week or two I should get all of my equipment delivered, and then I can really start to set things up.
