Mistakes Were Made

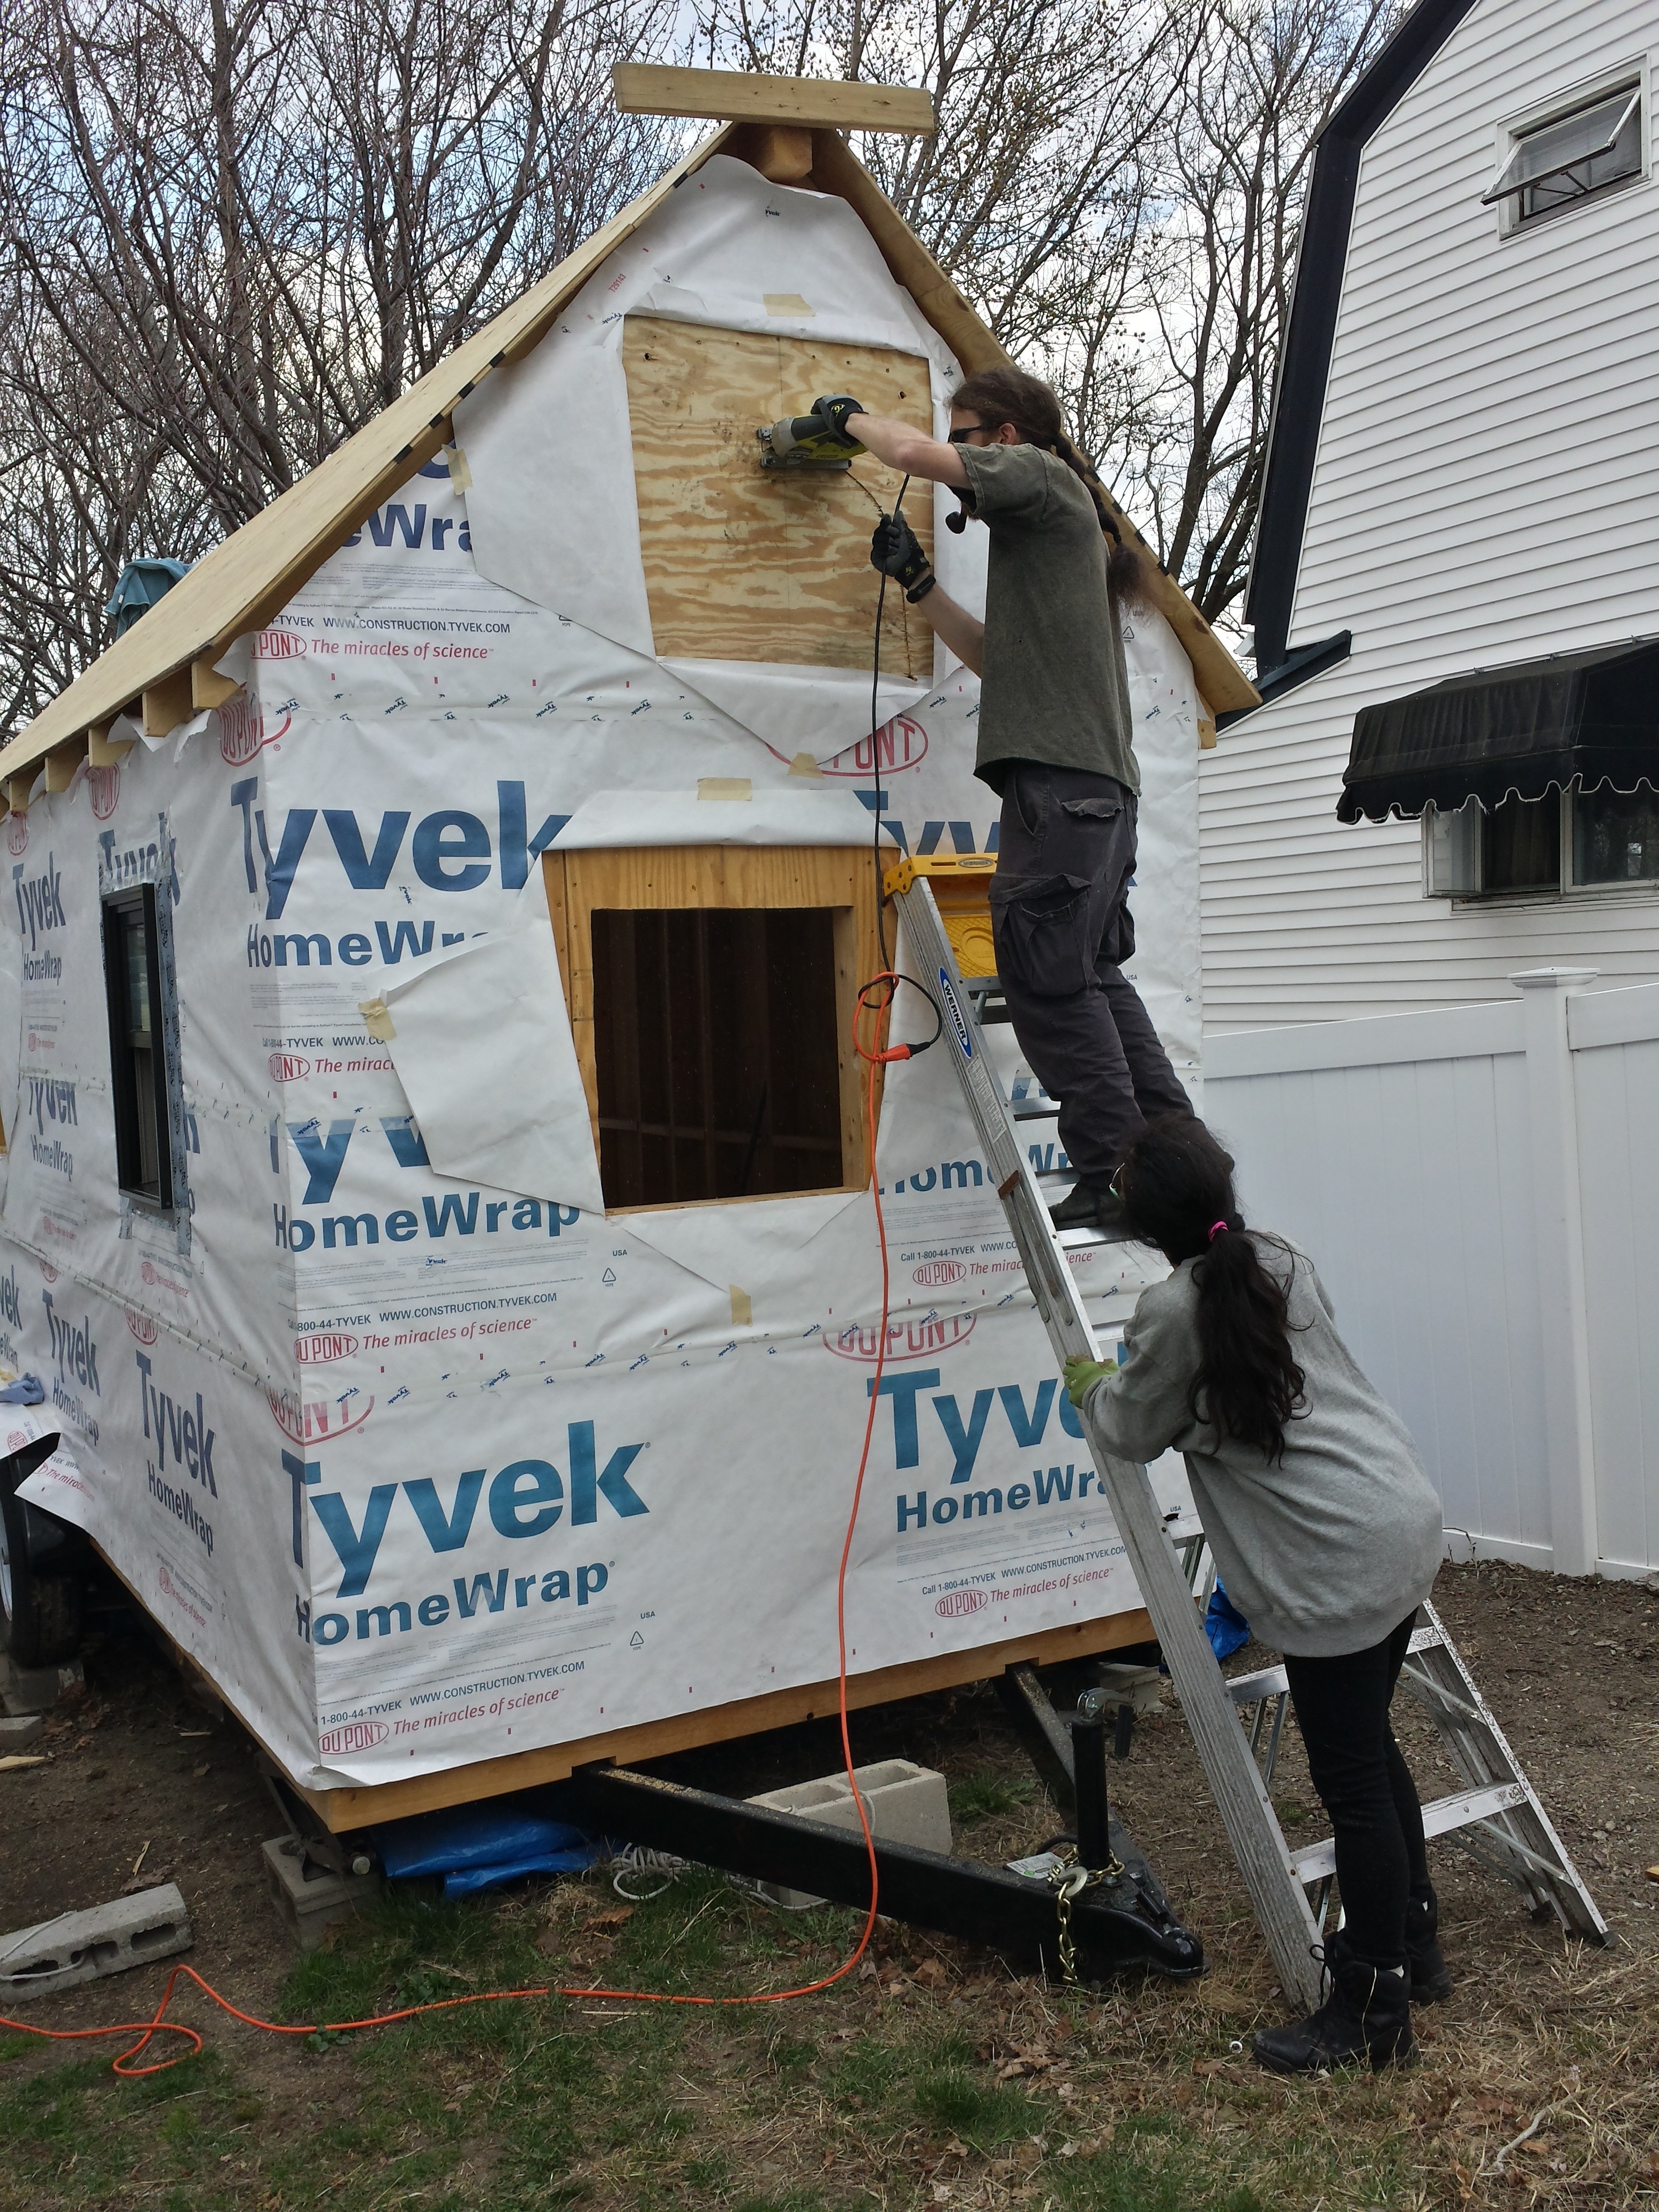
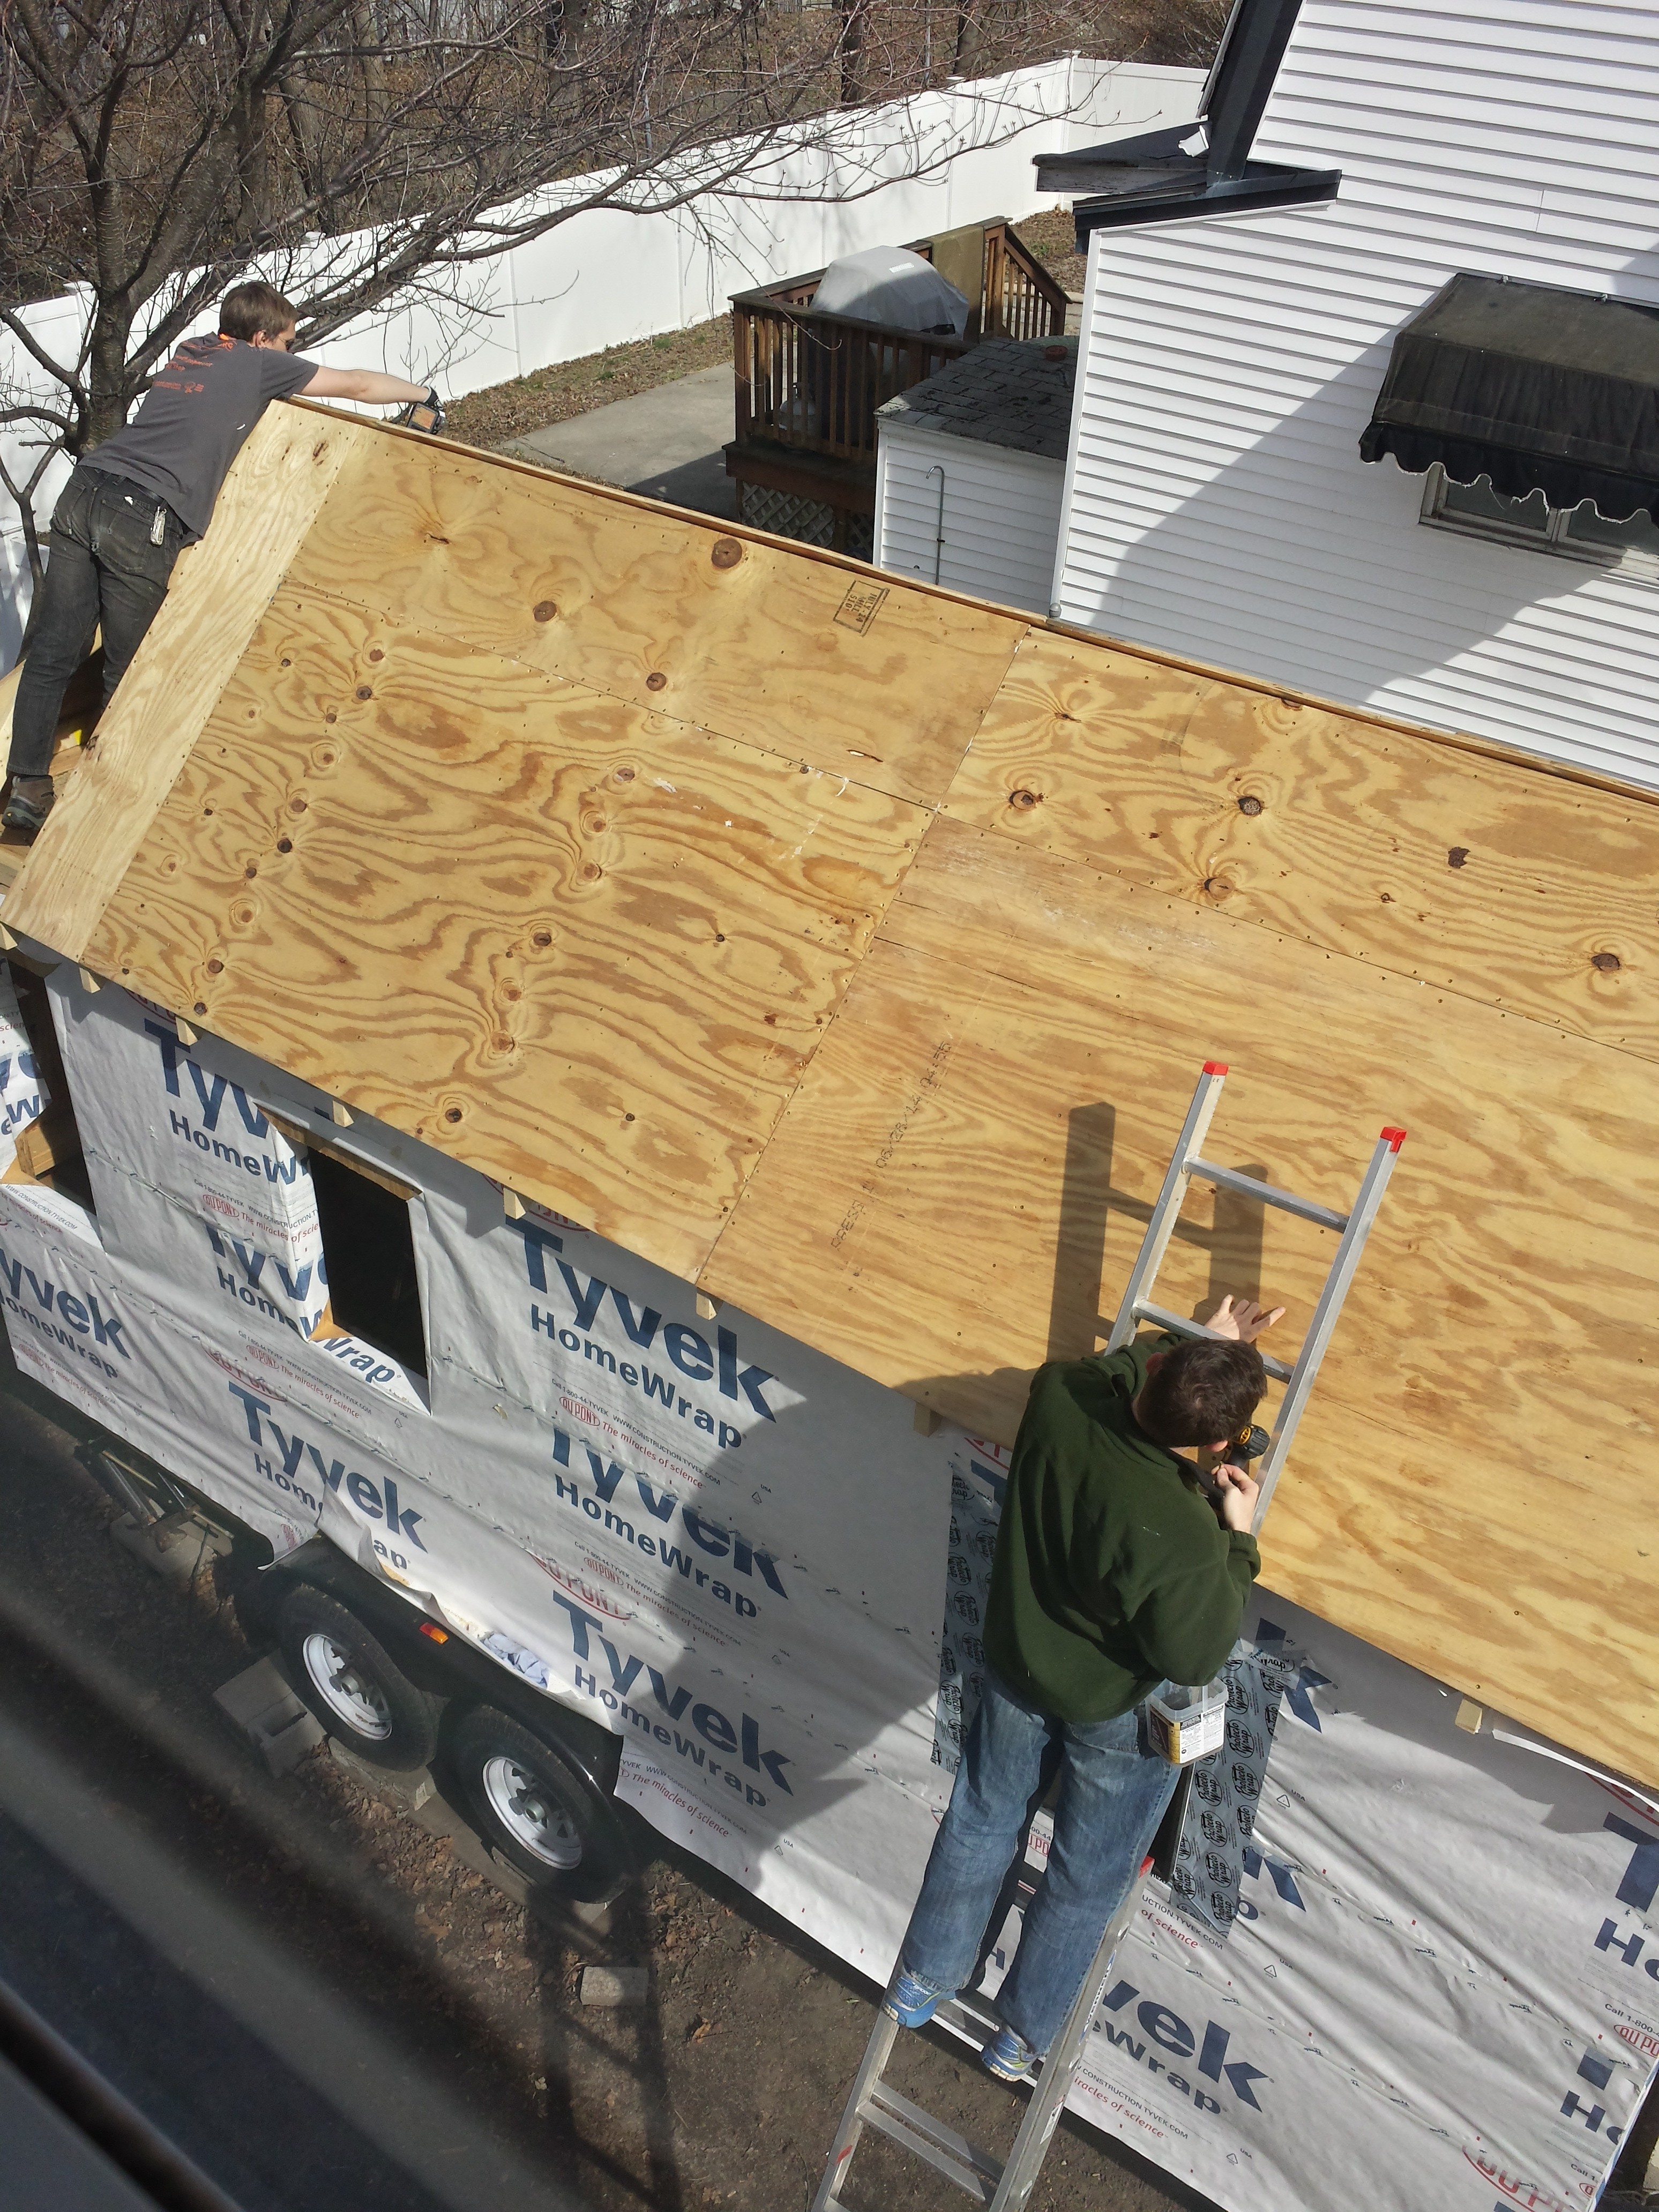
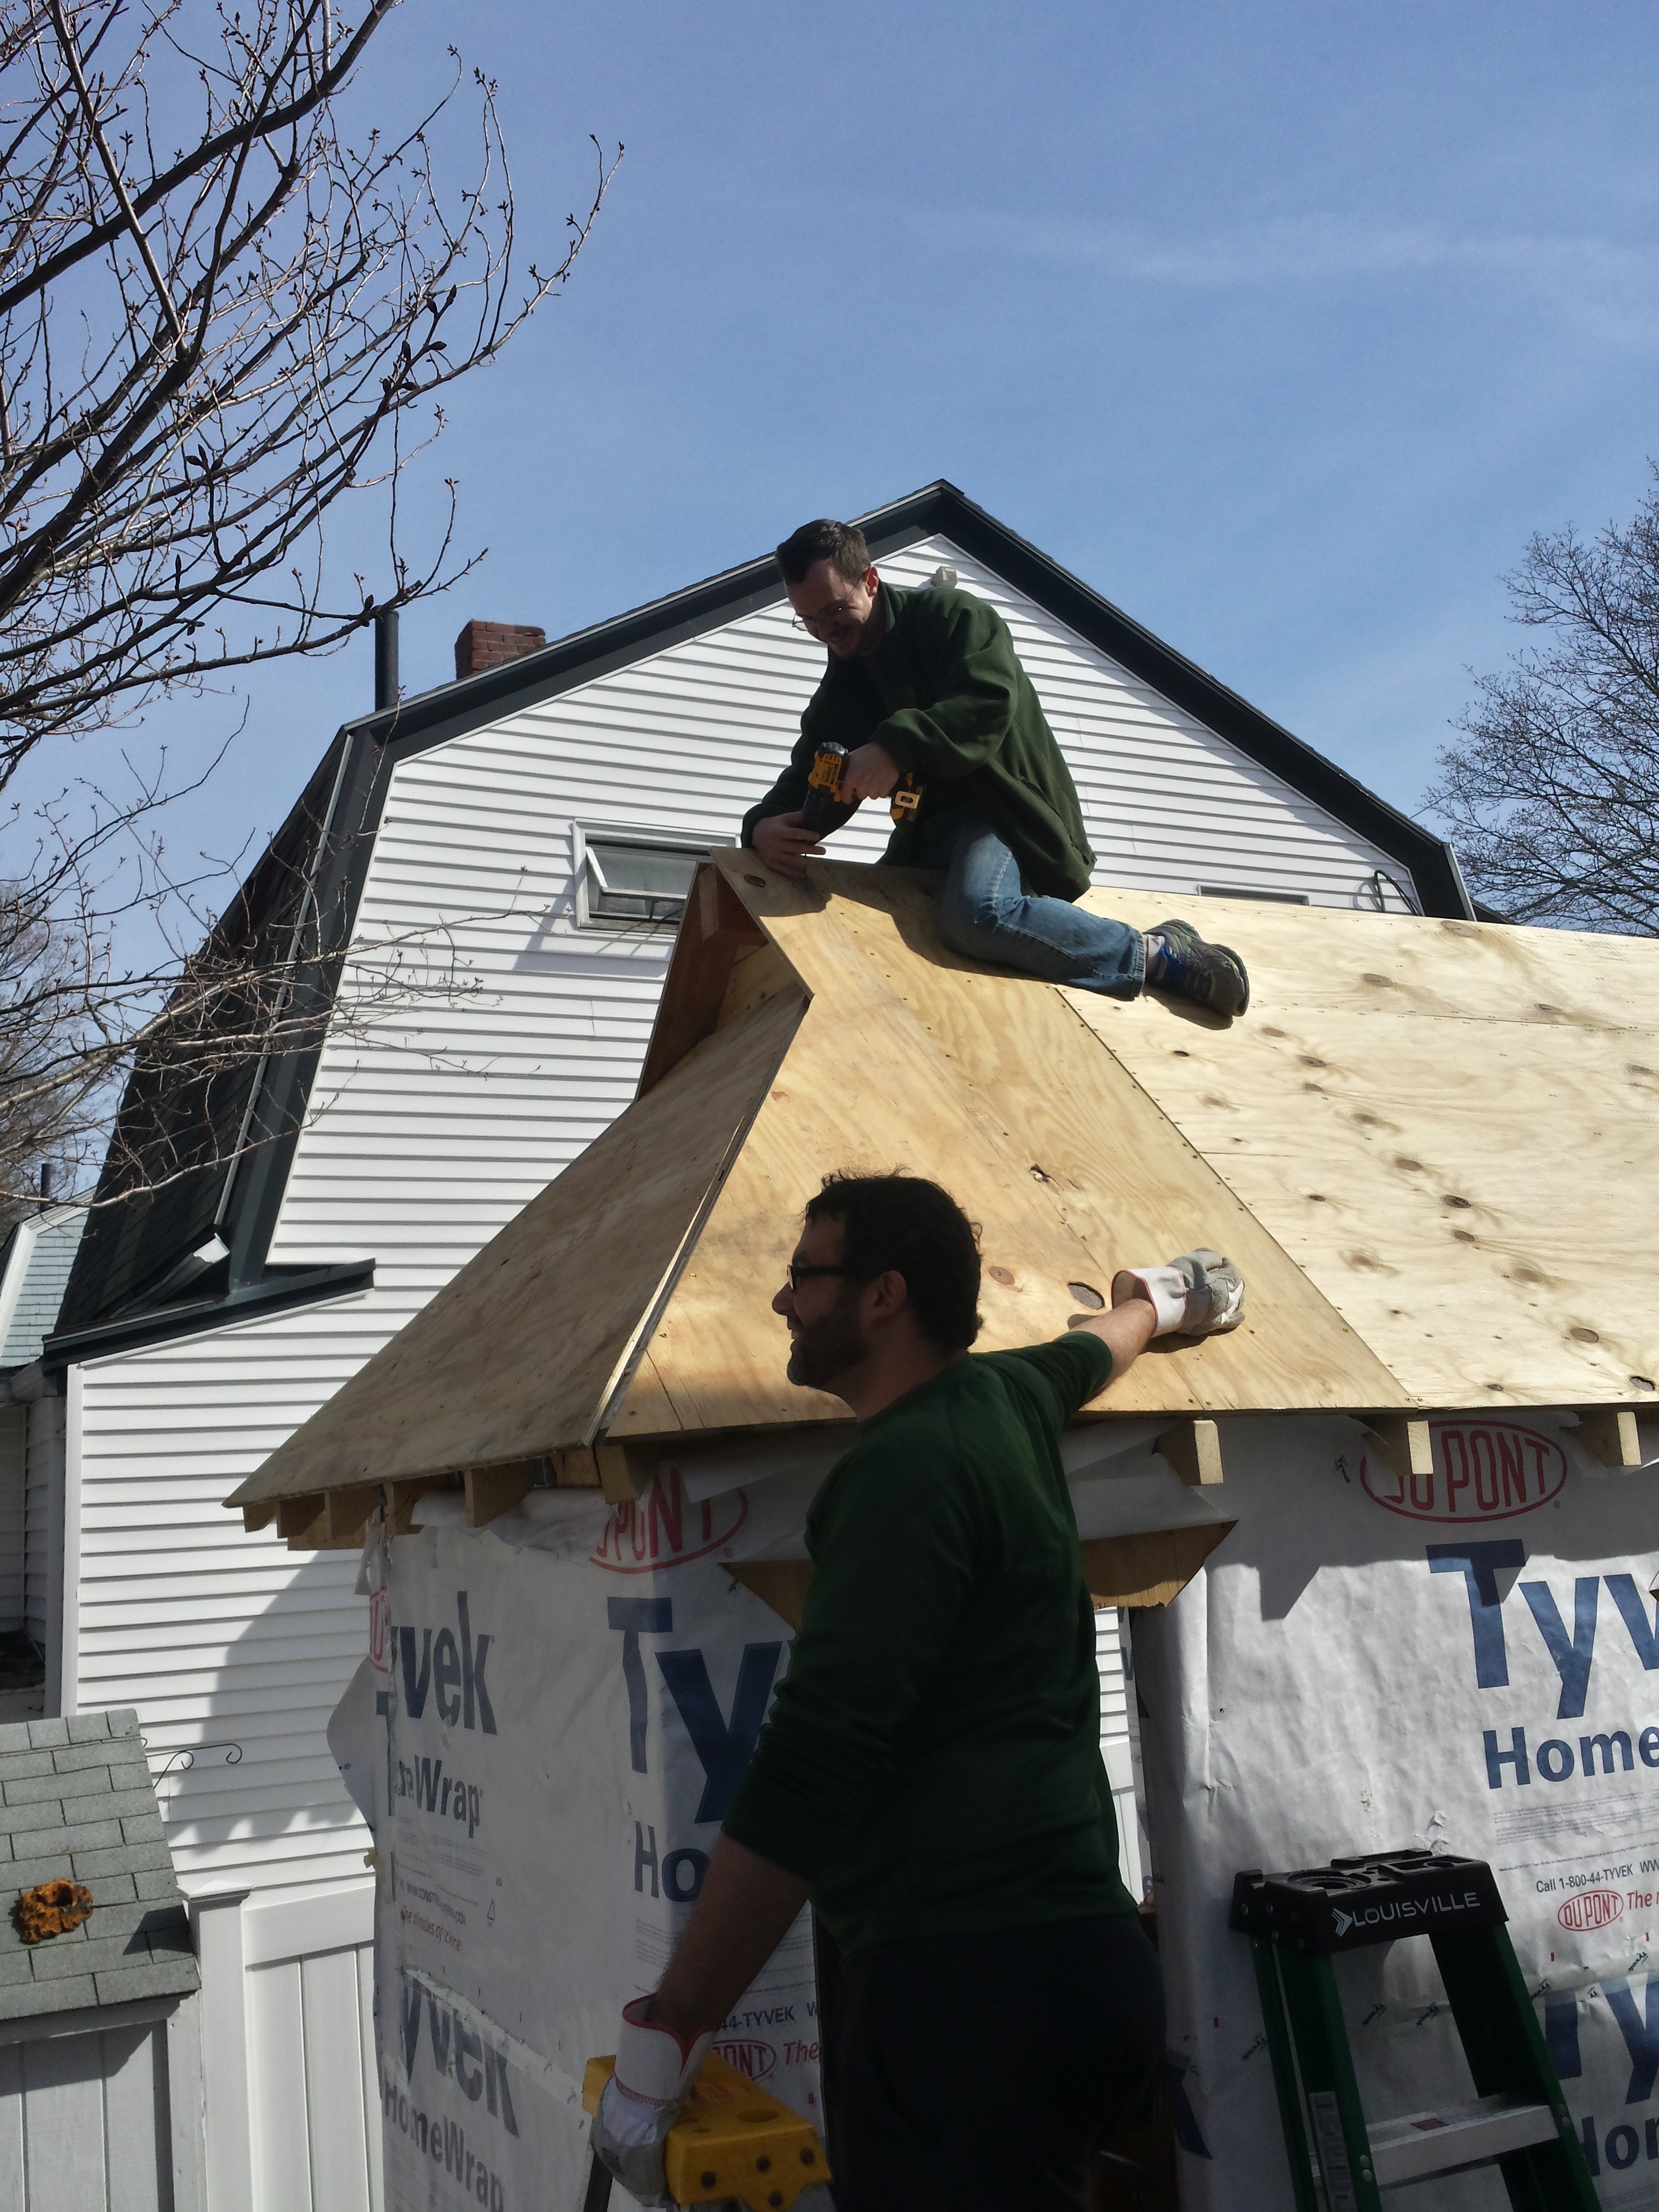
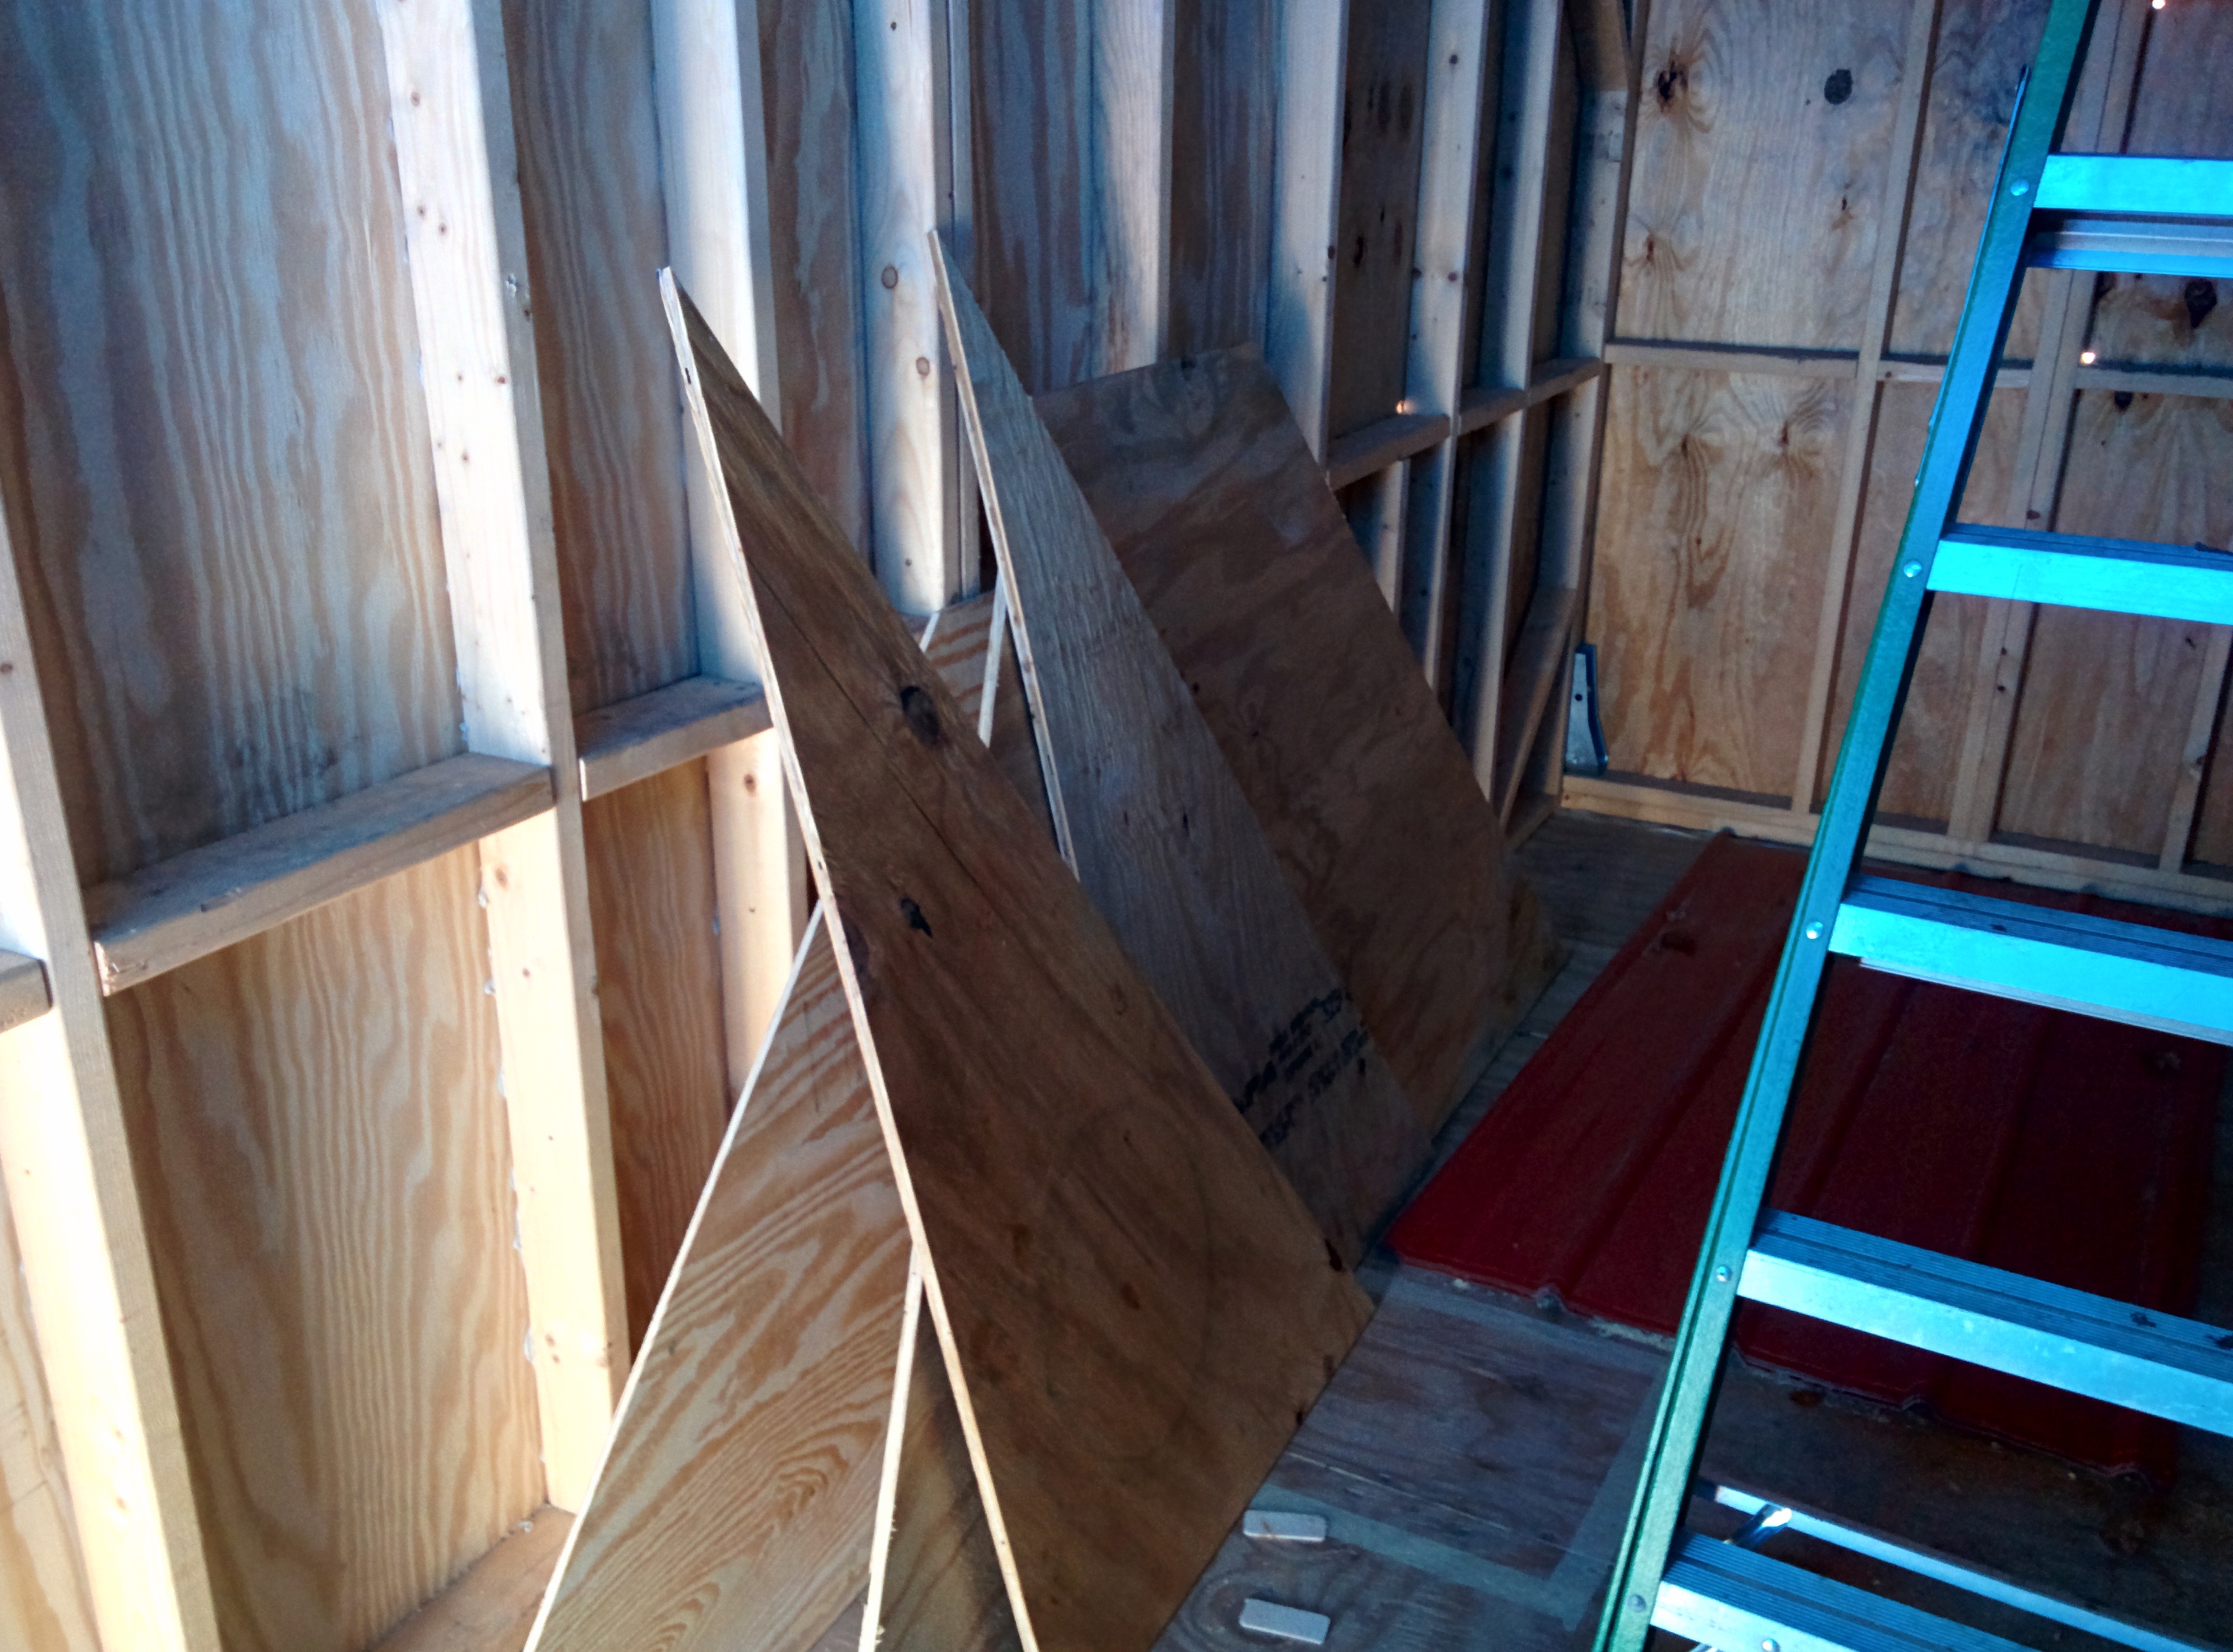
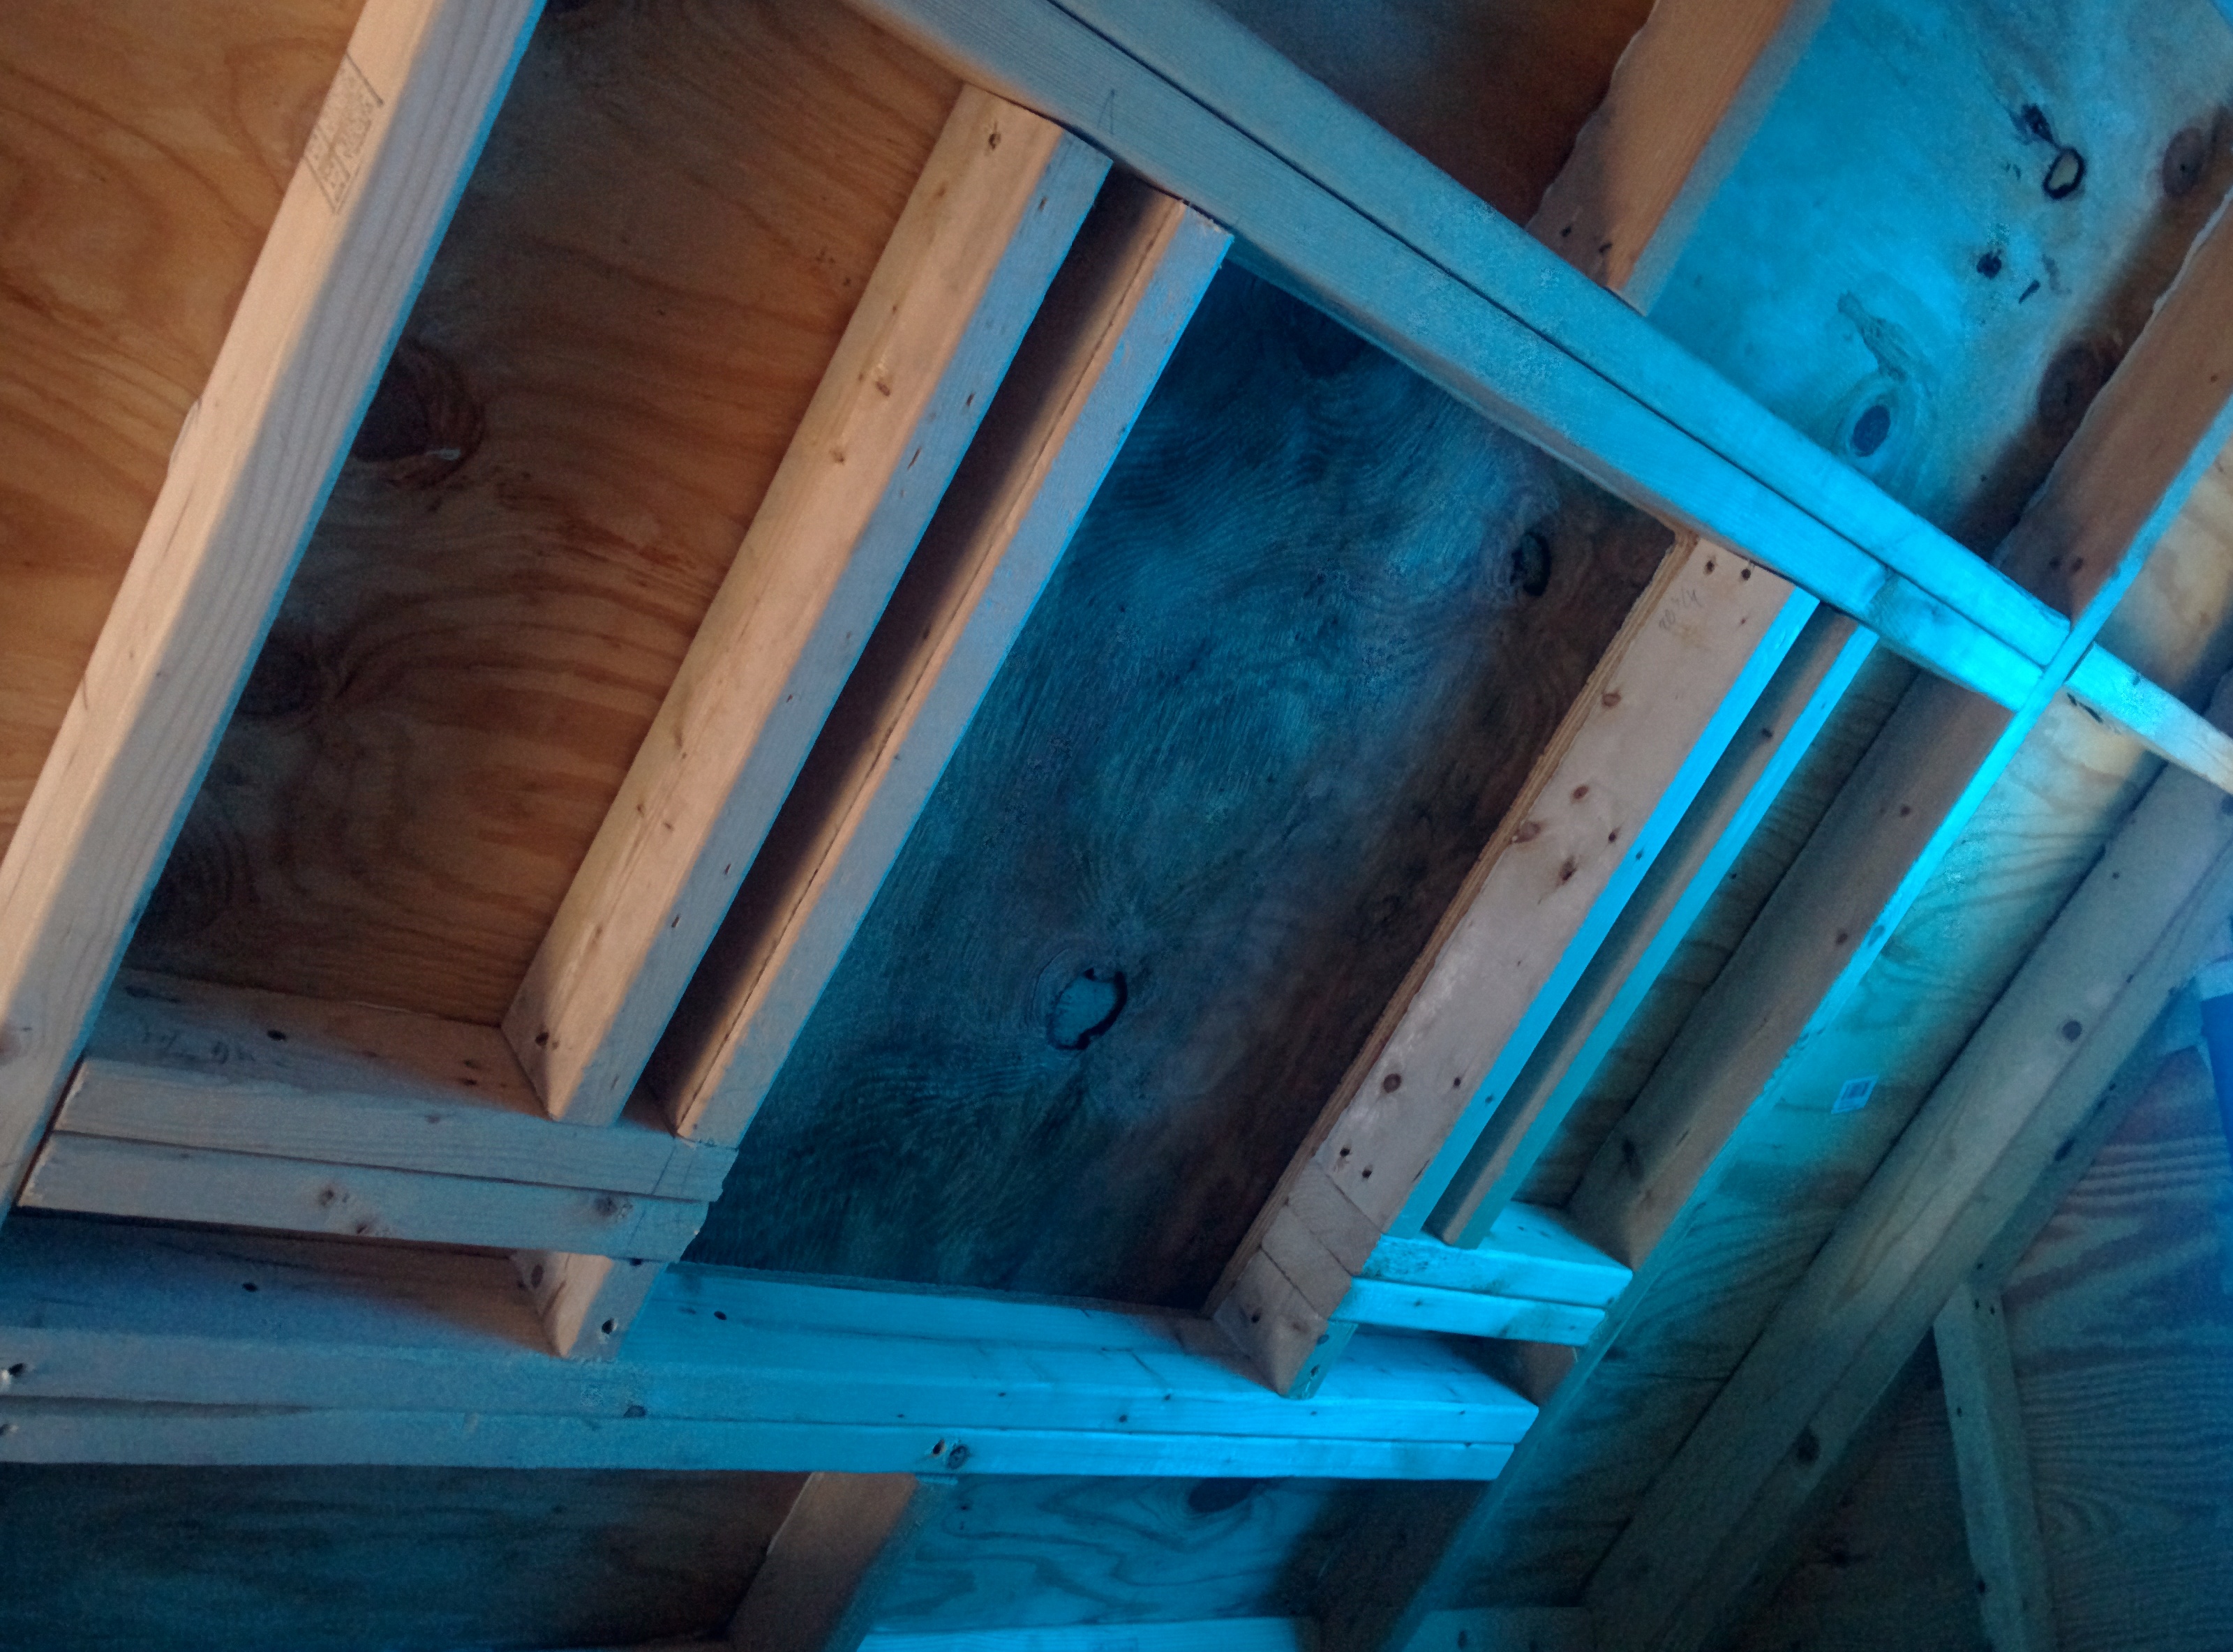
This is what can happen when you (I) misread architectural plans. Here is the finished framing for the loft skylight, after I fixed my problem:

Finished skylight framing

Can you figure out what went wrong?

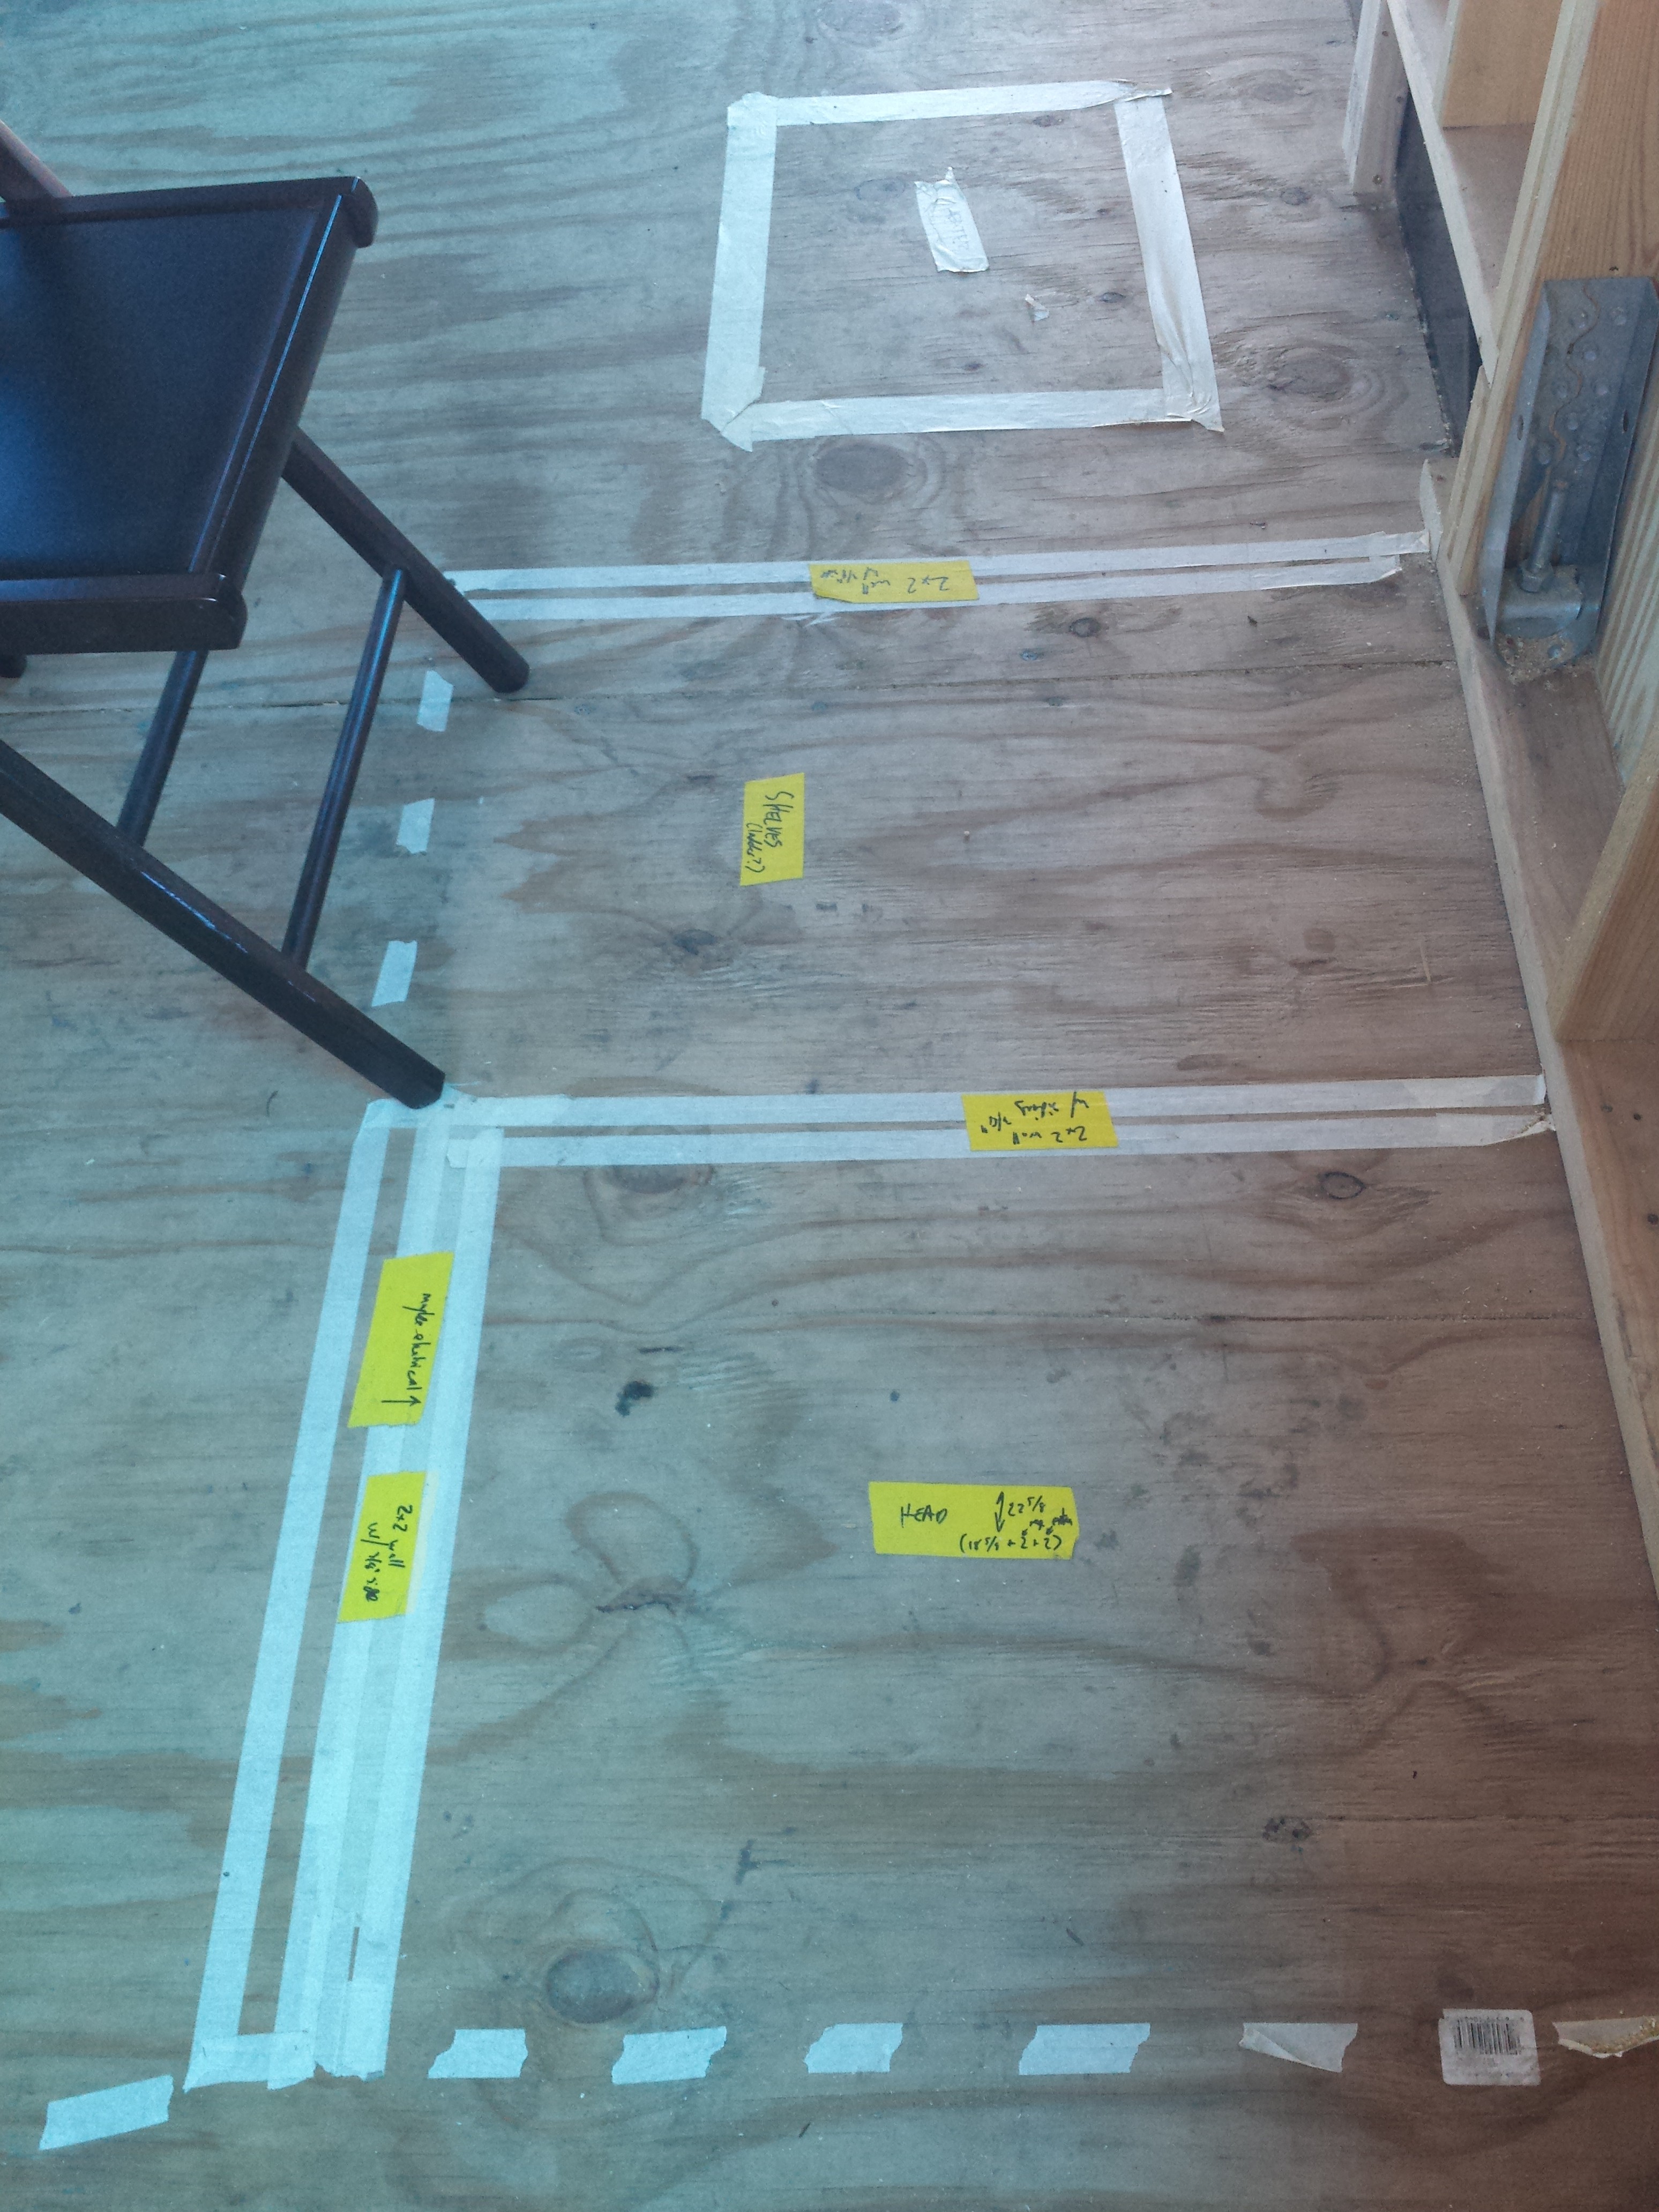
Here are the plans. Which dimension is 21″, the green, or the red? ((Apologies to colorblind folks — green runs horizontally and red runs vertically)) ((Apologies to folks who can’t tell horizontal from vertical and are colorblind — you’re SOL))

skylight_plans

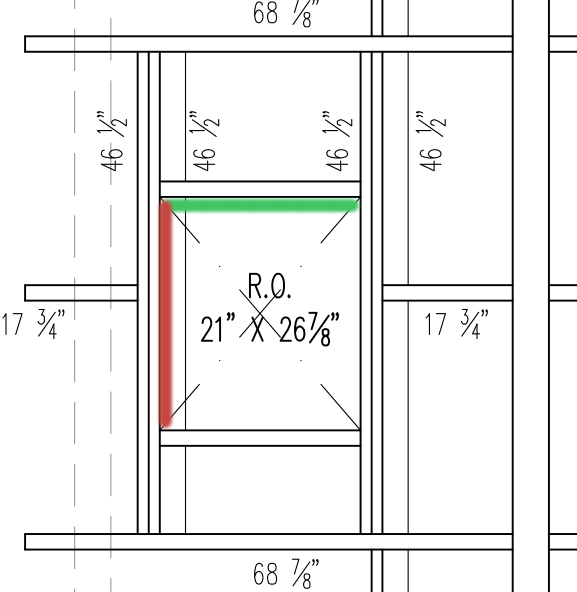
Green, you say? That’s what I thought until I went to buy the skylight, and they didn’t sell one that would open along the red dimension. Confused, I looked at the plans and took the full rafter length, 68.125″, and subtracted the length of the cripple studs (17.75″ and 17.75″) as well as the width of 2 double studs, 6 inches:

68.125 – 17.75 – 17.75 – 6 = 26.625,

And that’s suspiciously close to 26.875, which what I had thought was the red dimension.

What happened? The plans are a top-down view of the roof, so the horizontal dimension of the plans is a projection of the 45 degree pitched roof. This projection compresses the true length of all lines in the green direction, so the green dimension of the window is longer than it looks.

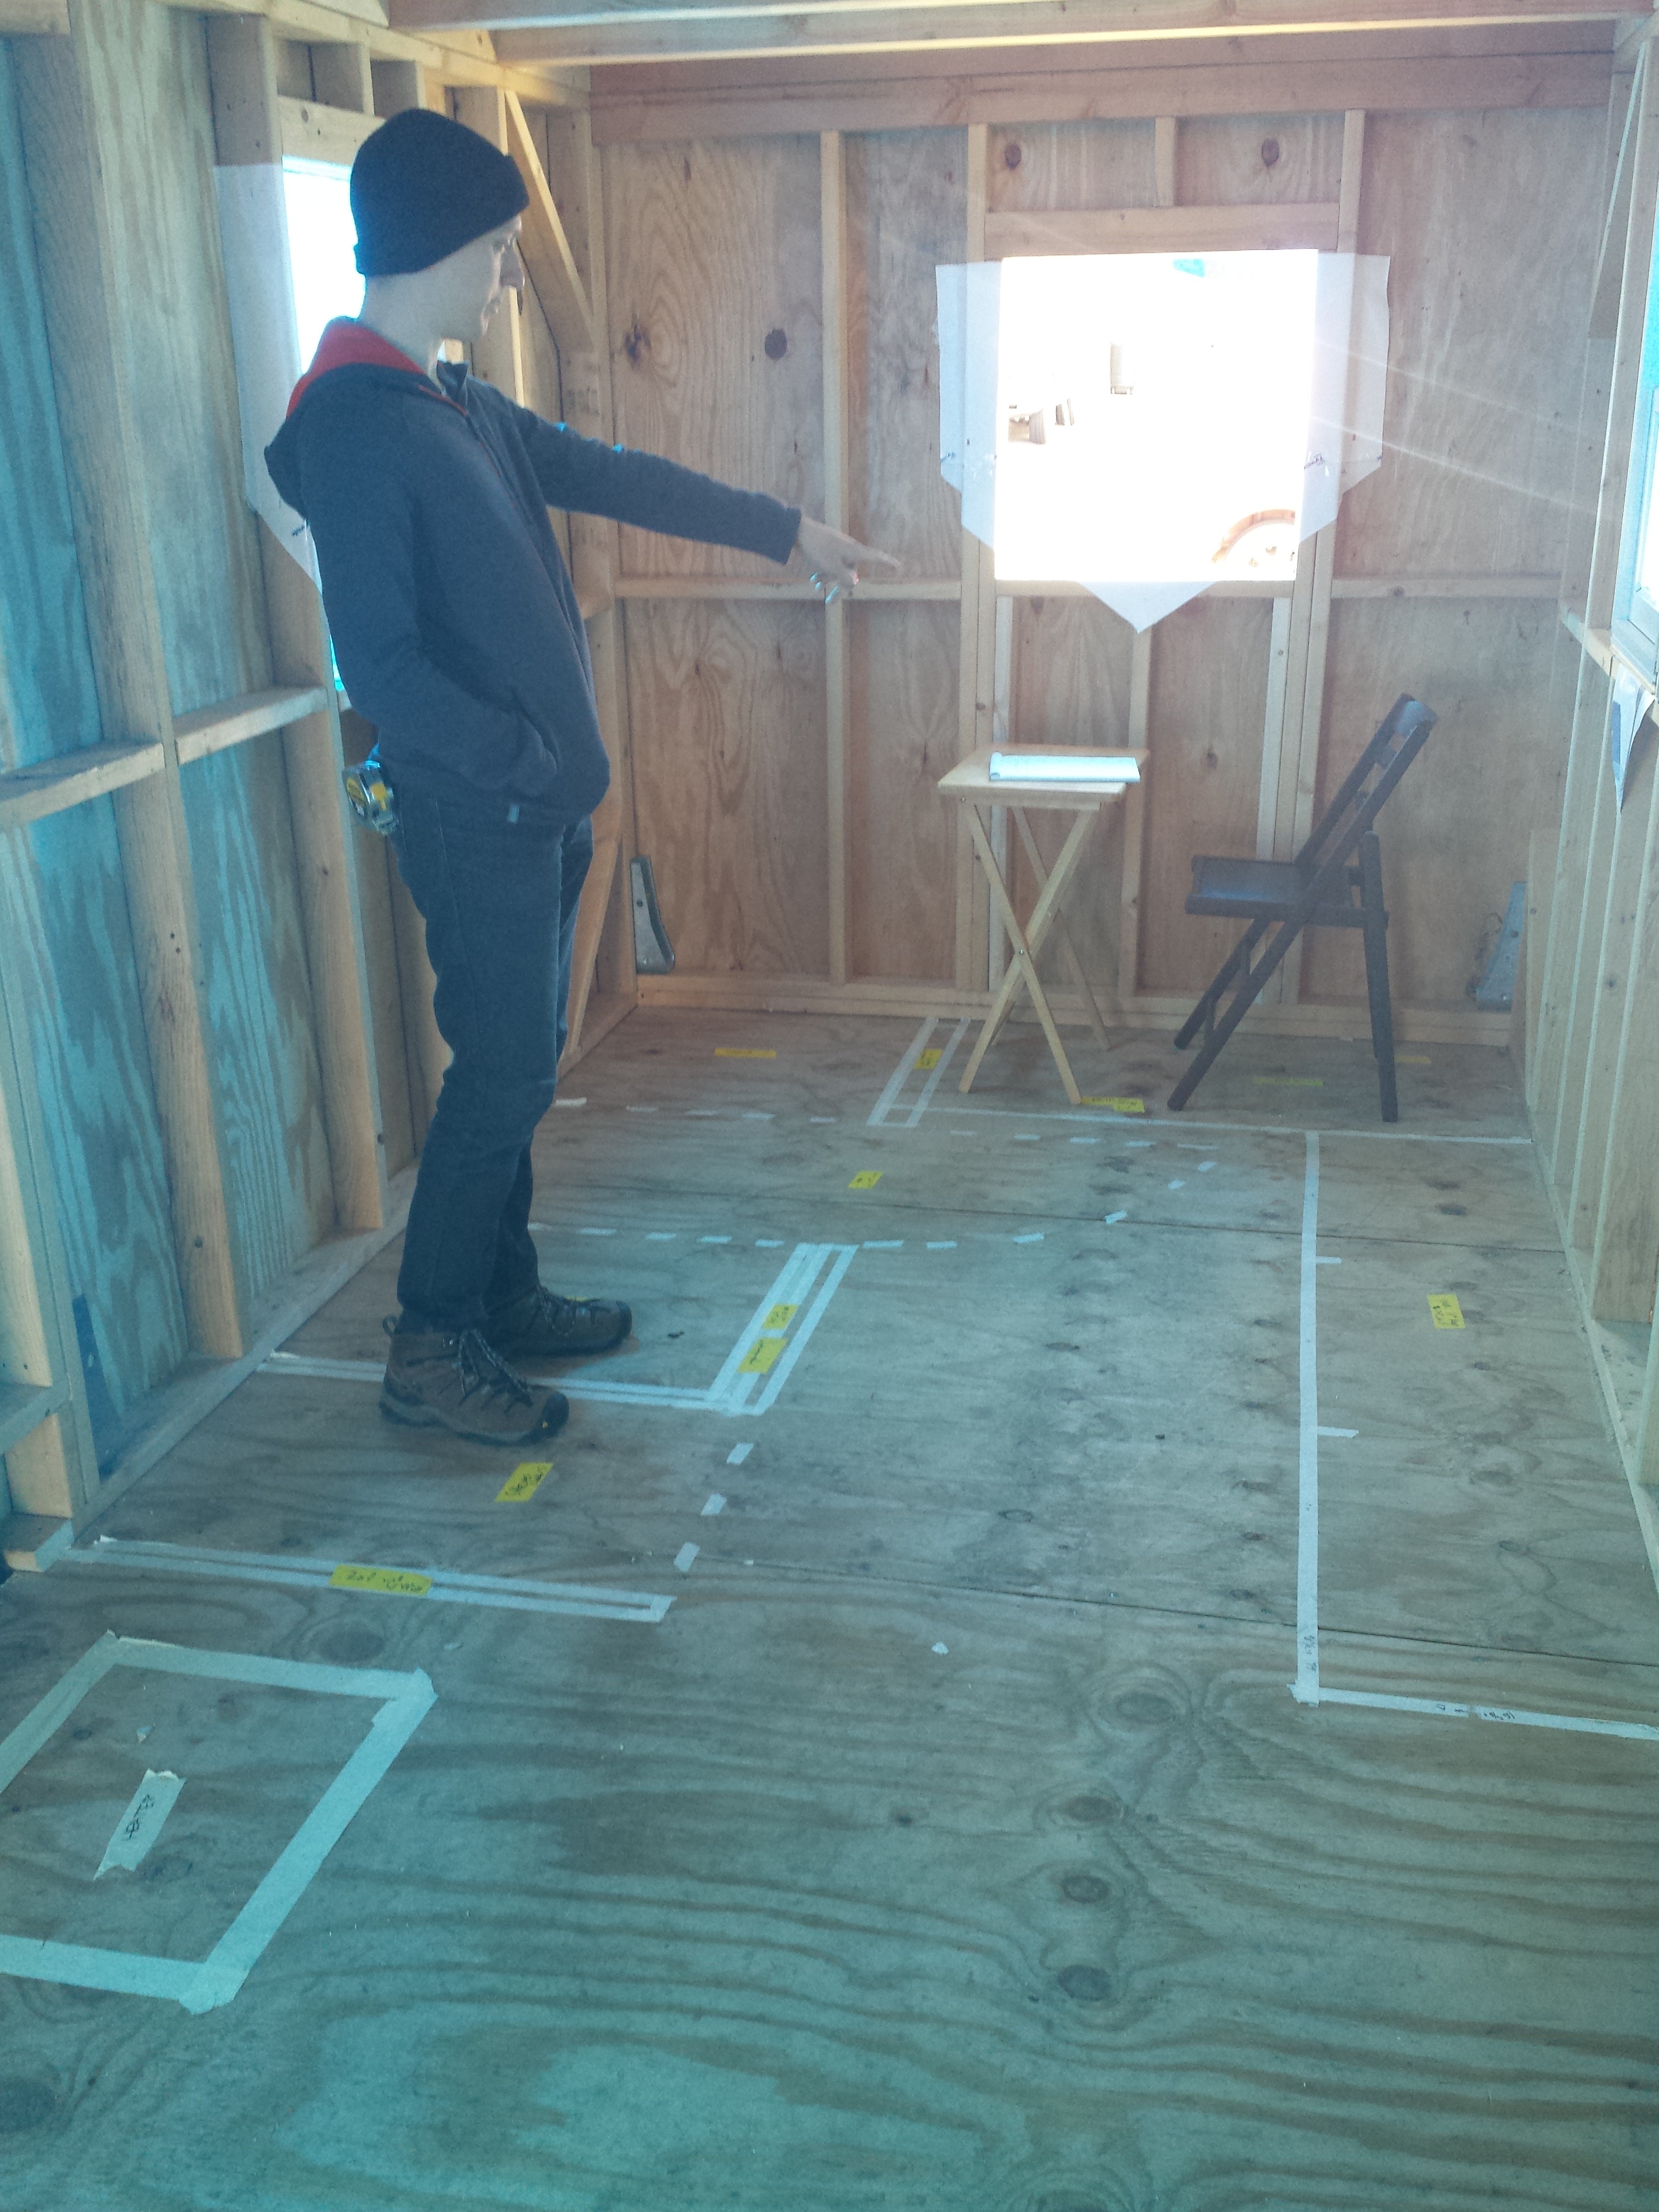
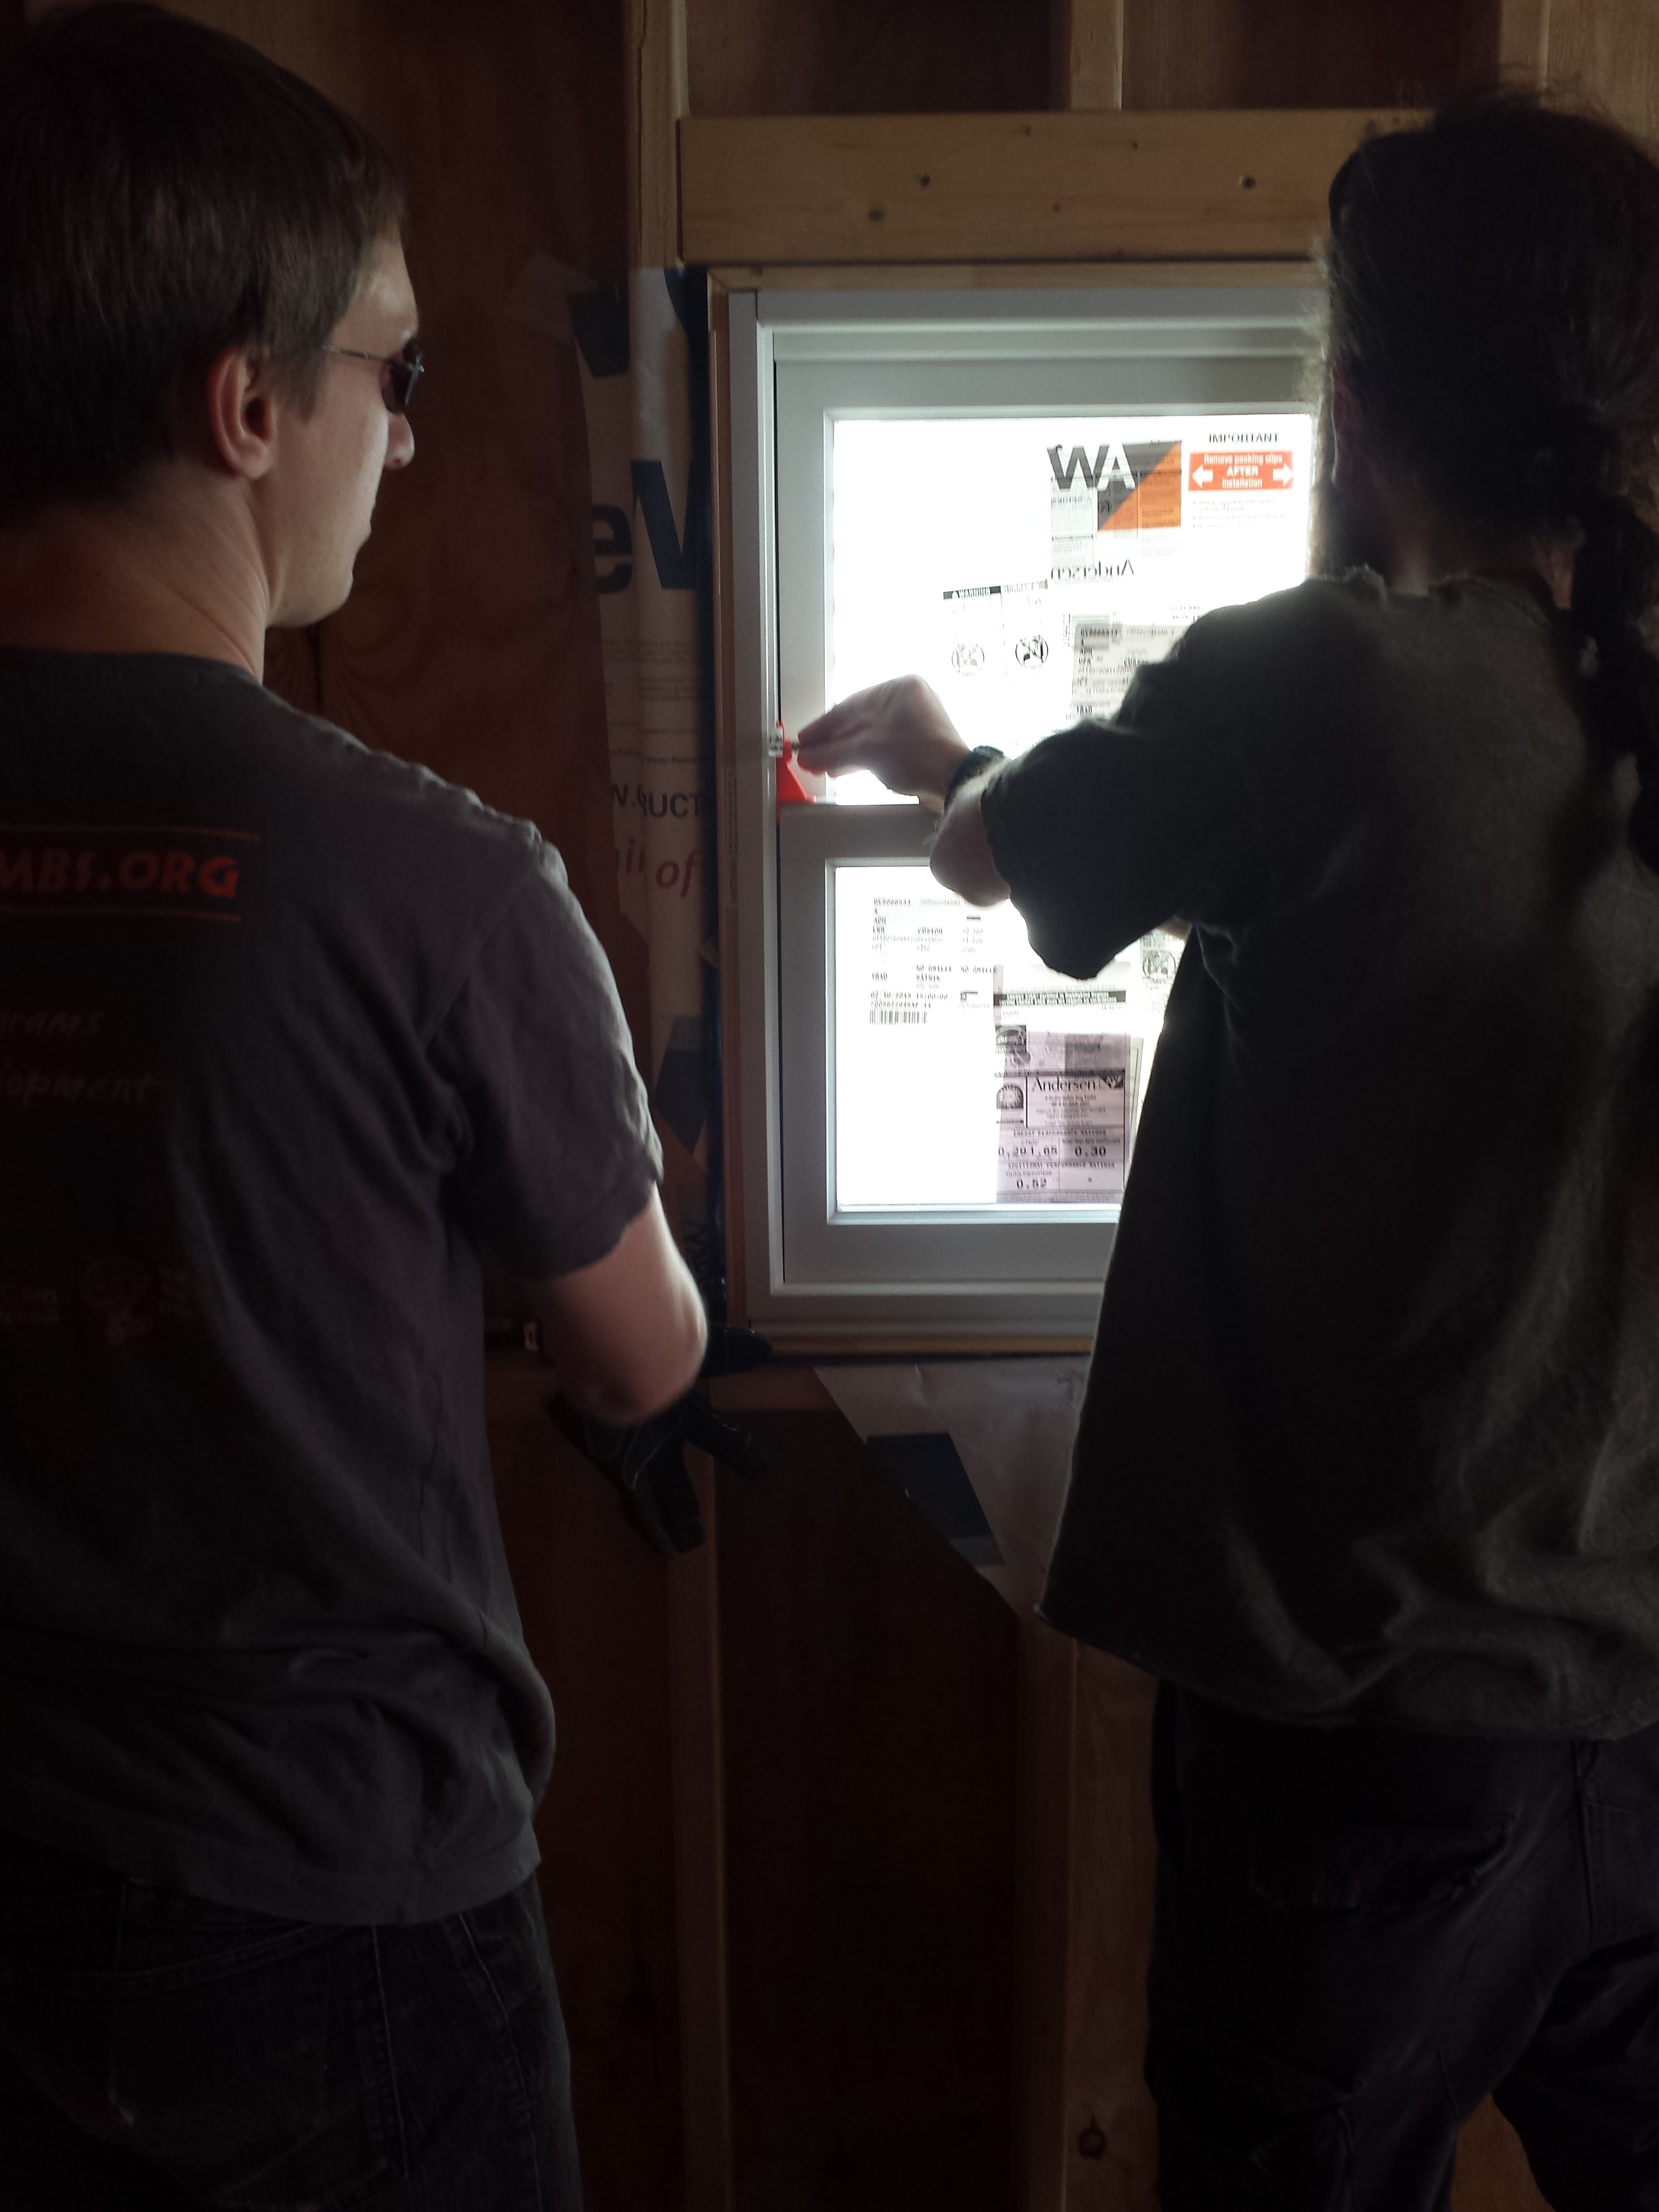
If I’d left the framing as it was, the skylight would have been oriented incorrectly and probably would have leaked. So I spent a good long while staring at the framing and figuring out how to reframe the opening for the correct orientation.

The plans aren’t technically wrong, but the author could have rotated the text for the skylight dimensions to make it clear. Ultimately no harm was done and I fixed the problem before I’d cut a bad hole in my roof.

Mapping it out

Masking tape and a ruler are our tools for sketching out how the interior of the tiny house will be laid out.  This is important for figuring out practical things like: how deep can the counters be?  Can we have a door that swings open in a certain direction and does not hit things?  Can we avoid putting in a bathroom door that would be hinged on the left and make it impossible to get into the bathroom?  We are also thinking about intangibles like how the space will feel, and what the “living room” part of it will actually be used for.  Right now we are thinking tray tables will be essential.  They are so versatile and easy to fold away when not being used.  As long as we remember to leave about a half foot of space somewhere to stash them!  (Little things like this will add up.)


The areas are detailed with solid and dotted lines.
Owen points to where cabinets above the level of the kitchen counter could be.  But do we need them?  It may make the kitchen feel too cramped, so we are leaning towards a row of hooks for pots and pans instead.
Owen points to where cabinets above the level of the kitchen counter could be. But do we need them? It may make the kitchen feel too cramped, so we are leaning towards a row of hooks for pots and pans instead.

Busy weekend

We made major progress on the tiny house this weekend thanks to our many handy friends (and the almost perfect cooperation of the weather).  We hung the first window.  Special thanks to James Fraumeni, who brought exactly the knowledge and experience we needed for hanging windows and the spirit of sharing his time and energy to show us how it’s done.  We were able to prep most of the other windows (holes cut, house wrap taped back).  We finally sheathed the hip roof, the hardest part of the roof to measure, and because it was the final part, the hardest part to drill into place.  Our friends drilled down the entire roof sheathing, which required hundreds of screws to be drilled into place, some in tricky-to-reach places.  The tarp came off and went back on again.

2015-04-18 15.56.30 2015-04-18 16.25.49 2015-04-18 16.16.48
2015-04-18 16.15.17 2015-04-18 13.14.55 2015-04-18 14.07.51
2015-04-18 13.55.35 2015-04-18 14.01.38 2015-04-19 13.37.30
2015-04-19 14.37.28 2015-04-19 14.07.53 2015-04-19 15.33.08
2015-04-19 15.49.12 2015-04-19 16.27.23 2015-04-18 12.46.42

Work resumes!

With the snow melted and the thermometer finally above freezing, Char and I have resumed working on the Tiny House.  The first order of business was to start clearing away scrap wood left over from last year, and generally clean up the work site.  Char graciously did most of this work, carrying ruined scraps from the heap in the back yard around to the Junkster we bought.

A mostly-full Junkster bag

The junkster isn’t especially cost-effective. 3300 pounds may sound like a lot, but at ~160$ including pickup, it’s a pricy way to get rid of waste. Next time we will probably get a regular dumpster instead. Dumpsters charge by the pound instead of a flat fee, and they hold a lot more stuff.

After we got things moved out of the way, I got to work on framing the loft window and cutting the last funny-shaped pieces of sheathing. It was good to pick up the tools again and find that I hadn’t forgotten how to use them.

The loft window is framed and ready for sheathing.
Various triangles and trapazoids

The last pieces of sheathing are for the hip roof. The whole hip roof is a little warped and uneven due to my inexperience with double-angled cuts, so there will be some annoying gaps when we go to attach the sheathing. I’m hoping we can just fill in the gaps with some shims to get everything to connect.