Task Flexibility

This past weekend Char and I had been planning to start installing the siding on the house, but it was forecast to rain for three days straight.  We had already put in requests to take a vacation day on Friday, so we had to find other work we could do on the house.  Thankfully I’m learning to plan ahead, so we had some interior building tasks saved up.

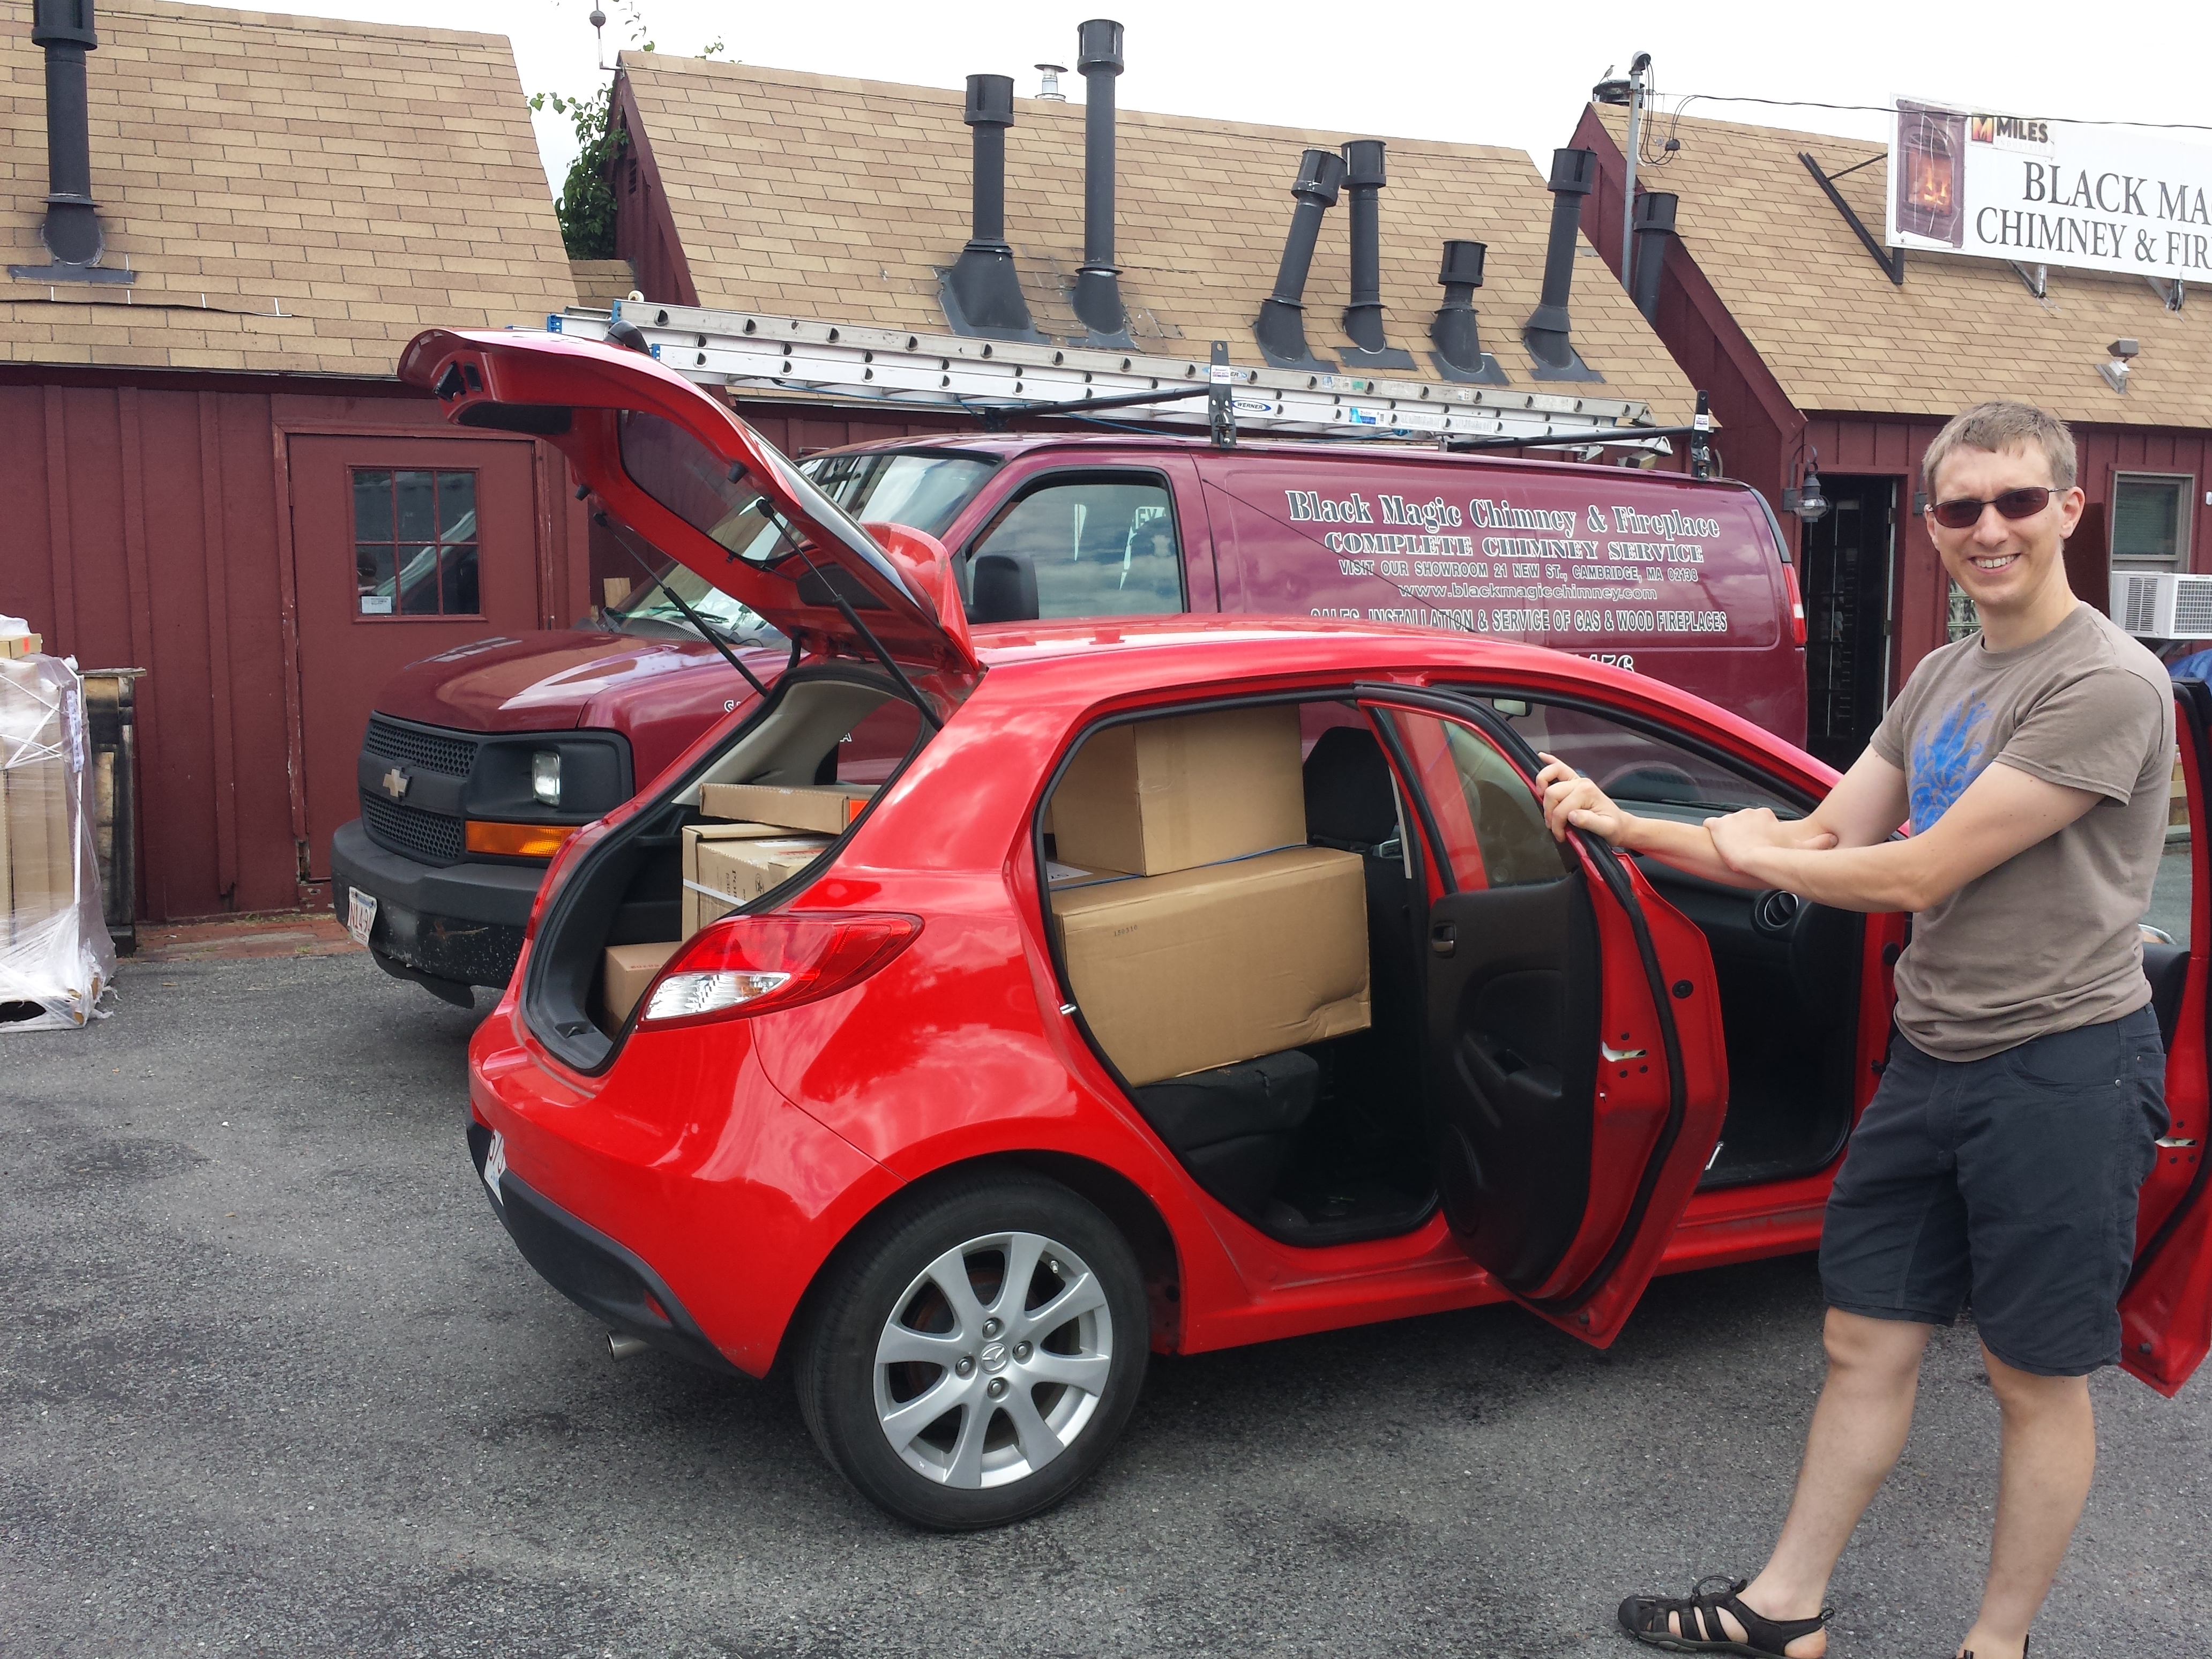
First, we picked up the propane fireplace that will heat the house in the winter.  It’s large, but one thing we heard early on is that the mini boat heaters just don’t cut it in New England weather.  This fireplace can really pump out heat when it’s cold, and the turn way down so we don’t overheat.  The guys at the fireplace company thought there was no way all the boxes would fit in my car, but I showed them!

I am excellent at packing-Tetris

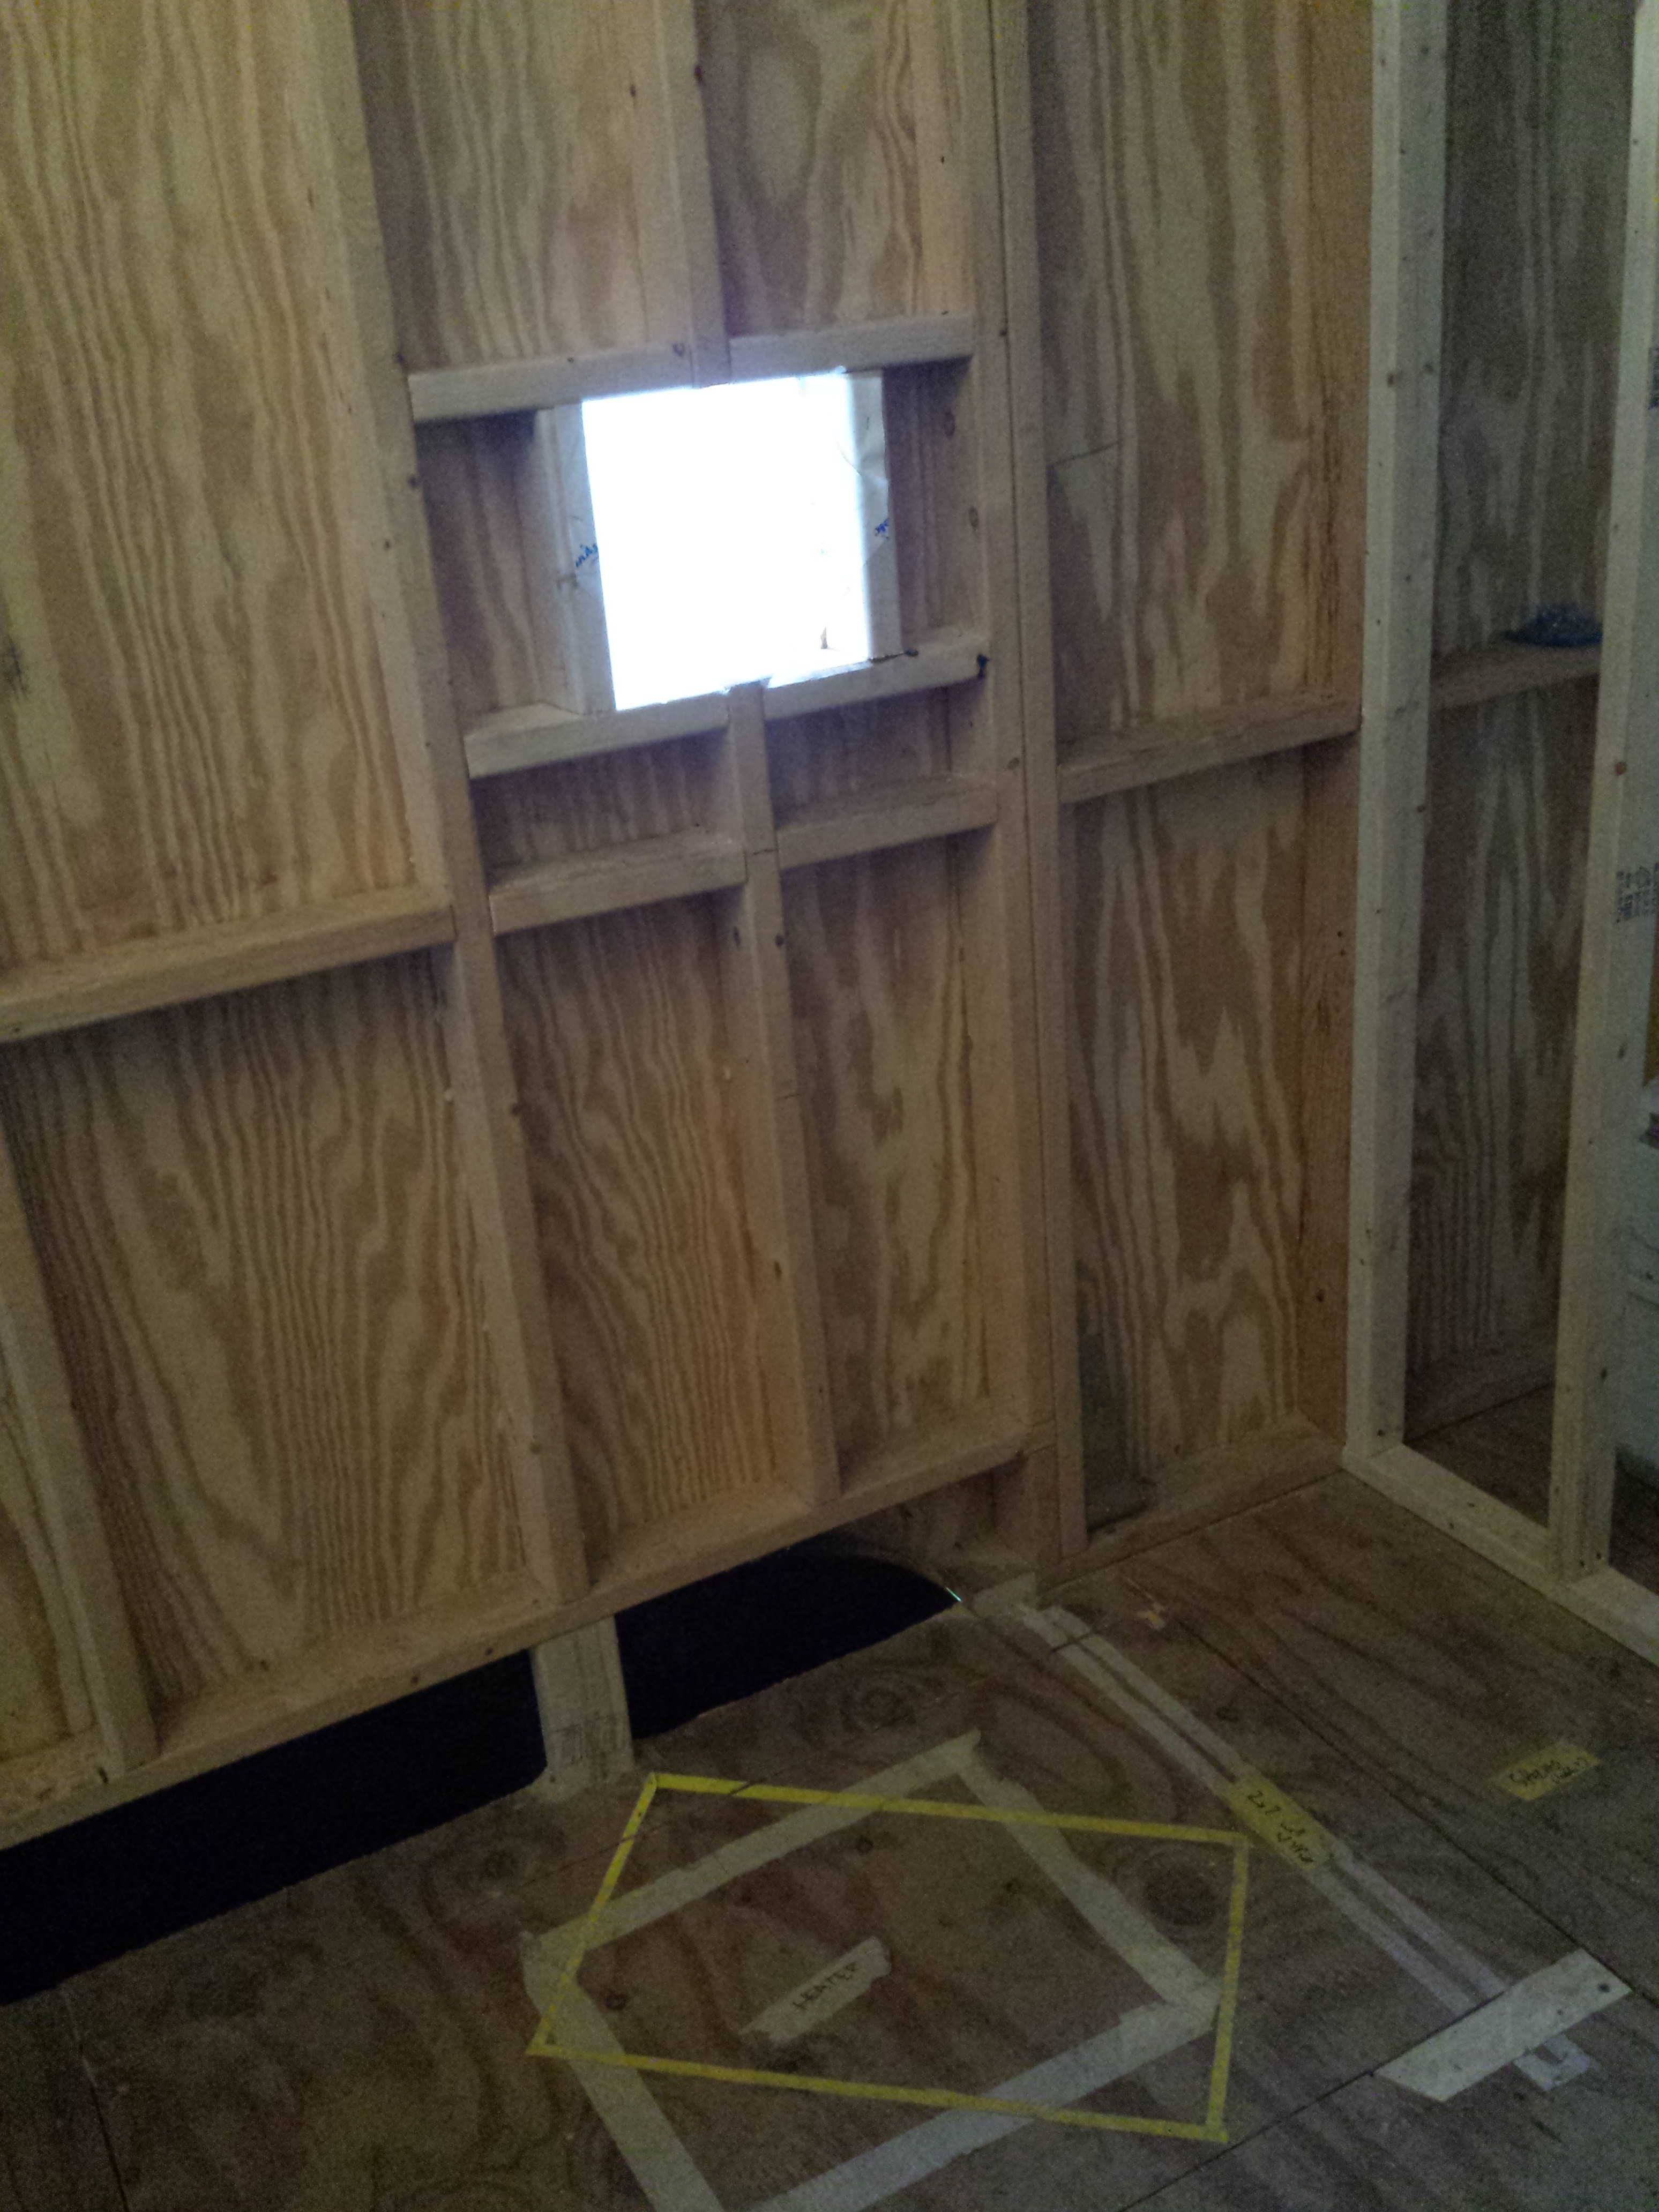
Also to help prepare the house for the fireplace, I cut a hole in the side of the house for the exhaust vent.

The heater goes in the yellow rectangle, and the exhaust goes out the hole.

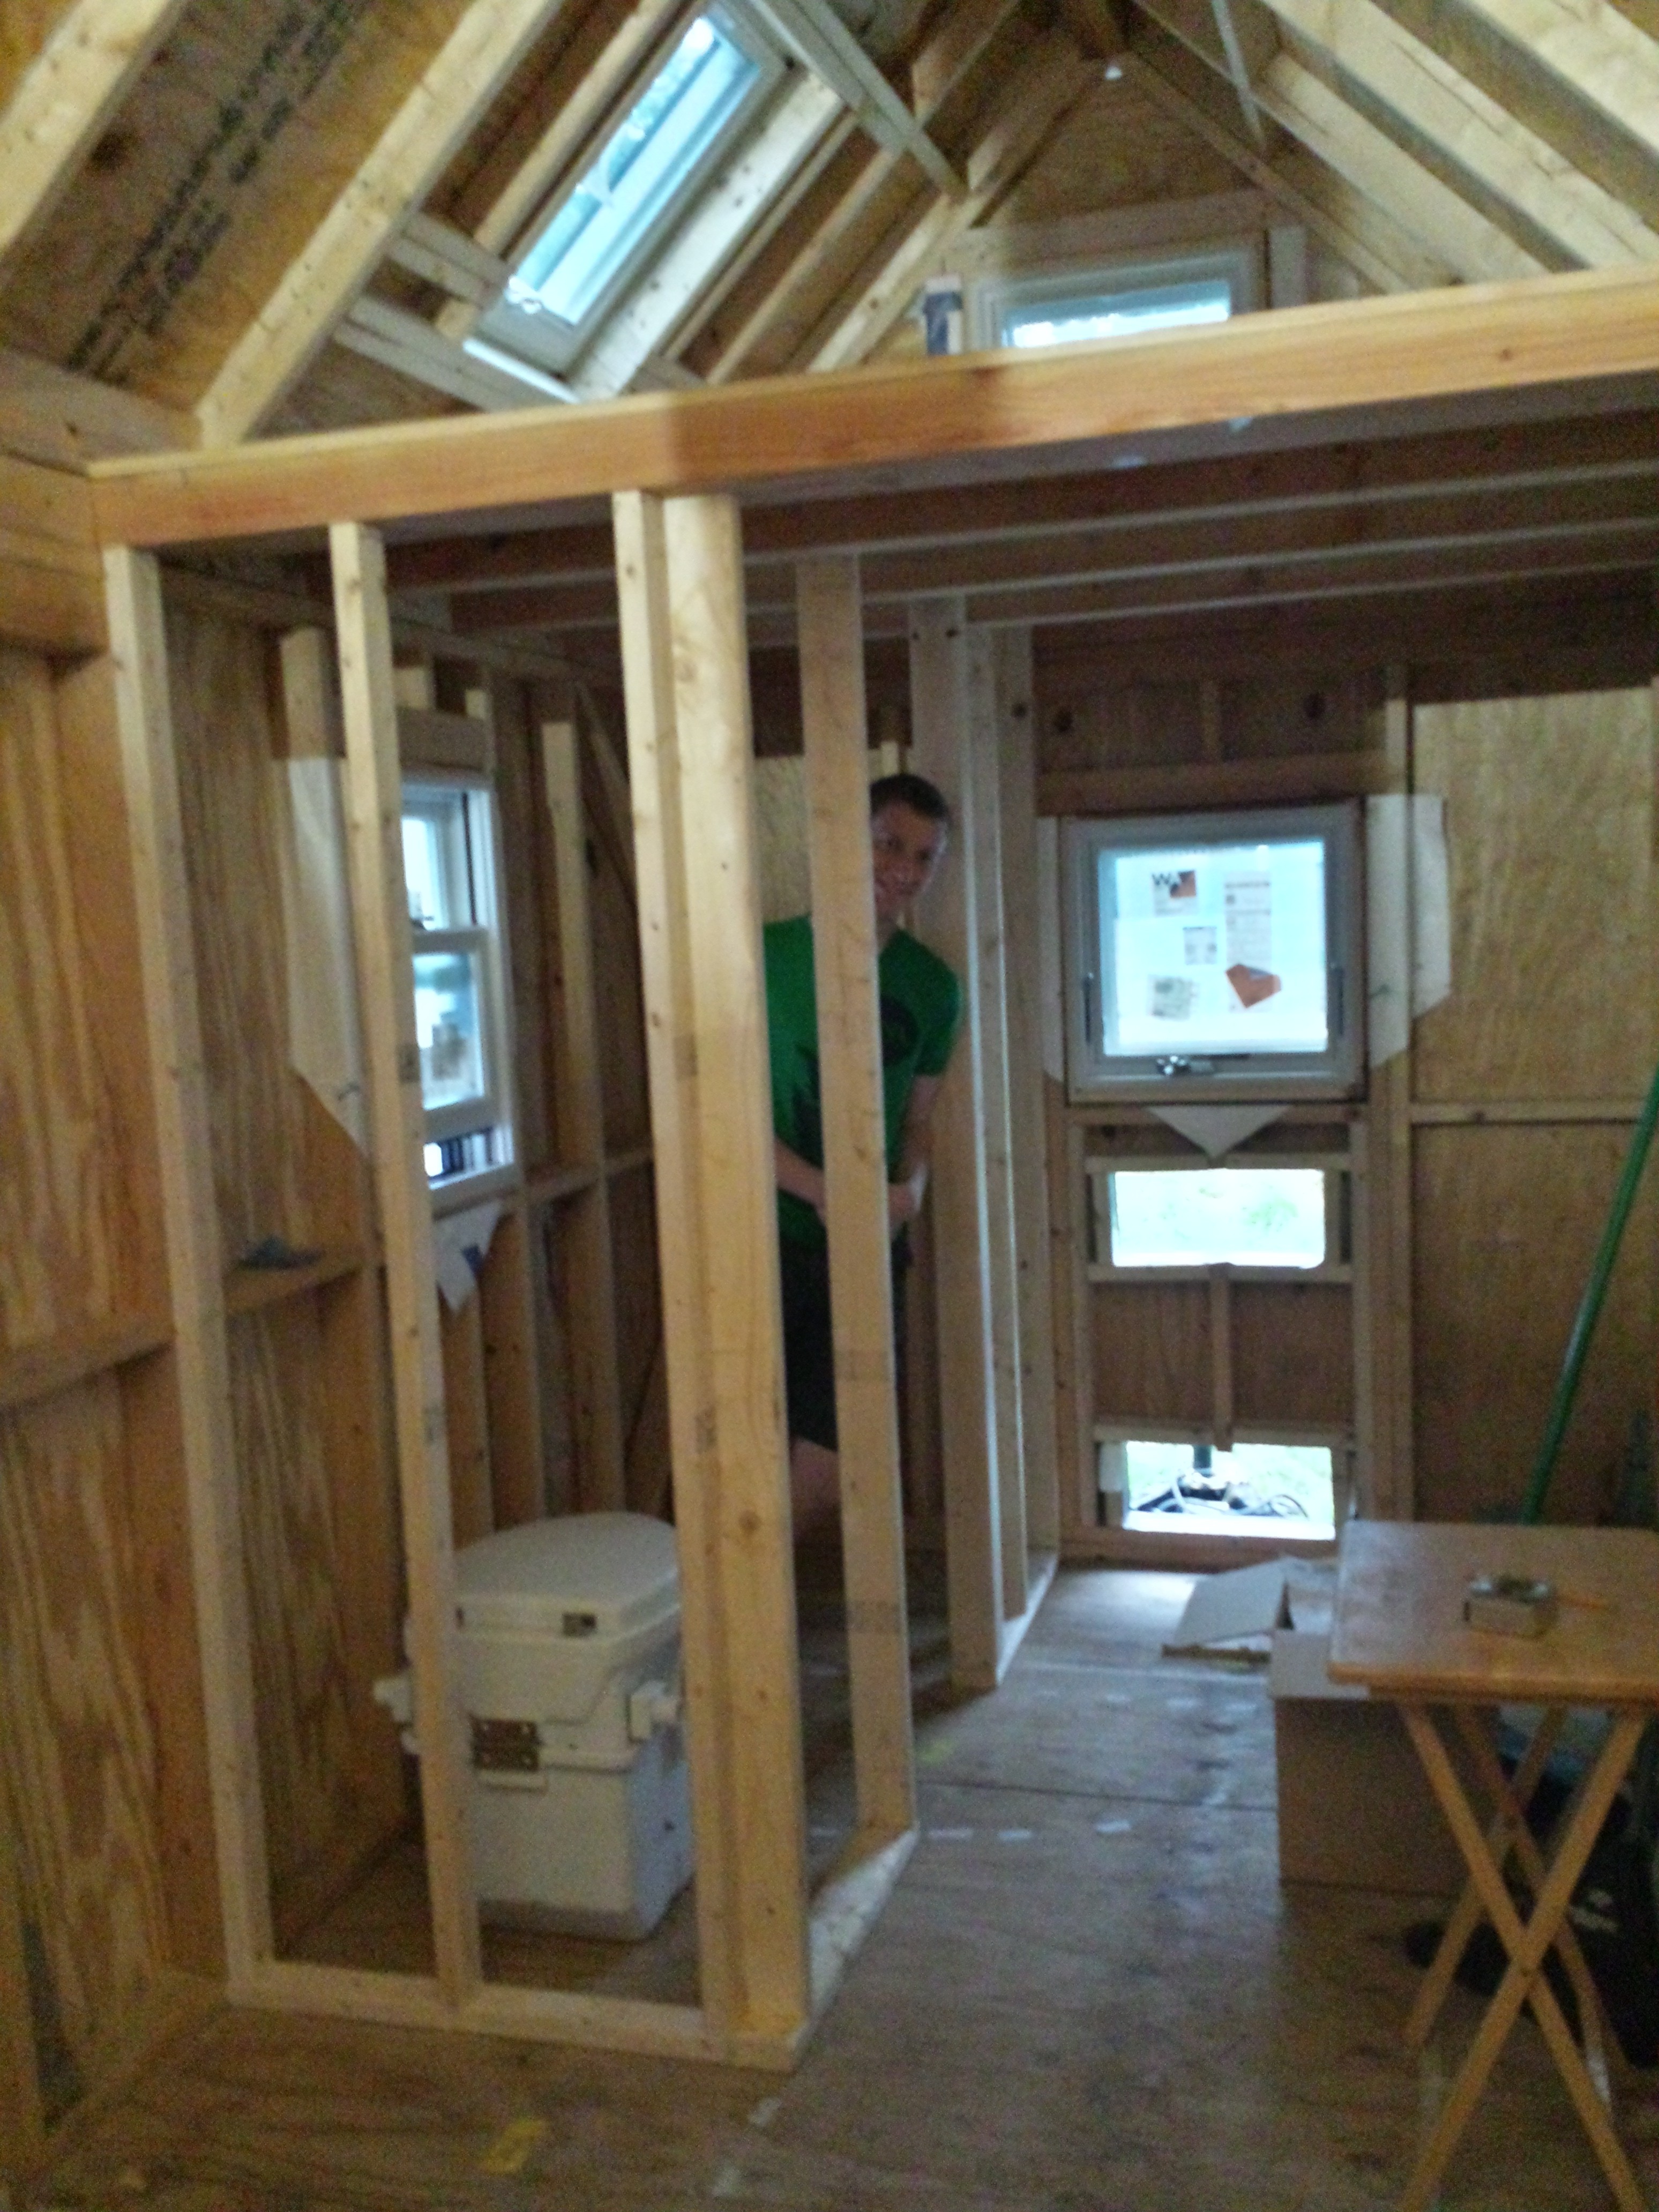
Char and I also installed the studs for the bathroom walls.  The interior is starting to really take shape!

Peeking out of the bathroom doorway

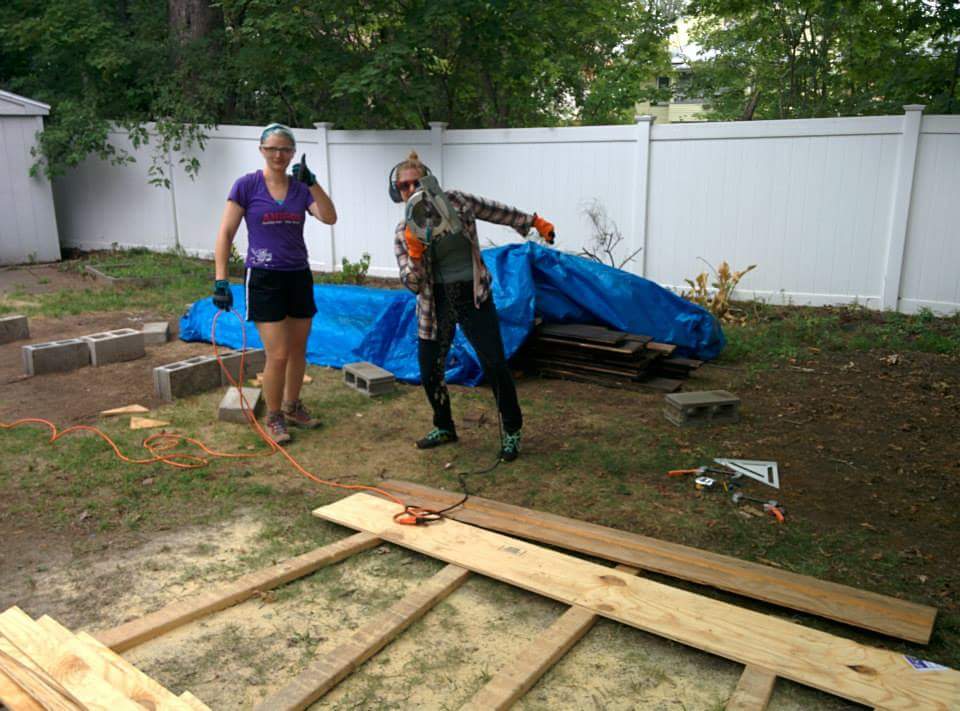
On Sunday, it didn’t actually rain at all, so Char and her friend Ruth worked on cutting furring strips for mounting the exterior trim.  Despite not having a lot of circular saw experience, they both did an excellent job.

Circular Saw Badasses

Despite the rain, we really made a lot of progress this weekend.  Soon enough the siding and trim will be up and the exterior will be done!

Burning down the house

No, not really.

One early decision we made was not to use the typical shingled cedar siding that most tiny houses employ.  Instead I wanted the siding to be smooth by using shiplapped or tongue and groove siding.  We also decided to get reclaimed wood for our siding, which is a very hip thing to do but darn if it doesn’t look fantastic.  We were unable to find affordable ((It turns out, reclaimed wood is relatively expensive.)) reclaimed boards that could be used for exterior siding without treatment, so we decided to save some money and spend the time to treat them.

Our reclaimed wood dealer, J from Jarmak Corporation, suggested we try a Japanese method of treatment called shou-sugi-ban.  This involves briefly torching the wood, giving it a slightly charred surface.  This technique has also been used by tiny house builders:

In our case we are also applying a special exterior-grade oil on the wood to further protect it from the elements and insects.  Although it’s expensive, our speciality hardware store said it’s the right stuff for the job.

After a little practice the treatment process was fairly straightforward.  First, friend of the house David put his knowledge of flame management to work and did the actual singeing, achieving a very lovely even finish.  The boards, being reclaimed, responded very individually to the flame.  Some singed easily, others really didn’t want to blacken.  Although you can’t see the flame, the heat coming out of the torch was intense.  Occasionally the dry grass would catch fire and we’d stamp it out.  We also had a fire extinguisher nearby in case it got out of hand.

wpid-wp-1439225316205.jpeg
David singes the boards

Next, I took a stiff steel brush to the boards and removed the loose soot.  You can see this more easily in the youtube video above.

wpid-wp-1439225393707.jpeg
I’m in the back working on recently-singed boards

Lastly, Char applied the oil to the boards.

IMG_20150812_083134
Char applies the oil

The final result is some very nice blackened boards, and a man absolutely covered in soot.

wpid-wp-1439225356042.jpeg

Roof finished

As of last week, the roof is done ((Not quite, there are a couple small pieces of roofing metal I still need to add to the stern end. But these are so minor, and something I only recently decided I wanted to add that I don’t really count it.))! Cutting, lifting, and drilling all of that metal has been the hardest part of the building process so far. The small margin for error was really stressful — you can’t change the position of a screw once you’ve put a hole in an expensive piece of metal. Only time will tell whether I did a good job or not, but I’ve already gotten a number of compliments from the neighbors about how it looks so that makes me happy.

2015-07-22 18.00.47
Installing metal around the skylight was very hard.

The finished roof
The finished roof

One mistake I made was during installation of the metal around the skylight. I didn’t measure precisely enough, so although the metal below the skylight lined up correctly, the metal over it did not. Because of that, the ribs of the metal didn’t line up and I had to cut one of the pieces. This left a gap where water could get in below the metal, so I had to use caulking, butyl tape, and an extra piece of metal to try to mitigate the problem. Fingers crossed.

Update: OK now the roof is really, really done :-).