Upgrading a Laptop: a few notes

I recently replaced my 2013 Dell XPS 13 with a 2018 Dell XPS 13. This was a very smooth transition, but I thought it was worth publishing some notes on the process.  Yes, users of Real Operating Systems are probably laughing, and I wish Ubuntu had a migration tool as nice as Apple’s (assuming theirs still works).  But if you’re like me and choose to use a penguin-themed operating system, you might find these notes useful.

This isn’t meant to be a proper HOWTO, more of a list of notes to myself for the next time I do this.

Tips:

  • Migrating from machine to machine is much easier when they are both running the same OS.  In my case, I had Ubuntu 18.04 installed on both machines.
  • Don’t change your username.  Keep it simple!
  • Screen resolution and hard drive size were the same.  Again, minimizing change means your existing preferences will move over perfectly.

Process

  1. Do a basic installation on the new machine, just enough that it’s booting and your user exists.
  2. Make a backup of your home directory. You should use rsync for this. The instructions I followed include steps on how to do this.
  3. Export your package manager configuration, including the package sources and their keys.
  4. Generate a list of all of the packages that were installed on the old machine.
  5. Set up your new machine with the same packages sources and keys
  6. Tell the new machine to install the entire list of packages you saved.
  7. Reboot once
  8. Sync your user data to the new machine
  9. Reboot again
  10. Pray

I didn’t even need to migrate my /etc directory.  OK my printer config vanished, but that was easy enough to set up again.

To do all of those steps I followed these instructions.  There were some weird packages installed on the old machine that it couldn’t find, but none of them really seemed to make a difference.  The new machine was working as of the very first reboot, with the following one major issue, and a few minor issues.

Issues

Major Issue: Battery Drain During Sleep

YIKES.  This was not fun to discover. I quickly saw that my new Dell XPS 13 (9370) Laptop running Ubuntu 18.04 was draining battery while sleeping (suspended), at least 5% per hour.  It also felt warm even after having been “asleep” for hours.  It turns out this is a problem with the default sleep method being set wrong.  The default is set to “s2idle” when “deep” is the right answer.  See this AskUbuntu post for details about how to check for and fix this problem.

Touchpad

By default, the new touchpad uses two fingers to right click instead of the right side of the pad.  I decided to revert back to what I was used to be changing a setting:

gsettings set org.gnome.desktop.peripherals.touchpad click-method areas

Mouse Cursor

The mouse cursor has always been the bane of my existence.  I like the DMZ-Black cursor instead of the default white.  For some reason there are two places where the mouse cursor theme is set.  One is in GNOME settings, but the other is system-wide.  So I needed to use gnome-tweaks, and then also:

sudo update-alternatives --config x-cursor-theme

And then reboot.

Printer

Because I hadn’t copied my /etc directory I had to reinstall my printer software.

Conclusion

On the whole the migration was very uneventful.  I realize that I have a major advantage, being comfortable with Debian systems and apt commands and rsync, and not everyone can or wants to put up with this kind of procedure.  But for an operating system that is still lousy on the desktop, it actually works pretty nicely and is pleasant to use.  Here’s to another 5 years before I need to do this again!

Synchronizing large amounts of music to an Android phone

I am a strange person that likes to have local copies of my music. I occasionally find myself driving in rural areas without a cell signal, or on a flight where I don’t want to pay the wifi charge, or on a primitive subway (like in New York) where the tunnels have no reception ((Please refrain from commenting about how you stream all your music over the internet, and get off my lawn)).

Previously in these situations I’d use a portable mp3 player, the late great Sansa Fuze, and that was good enough. But recently my Fuze bit the dust. Since nobody sells mp3 players anymore ((and I can’t use an ipod)) I have to put all my music on my phone. Copying a bunch of files is simple enough, but I sometimes acquire new music and I want a braindead way to update the music on the phone, preferably with rsync. Unfortunately this turned out to be Hard.

First failed attempt: rsync over MTP

I tried to do the most obvious thing first: connect the phone with USB and rsync from the source to the destination. This does not work well at all. Modern phones connect to computers using MTP, or Media Transfer Protocol, which is designed for extremely simple file listing, copying, moving, and deleting. It doesn’t like random reads and it doesn’t handle partial writes. Over MTP, rsync goes intolerably slow as it tries to figure out which files to copy. I tried setting various parameters on rsync to adapt for this, but nothing worked. Fail.

Second failed attempt: FolderSync from Drive to the phone

The second idea was suggested to me by a coworker. I already have all my music on Google Drive, so he suggested I try using the FolderSync app to sync from Drive to my phone. This sort of worked, but after 300 or so files the process would stall, and then halt. I had to cancel the process and start it over again — at least it was smart enough to pick up where it left off. But after doing that five times I gave up. Also, FolderSync and rsync have different ideas about which files were new. FolderSync was recopying files that were already on the destination and I couldn’t configure it to only look at, for example, the file size when determining which files to copy. Fail.

Third mostly failed attempt: rsync and SSHelper

My third idea was to use SSHelper, a neat little Android app that opens up an ssh server on your phone. I would use rsync, like I wanted to, but it would transfer over the network instead of USB. This worked, but transferring the initial 50 gigs of data over the network was going much too slowly. By this point I’d spent two days trying to get my music on my gotdamn phone and was not feeling patient.

Solution: MTP, then rsync and SSHelper

The idea that worked was to use MTP for what it’s meant for: dumping the music folder wholesale from my computer to the phone over USB. Connect phone, drag and drop music onto phone, wait. Now that I’ve seeded my phone with the initial payload, I can use SSHelper and rsync to update the phone with just the new tracks. Listing and comparing files is plenty fast with SSHelper, and copying whatever few files I updated goes quickly enough over wifi.

There you have it! I do miss the days of just loading up a micro SD card and popping it in the phone, but this solution works perfectly well for my needs.
Coming along…

Tiny House Crafters are making great progress with the house!  There was a delay because we needed to have a custom shower pan manufactured, but everything else has been full steam ahead.

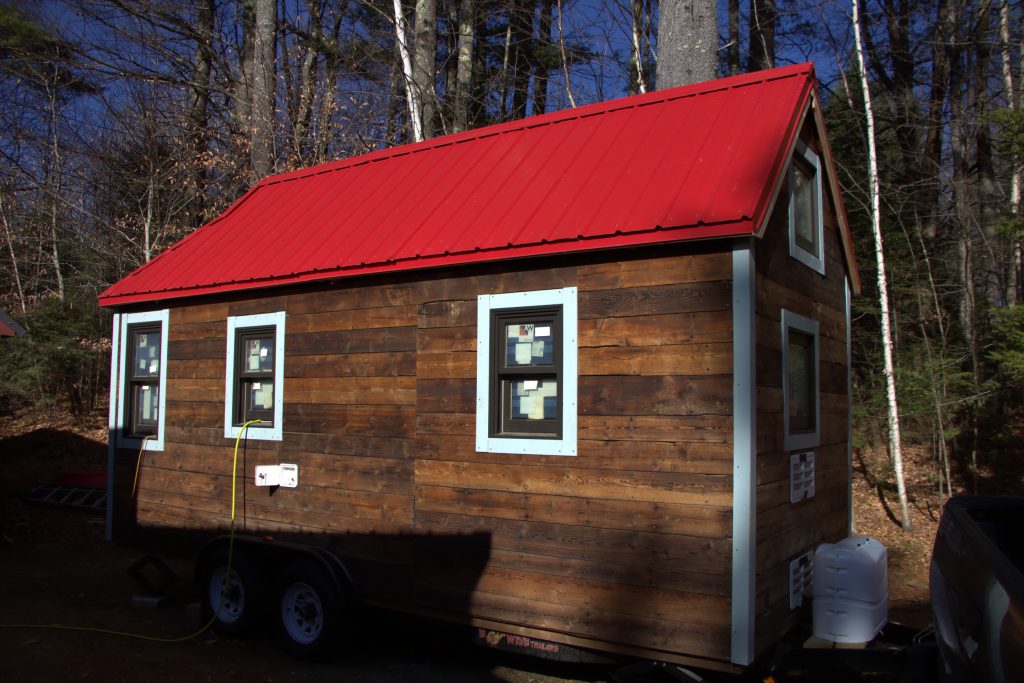
tiny house exterior
Still lookin’ good, now with propane tanks

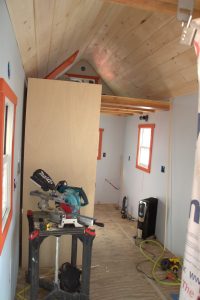
The interior paint choices are… ok. It’s hard to pick colors remotely, and in this case the weird orange was picked to match the Ikea cabinetry that hasn’t been installed yet. I wish Ikea’s color choices were better but I really didn’t want another wood tone in the interior. If the orange doesn’t work, I can always just repaint the trim and let the cabinets be the only weird orange thing.

img_2937
Walls are basically done, ceiling is done.

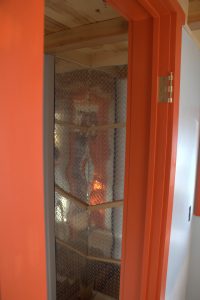
Diamond tread is another stylistic element that will be used throughout the house to keep it looking modern. It’s already being used for the front porch, and now it’s in the shower. It will also be used for the kickspace, backsplash, and the front of the fridge.

img_2940
Diamond tread shower!

We’re on track for the house to be done in just a few weeks, I can’t wait!

Progress Resumes

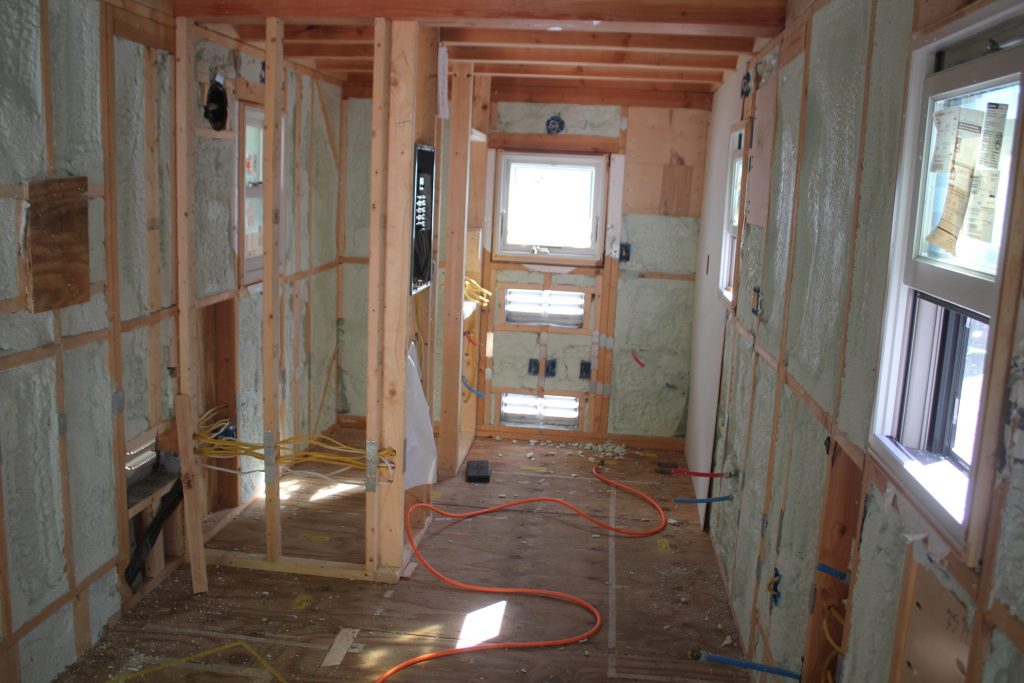
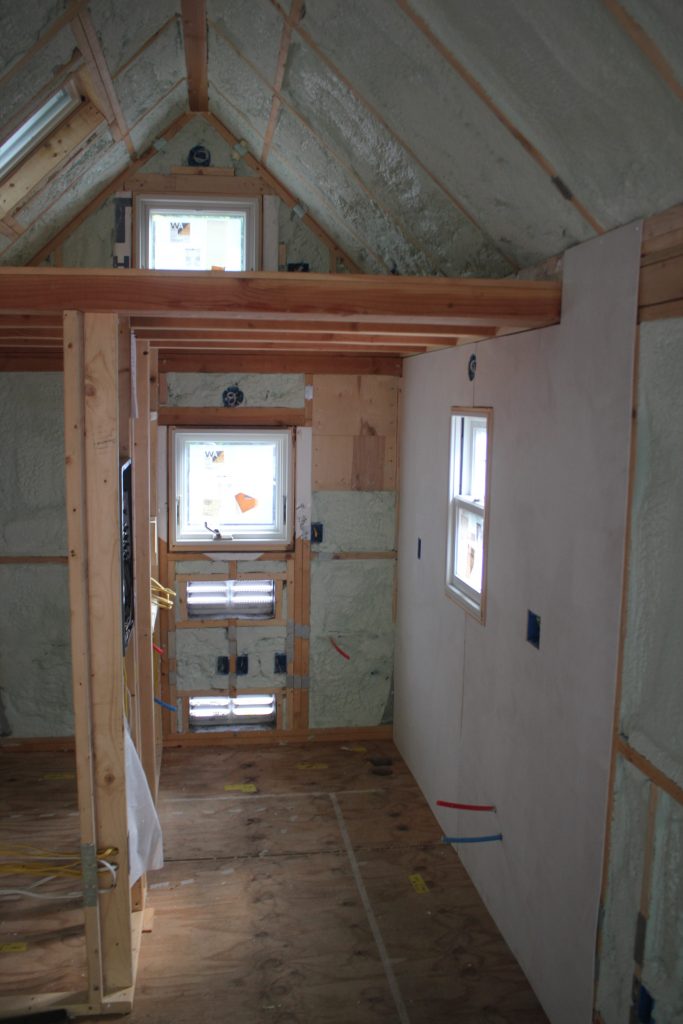
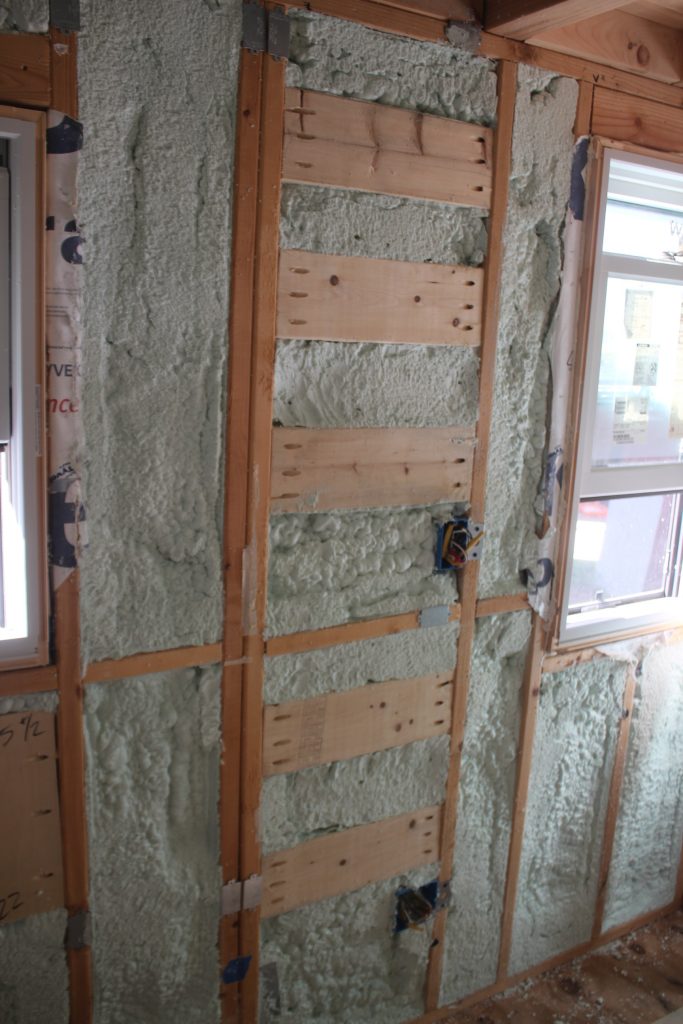
Amazing how when the people doing the work are not inexperienced newbies learning as they go, progress gets made much more quickly! Since I handed the house over to Tiny House Crafters, they’ve finished the water plumbing rough-in, the final electrical rough-in, done the spray-foam insulation, and started putting up the interior wall plywood.

Spray foam complete. Water plumbing visible sticking out of the walls
Spray-foam complete. Water plumbing visible sticking out of the walls
Interior wall plywood going up
Wood blocking installed so we can securely mount ladder rungs on the wall

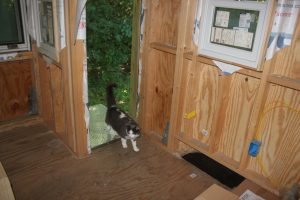
It also appears that the house is officially cat-approved:

img_6542
Hi there!
Uh, now wait a second...
Uh, now wait a second…
Well just make yourself at home, why don't you!
Well just make yourself at home, why don’t you!

A Change of Strategy

For my next trick, I will make my Tiny House disappear!

2016-08-02 13.33.52

As the lack of updates hinted, progress on the tiny house slowed to a crawl this year, mostly due to the difficulty I had trying to find someone who could do the interior plumbing.  Without the plumbing installed I couldn’t do the insulation, or the rest of the interior finishing.  I had researched doing it myself, but I knew I would sleep a lot better knowing that a professional has installed my propane lines.  In July I started researching tiny house building companies and found one that could finish the entire job for me.  I’m somewhat disappointed that I couldn’t push through and do it all myself, but I’m satisfied with what I did do and learned along the way.

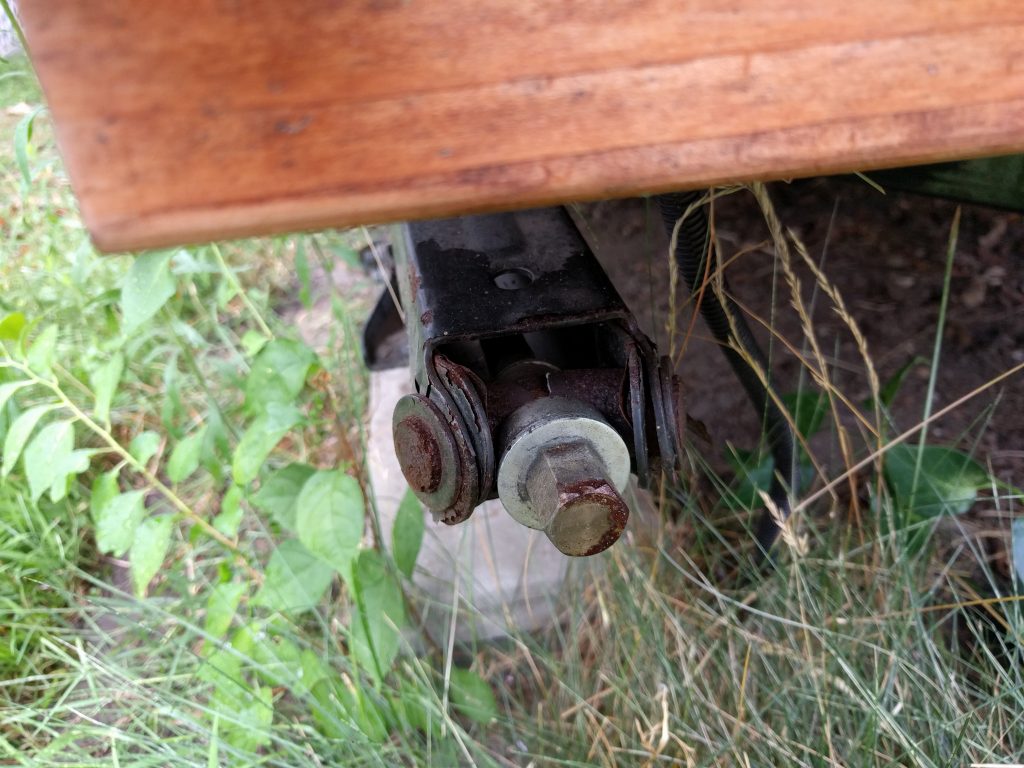
So, on August 2nd, Anderson Page from Tiny House Crafters hitched his buddy’s truck to my house and we started to take the weight off the jacks for the first time since 2014.  At one point the house definitely settled, and even rolled back a few inches, but we put plenty of cinder blocks behind it so it didn’t go anywhere.  One of the jacks also broke with a loud crack, but luckily it wasn’t catastrophic and it’ll be fixable.

2016-08-02 12.29.46
It’s a little hard to see, but there’s a horizontal piece that split when the rusted jack gave out

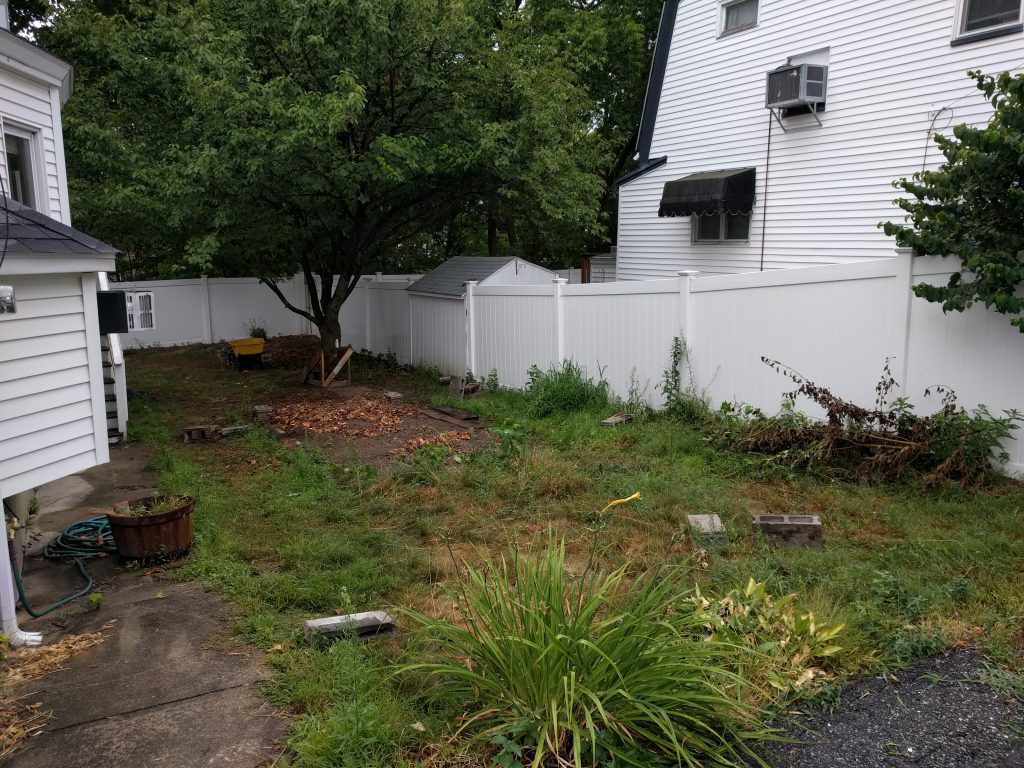
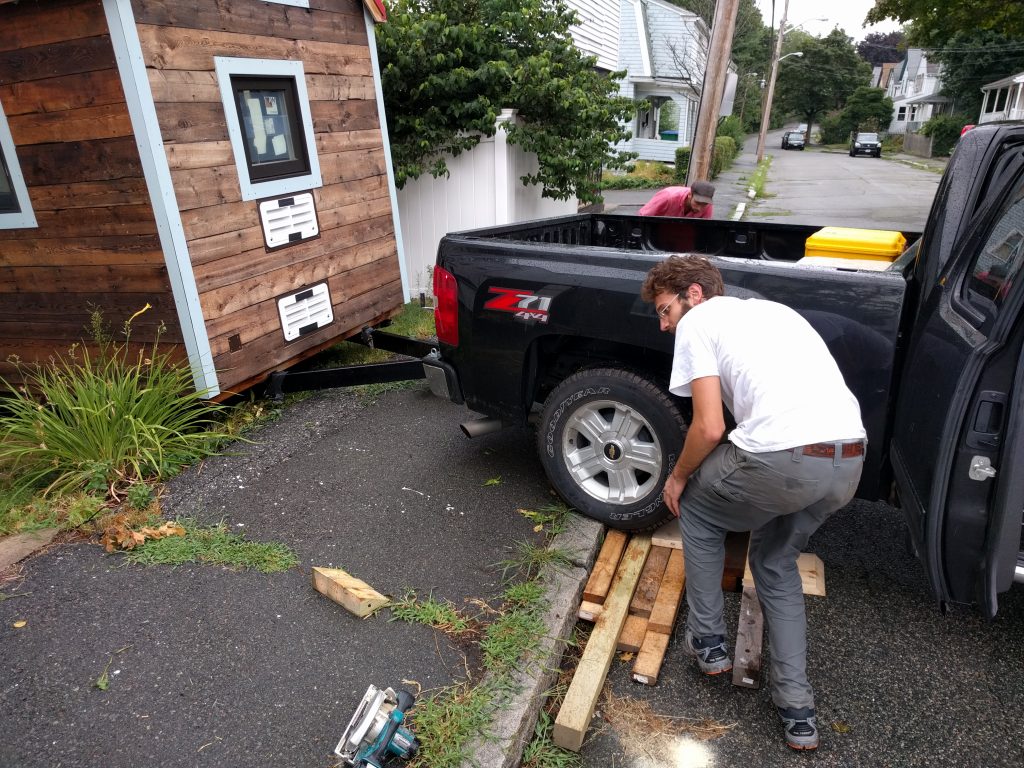
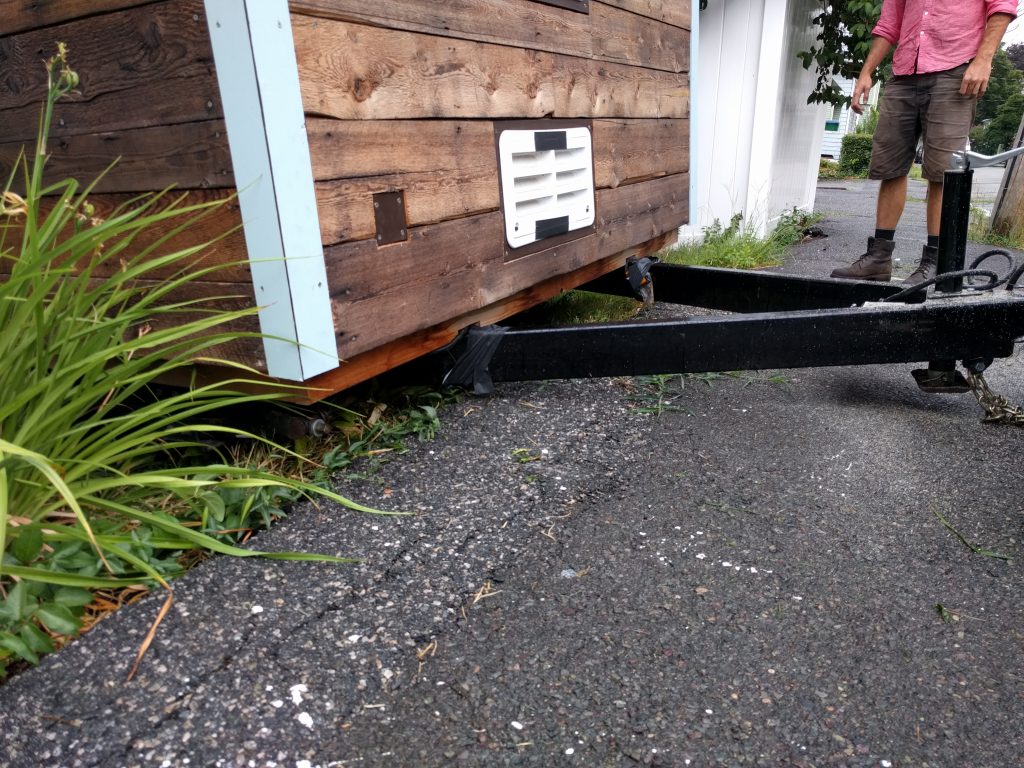
Given the trouble we had getting the trailier in the yard, I was worried that we’d bottom out the trailer removing the house.  So we used some of my plentiful scrap wood to create a ramp for the house to lift up the wheels as we went.


2016-08-02 12.43.07
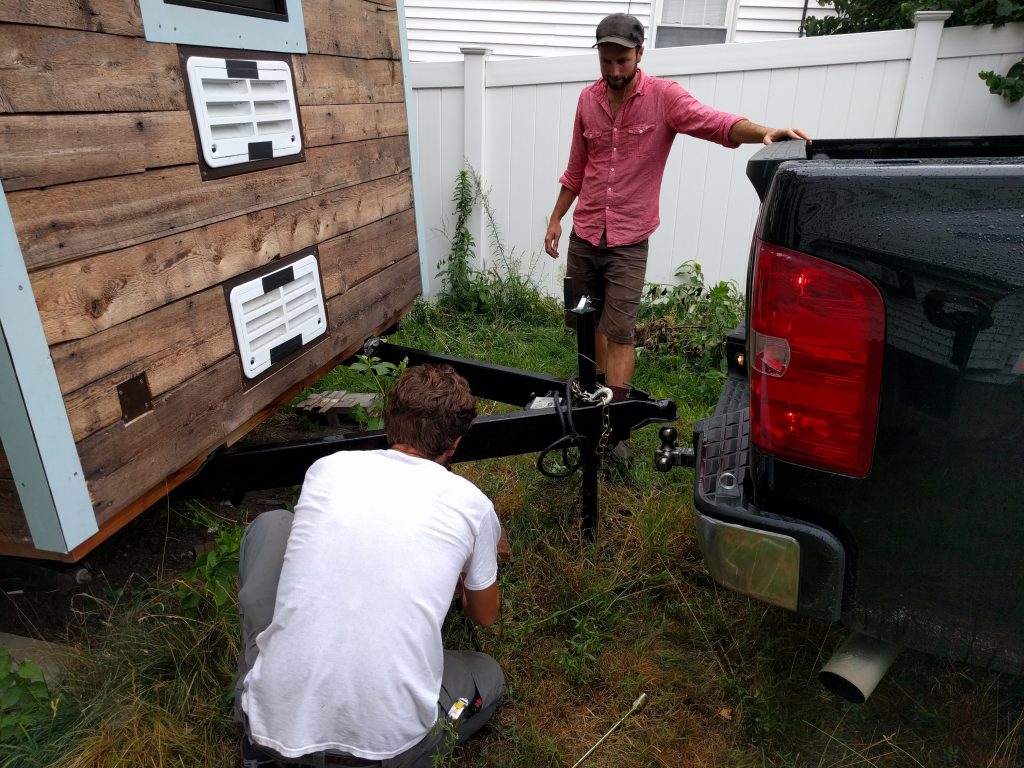
Anderson and Brett line the hitch with the ball.
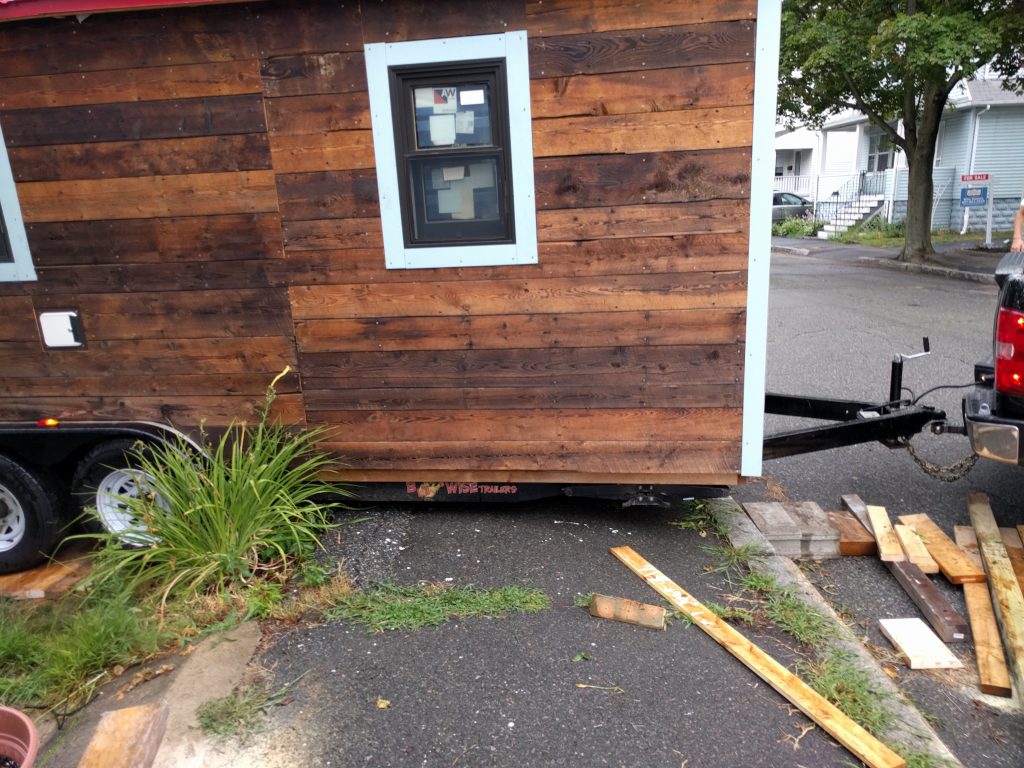
2016-08-02 13.20.21
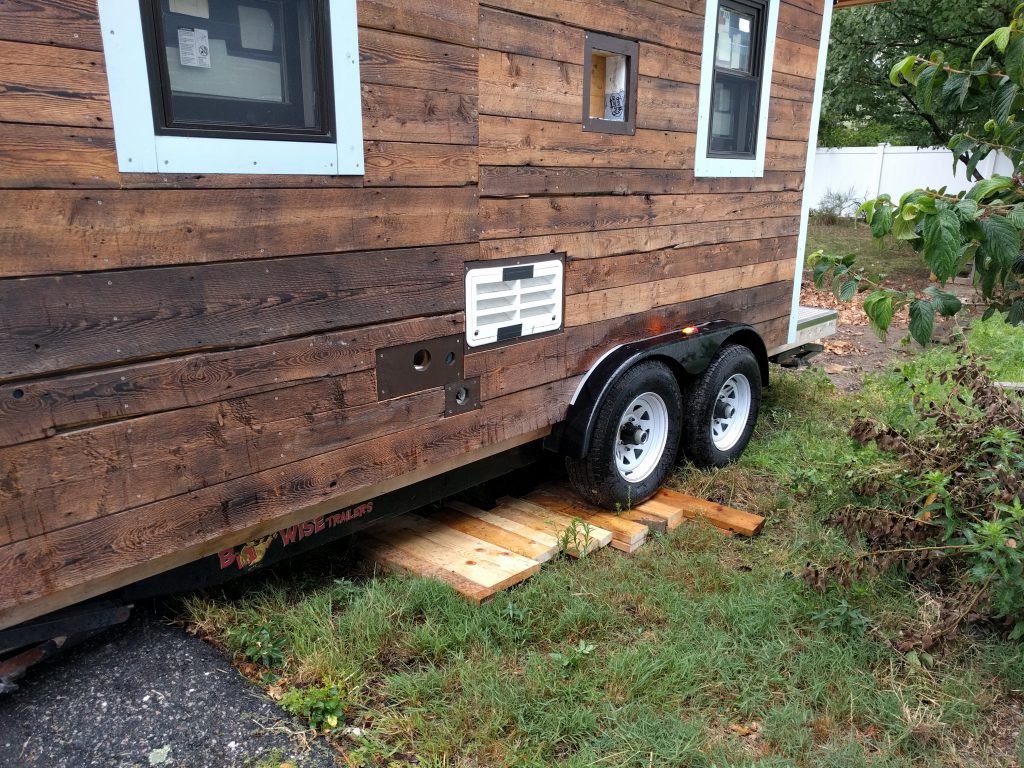
We used 4x4s and 2x4s as a ramp for the trailer. This help lift up the whole trailer so it would bottom out.
2016-08-02 13.07.00
We also put boards under the truck’s wheels , again to keep things as high as possible.
2016-08-02 13.10.56
It was super close, but didn’t scrape!
2016-08-02 13.23.19
At this point we’re home free

Tiny House Crafters should start work on Sept 1 and they think it will take 5 weeks.  Five weeks until the tiny house is done!  I’m excited, but I guess I have to get a move on finding a place for the tiny house to live :-).

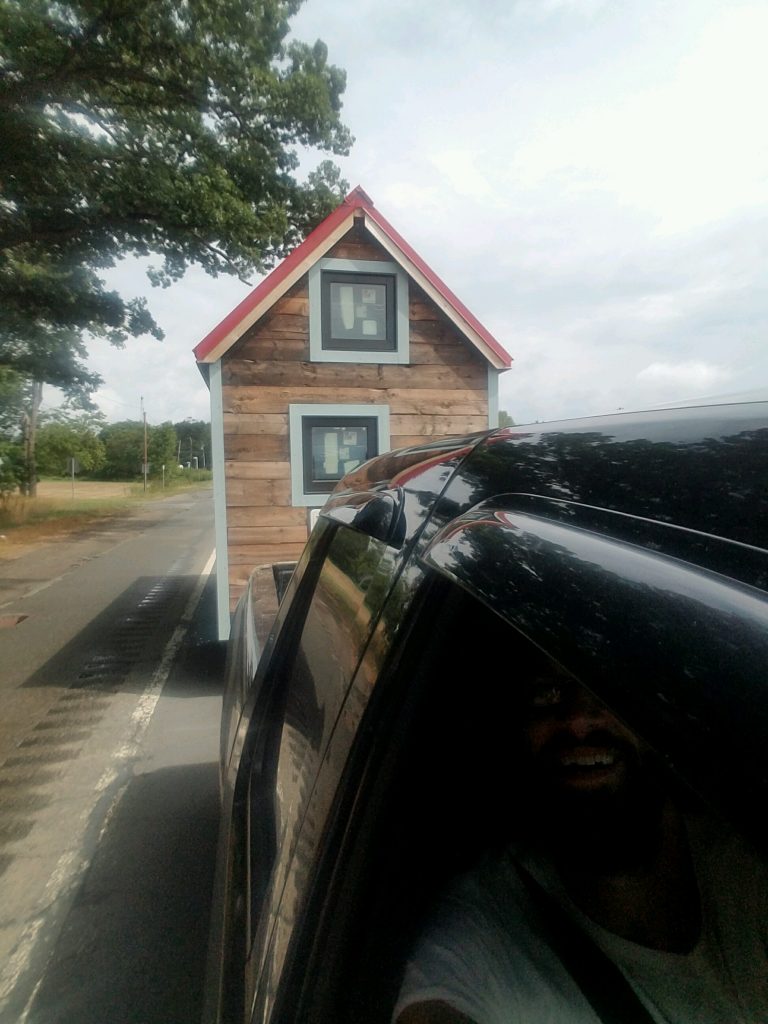
IMG_20160802_142502_01
An image from the road, courtesy of Anderson.
PART_1470206355938_20160802_190438
The house’s little corner of Vermont, for now.

Exterior Siding Complete

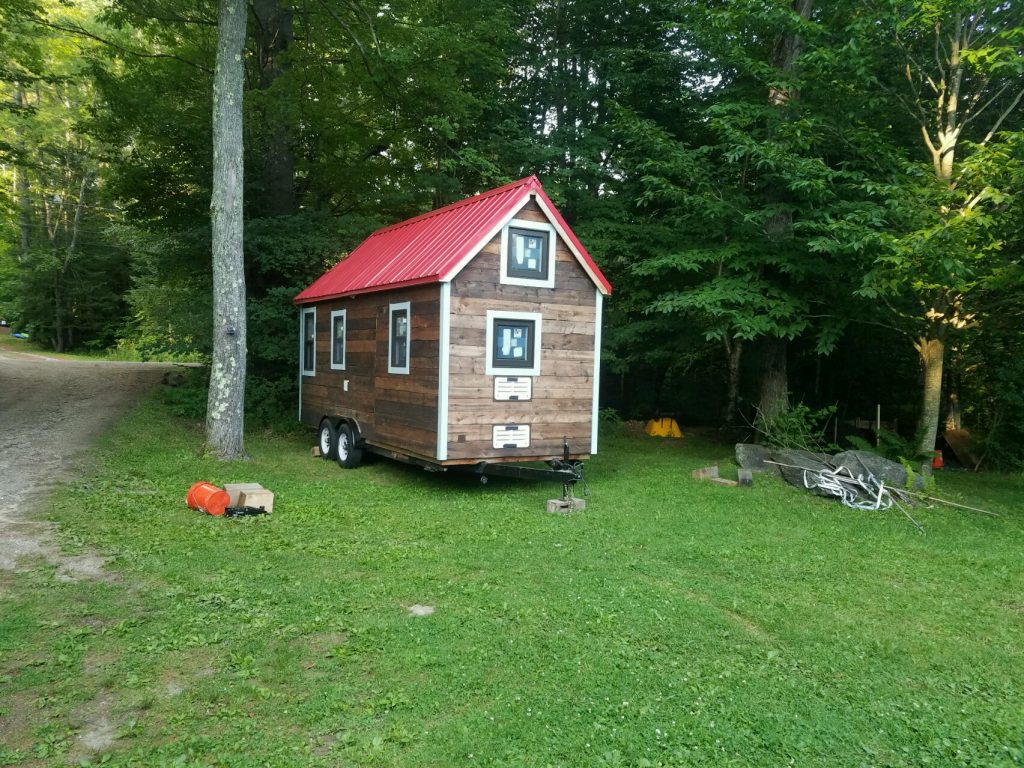
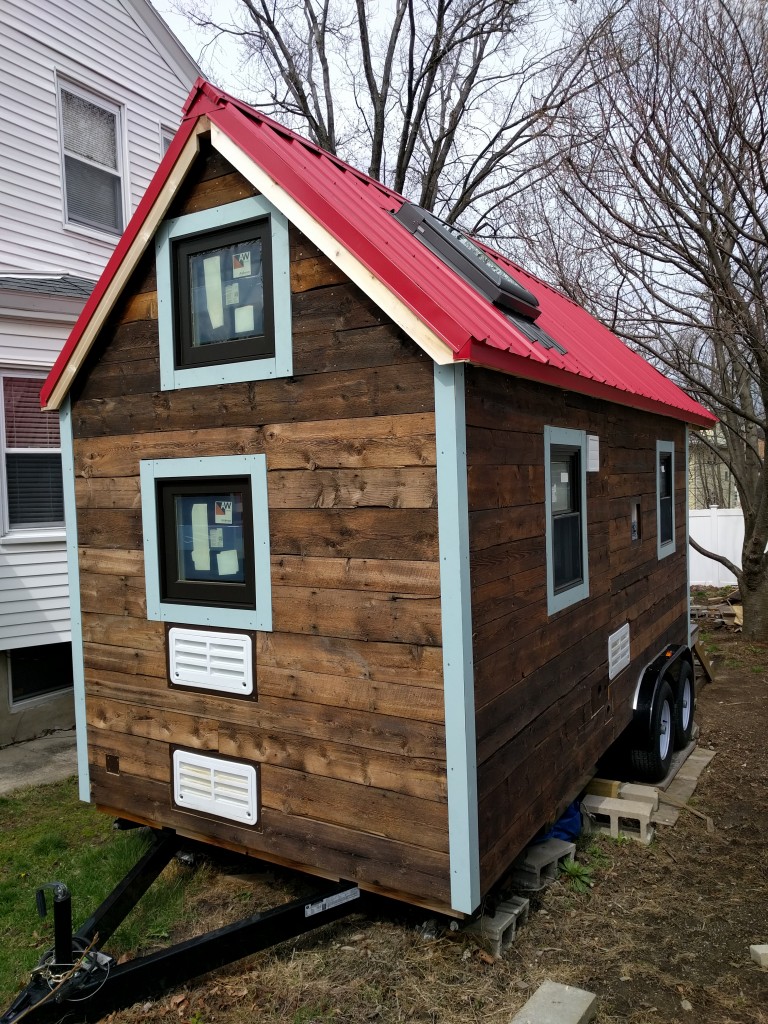
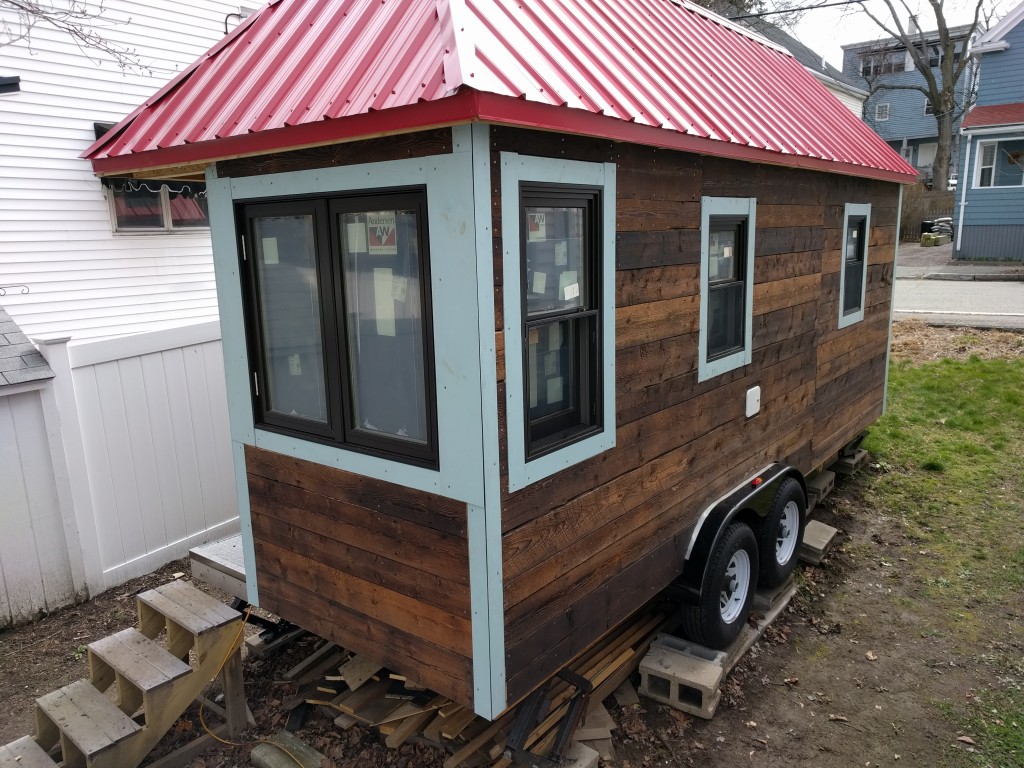
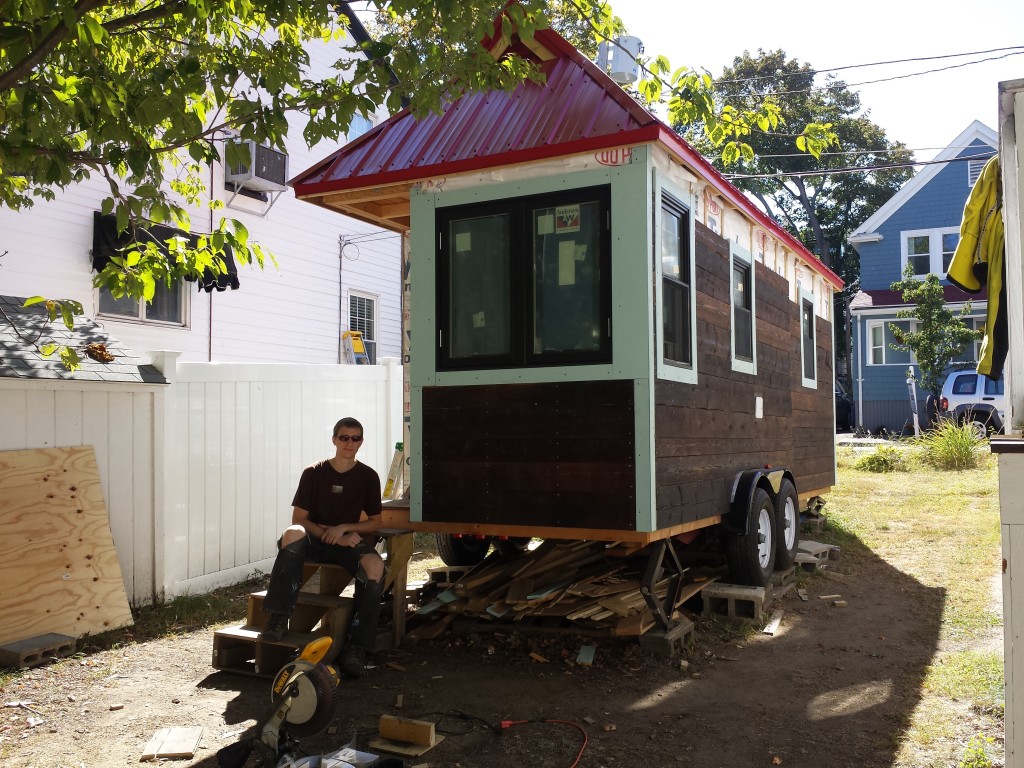
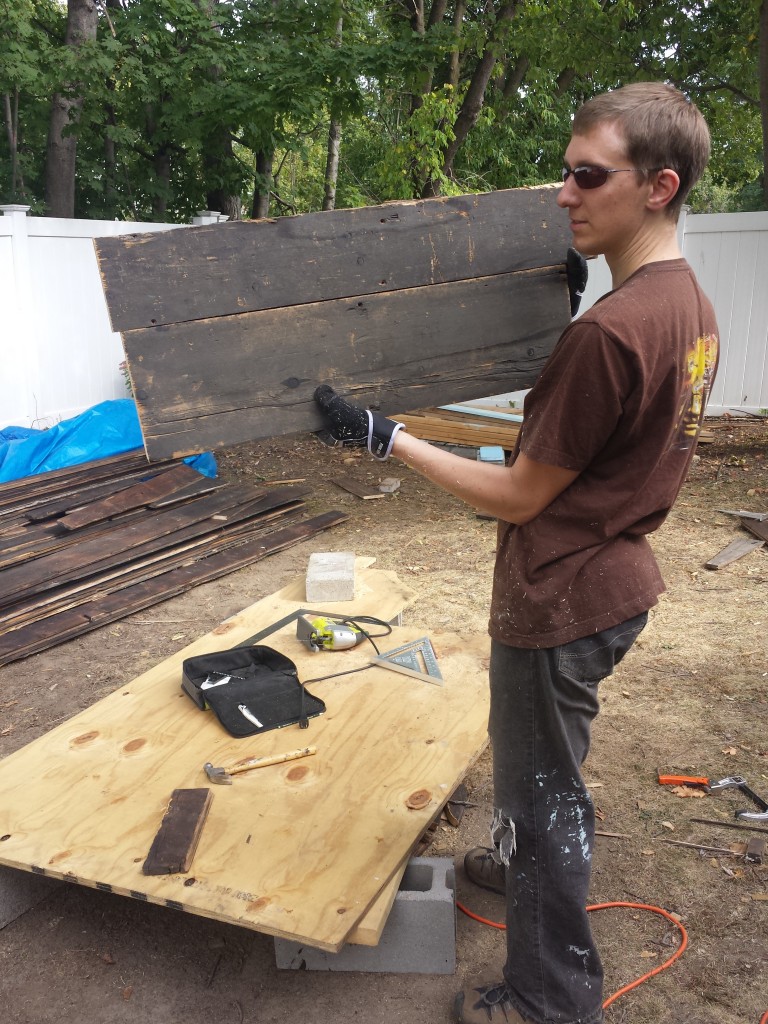
At long last, the house is covered in siding!  This process began back last August with the blackening of the boards of reclaimed lumber I bought from Jarmak Corporation and went slowly because, like everything else on this project, I had to learn everything as I went.  In October I was running out of wood and contacted Jarmak to get more of the one-of-a-kind pieces, and they notified me that the yard and all the extra boards had tragically burned to the ground.  So I went back into the scrap pile and used every inch of usable wood I could find.  In some cases I had to strip off totally ratty edges and recut the tongues and grooves using a table saw equipped with a dado blade.  I’m really pleased with the final look.

2016-04-09 14.13.53

2016-04-09 14.13.17


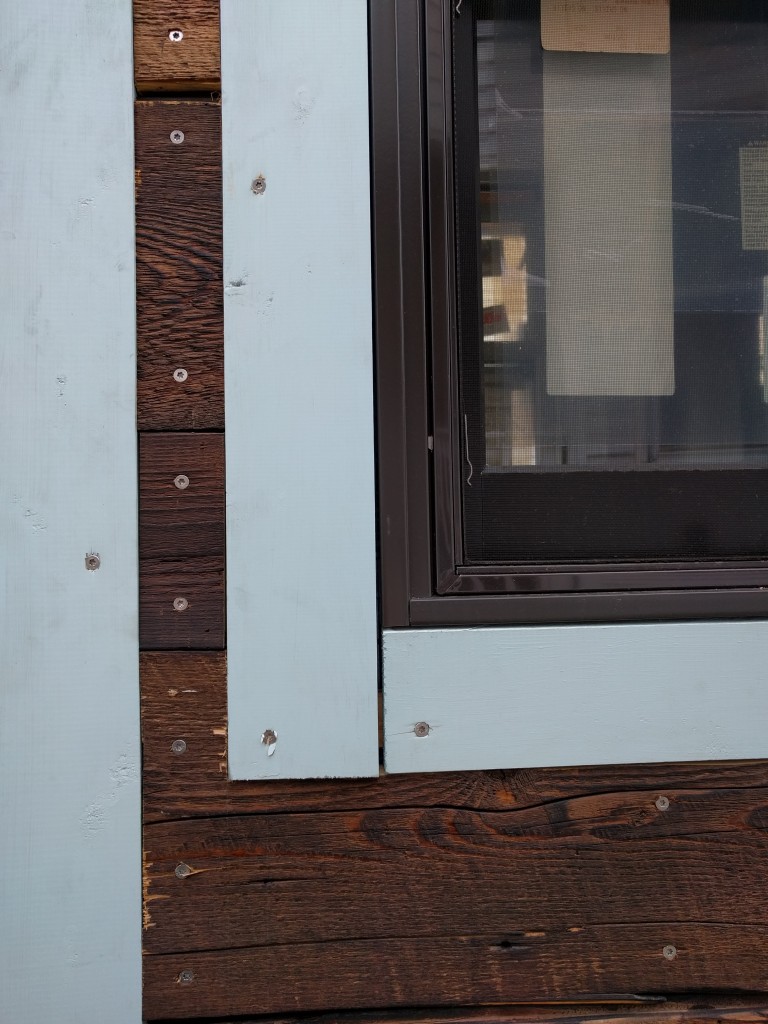
Here’s a closeup of some of a piece that’s not in great shape.  You can see how the board at the bottom is split.  But each board is glued and screwed so I don’t think they’ll go anywhere.  Next time I wouldn’t bother jigsawing that little corner, but I was determined to make the horizontal lines continuous on either sides of all the windows.  This is one of the details that I had to abandon as I started running out of boards.2016-04-09 14.14.12

The tiny house has already survived the winter with no leaks or water damage of any kind that I can see.  I think I did it?

Door finishing touches

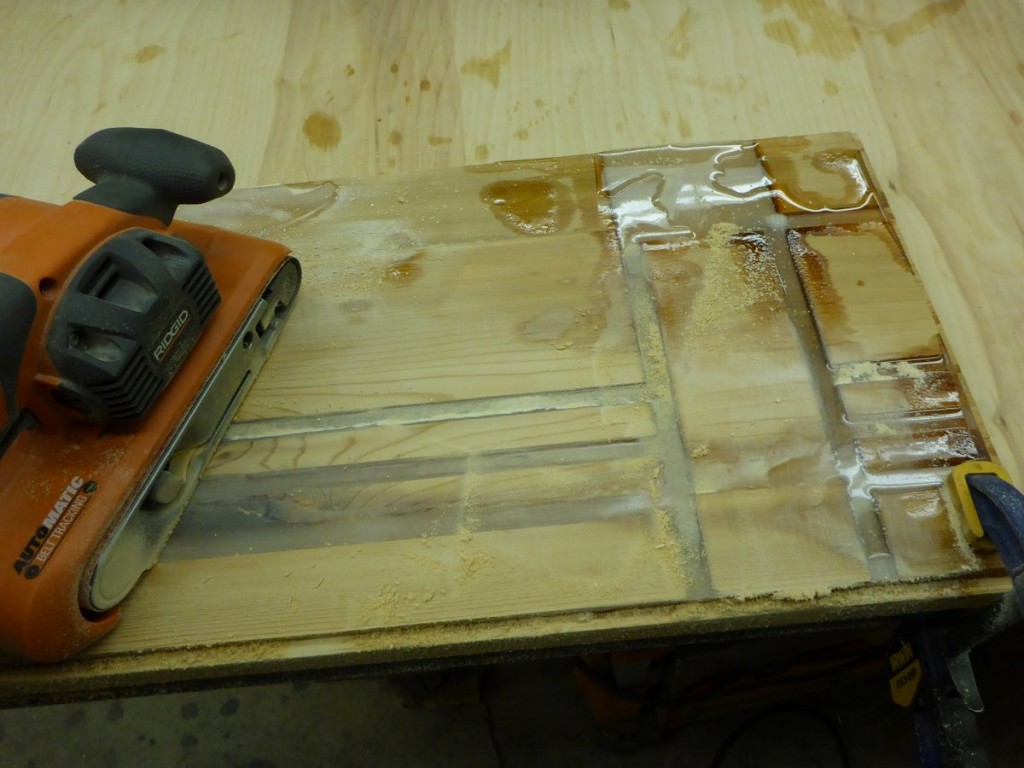
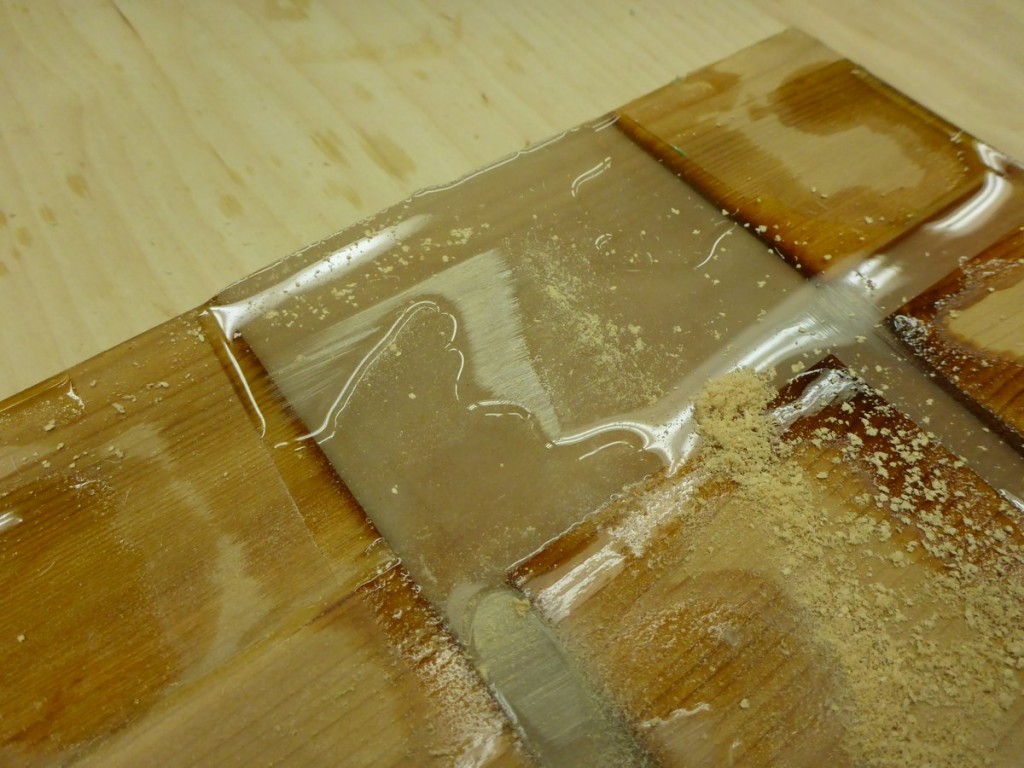
We continue to be impressed with Marc’s attention to detail on our front door. He sent us some photos of the finishing process, which involves sanding the resin, bevelling edges, and touching up some of the gaps.  I wrote the captions, apologies to Marc if anything I say is inaccurate.

P1080839
Belt sanding the excess resin
P1080840
I believe you are looking at where the resin overflowed the grooves and needs to be sanded down.

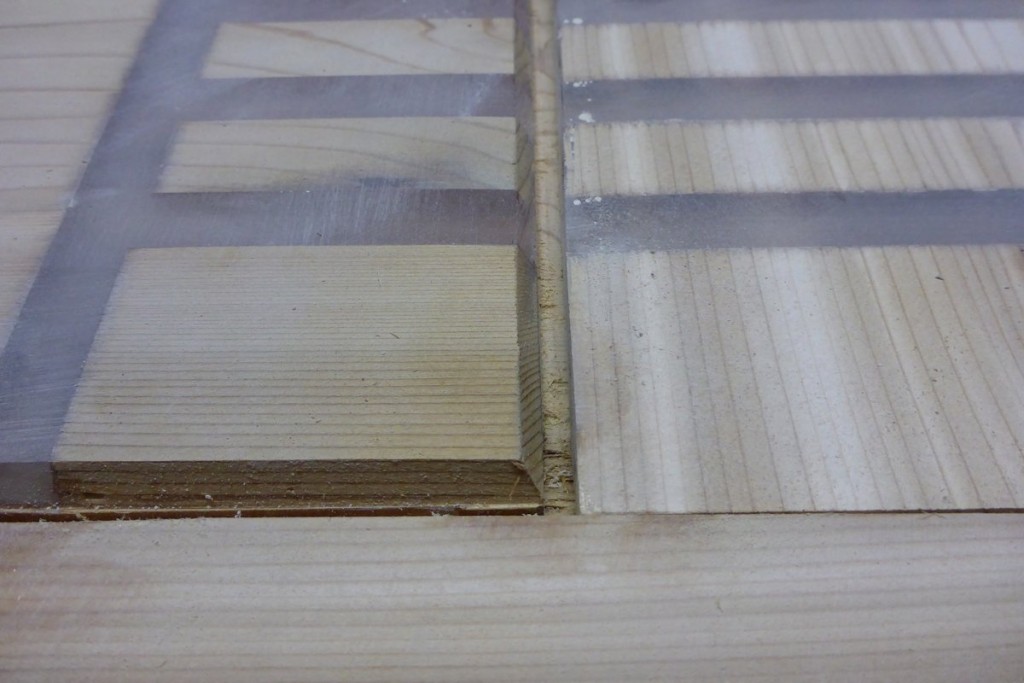
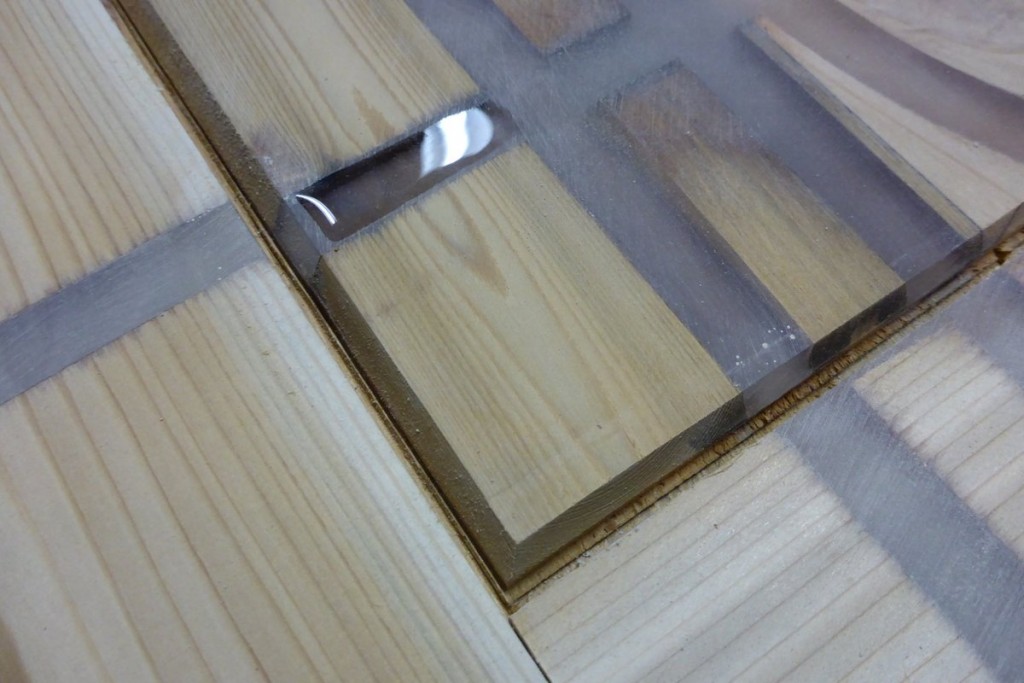
Because this is a front door, it is subject to extreme temperature and humidity changes. The interior may be hot and m-m-m– humid, and the exterior may be cold and dry. So the panels of the door float freely so they can expand and contract without causing the door to buckle. That’s why the pretty design has narrow gaps where the panels meet the stiles (outer parts of the door). The resin can’t be used in these gaps. When we worked on the design, Marc and I made sure that not too much of the design would be lost in the gaps.

P1080852
Closeup of bevelled edge and gap between panels.
P1080851
A touch-up of fresh resin
P1080854
look at that even color!

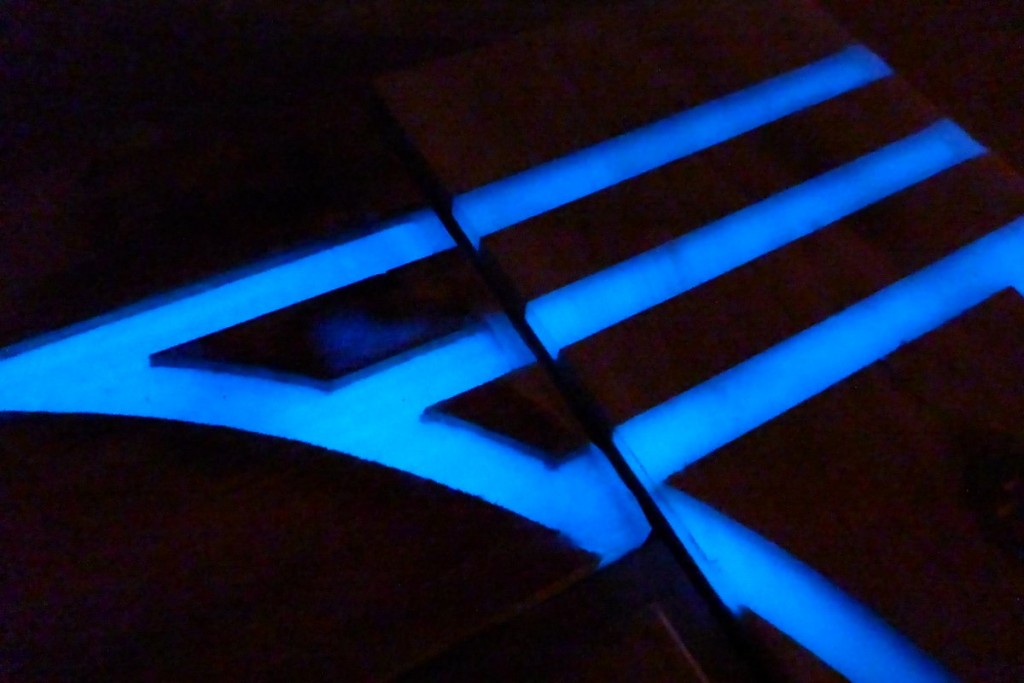
We have already talked with our electrician, Alex, about making sure that the door gets properly illuminated during the day so it glows at night. He seemed to think that ambient light would do the trick, but with such a centerpiece we’ll do whatever it takes to make sure the resin gets properly charged.

Shut The Front Door

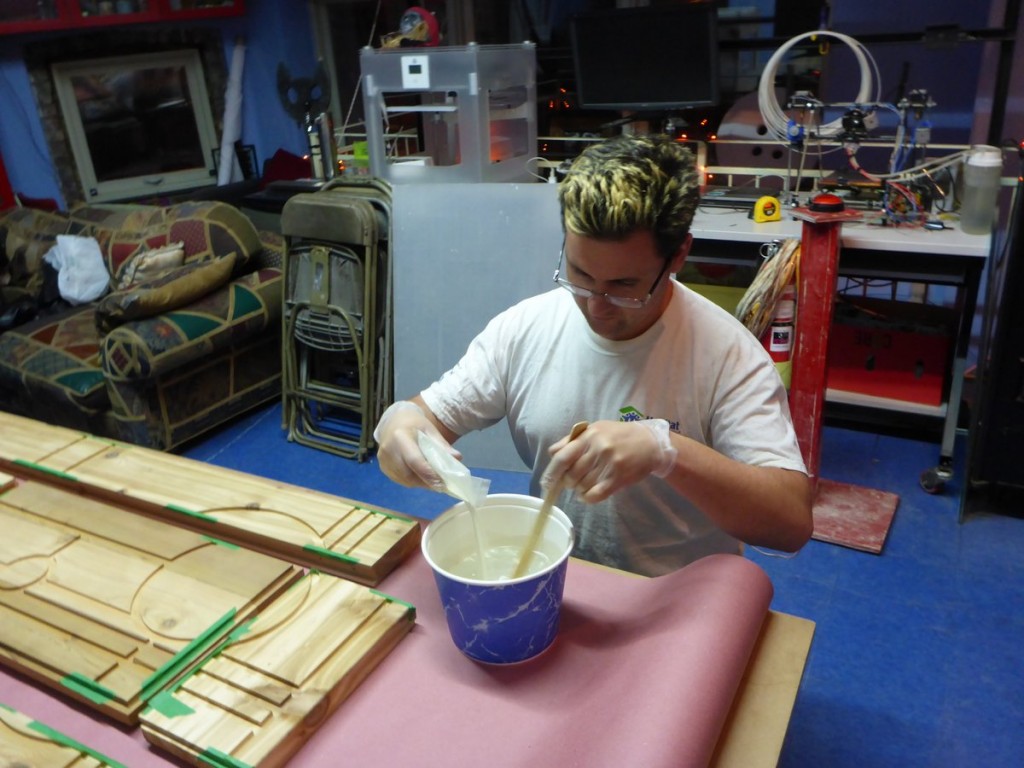
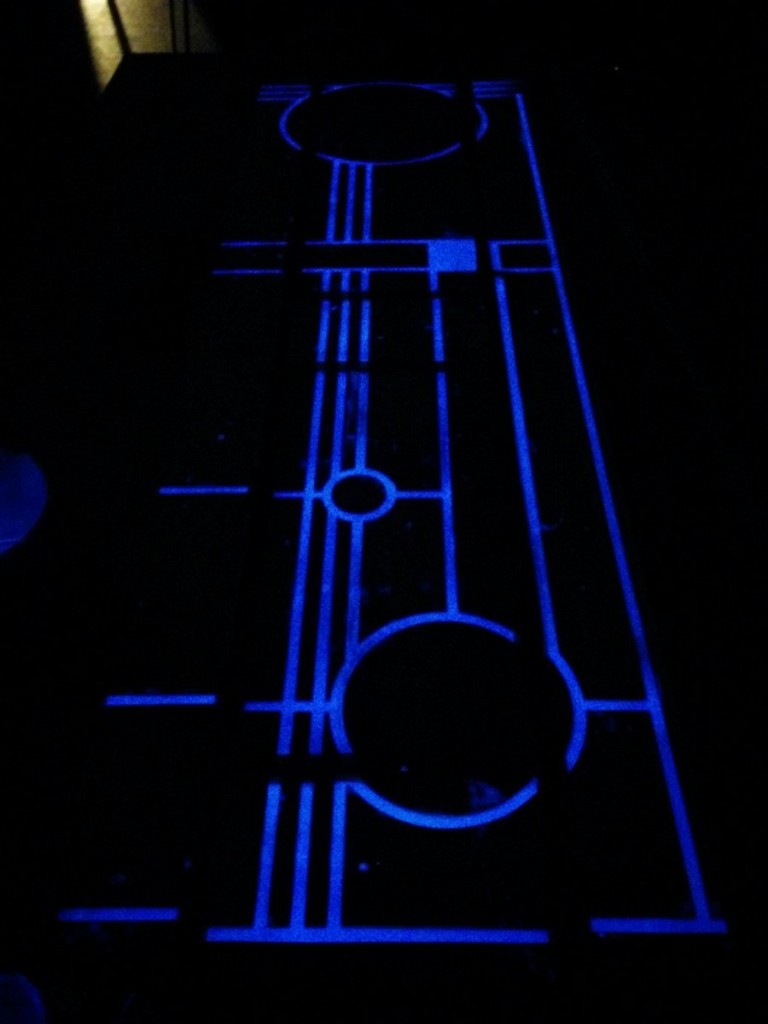
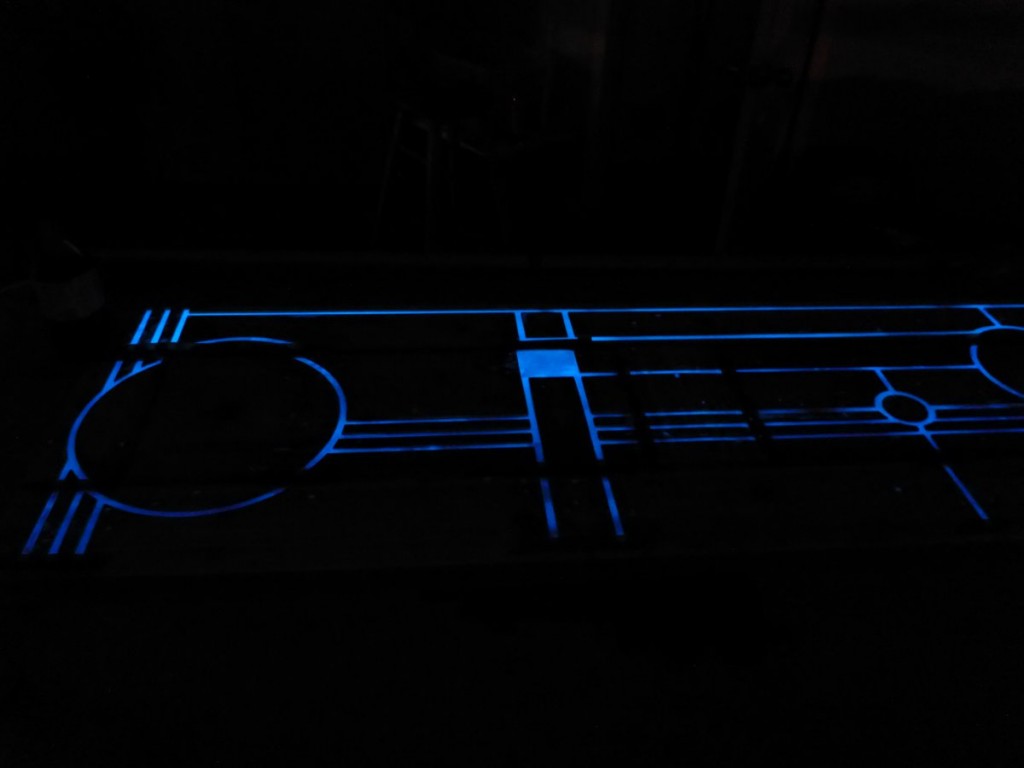
Last time, I mentioned that our front door is going to be extra special. At some point when we were talking to maker Marc Reeve-Newson about making the door, he mentioned that he had some special glow-in-the-dark resin that could be installed into grooves in the door. If we sent him a design, he could have a CNC ((Computer Numerical Control — basically a robot with a cutting head)) machine cut the grooves and then he could apply the resin and our front door would glow in the dark.

Coming up with a design for the glowing lines was a challenge. At first I came up with an intricate drawing full of delicate curves and curlicues. It also said “Speak Friend And Enter” in fancy Lord Of The Rings font because I’m an unoriginal nerd.  Even though I used a lot of clipart, it took hours to get the look I was going for.

door2

After some discussion with Marc, though, it became clear that the CNC would not have been able to properly etch those delicate shapes. Char also pointed out the organic shapes I had created would not fit with the modernist aesthetic we had been applying to the rest of the house.  So I went back to the drawing board and whipped up something sort of in the style of Mondrian or Frank Lloyd Wright.  Lots of thick, bold lines that the machine could cut more easily.  Compared to the hours I spent on the first design, I banged this one out in probably half an hour.
door3-solid

After some back and forth and small adjustments, we had a design that worked. And now we can see the (almost) finished result:

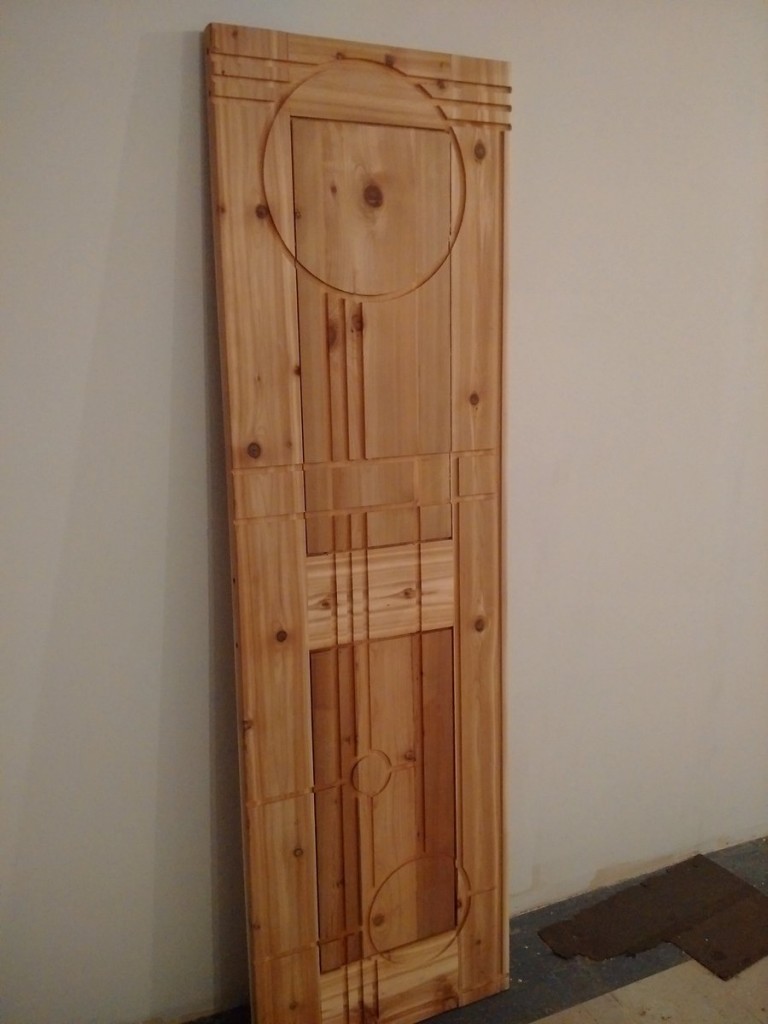
IMG_20151103_194740
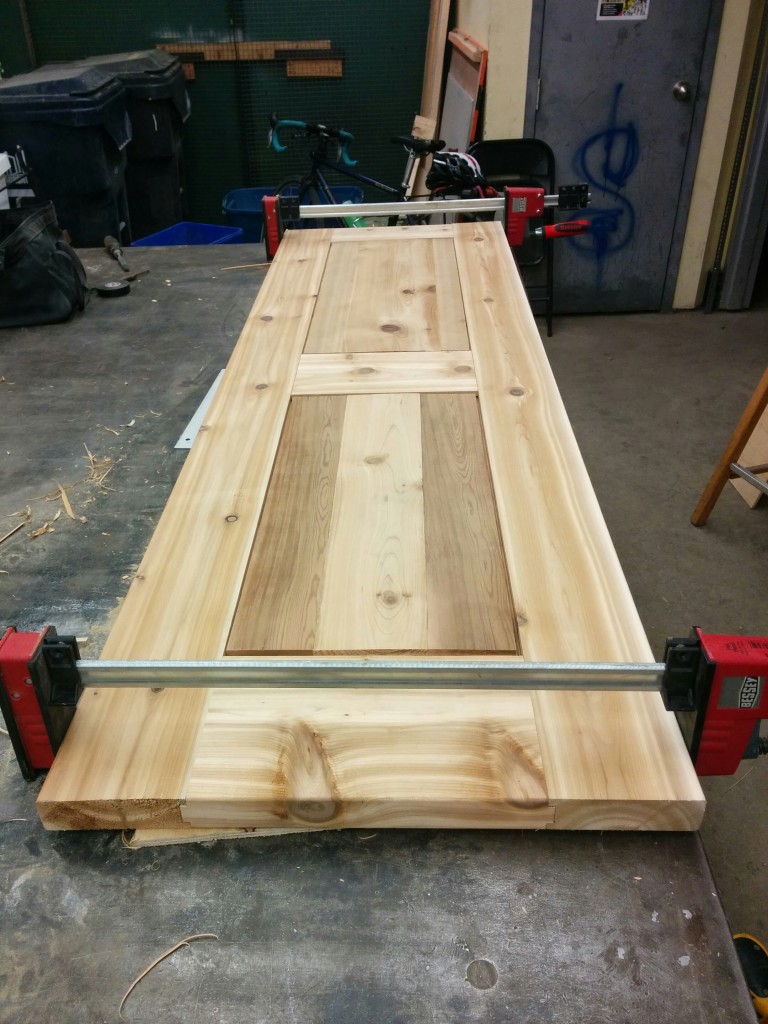
The door, with CNC carvings

You can see how some of the circles changed size but on the whole the design is intact. Marc kindly sent some photos of the resin application process.

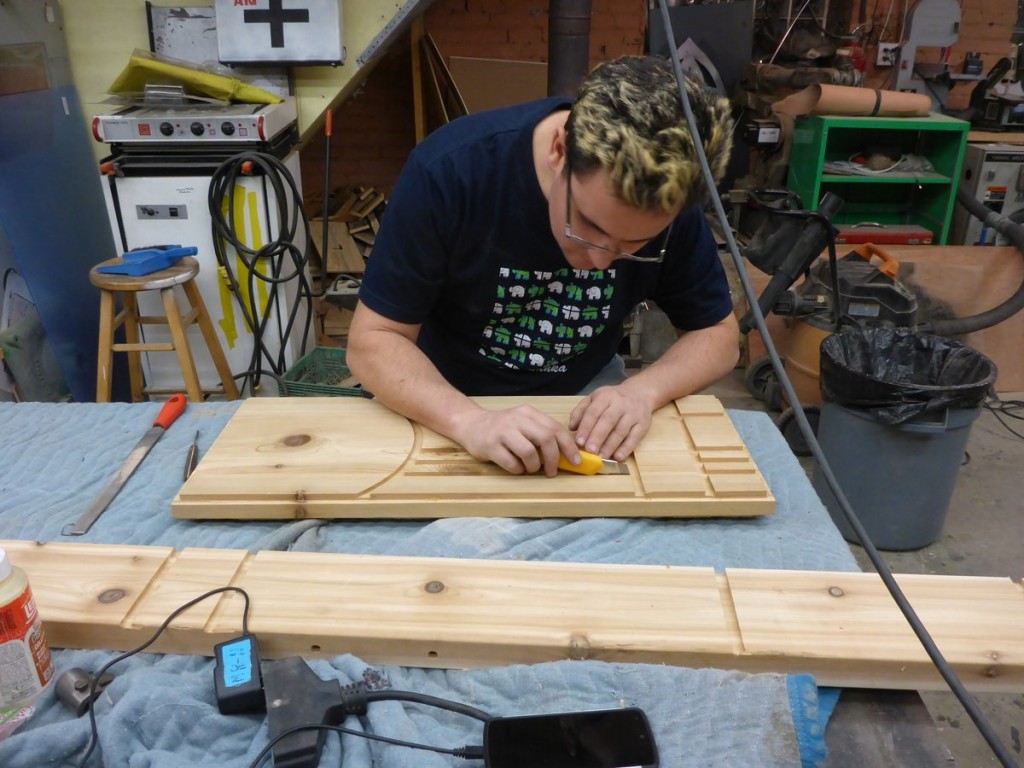
P1080809
Our maker, Marc, at work. I believe he’s removing excess wood from the grooves to make them smooth.

The following captions are care of Marc.

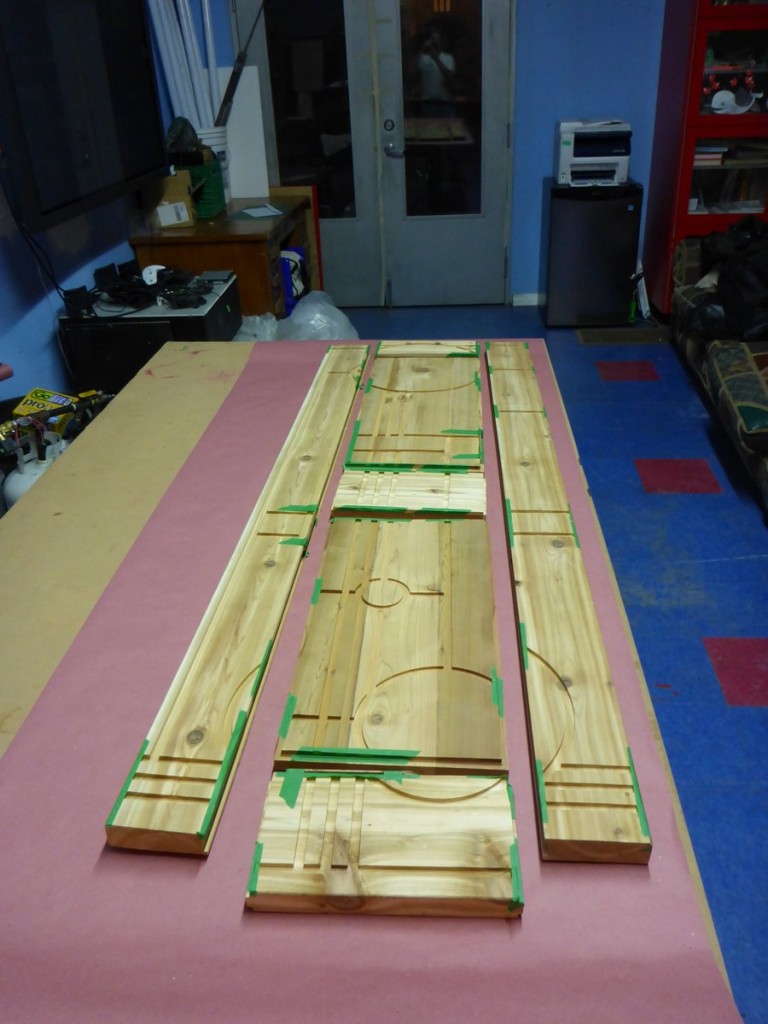
P1080813
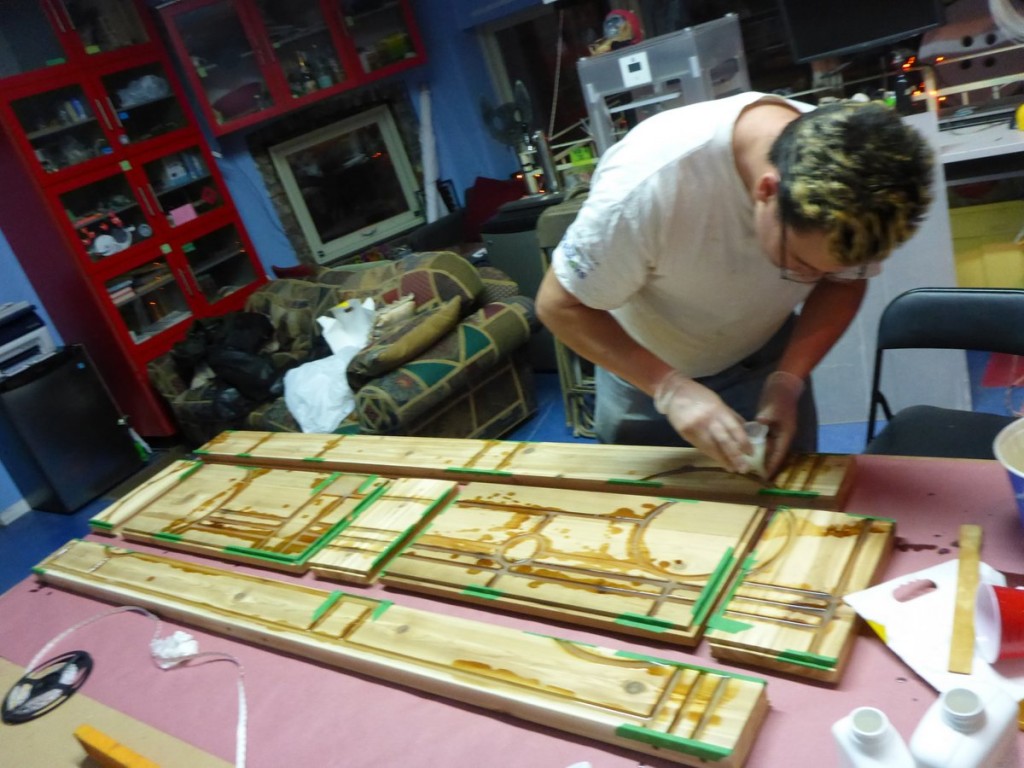
Start of the evening, the tape is to stop resin from flowing out of the grooves.
P1080819
Mixing in the glow in the dark powder.
P1080824
Pouring. The powder had a tendency to settle in the epoxy, so constant mixing was required.
P1080832
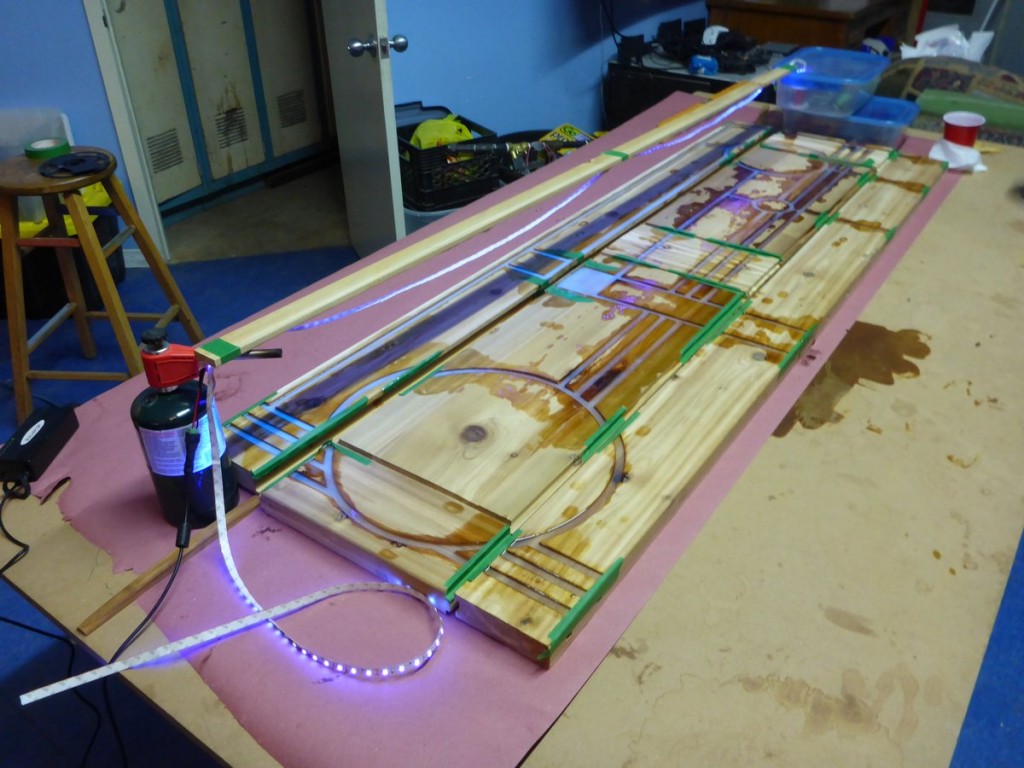
Charging the pigment with some UV strip lights I had kicking around.
2015-11-10 22.05.34
So here’s what the door looked like at the end of the evening
P1080835
Side view

Char and I are both blown away by the photos. Marc still has some work to do sanding down the resin, but we couldn’t be happier with the finished product. We will have the door soon, and then we’ll install it in the house.

Calling In The Experts

While we’ve been working on the siding, I’ve also been thinking the next stage of construction, which is roughing in the electrical system. I did a lot of research and made a big shopping list for electrical equipment, but I was starting to get overwhelmed and wasn’t sure I was making the right choices. Char and I discussed it and we decided it’d be best to hire someone to rough in the electrical for us.

A mutual friend of ours introduced us to Alex Suzzi, a Licensed Electrician and Industrial Technician with 10 years experience, and after learning about the project he was excited to look at a tiny house and see how he could help ((If you’re interested in contacting Alex, you can reach him at alexsuzzi@gmail.com)). We showed him around and he immediately had tons of great ideas and suggestions for wiring tricks, like using low-voltage LED lighting and battery-less remote light switches. It’s a big relief to be able to put this task into someone else’s capable hands.

wpid-wp-1444071108279.jpg
Alex admiring a 175A fast-blow fuse, for protecting our batteries from short-circuits.

One other item we didn’t want to make ourselves is the front door. Tiny house front doors are critical and rarely a standard size, so it’s best to have a professional artisan do the carpentry. Char found Marc, who is crafting our door in the frigid land of Canada. Our door is going to be extra special, but I’m not going to give away what I mean by that just yet. For now, here is a shot Marc sent us of the door in progress.

wpid-wp-1444187516038.jpg
Our beautiful, beautiful door.

Siding: Reclaimed

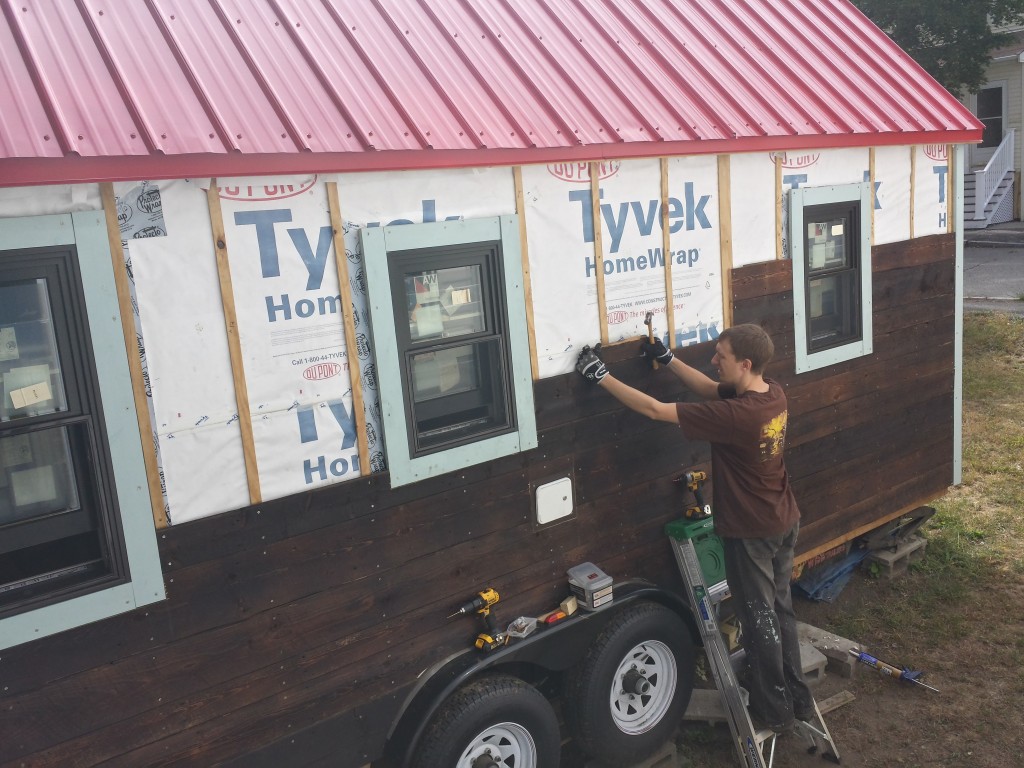
The process of mounting the tongue-and-groove siding to the house is coming along.  We have now covered most of three sides of the house, and the reclaimed wood looks amazing.

wpid-wp-1444070733667.jpg
Trying to coax tongues into grooves
wpid-wp-1444071003516.jpg
Lookin’ good

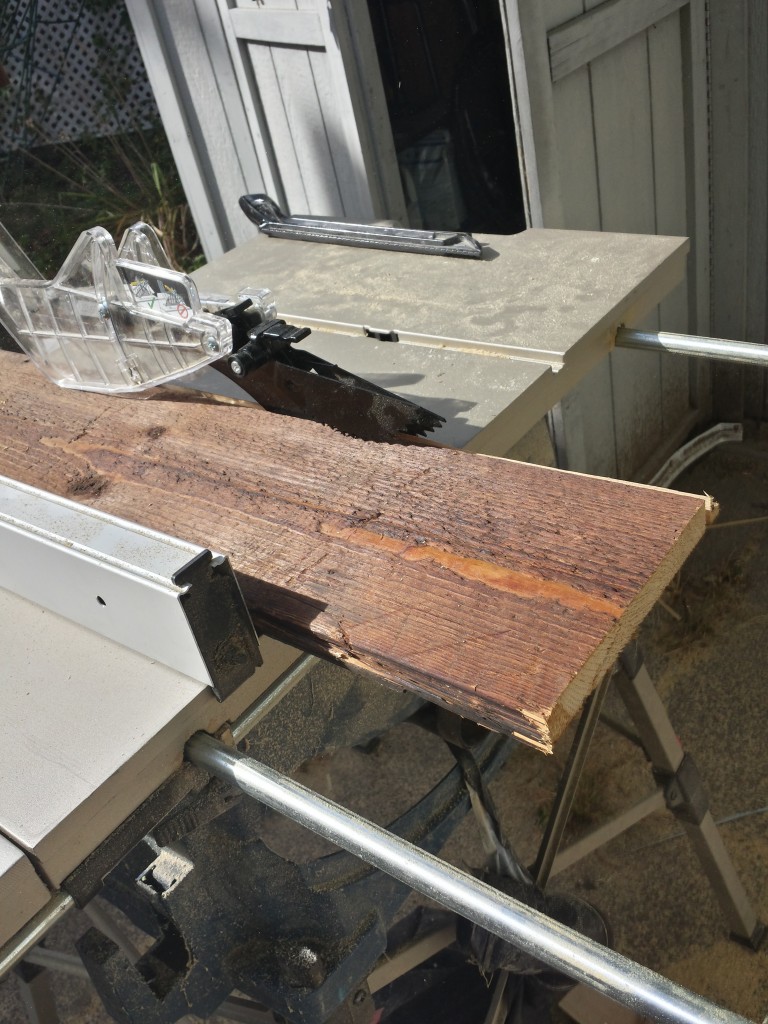
We will have enough wood to cover the house, but we’re starting to run out of the high quality pieces. What’s left are boards that have a lot of damage to the tongues or grooves. For these, I have to use a table saw fitted with a special blade called a dado blade. This lets me cut a groove 1/4″ wide or wider in the edge of a board, if I need to. I have done a few tests with scrap siding boards, and I think it will work.

wpid-wp-1444070821929.jpg
Cutting off a bad groove
wpid-wp-1444070890678.jpg
Test fitting a new groove

The last side of the house has a lot of utility connections, so more of the boards will have to be specially cut, like puzzle pieces. After that, the trickiest part will be attaching the very uppermost boards, the ones in the soffit of the roof. One of the lessons I’ve learned building the house is to do the easy things first, and just save the hard tasks for later.