Tiny House Crafters are making great progress with the house! There was a delay because we needed to have a custom shower pan manufactured, but everything else has been full steam ahead.
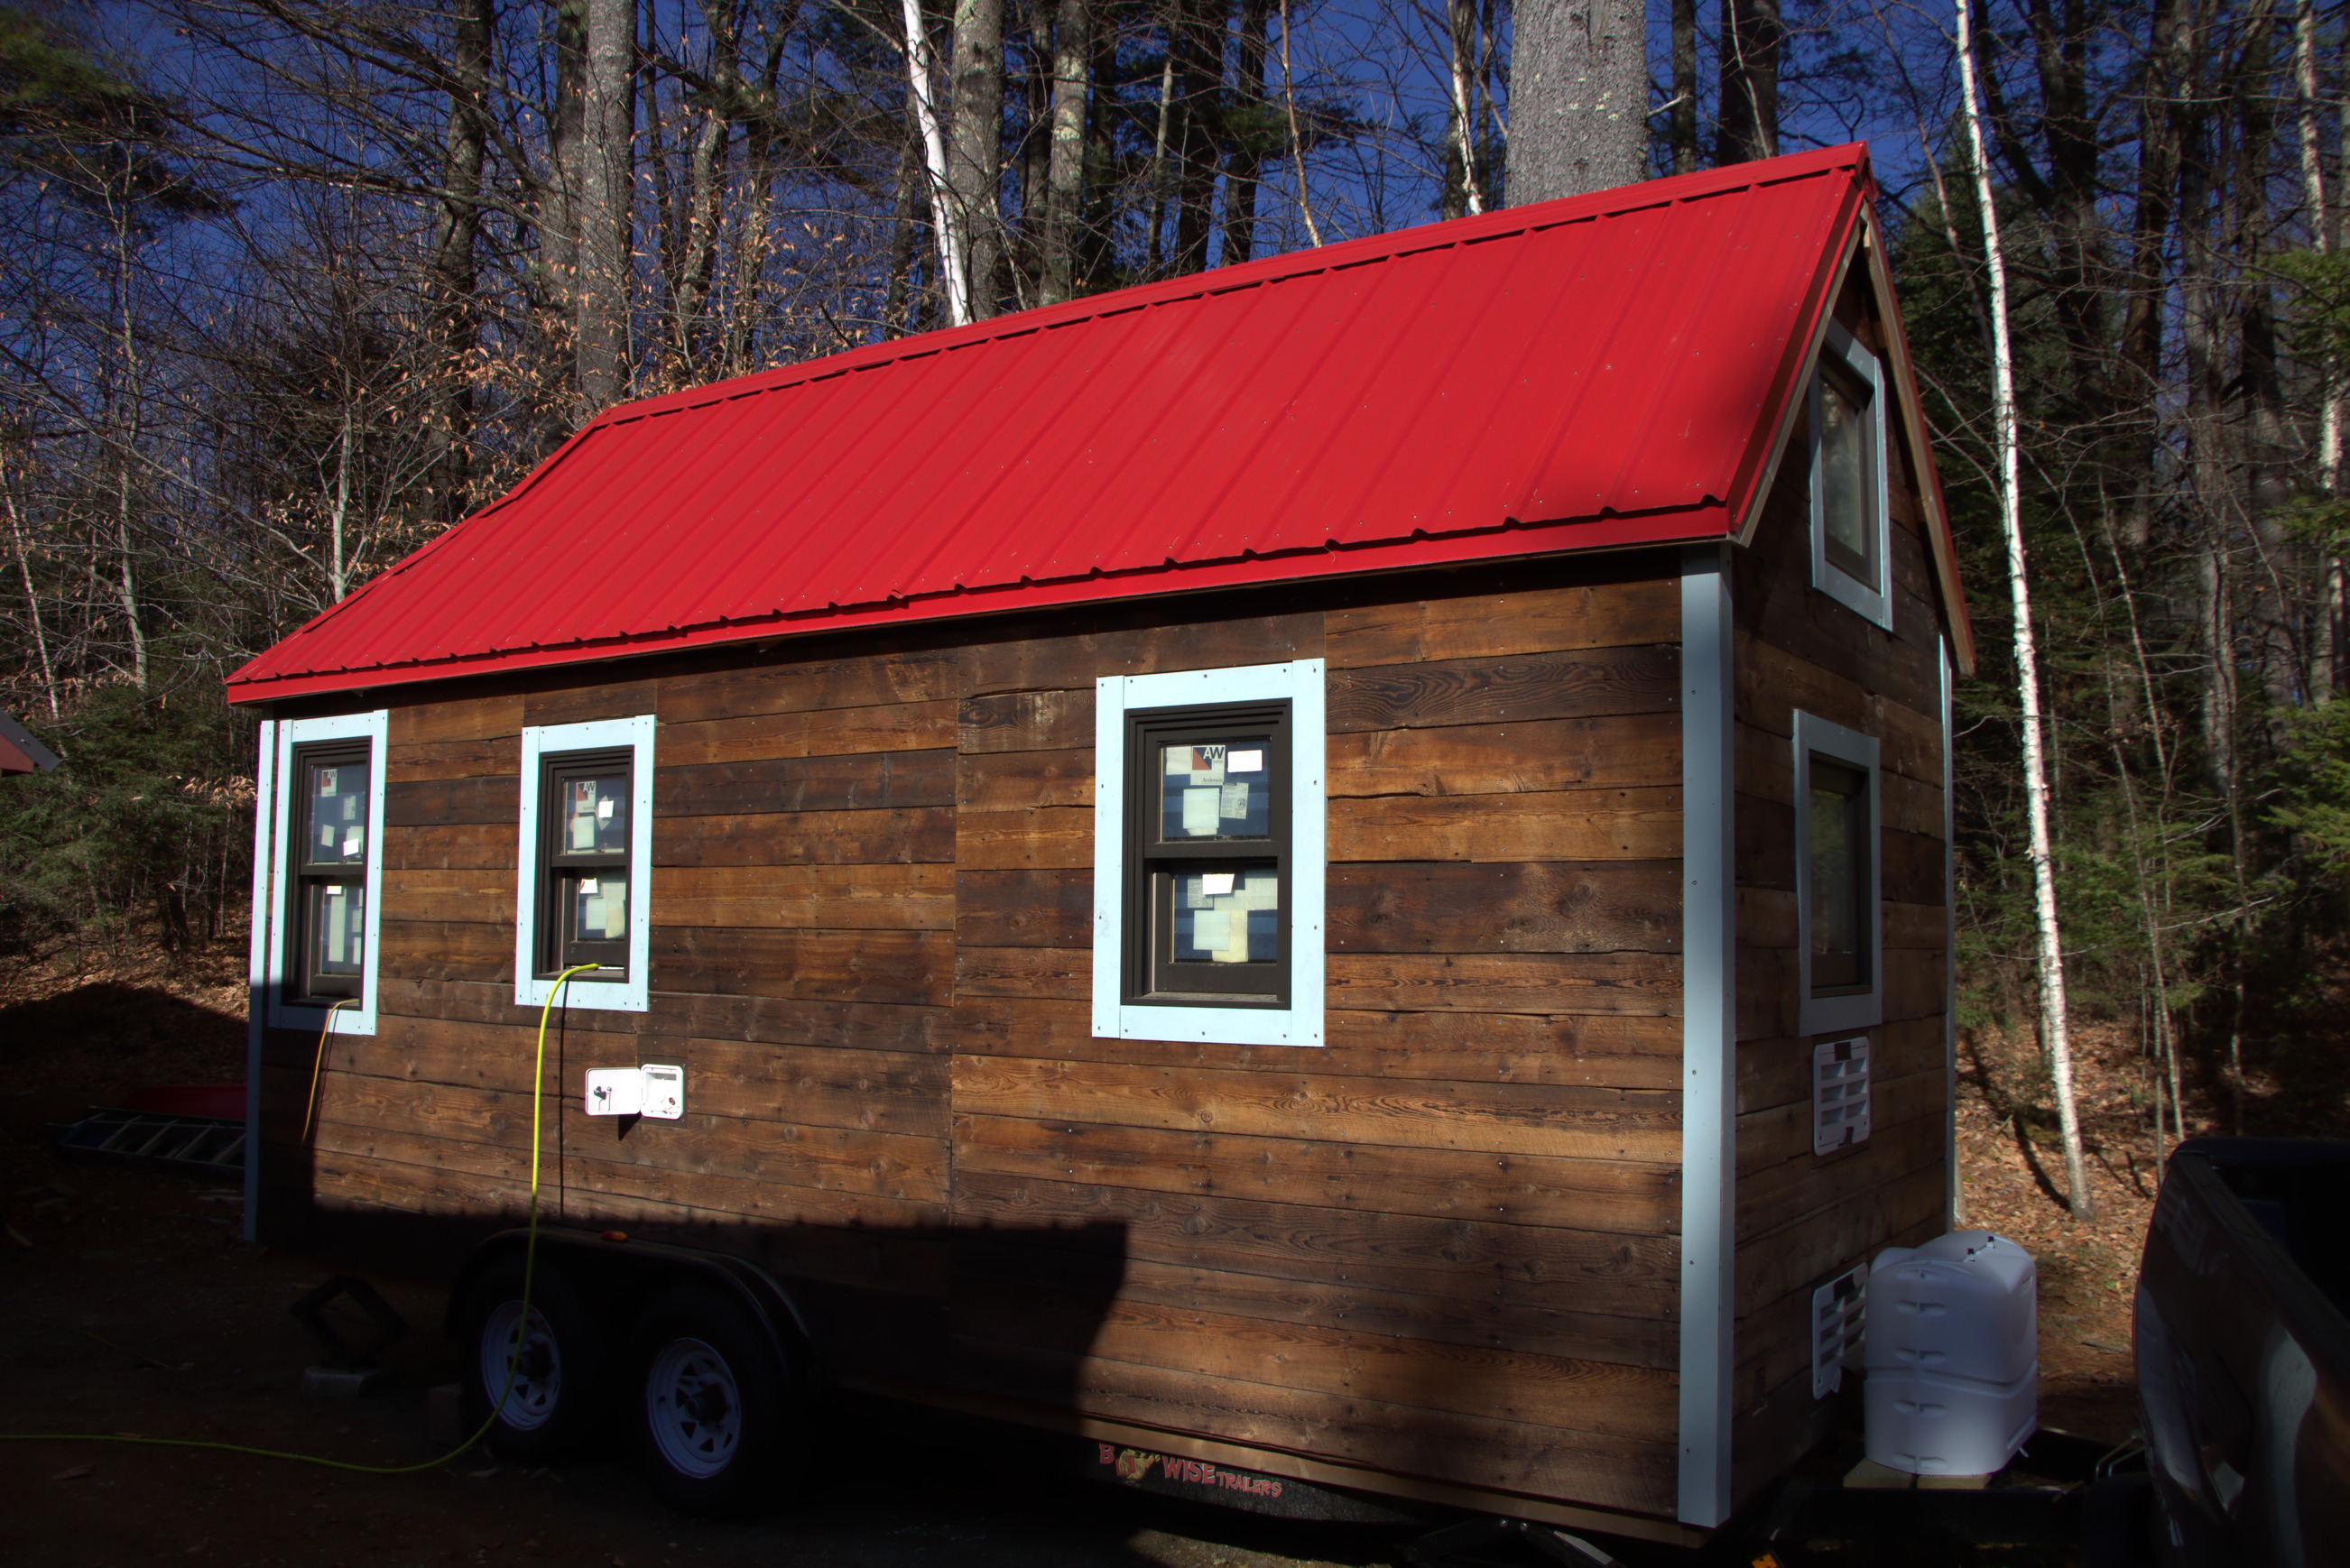
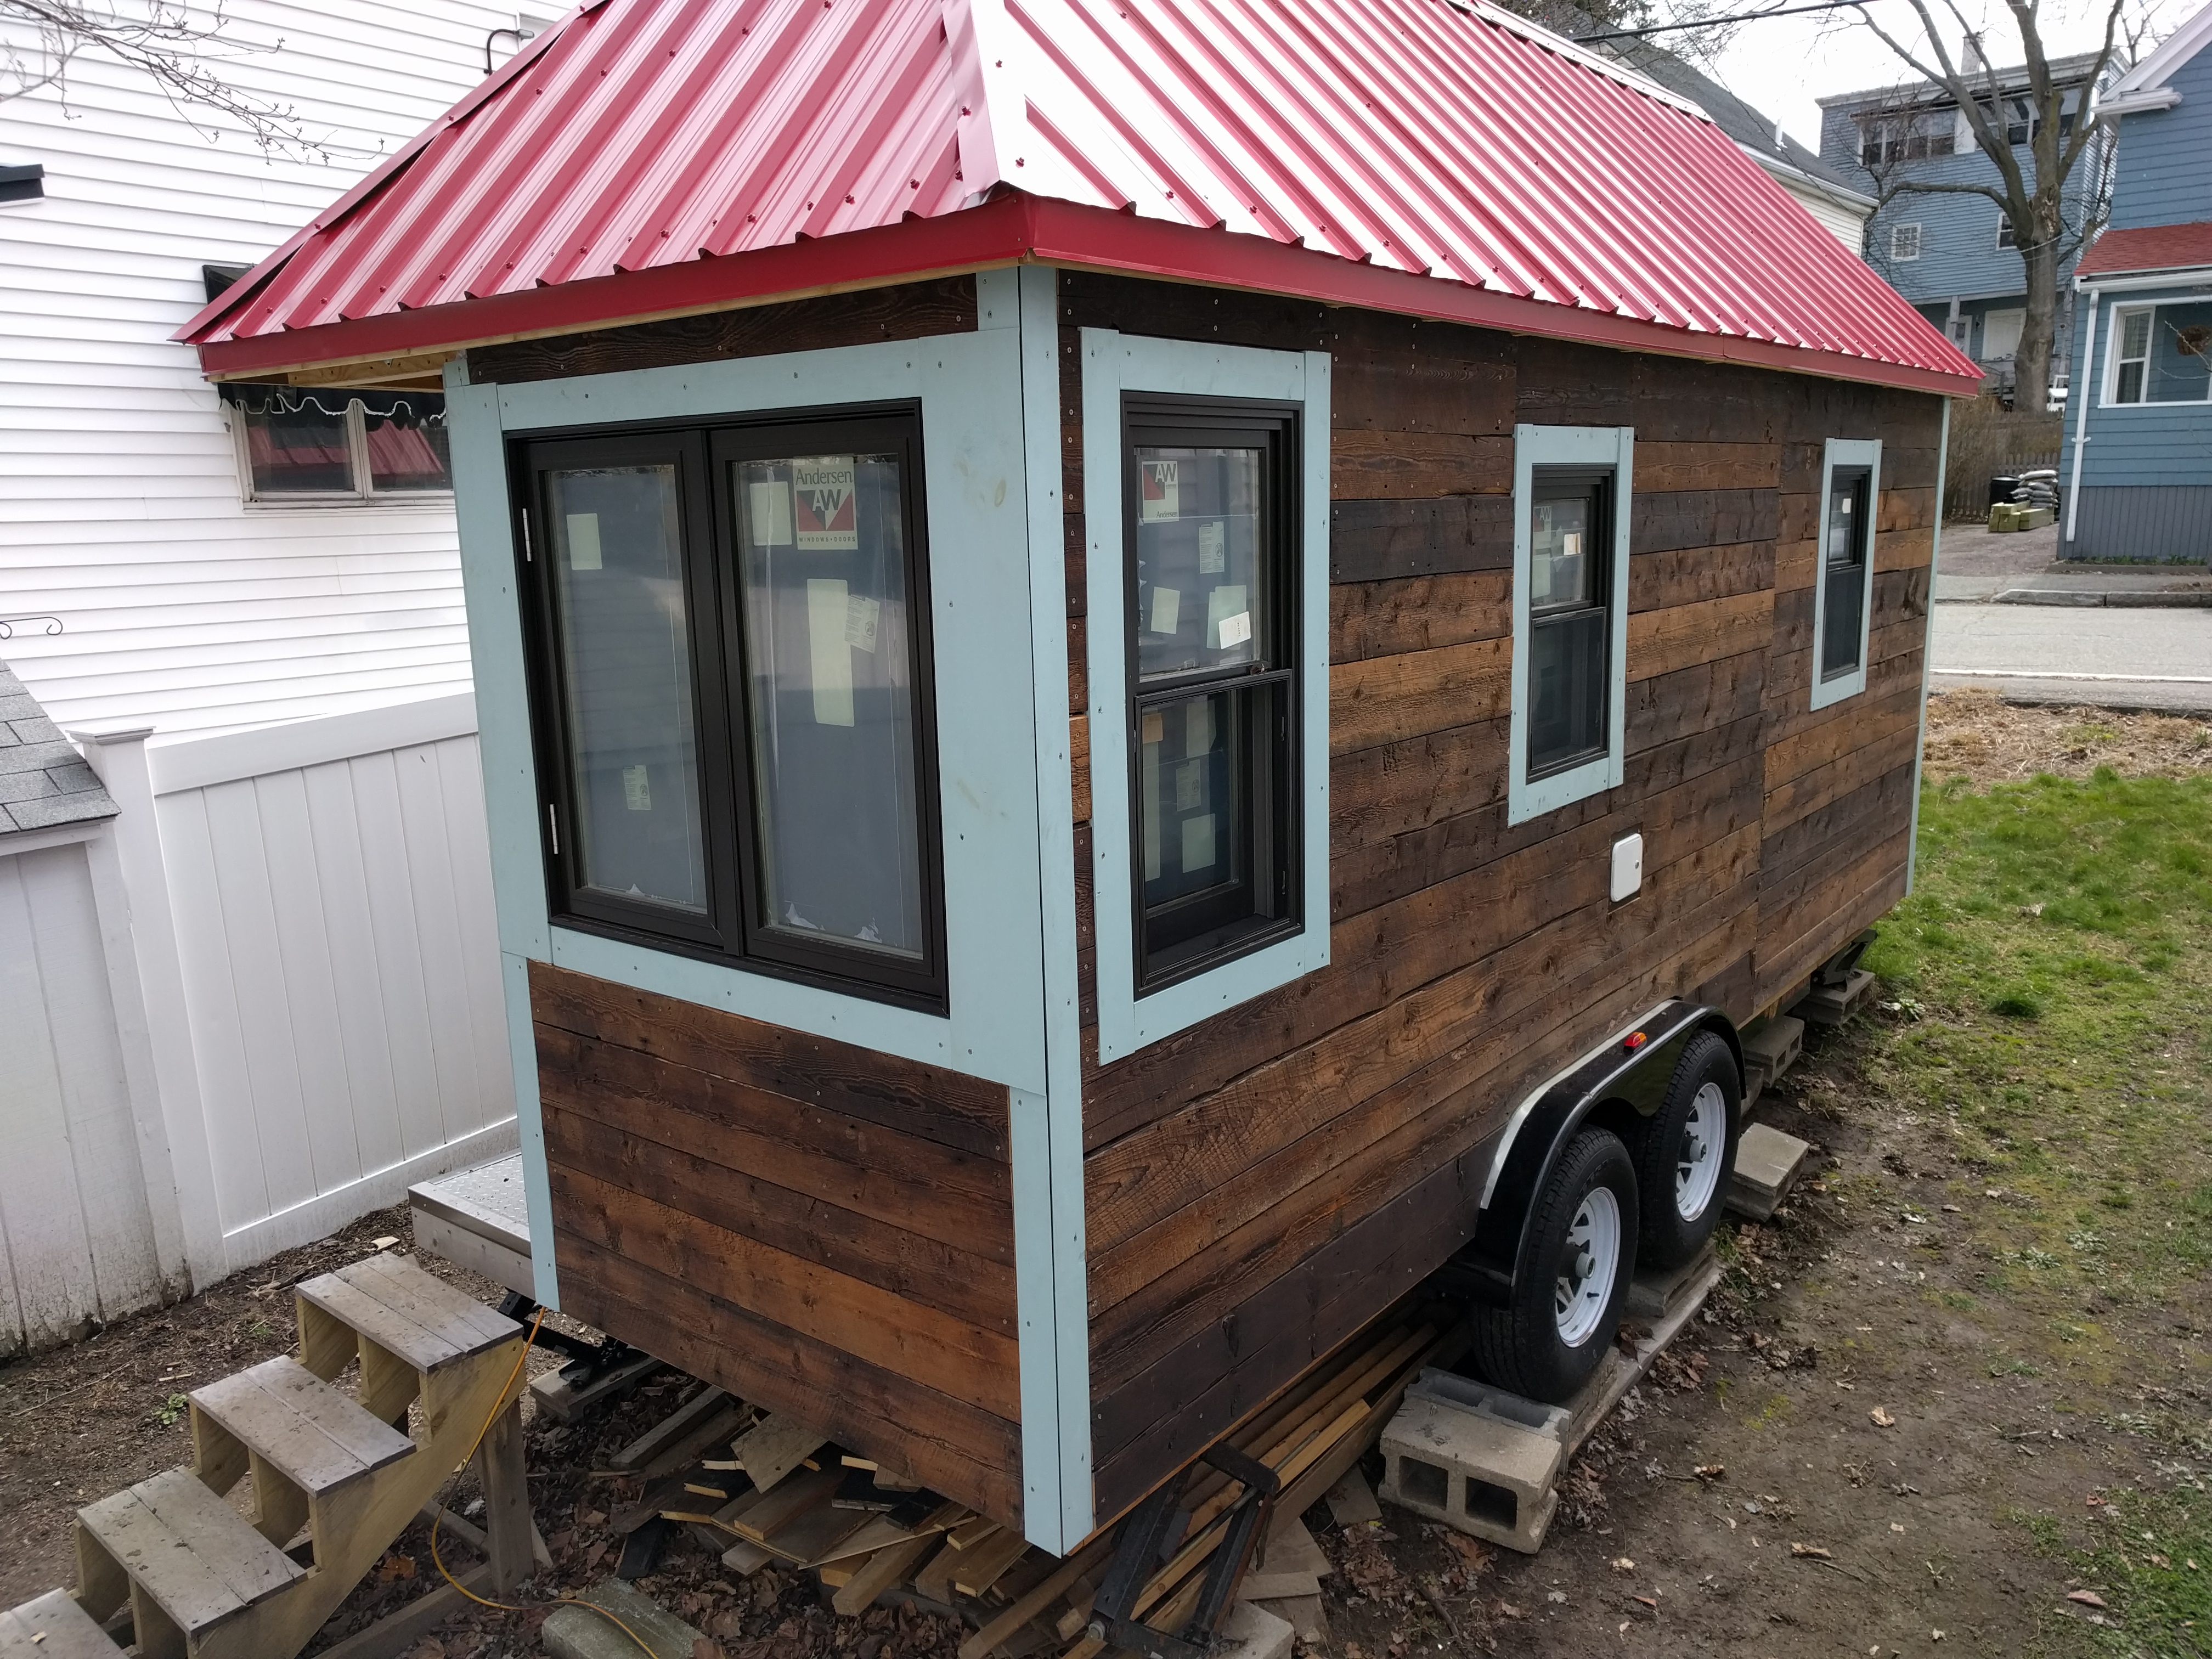
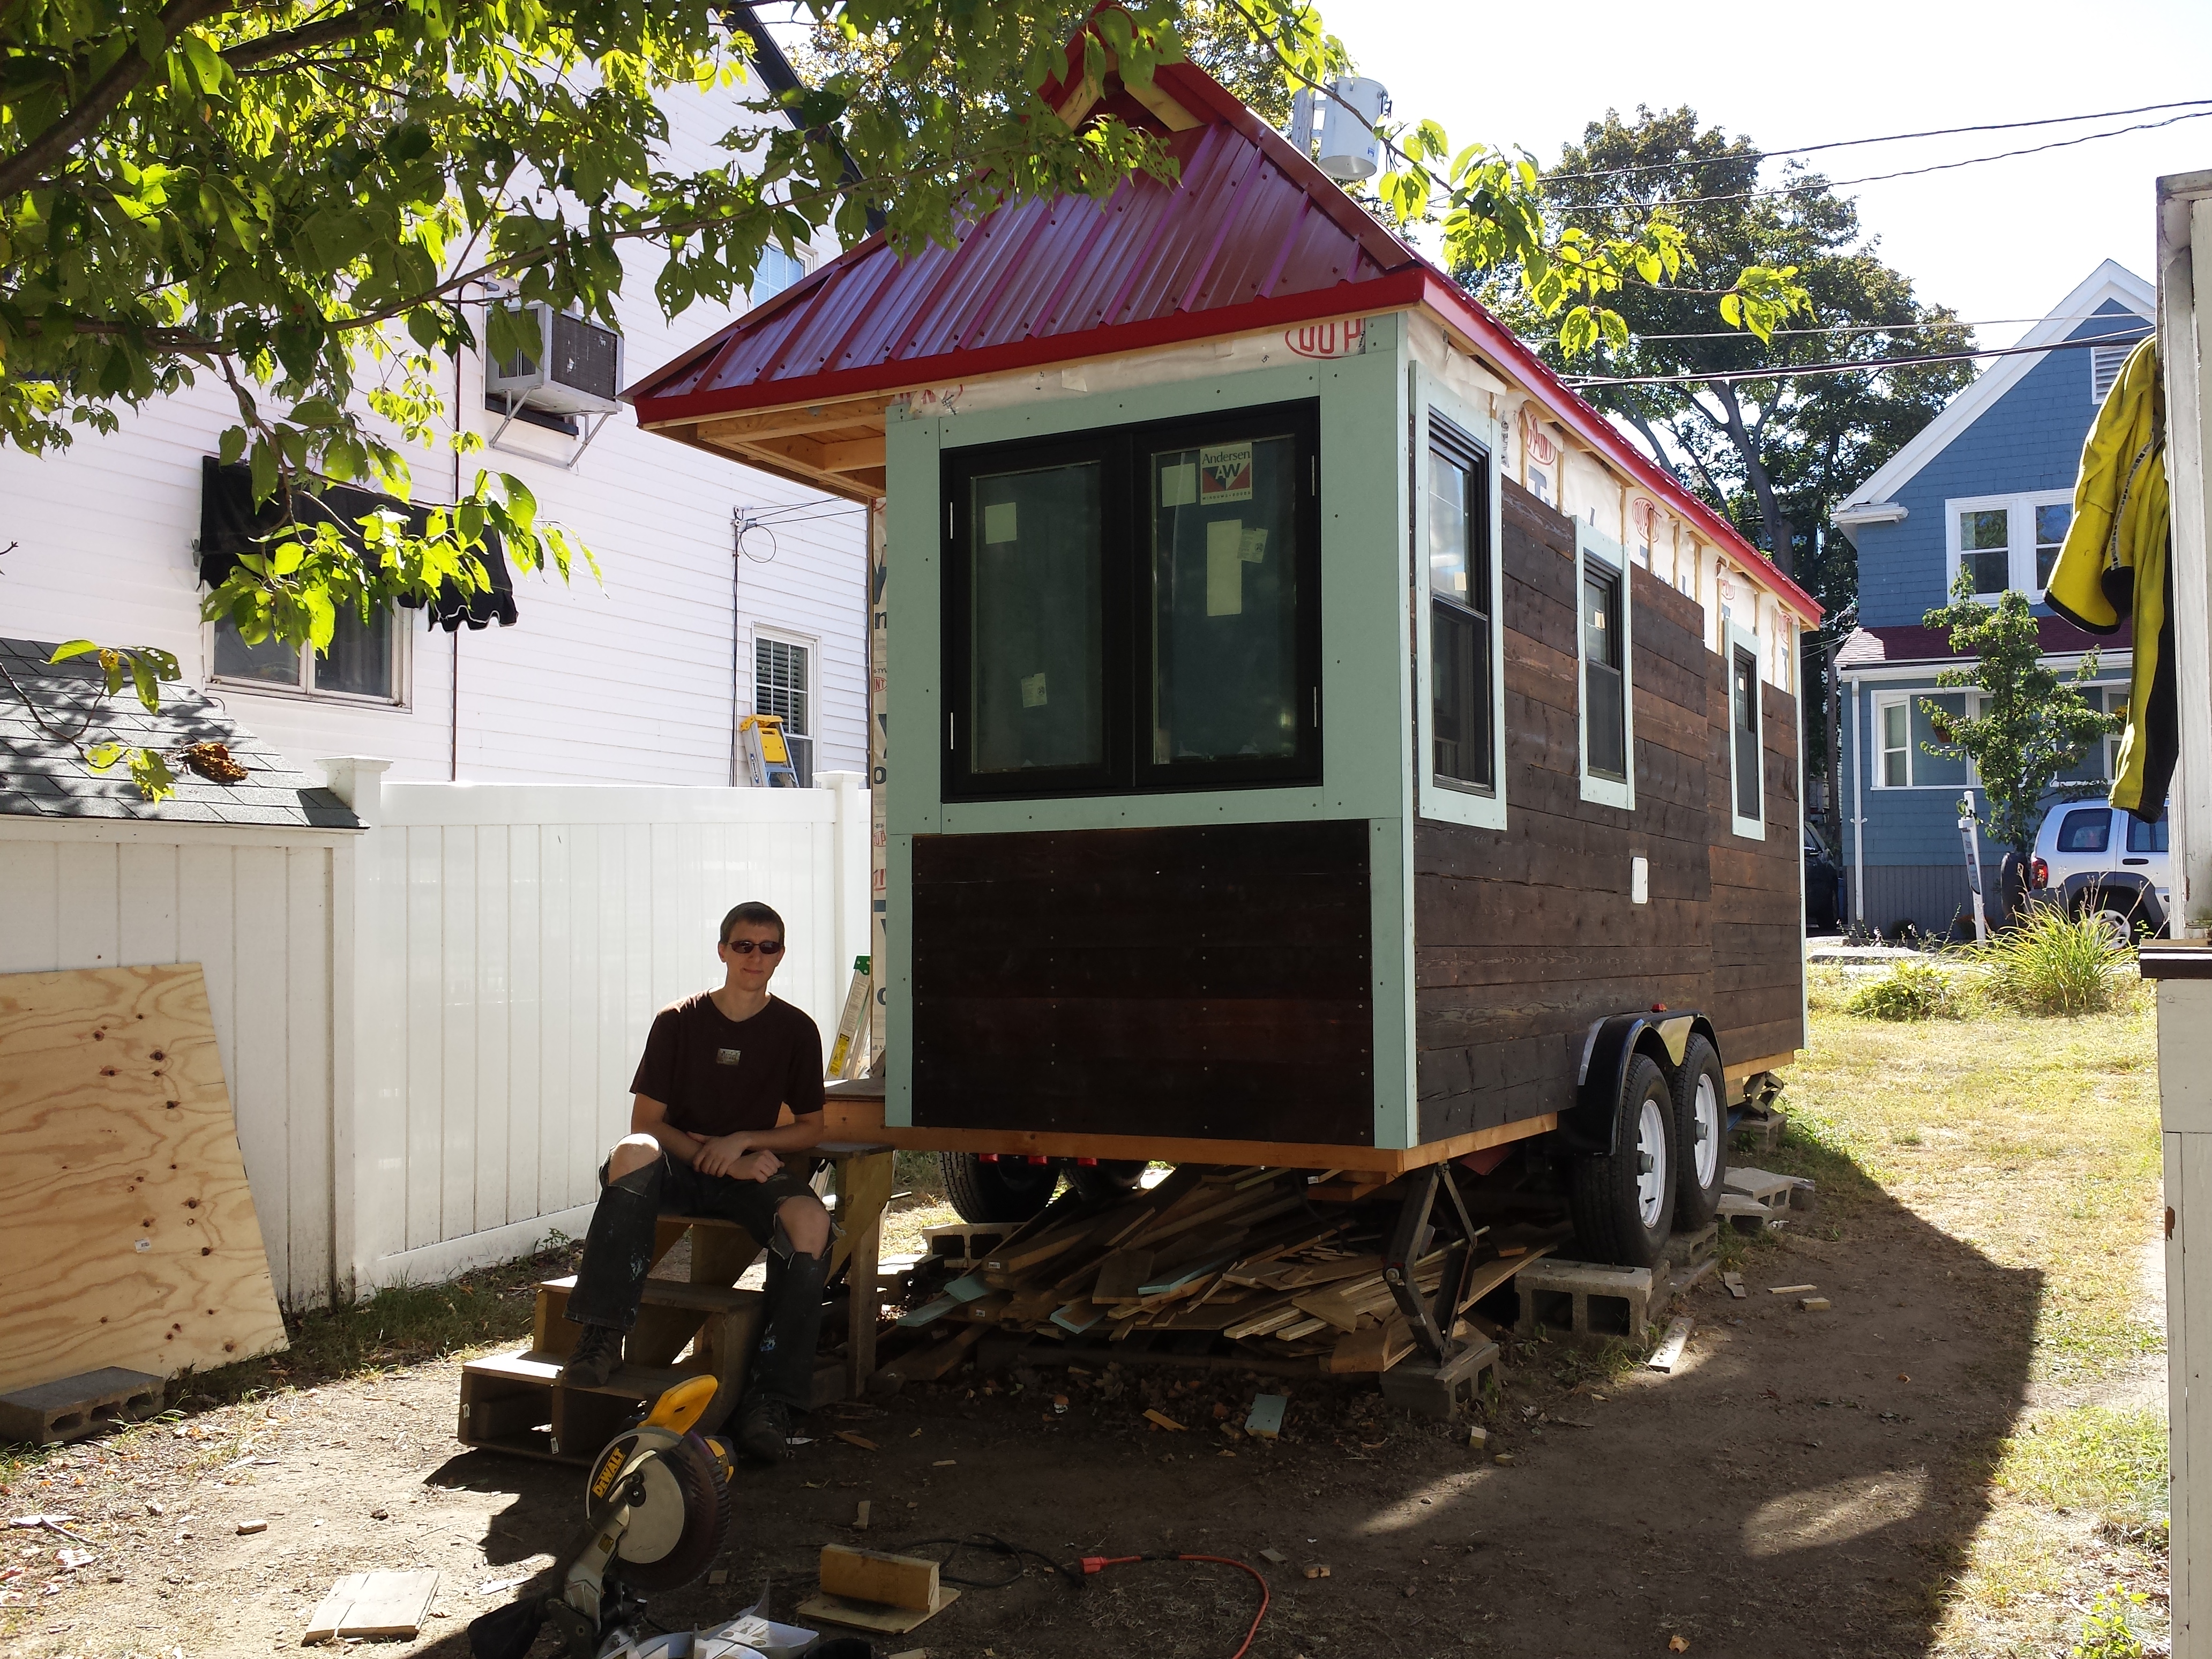
Still lookin’ good, now with propane tanks
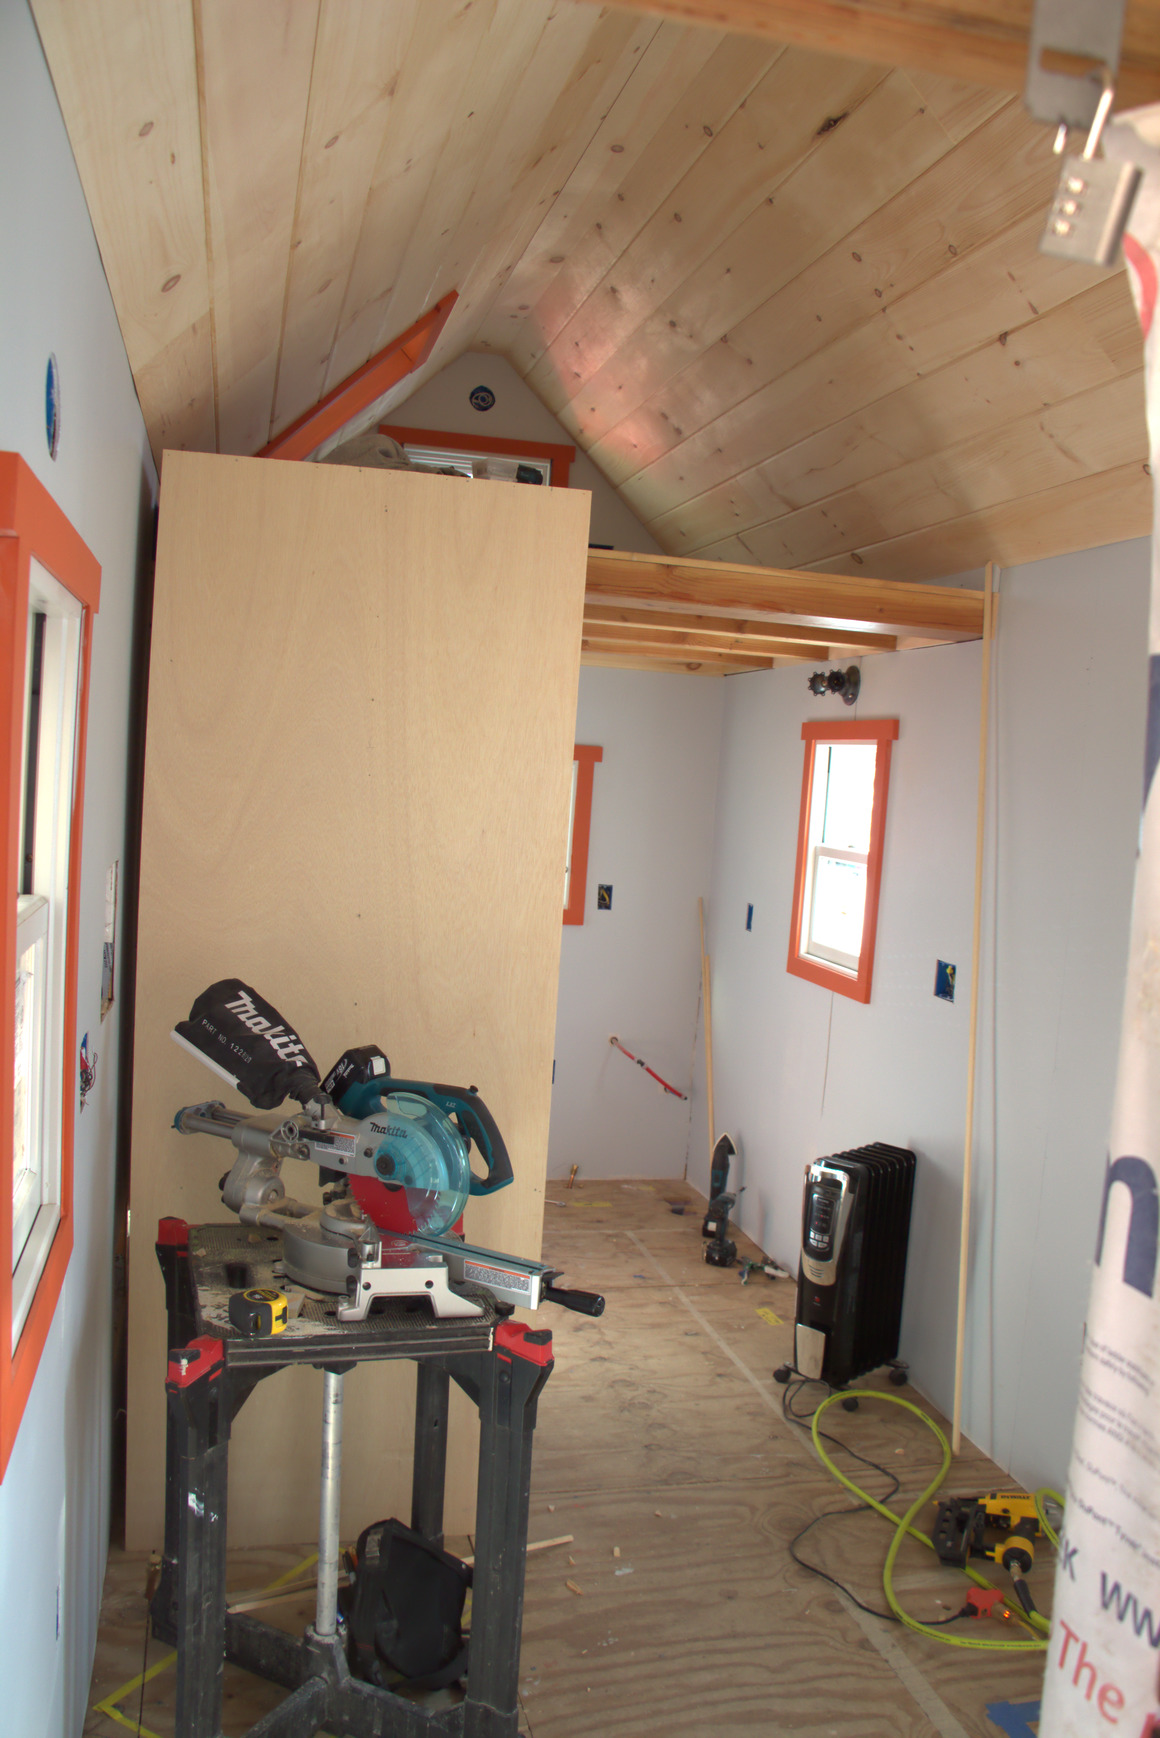
The interior paint choices are… ok. It’s hard to pick colors remotely, and in this case the weird orange was picked to match the Ikea cabinetry that hasn’t been installed yet. I wish Ikea’s color choices were better but I really didn’t want another wood tone in the interior. If the orange doesn’t work, I can always just repaint the trim and let the cabinets be the only weird orange thing.
Walls are basically done, ceiling is done.
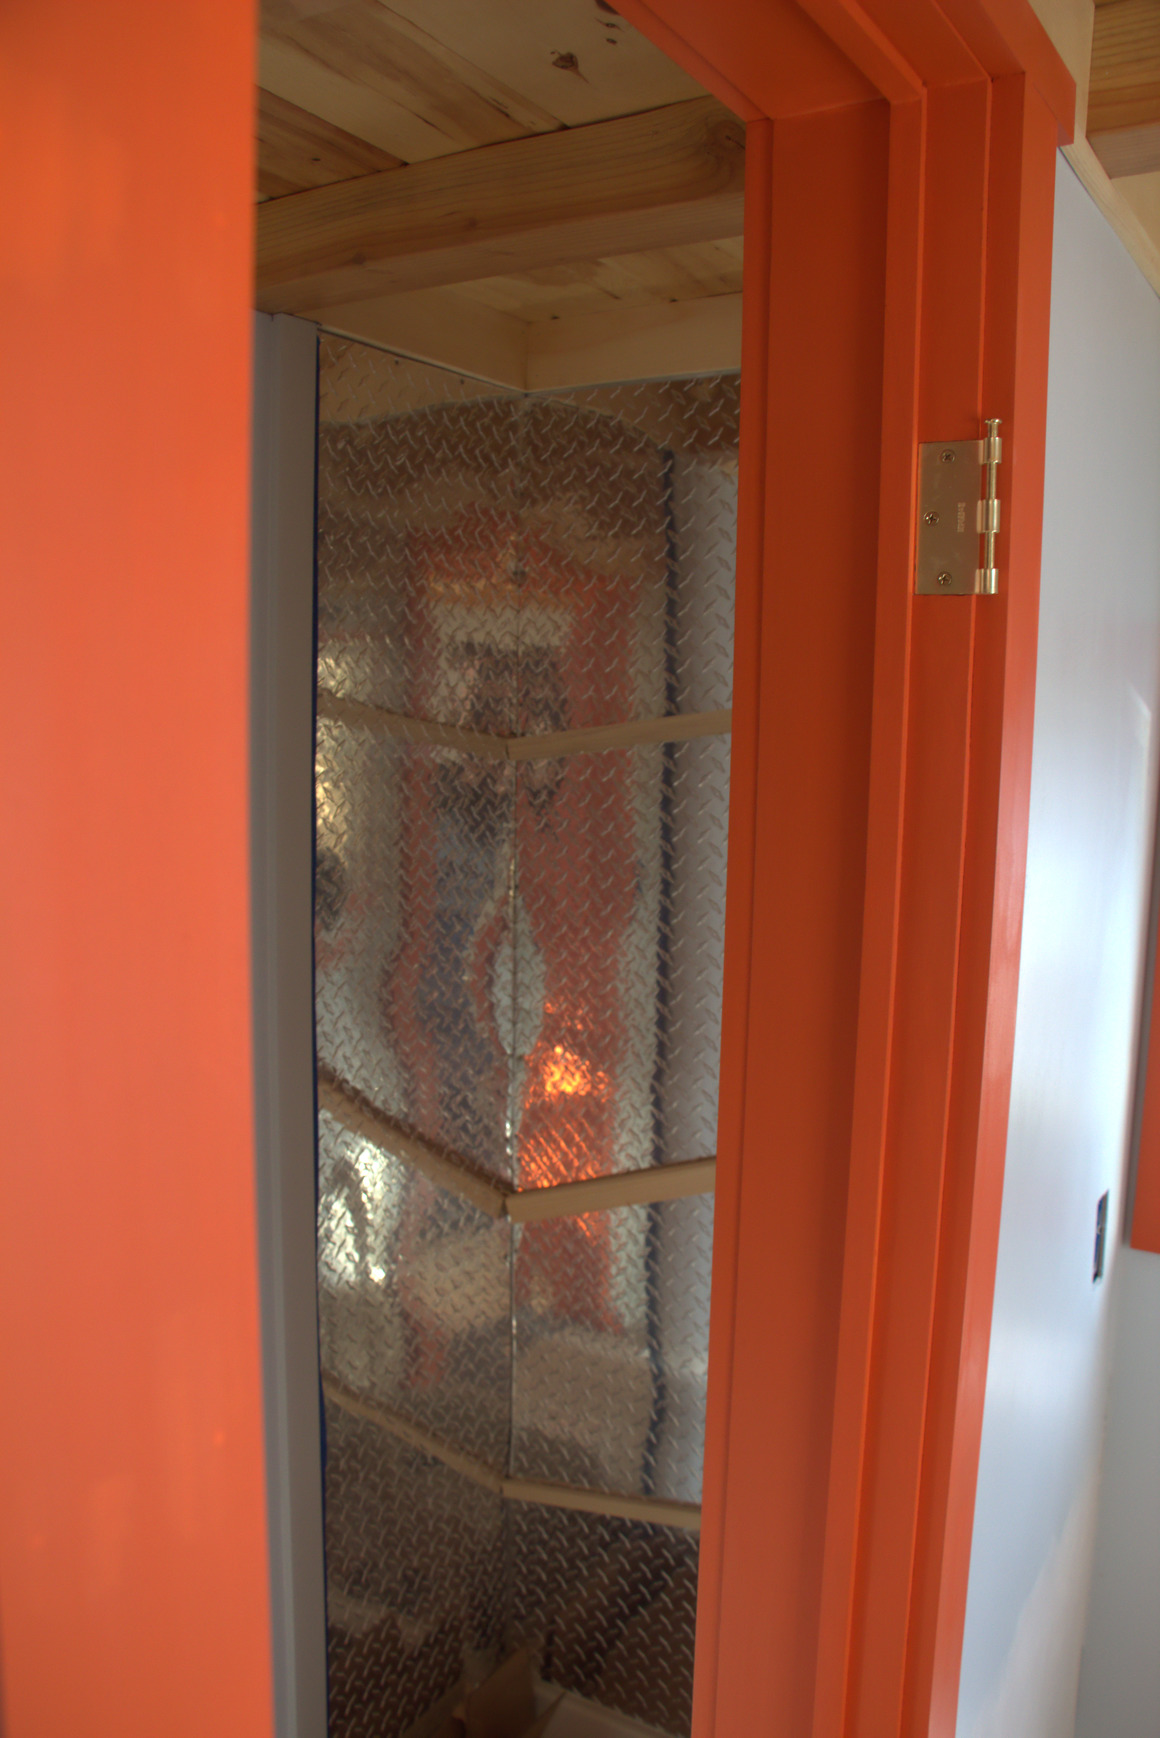
Diamond tread is another stylistic element that will be used throughout the house to keep it looking modern. It’s already being used for the front porch, and now it’s in the shower. It will also be used for the kickspace, backsplash, and the front of the fridge.
Diamond tread shower!
We’re on track for the house to be done in just a few weeks, I can’t wait!
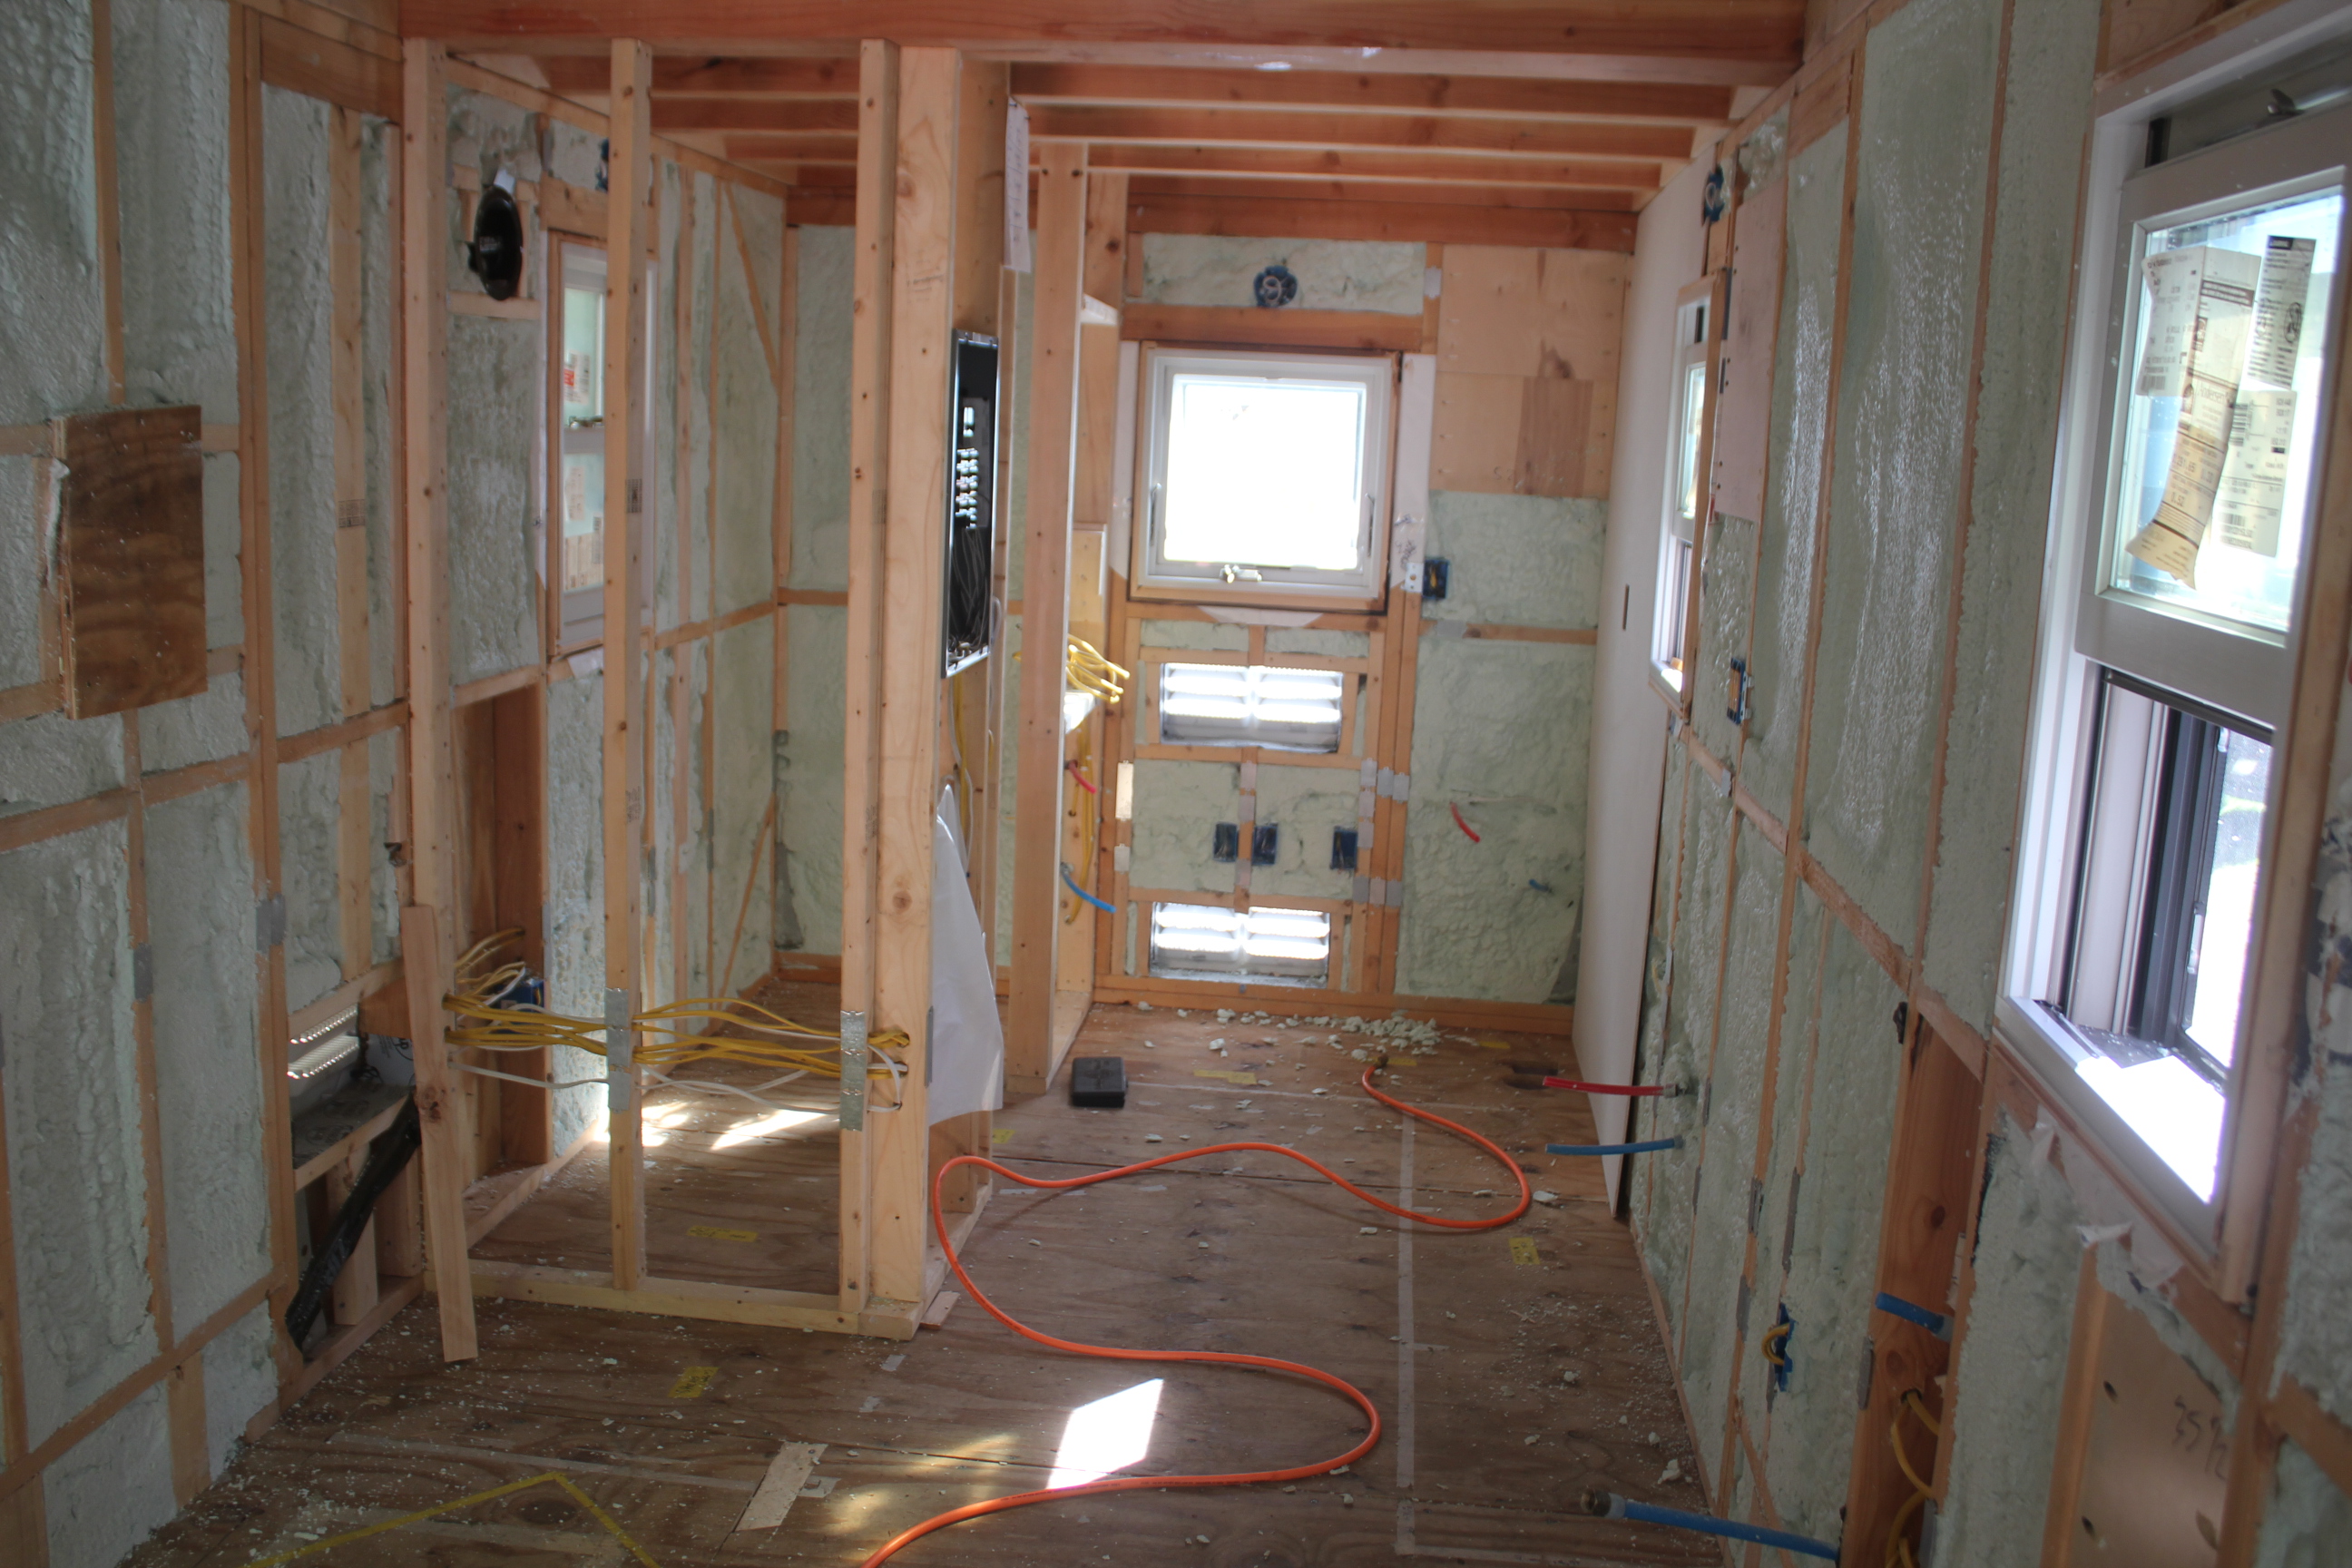
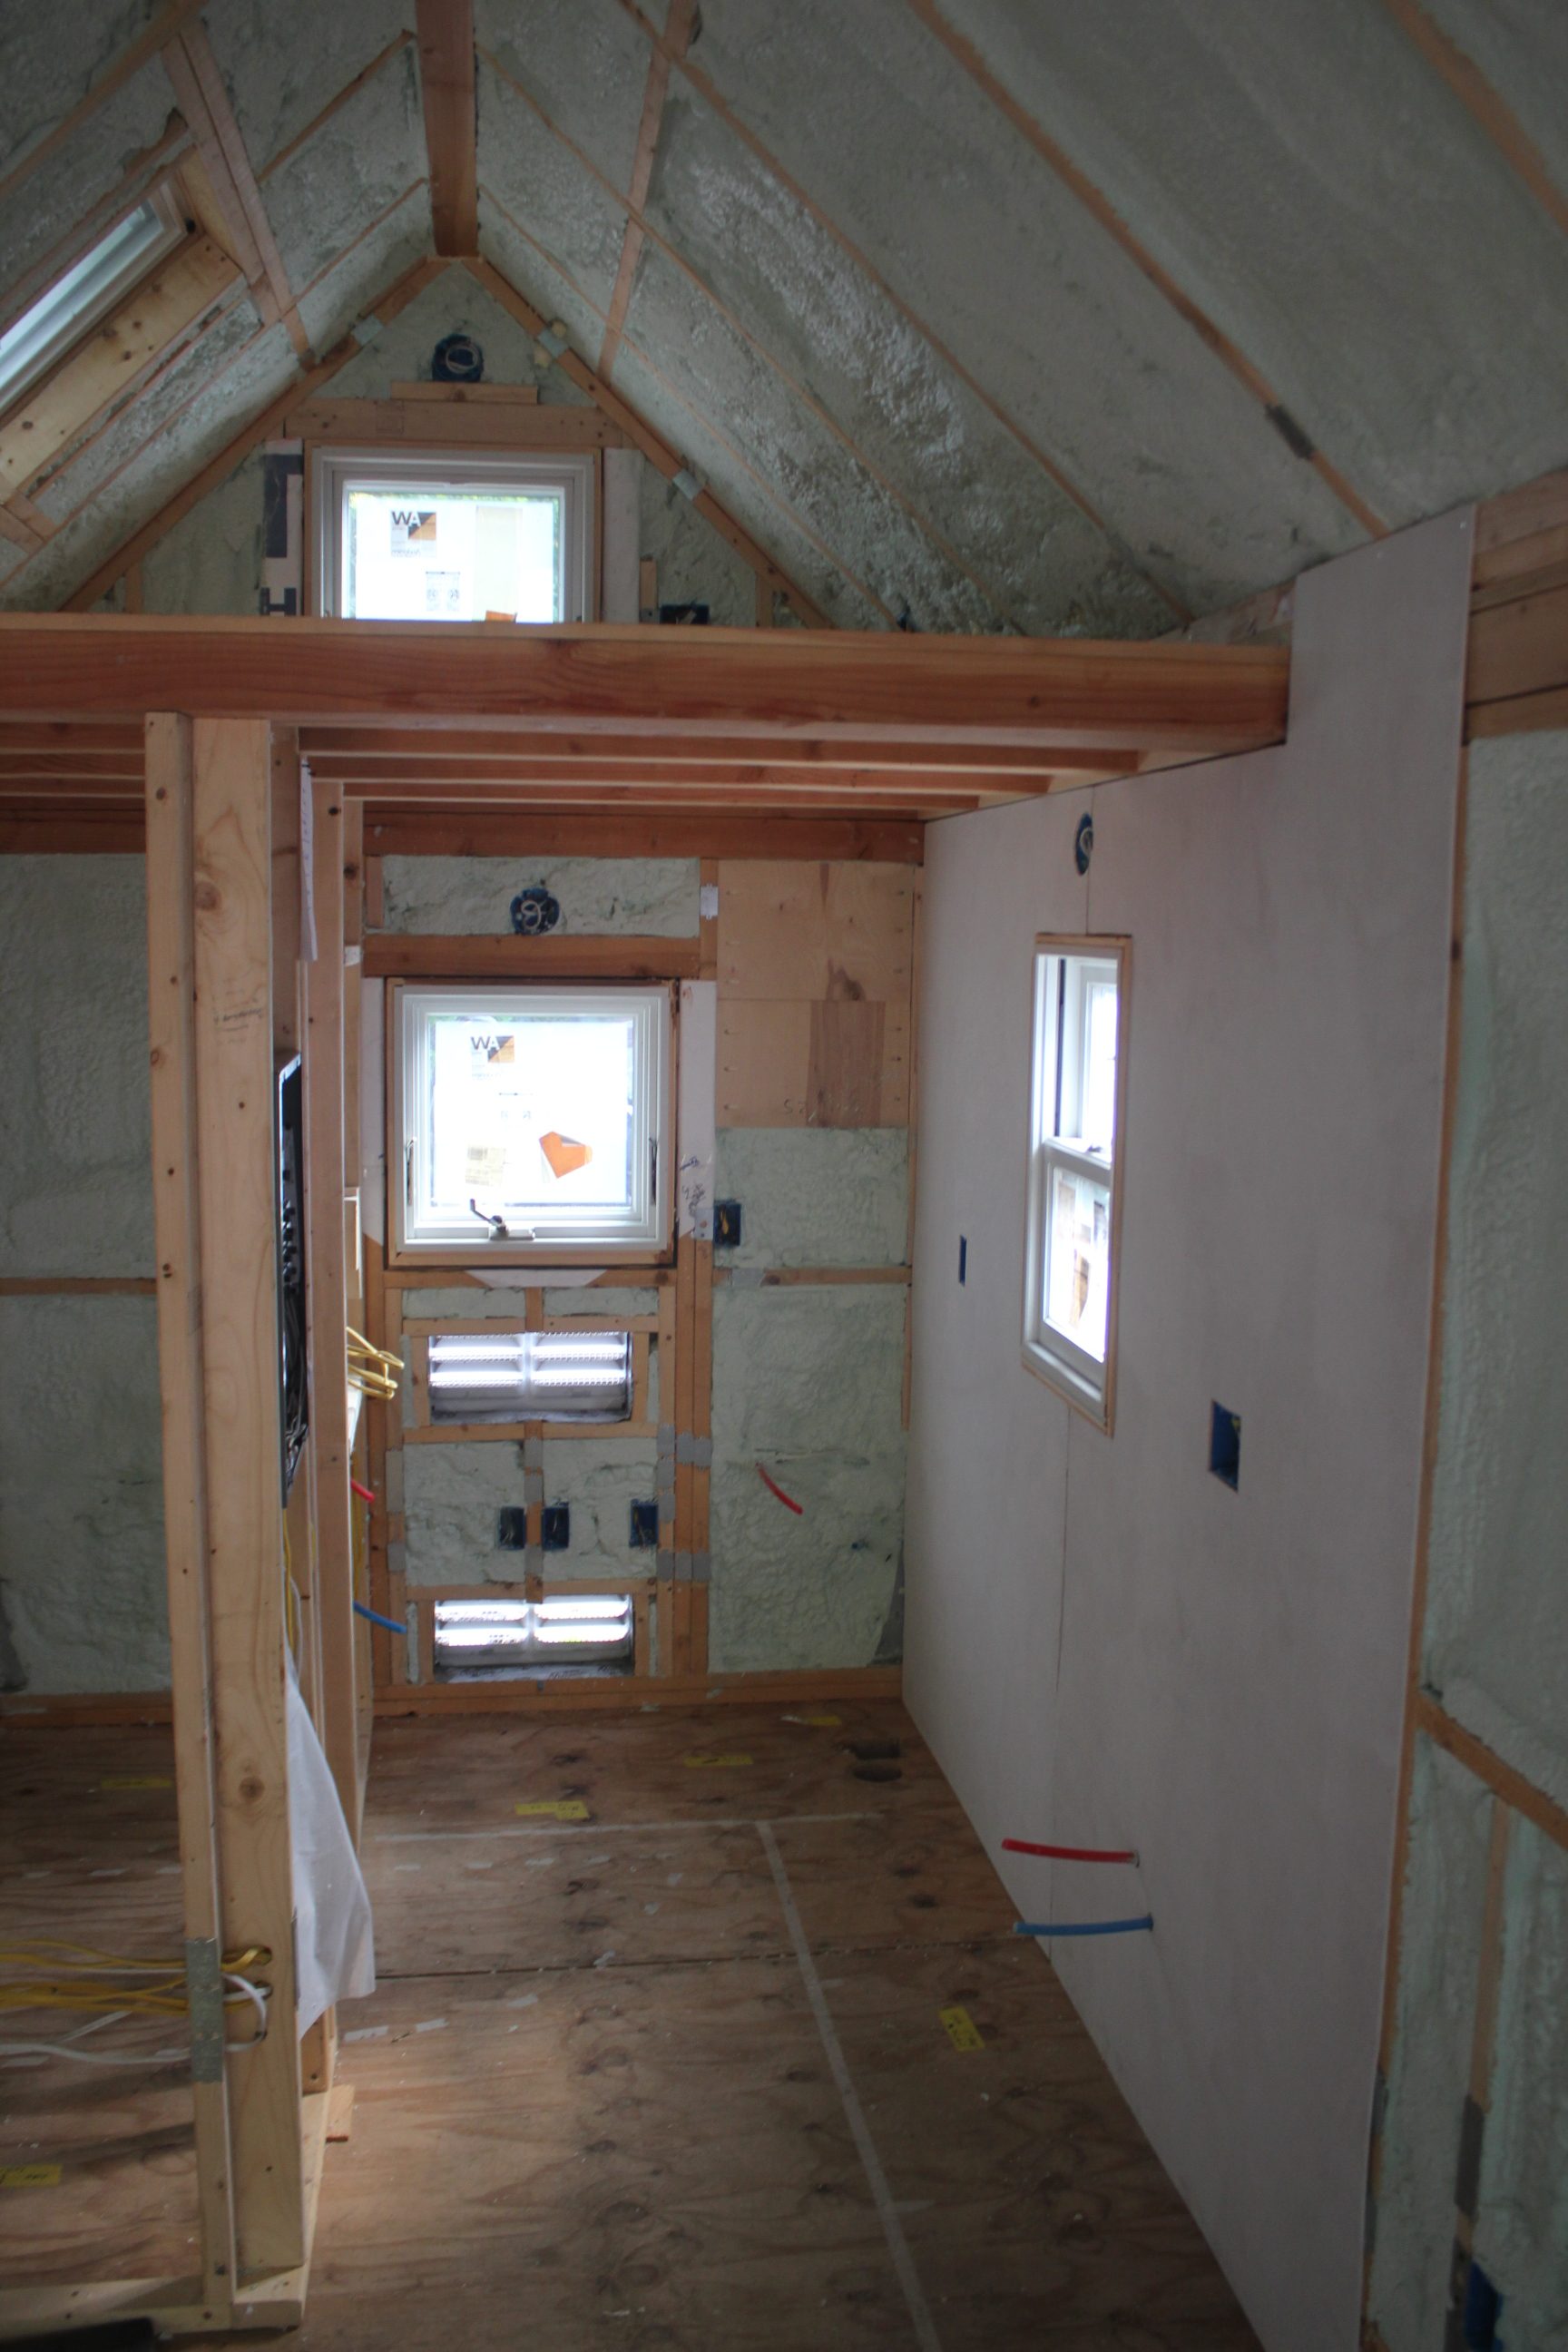
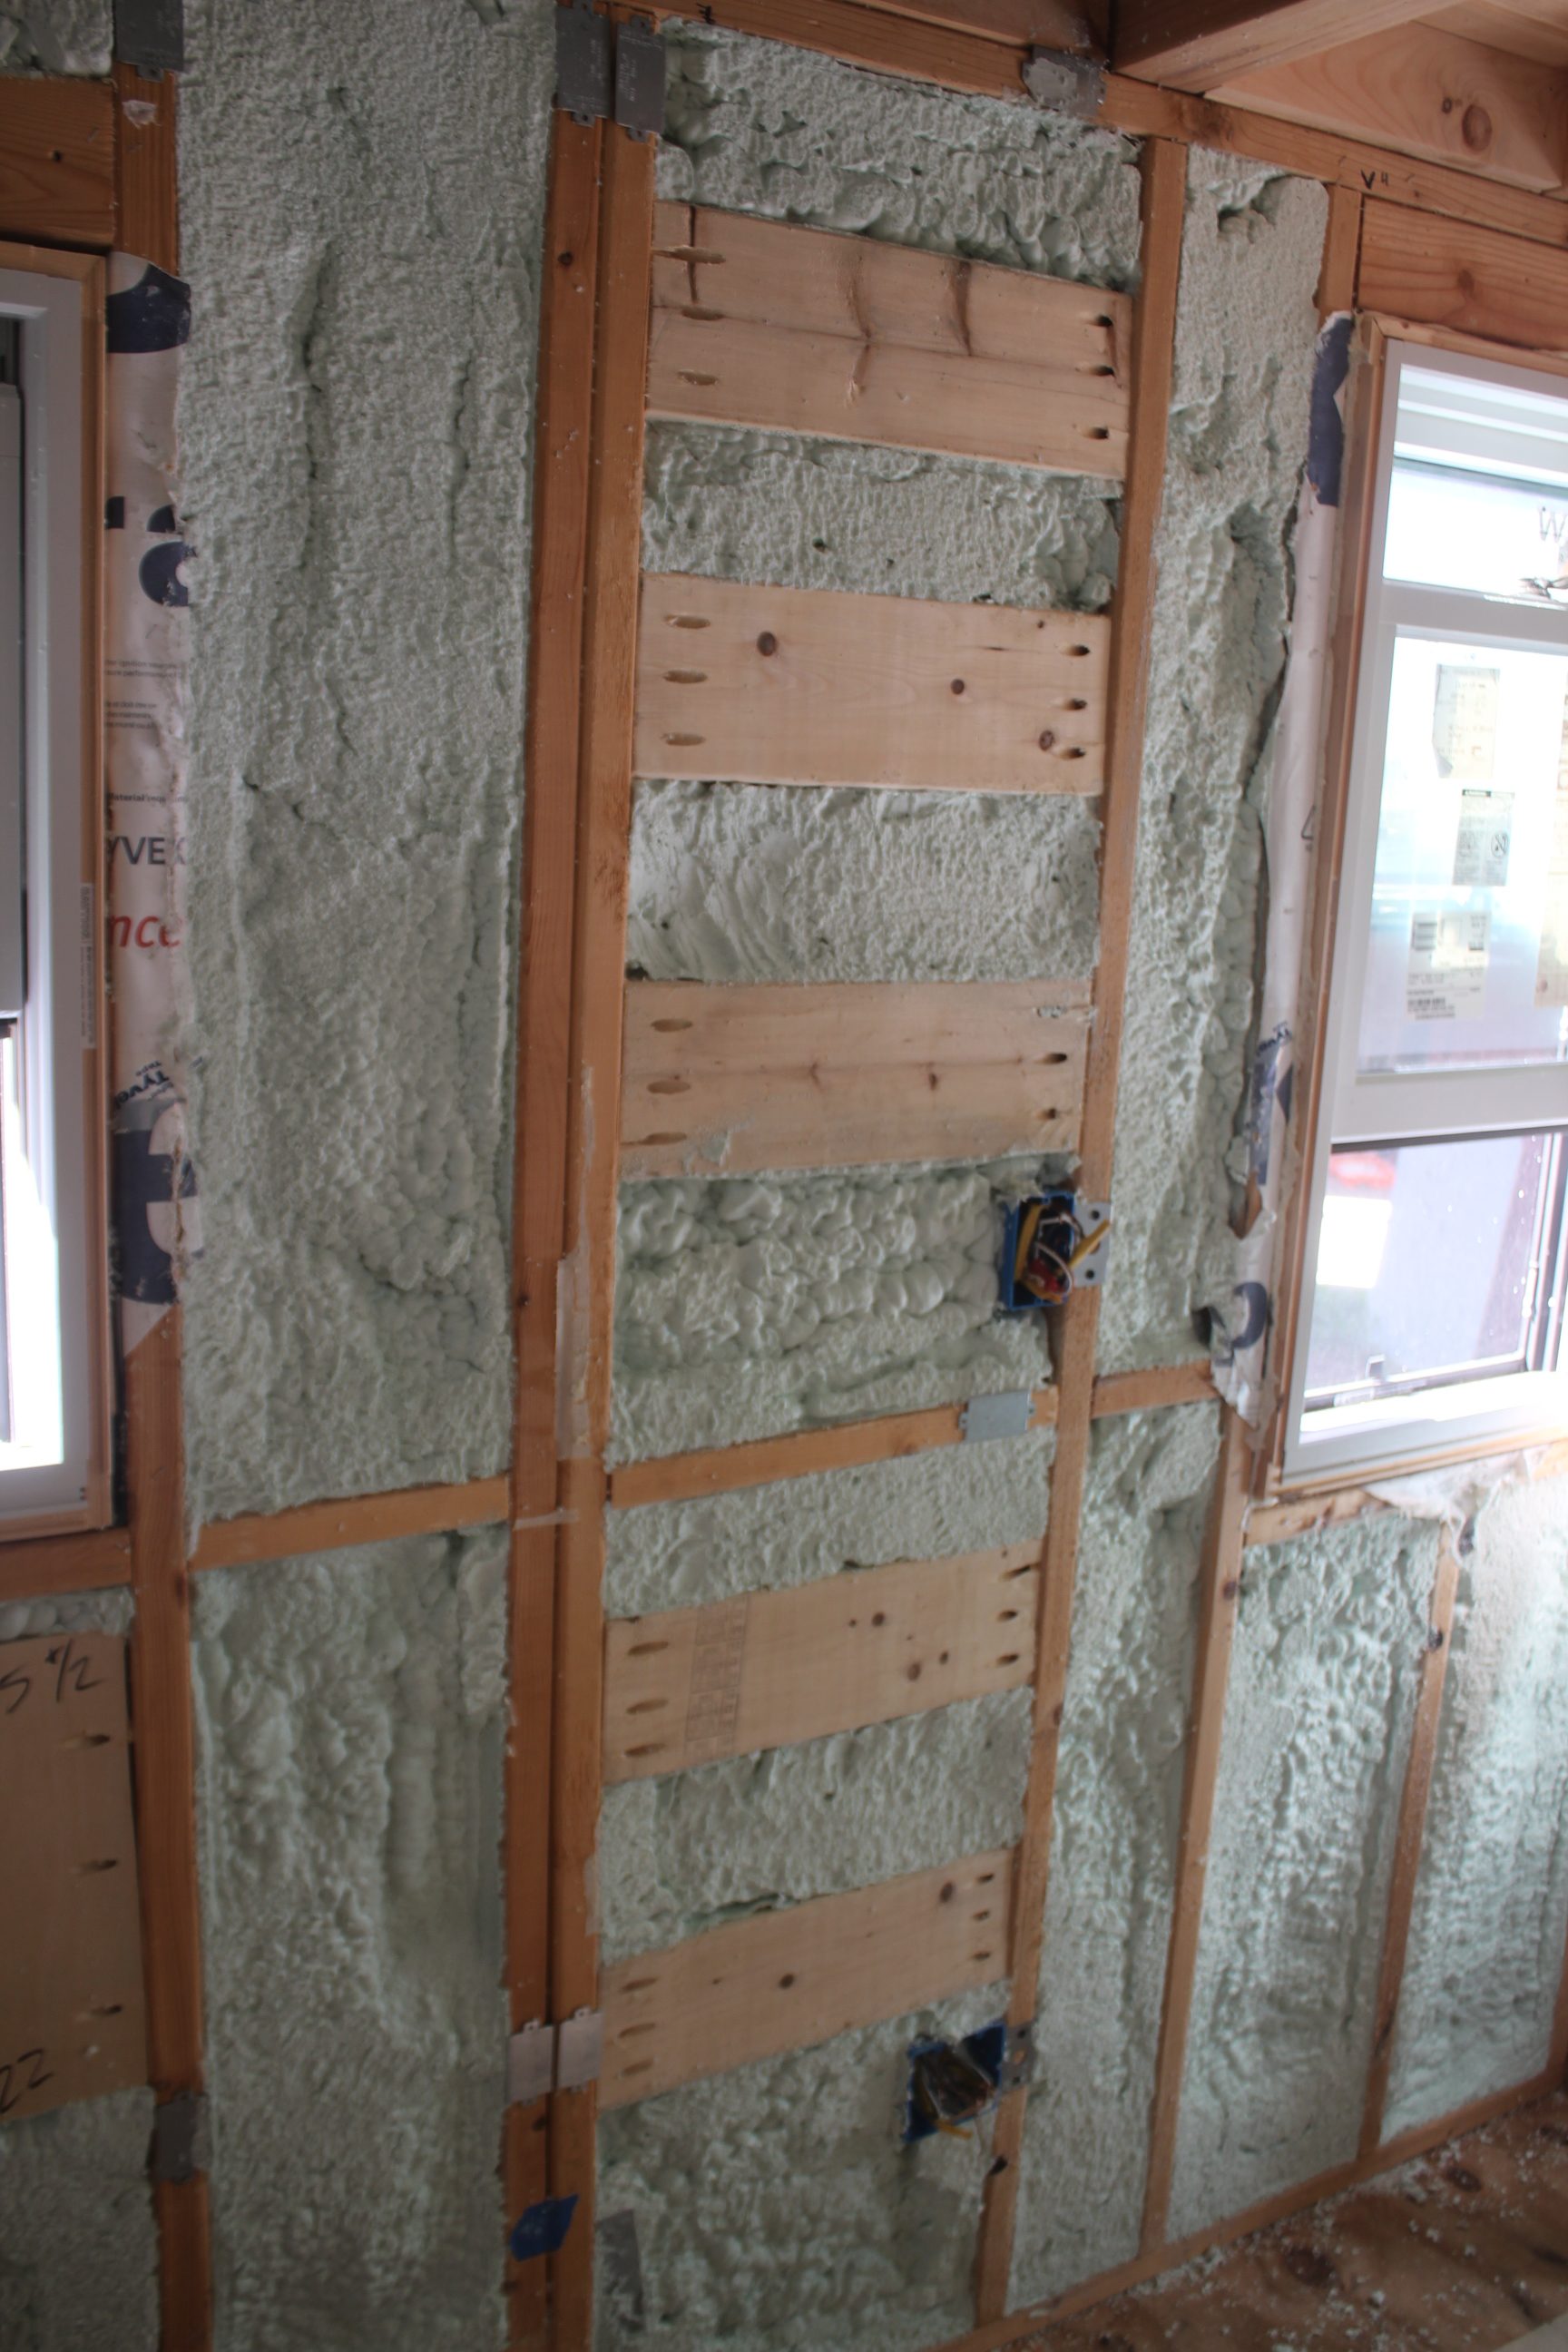
Amazing how when the people doing the work are not inexperienced newbies learning as they go, progress gets made much more quickly! Since I handed the house over to Tiny House Crafters, they’ve finished the water plumbing rough-in, the final electrical rough-in, done the spray-foam insulation, and started putting up the interior wall plywood.
Spray-foam complete. Water plumbing visible sticking out of the wallsInterior wall plywood going upWood blocking installed so we can securely mount ladder rungs on the wall

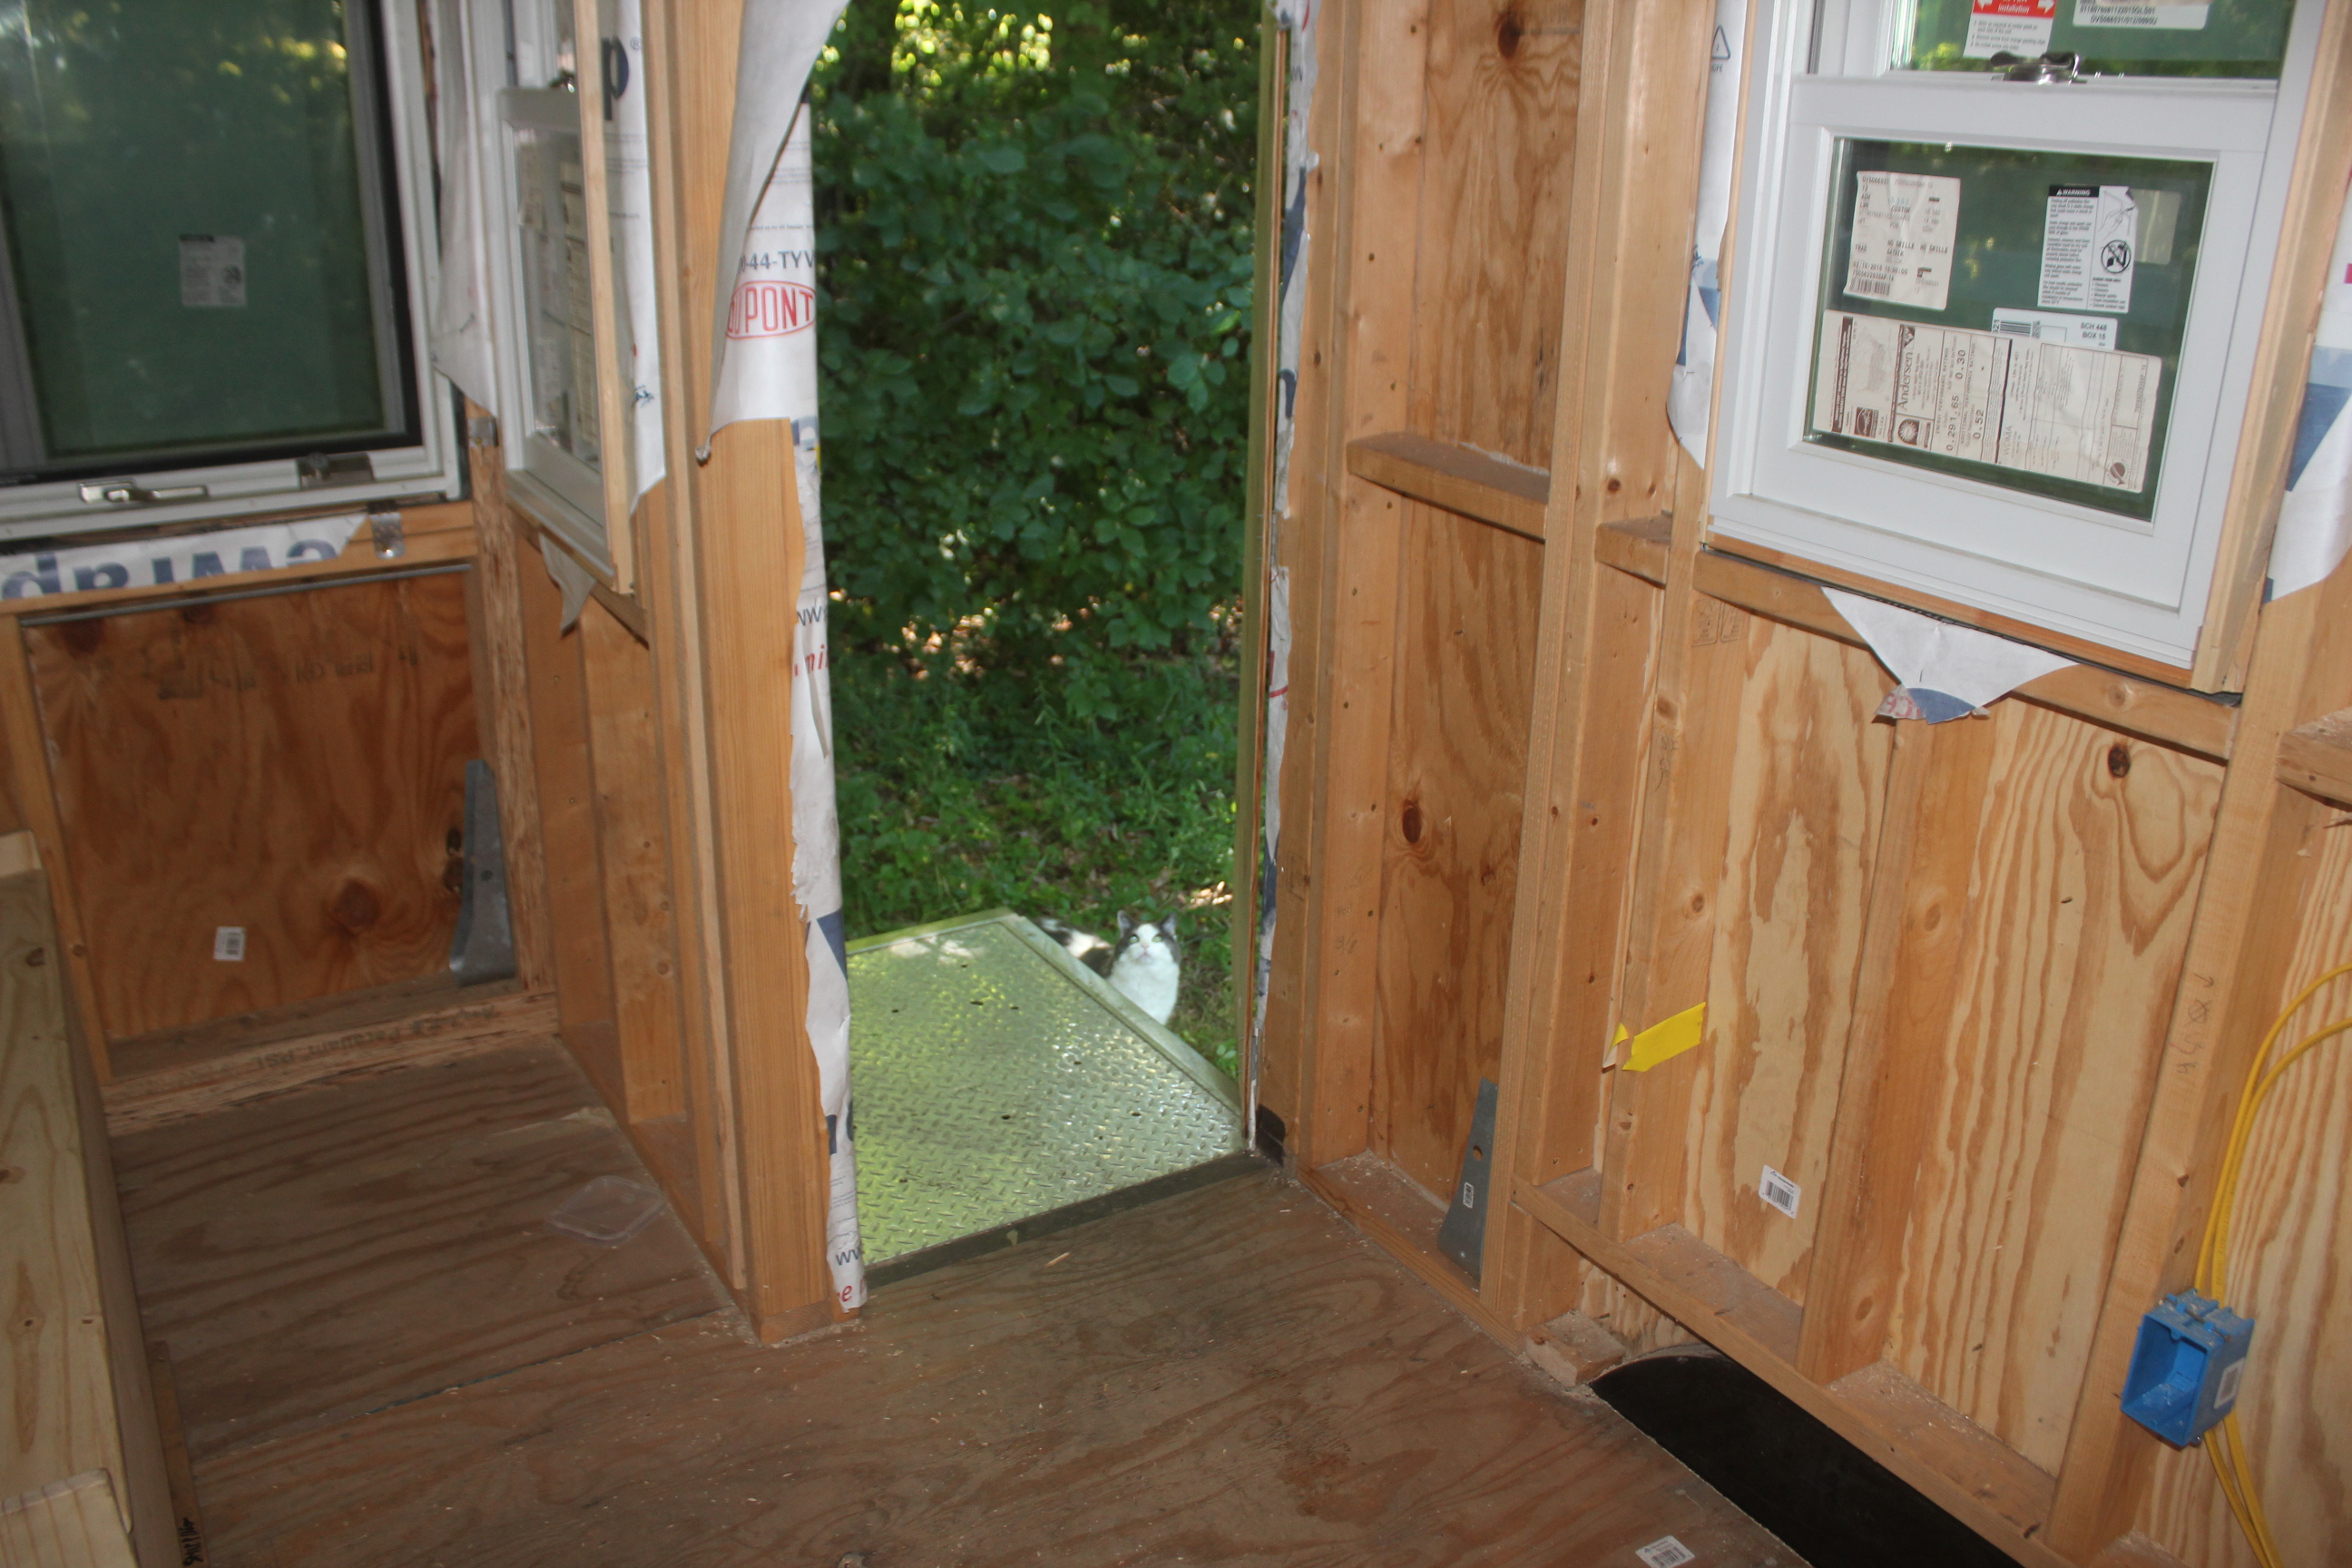
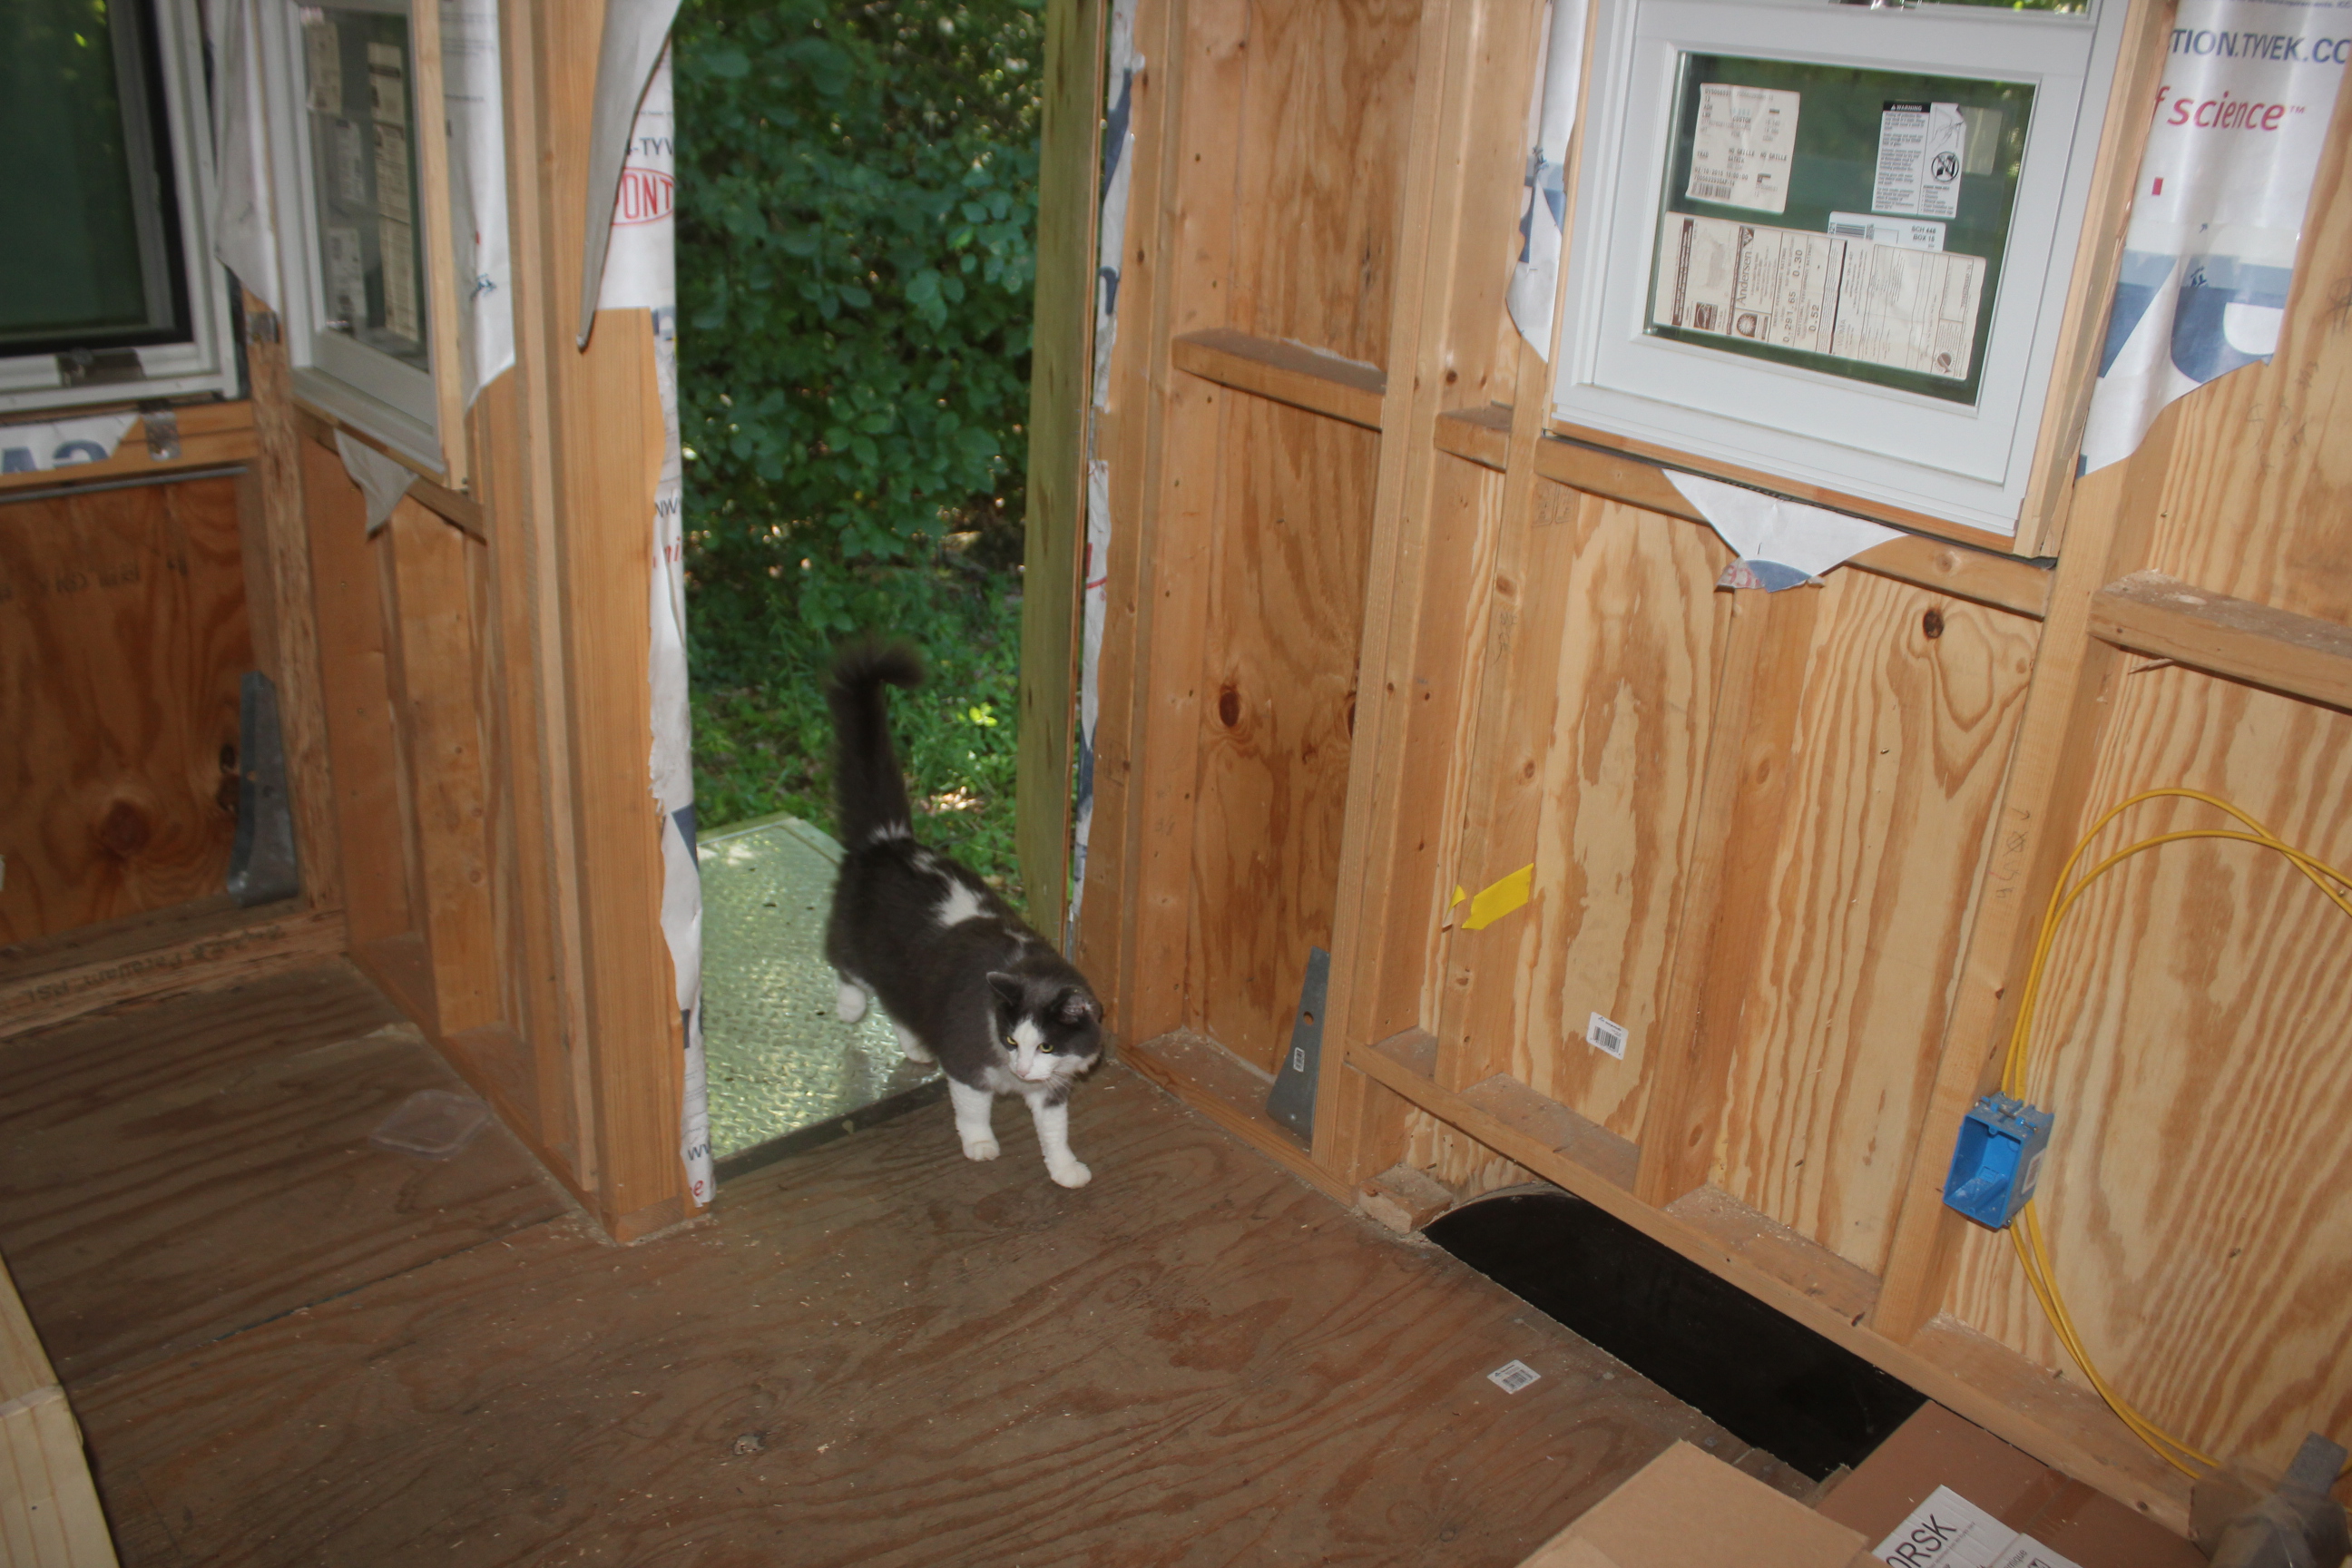
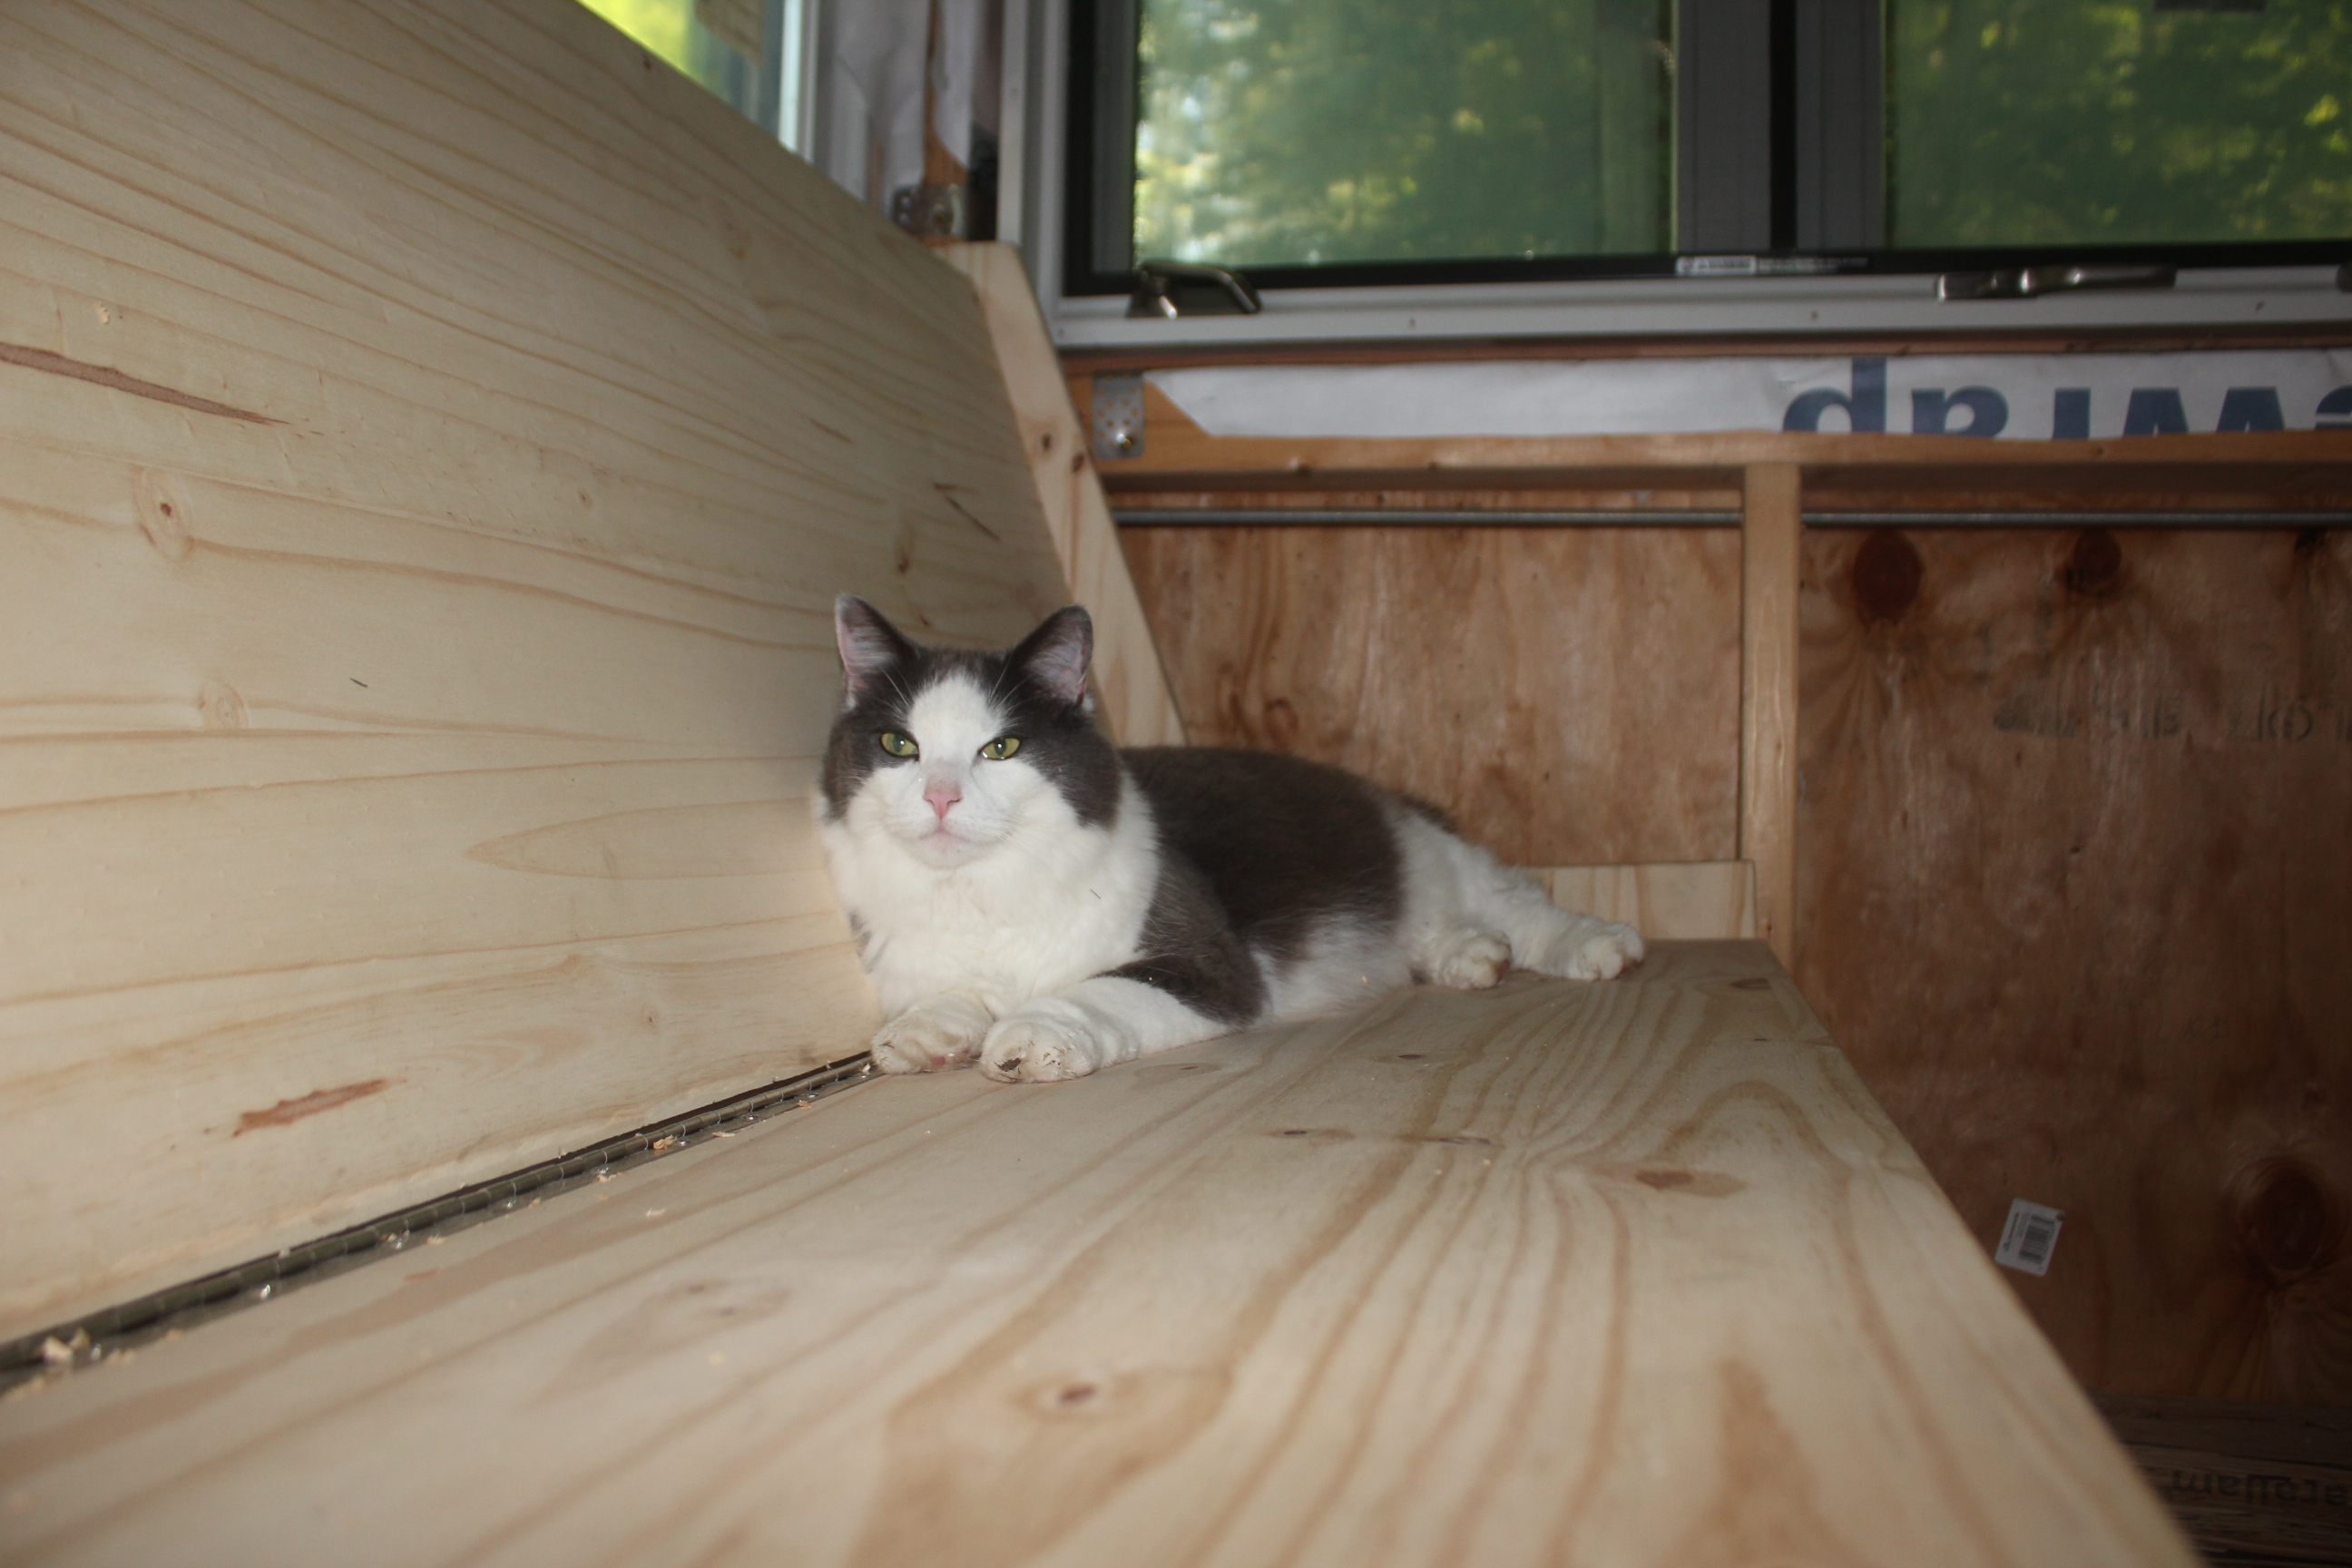
It also appears that the house is officially cat-approved:
Hi there!Uh, now wait a second…Well just make yourself at home, why don’t you!
For my next trick, I will make my Tiny House disappear!
As the lack of updates hinted, progress on the tiny house slowed to a crawl this year, mostly due to the difficulty I had trying to find someone who could do the interior plumbing. Without the plumbing installed I couldn’t do the insulation, or the rest of the interior finishing. I had researched doing it myself, but I knew I would sleep a lot better knowing that a professional has installed my propane lines. In July I started researching tiny house building companies and found one that could finish the entire job for me. I’m somewhat disappointed that I couldn’t push through and do it all myself, but I’m satisfied with what I did do and learned along the way.
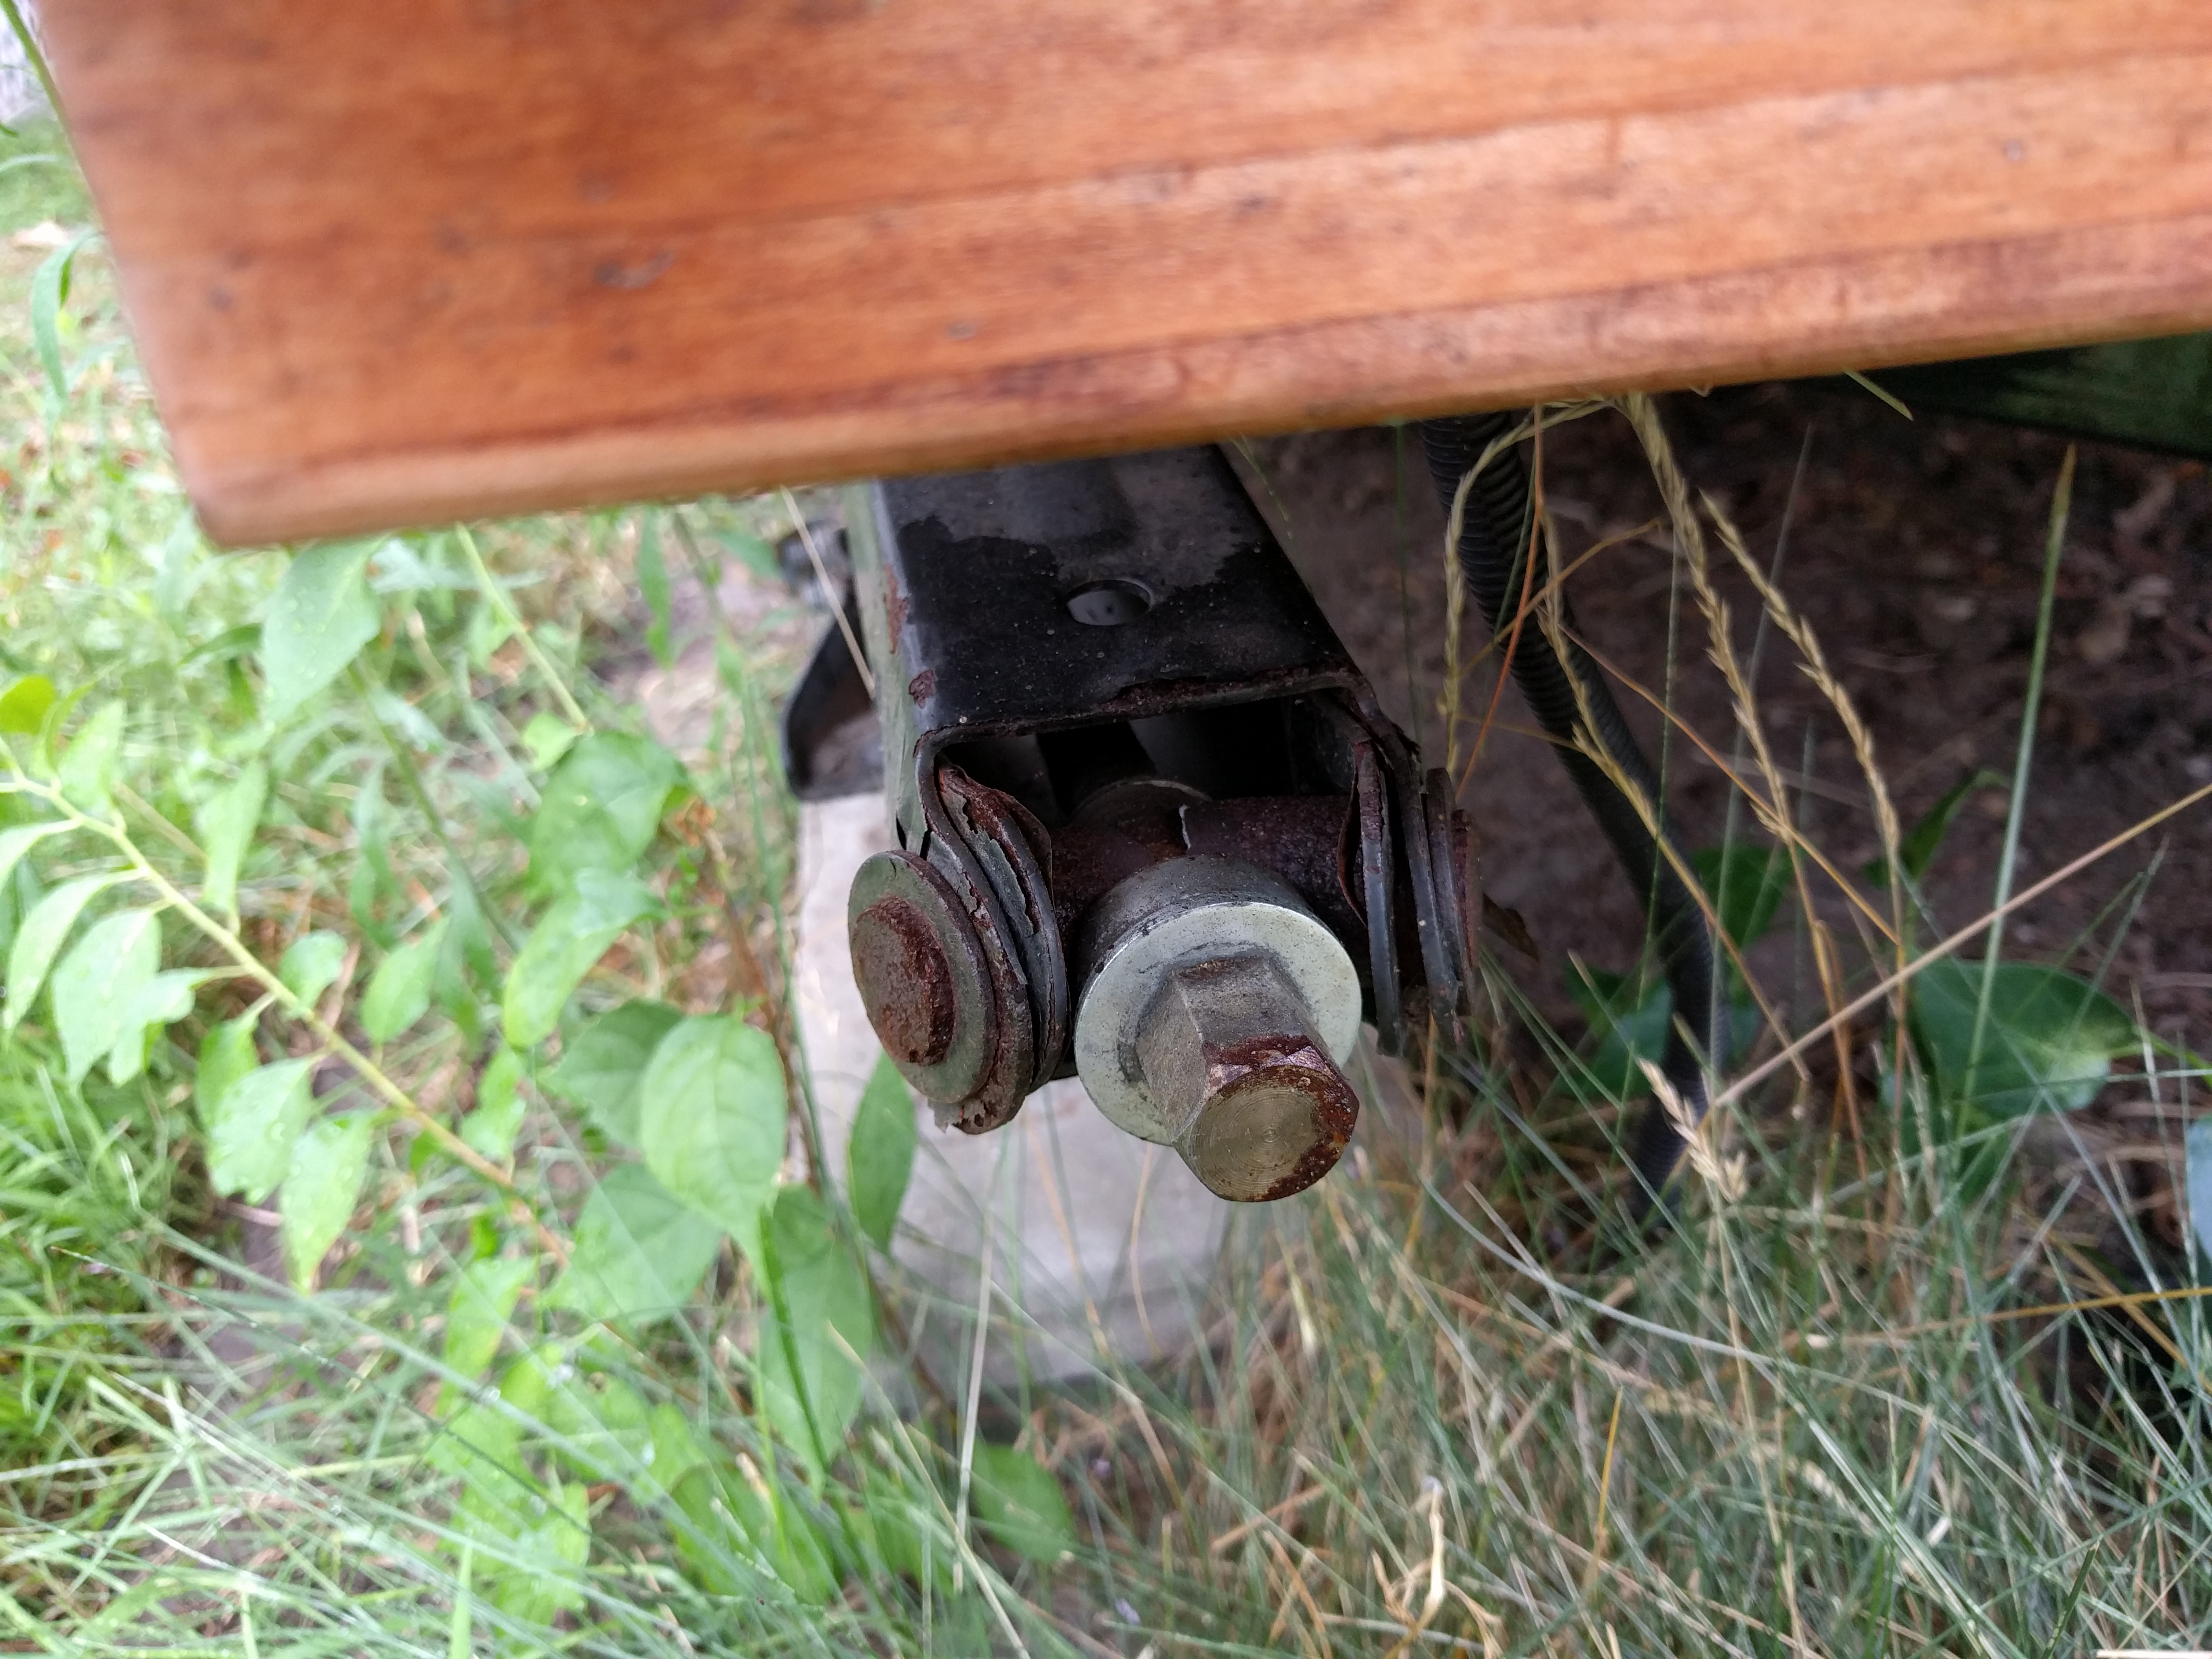
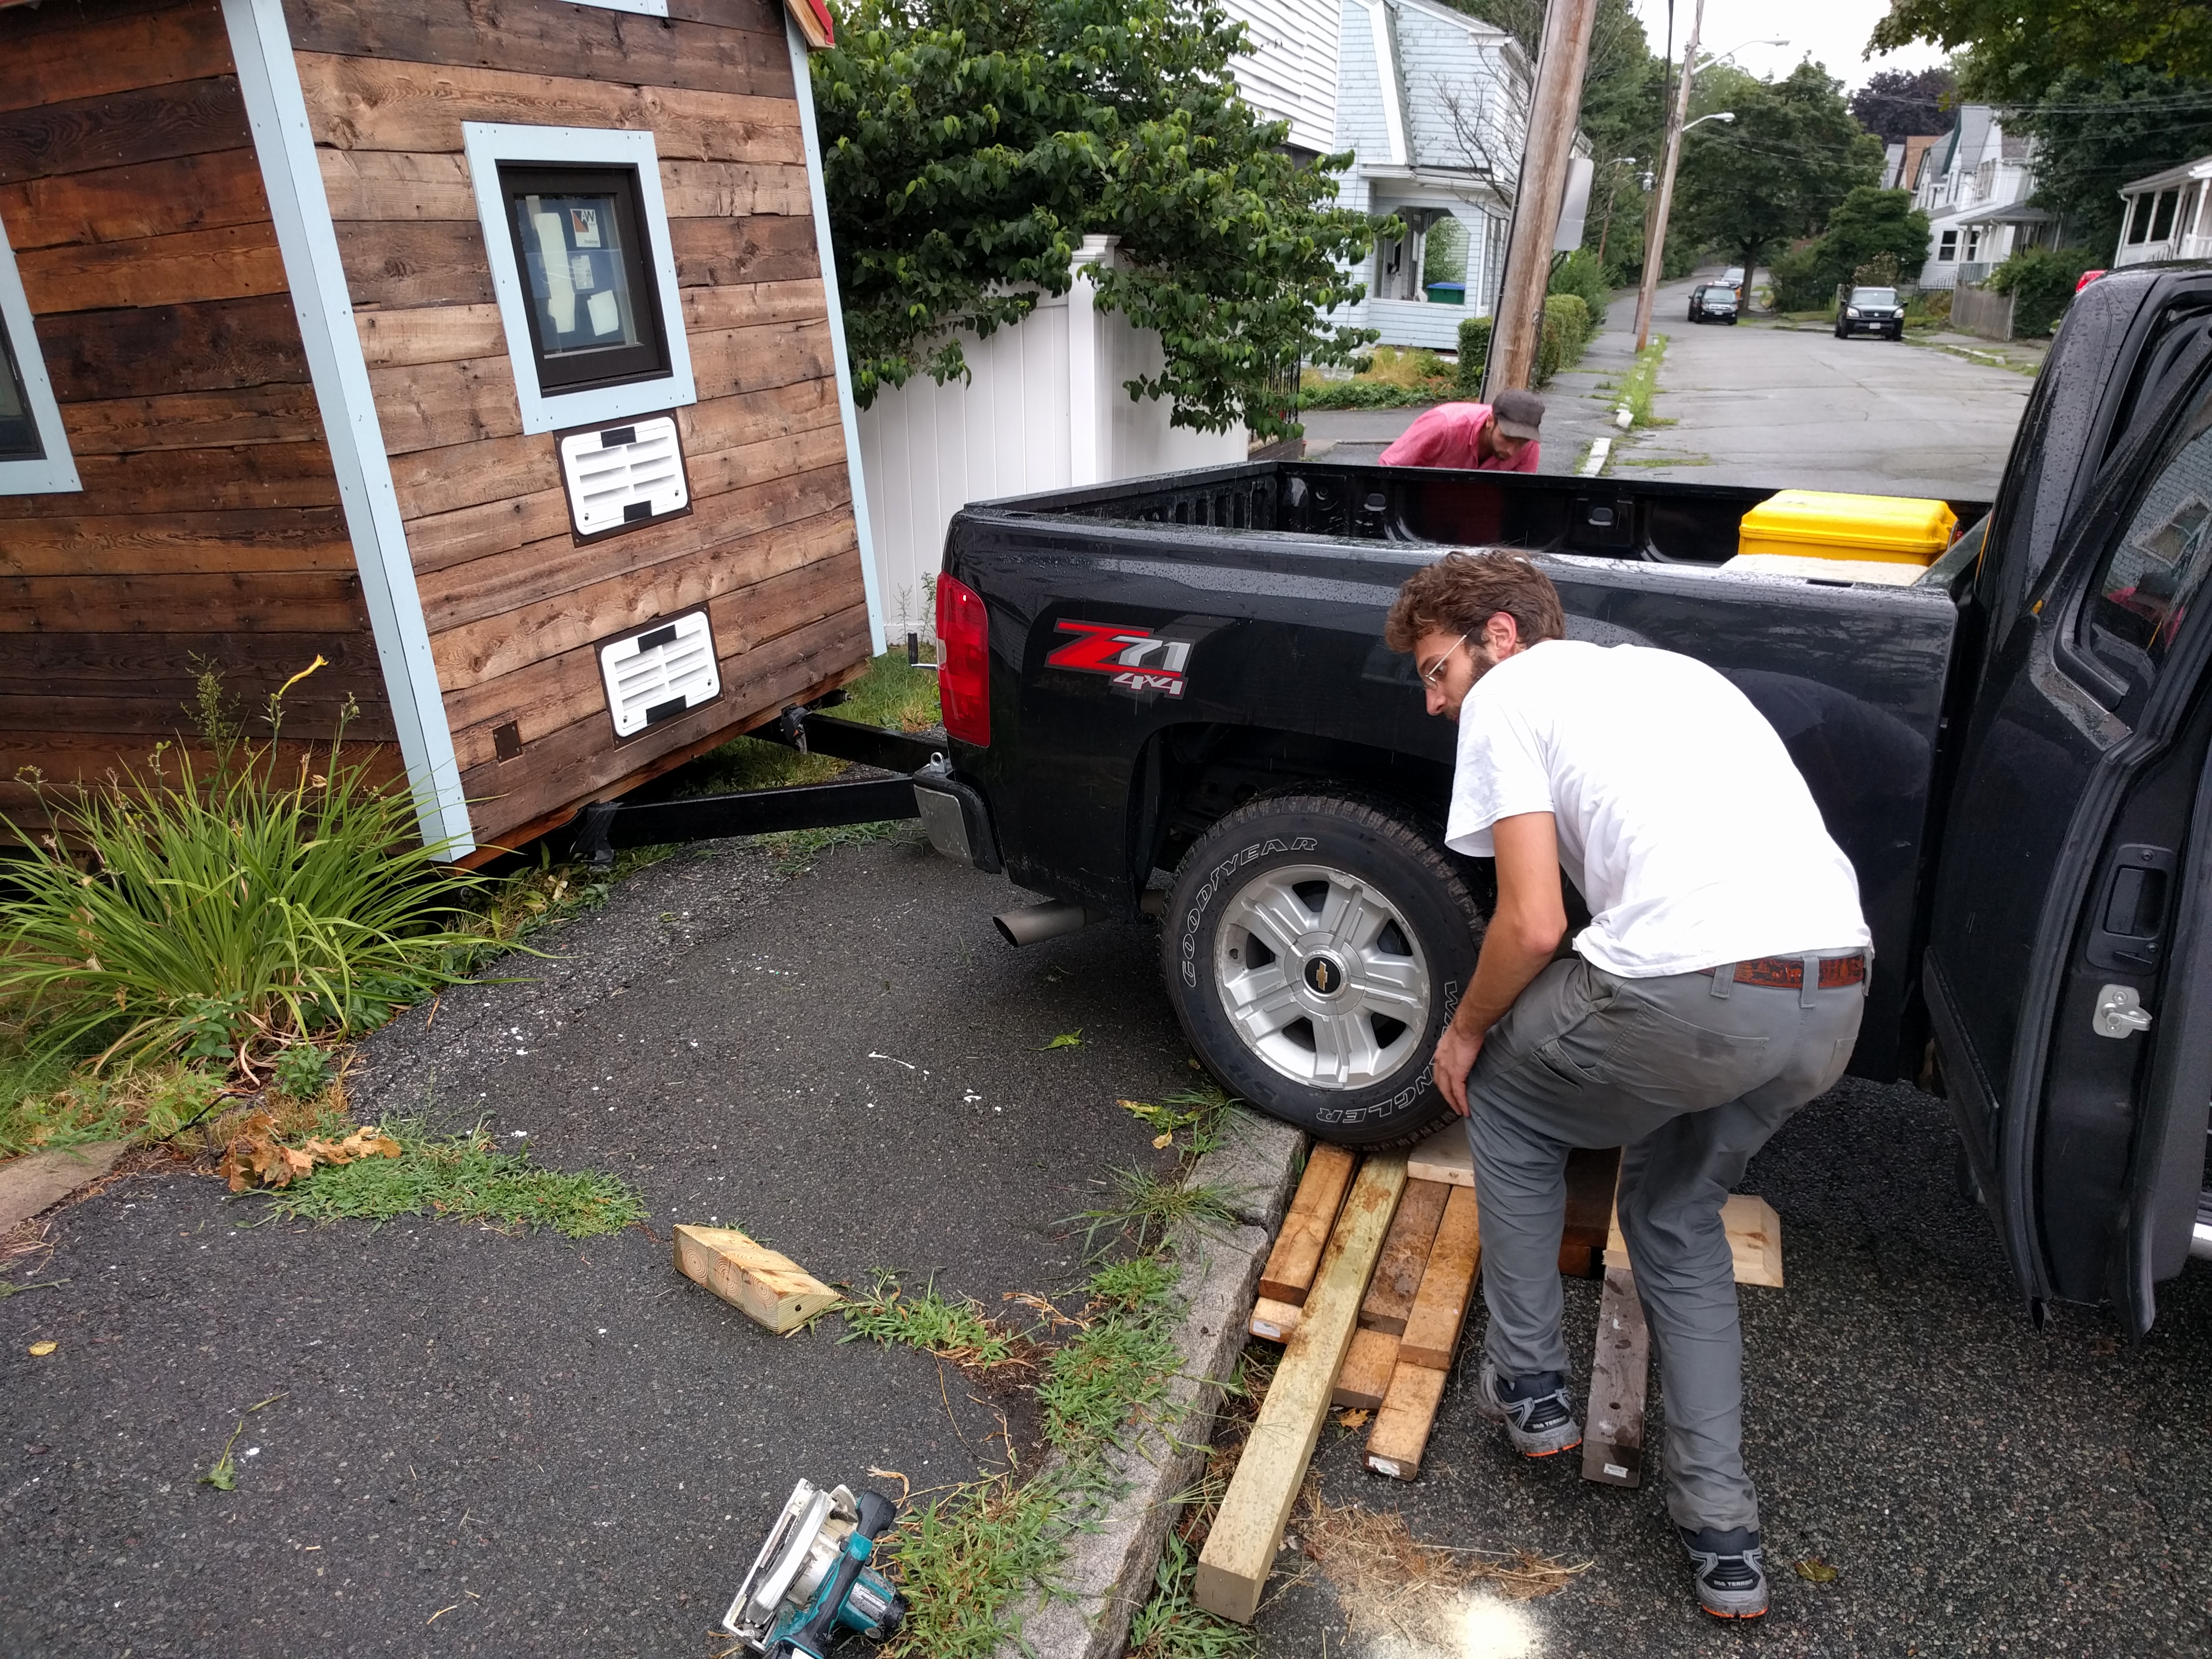
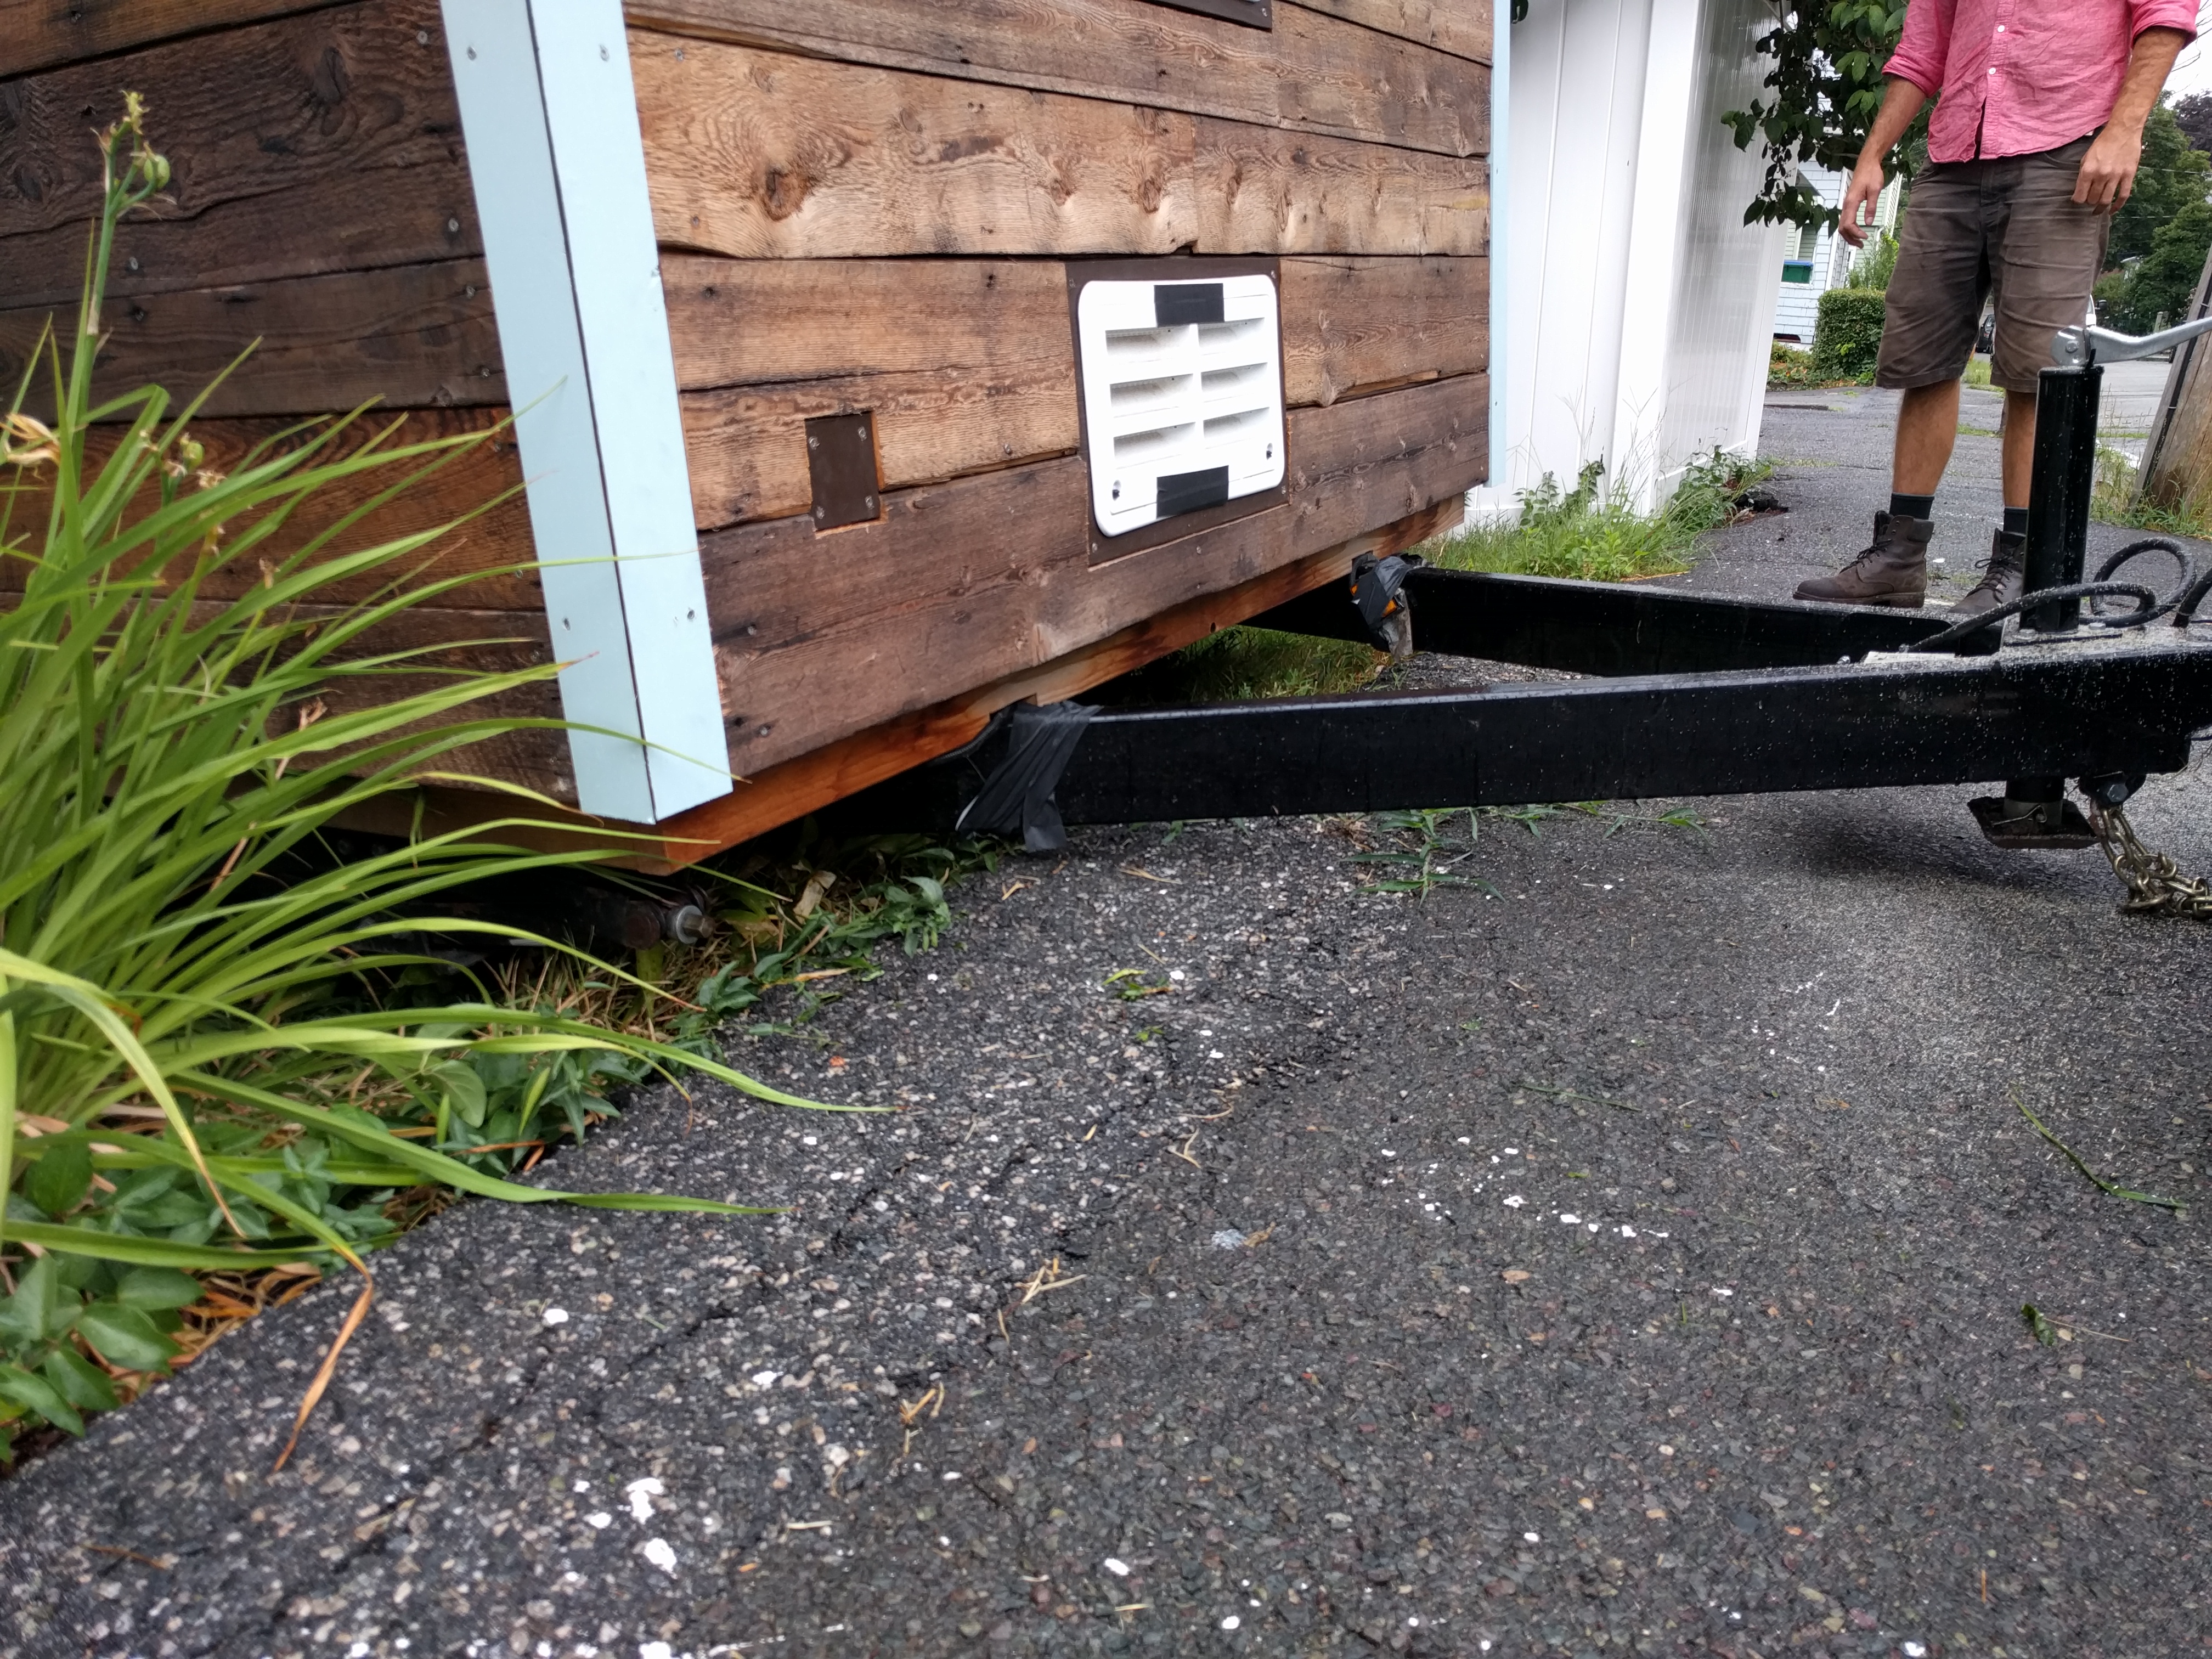
So, on August 2nd, Anderson Page from Tiny House Crafters hitched his buddy’s truck to my house and we started to take the weight off the jacks for the first time since 2014. At one point the house definitely settled, and even rolled back a few inches, but we put plenty of cinder blocks behind it so it didn’t go anywhere. One of the jacks also broke with a loud crack, but luckily it wasn’t catastrophic and it’ll be fixable.
It’s a little hard to see, but there’s a horizontal piece that split when the rusted jack gave out
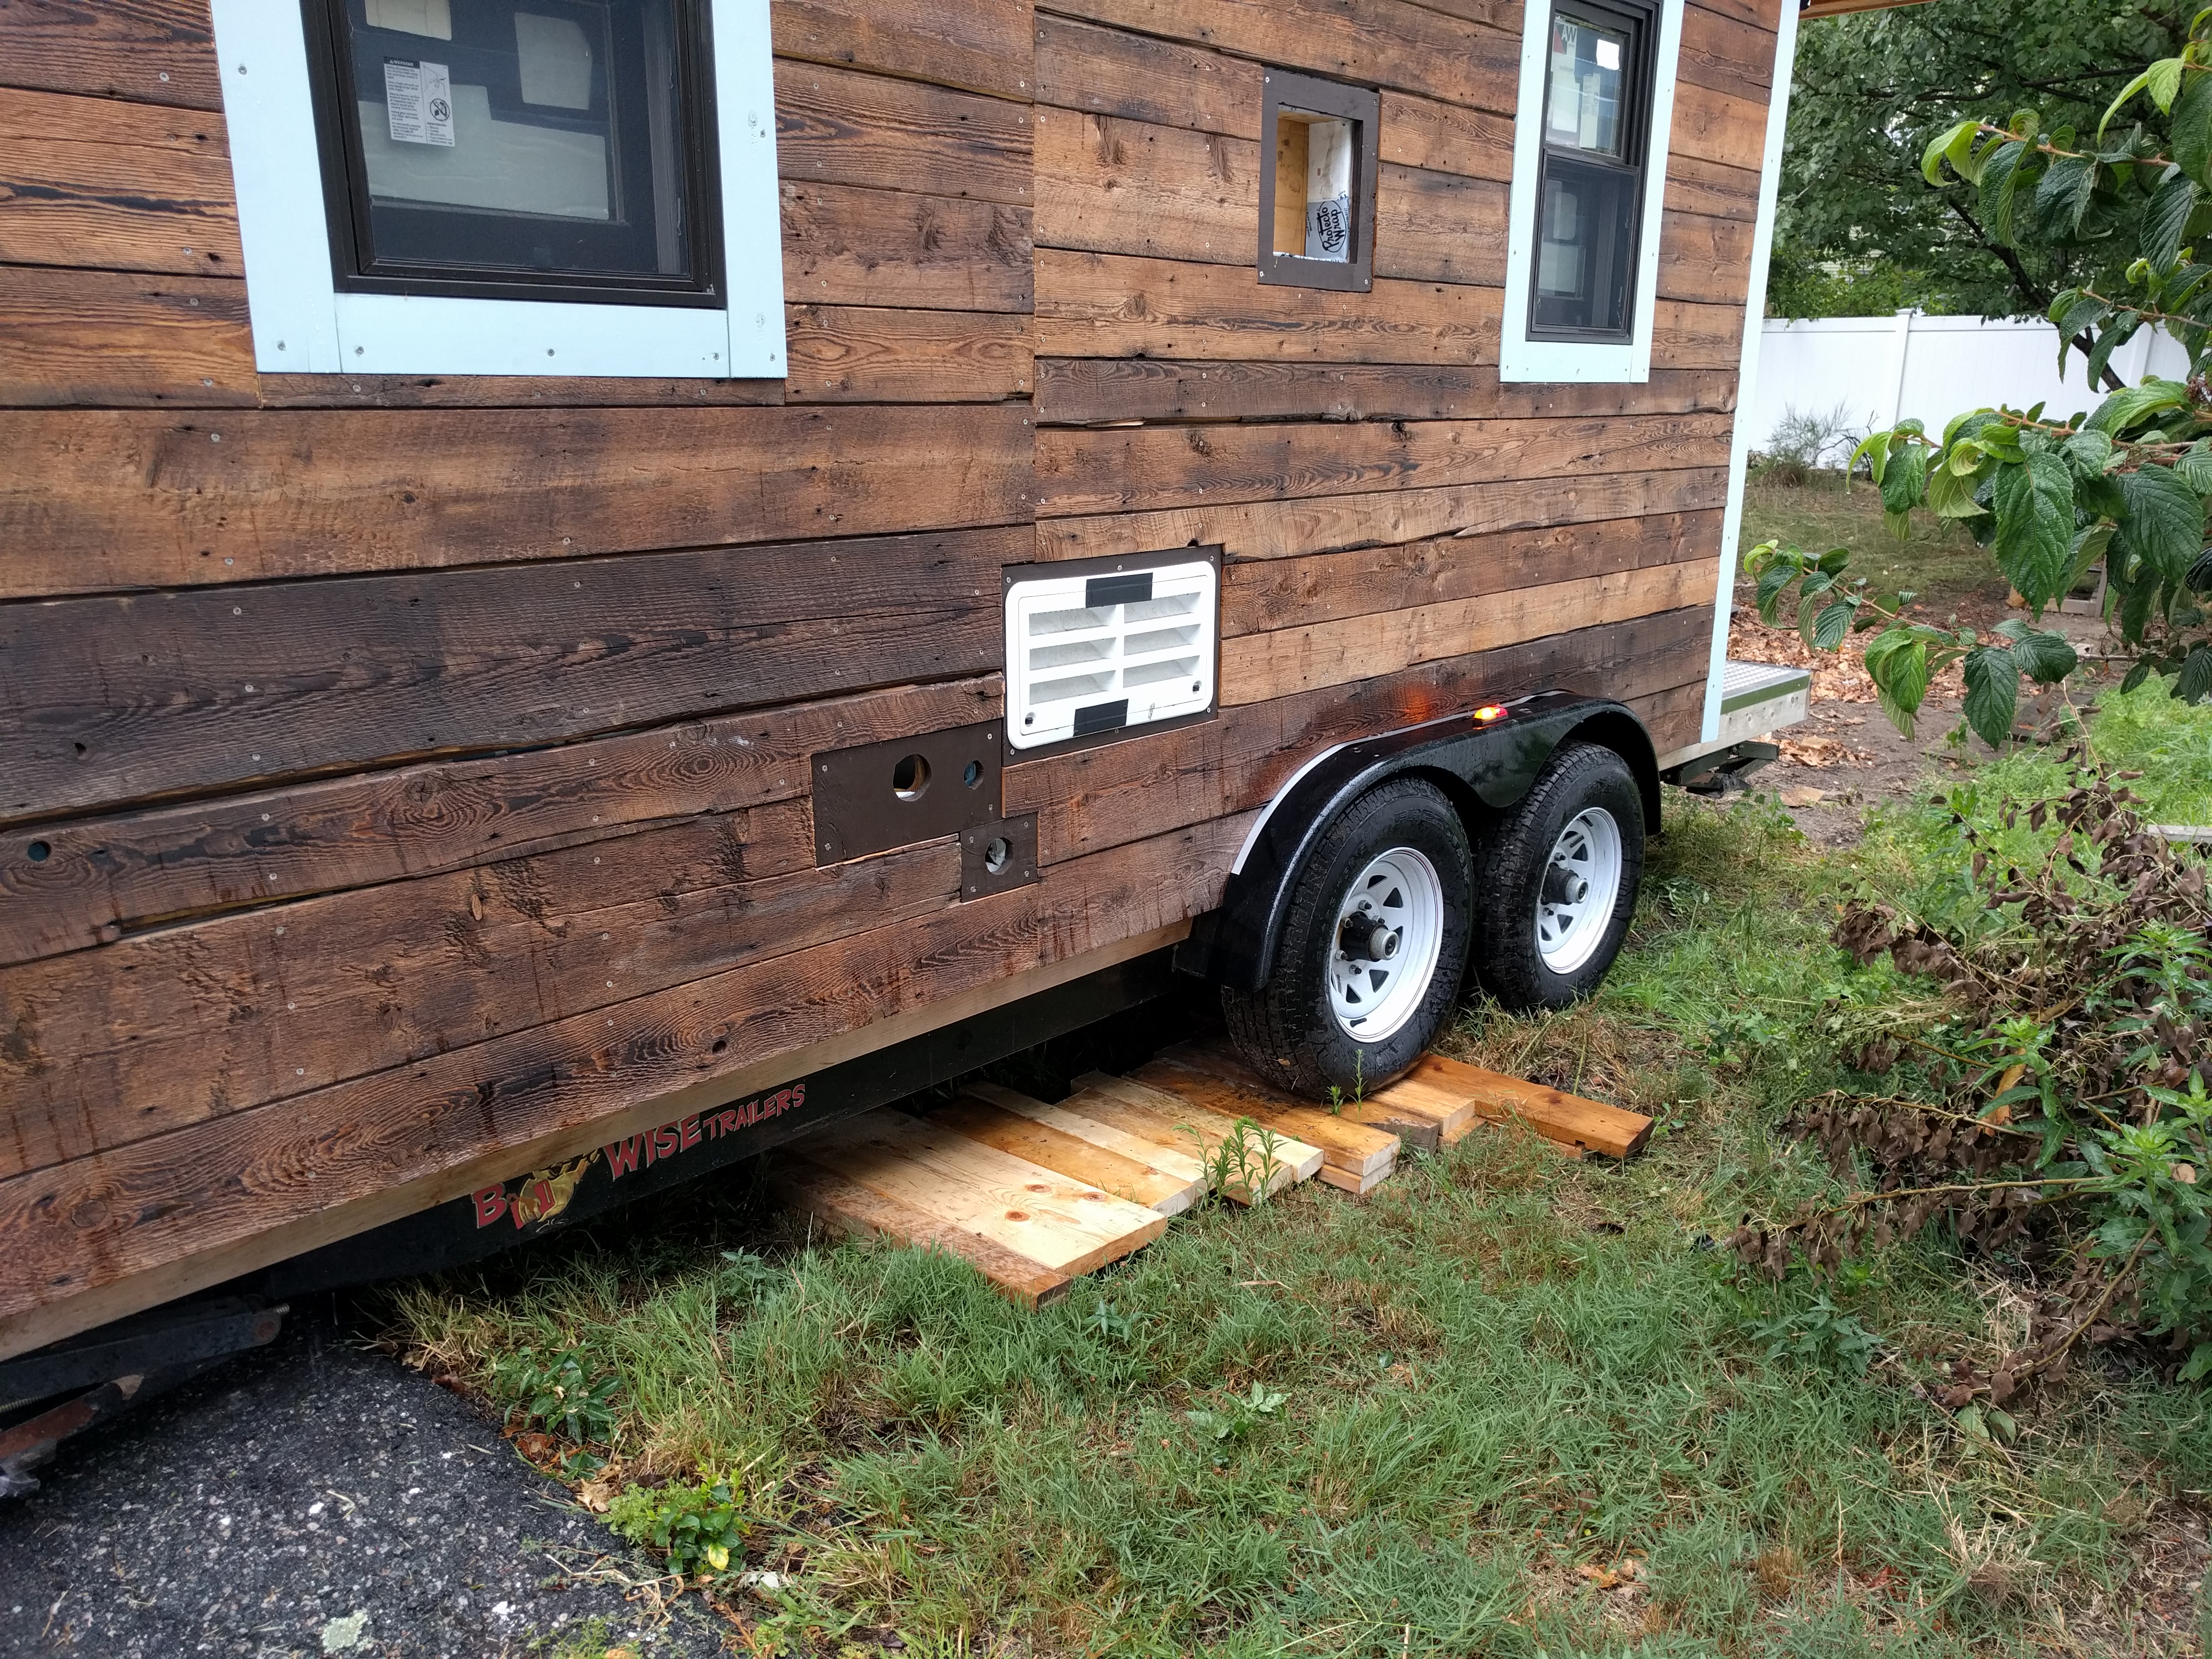
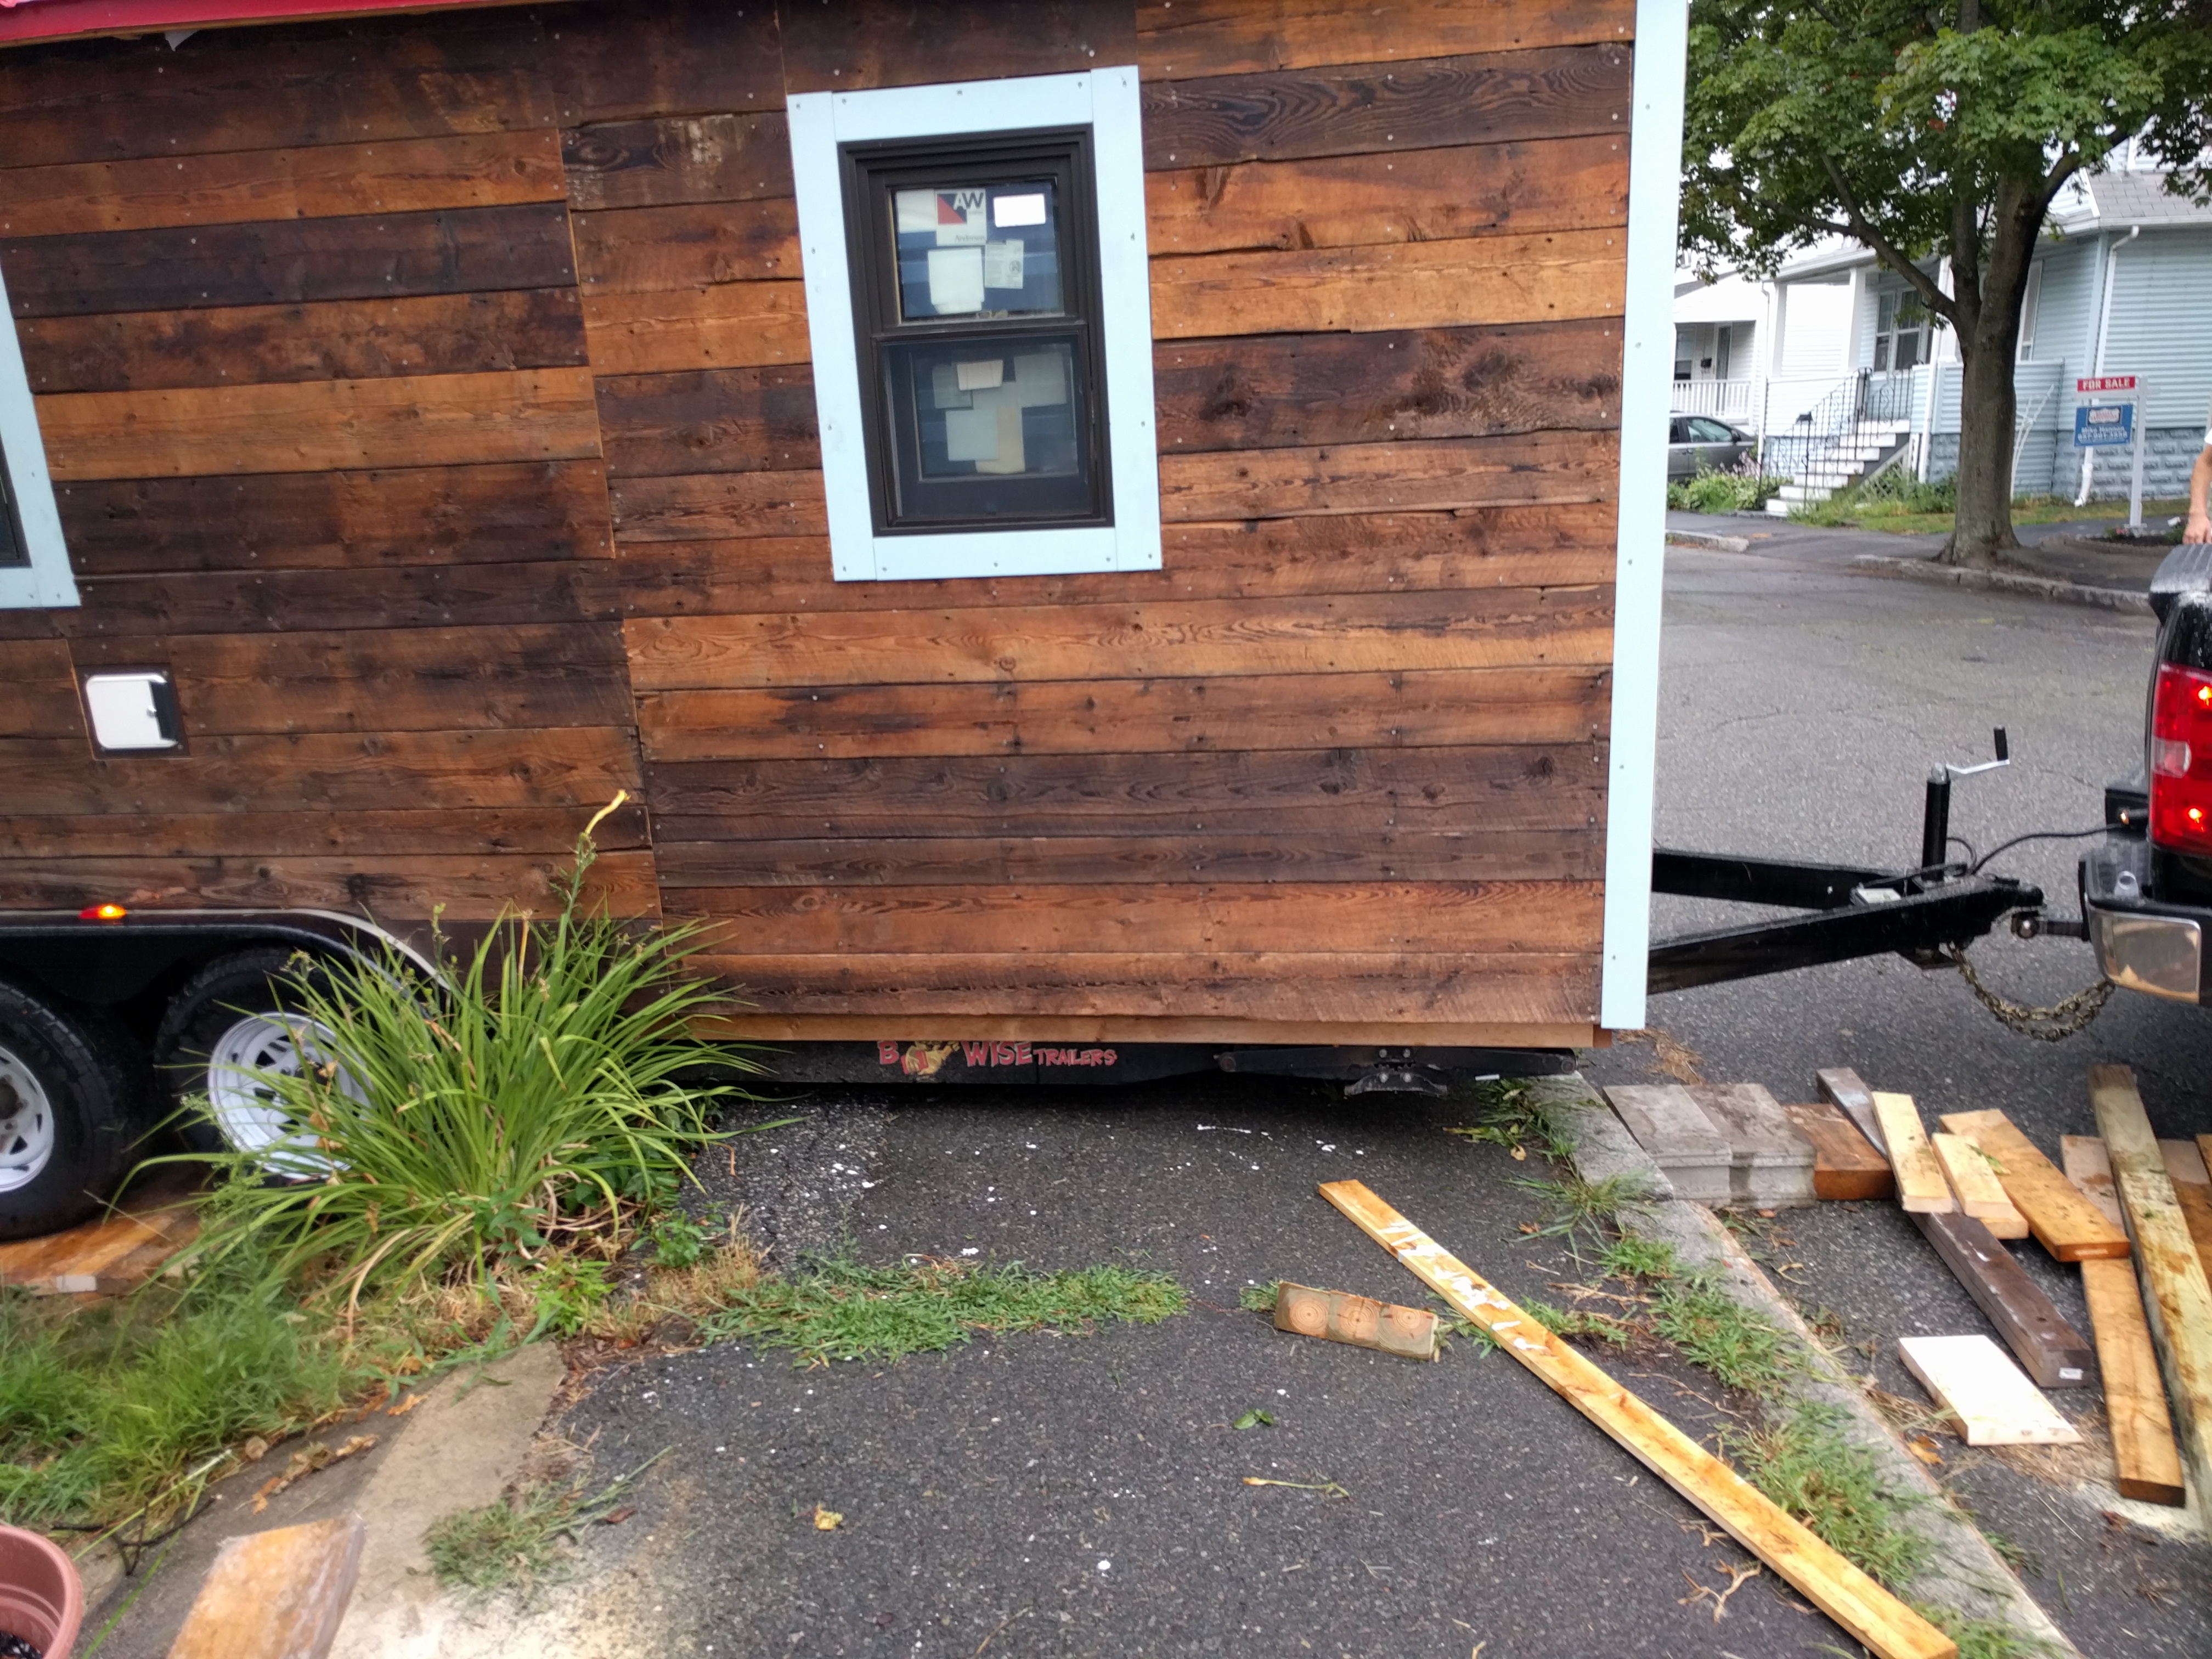
Given the trouble we had getting the trailier in the yard, I was worried that we’d bottom out the trailer removing the house. So we used some of my plentiful scrap wood to create a ramp for the house to lift up the wheels as we went.
Anderson and Brett line the hitch with the ball.We used 4x4s and 2x4s as a ramp for the trailer. This help lift up the whole trailer so it would bottom out.We also put boards under the truck’s wheels , again to keep things as high as possible.It was super close, but didn’t scrape!At this point we’re home free
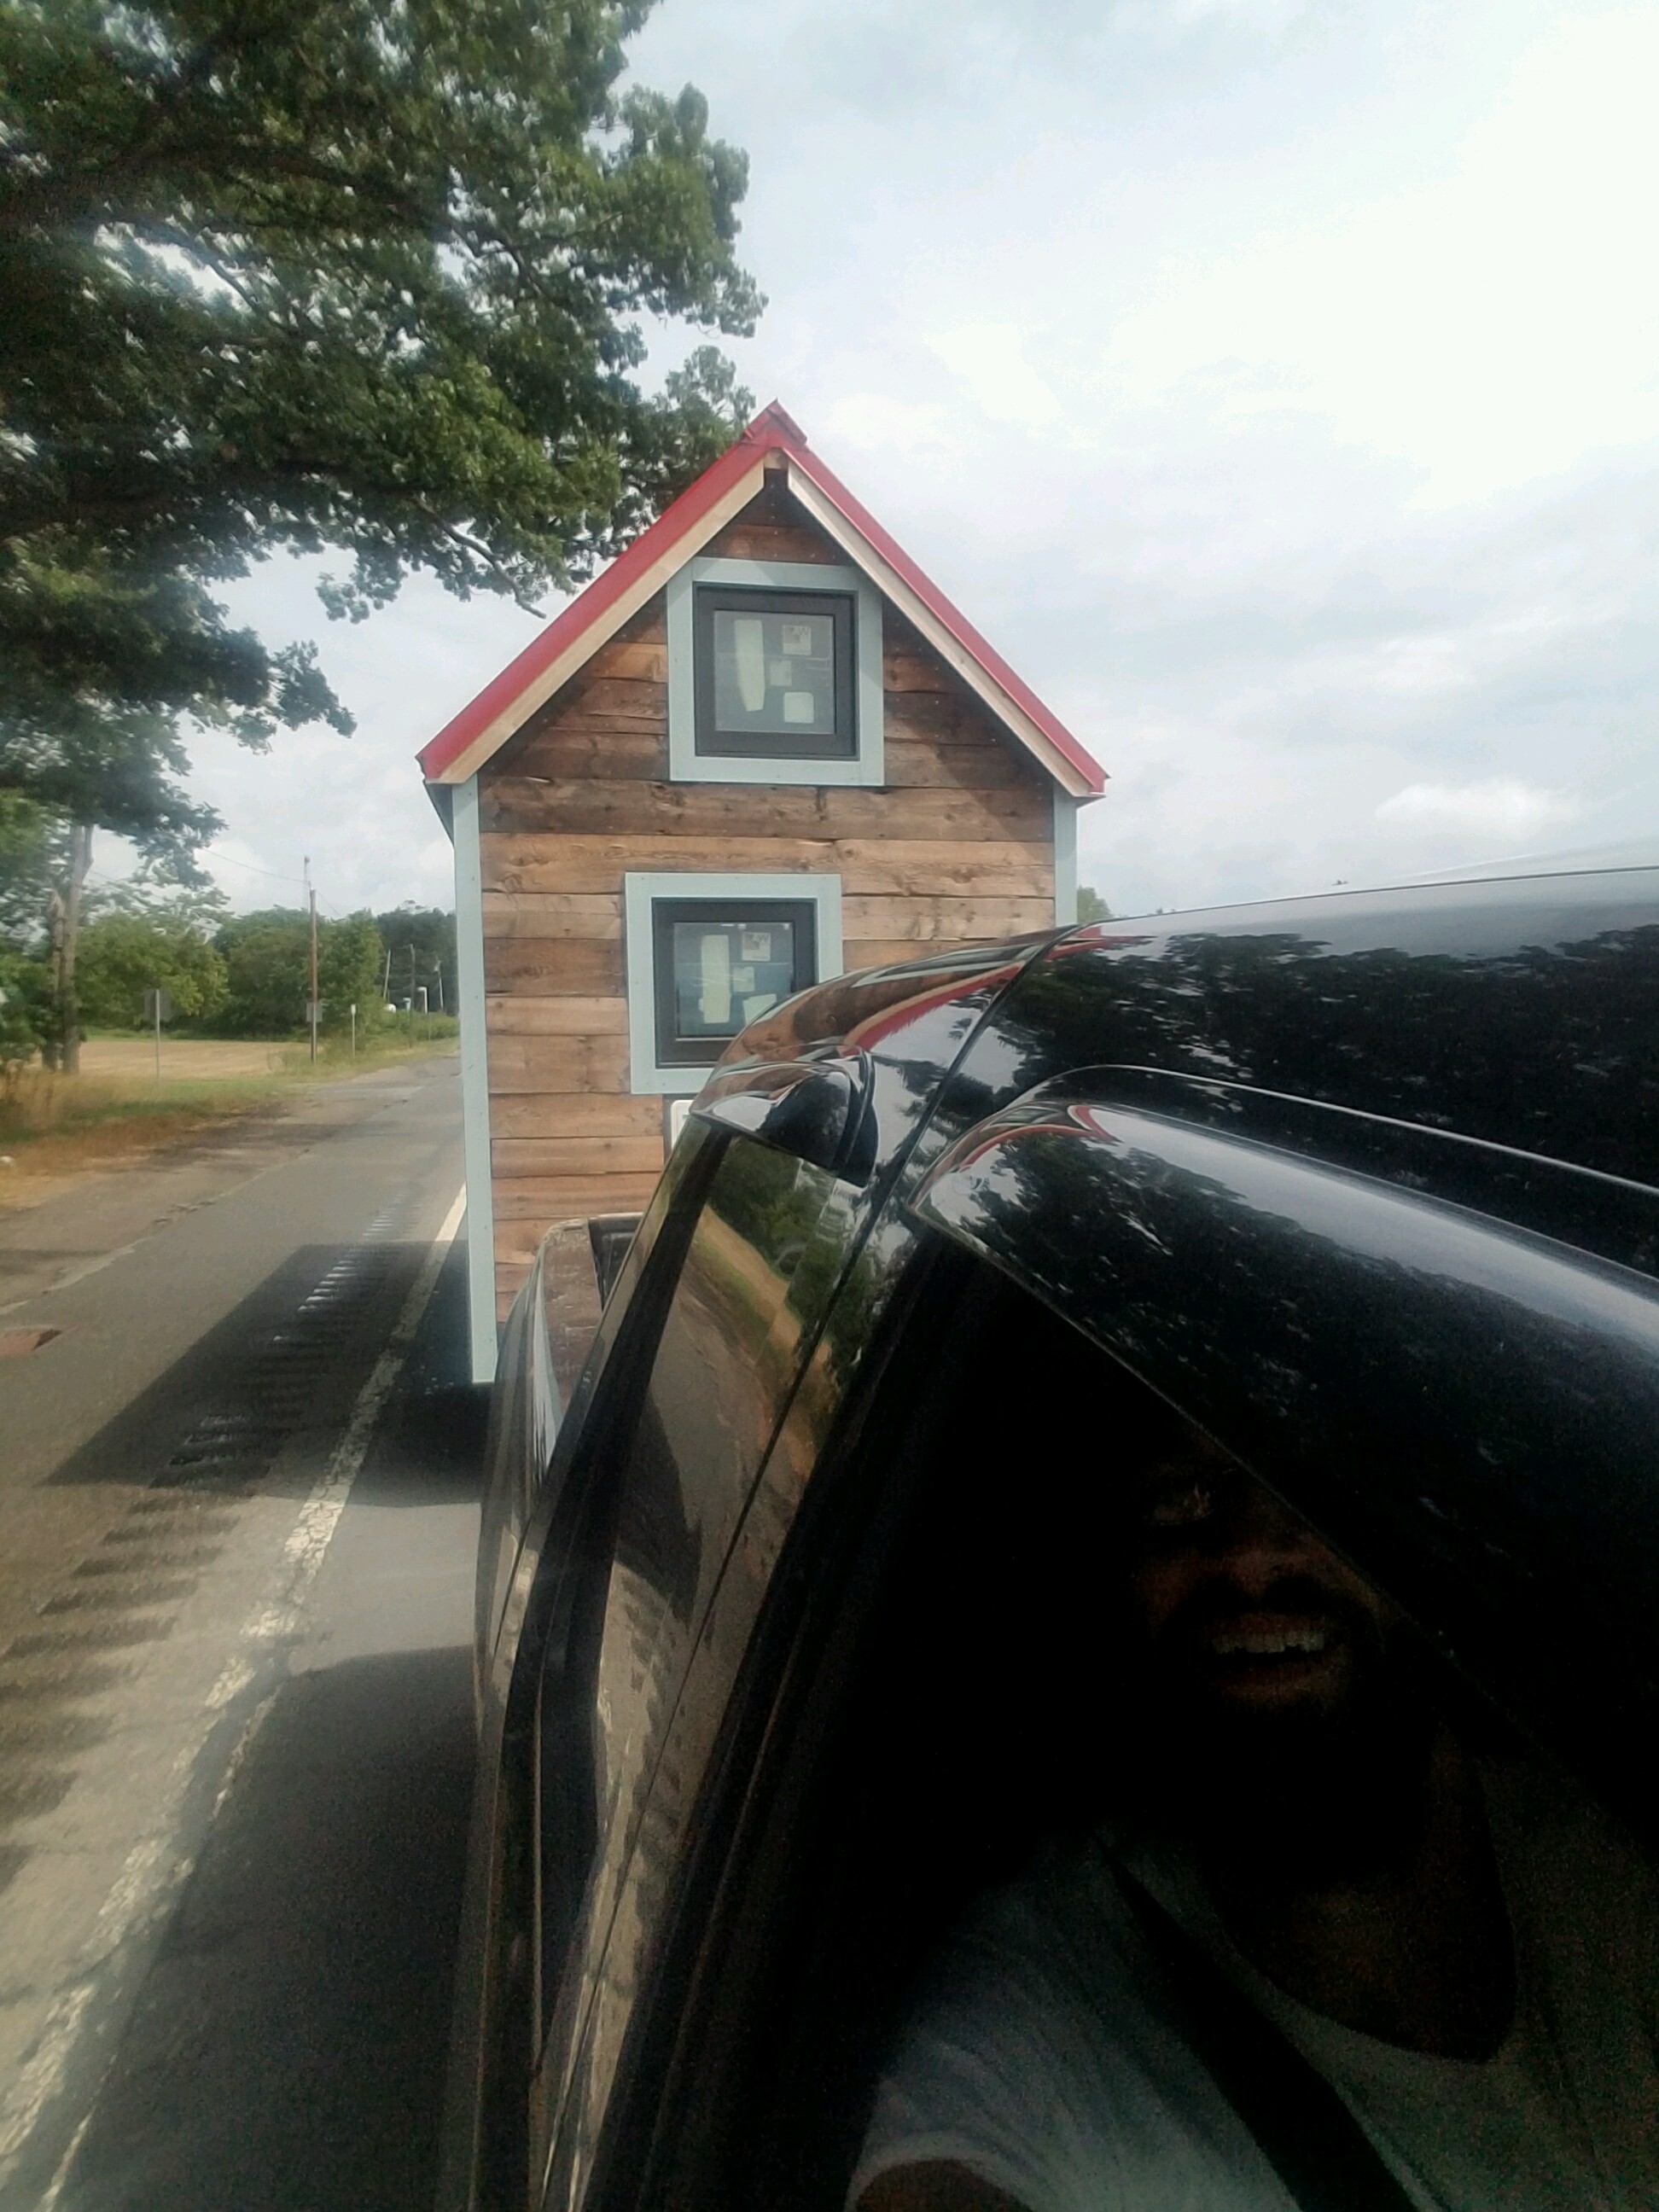
Tiny House Crafters should start work on Sept 1 and they think it will take 5 weeks. Five weeks until the tiny house is done! I’m excited, but I guess I have to get a move on finding a place for the tiny house to live :-).
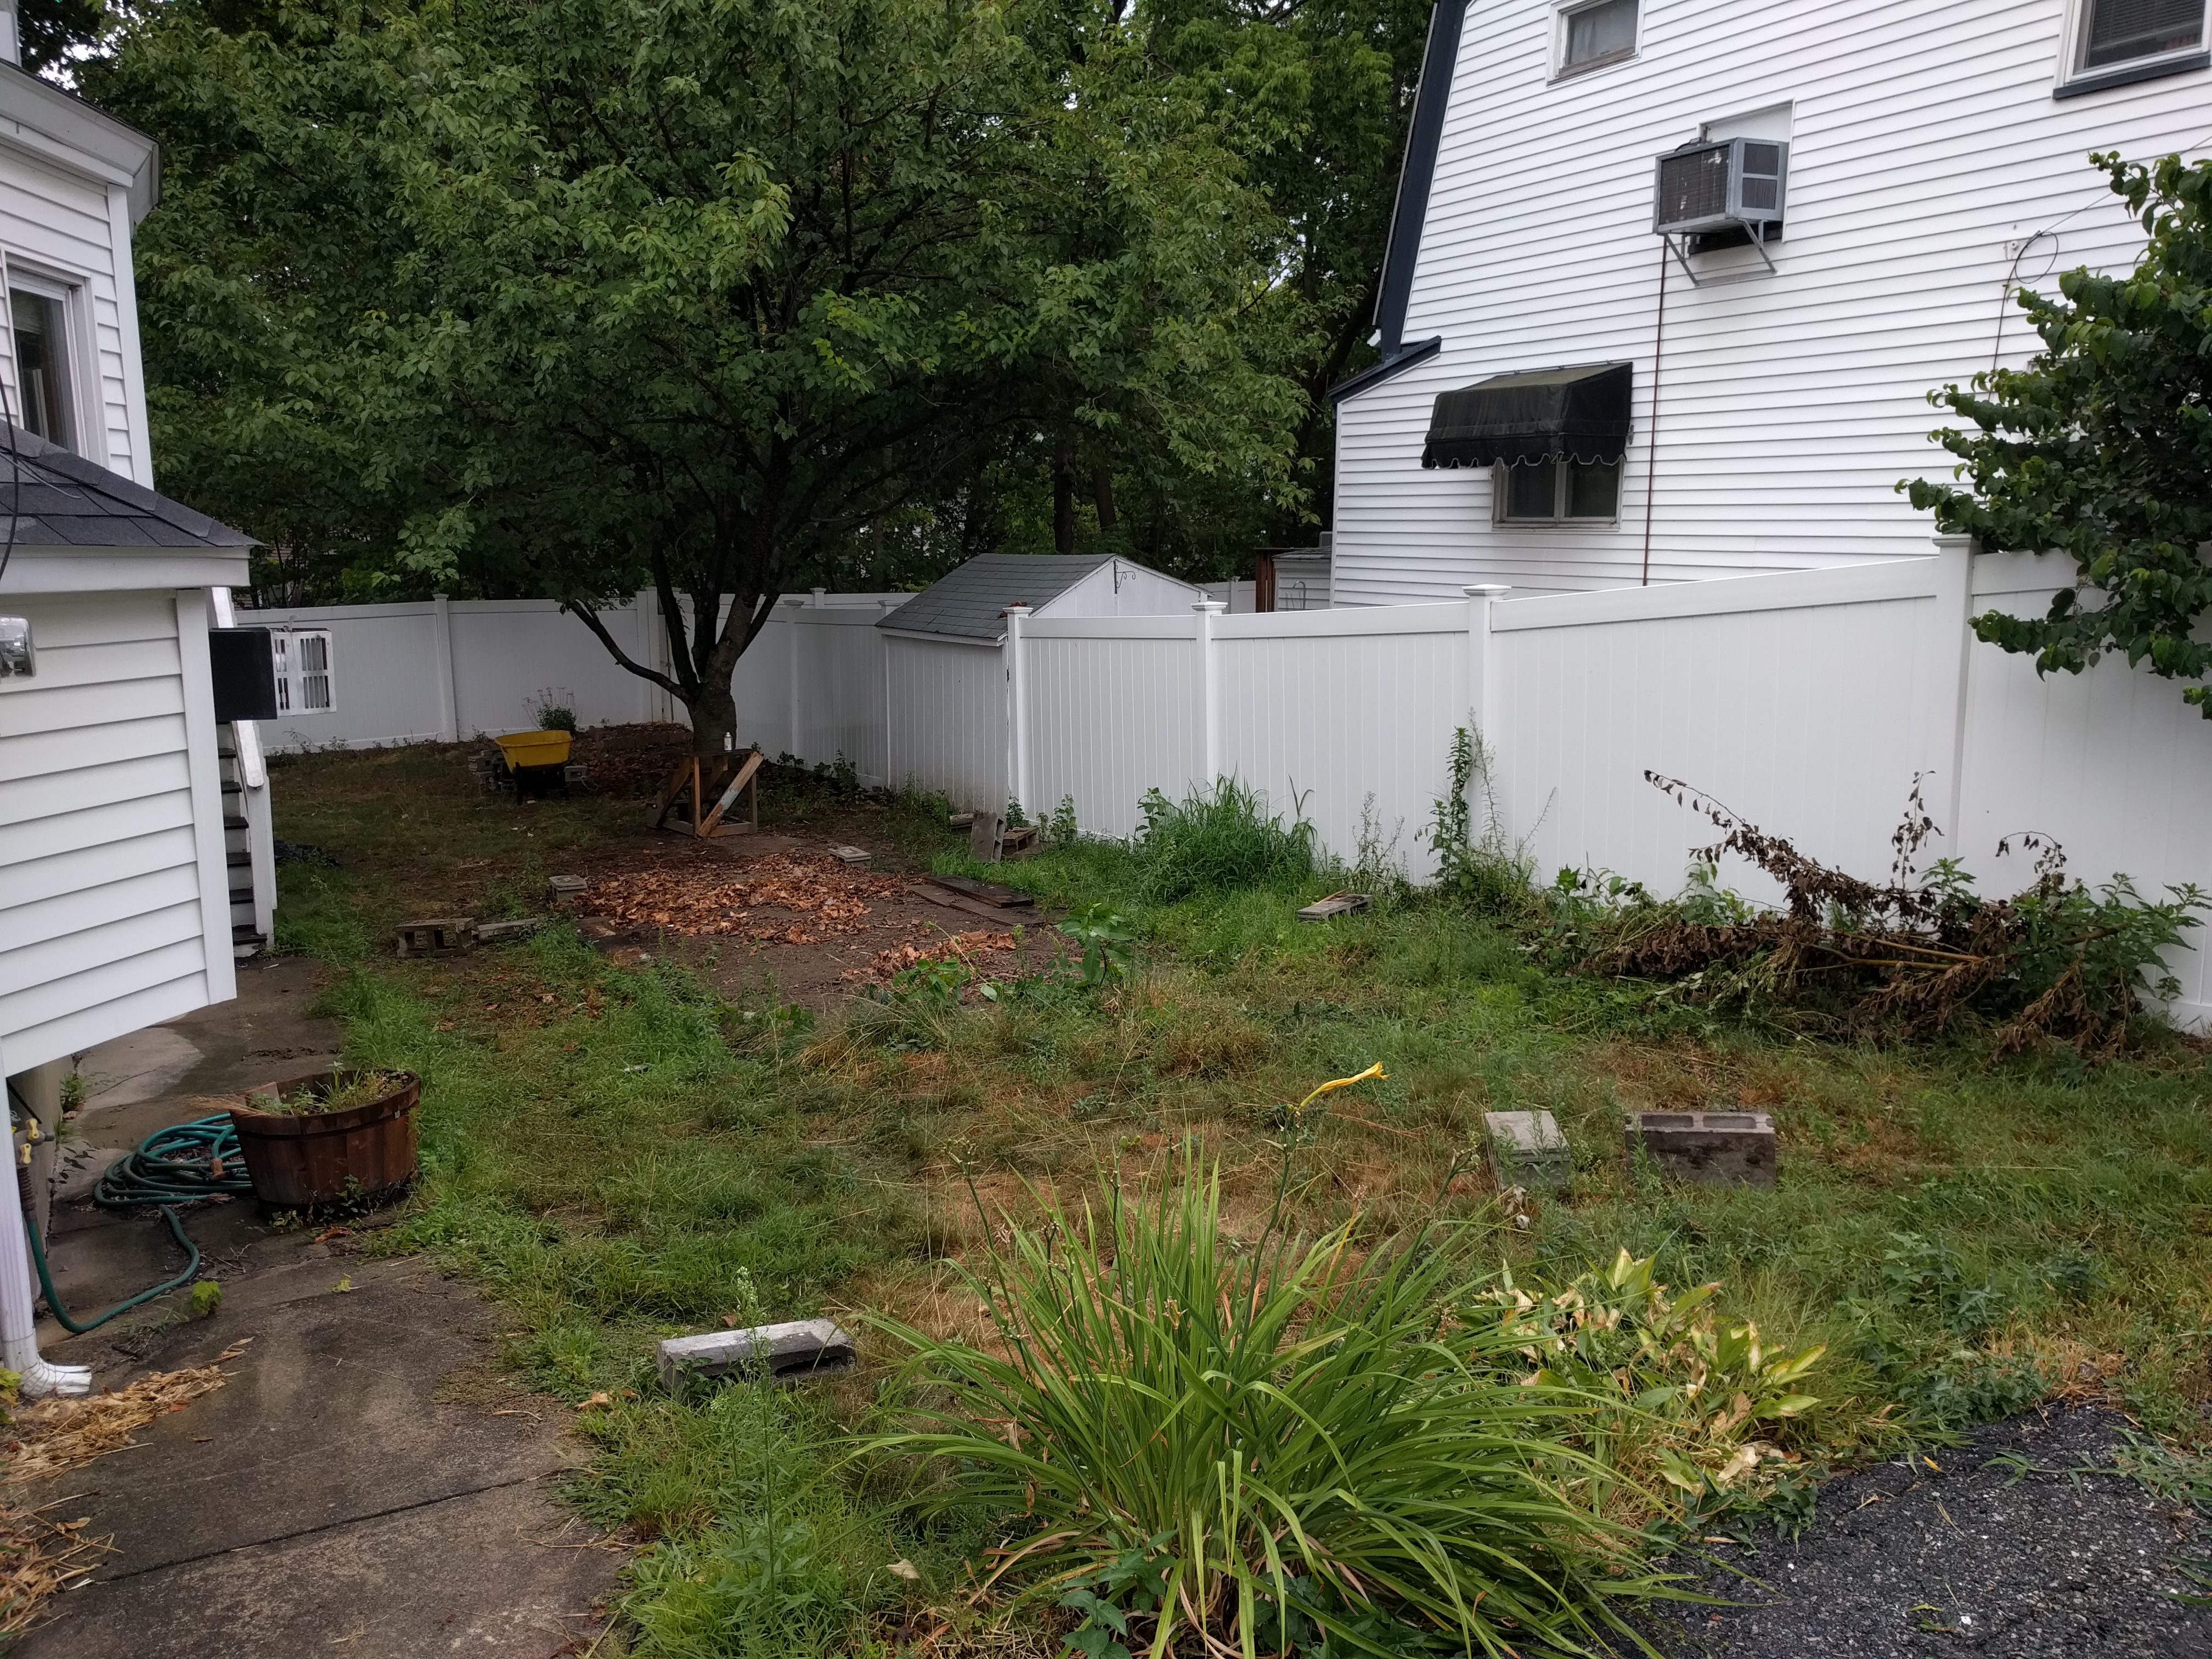
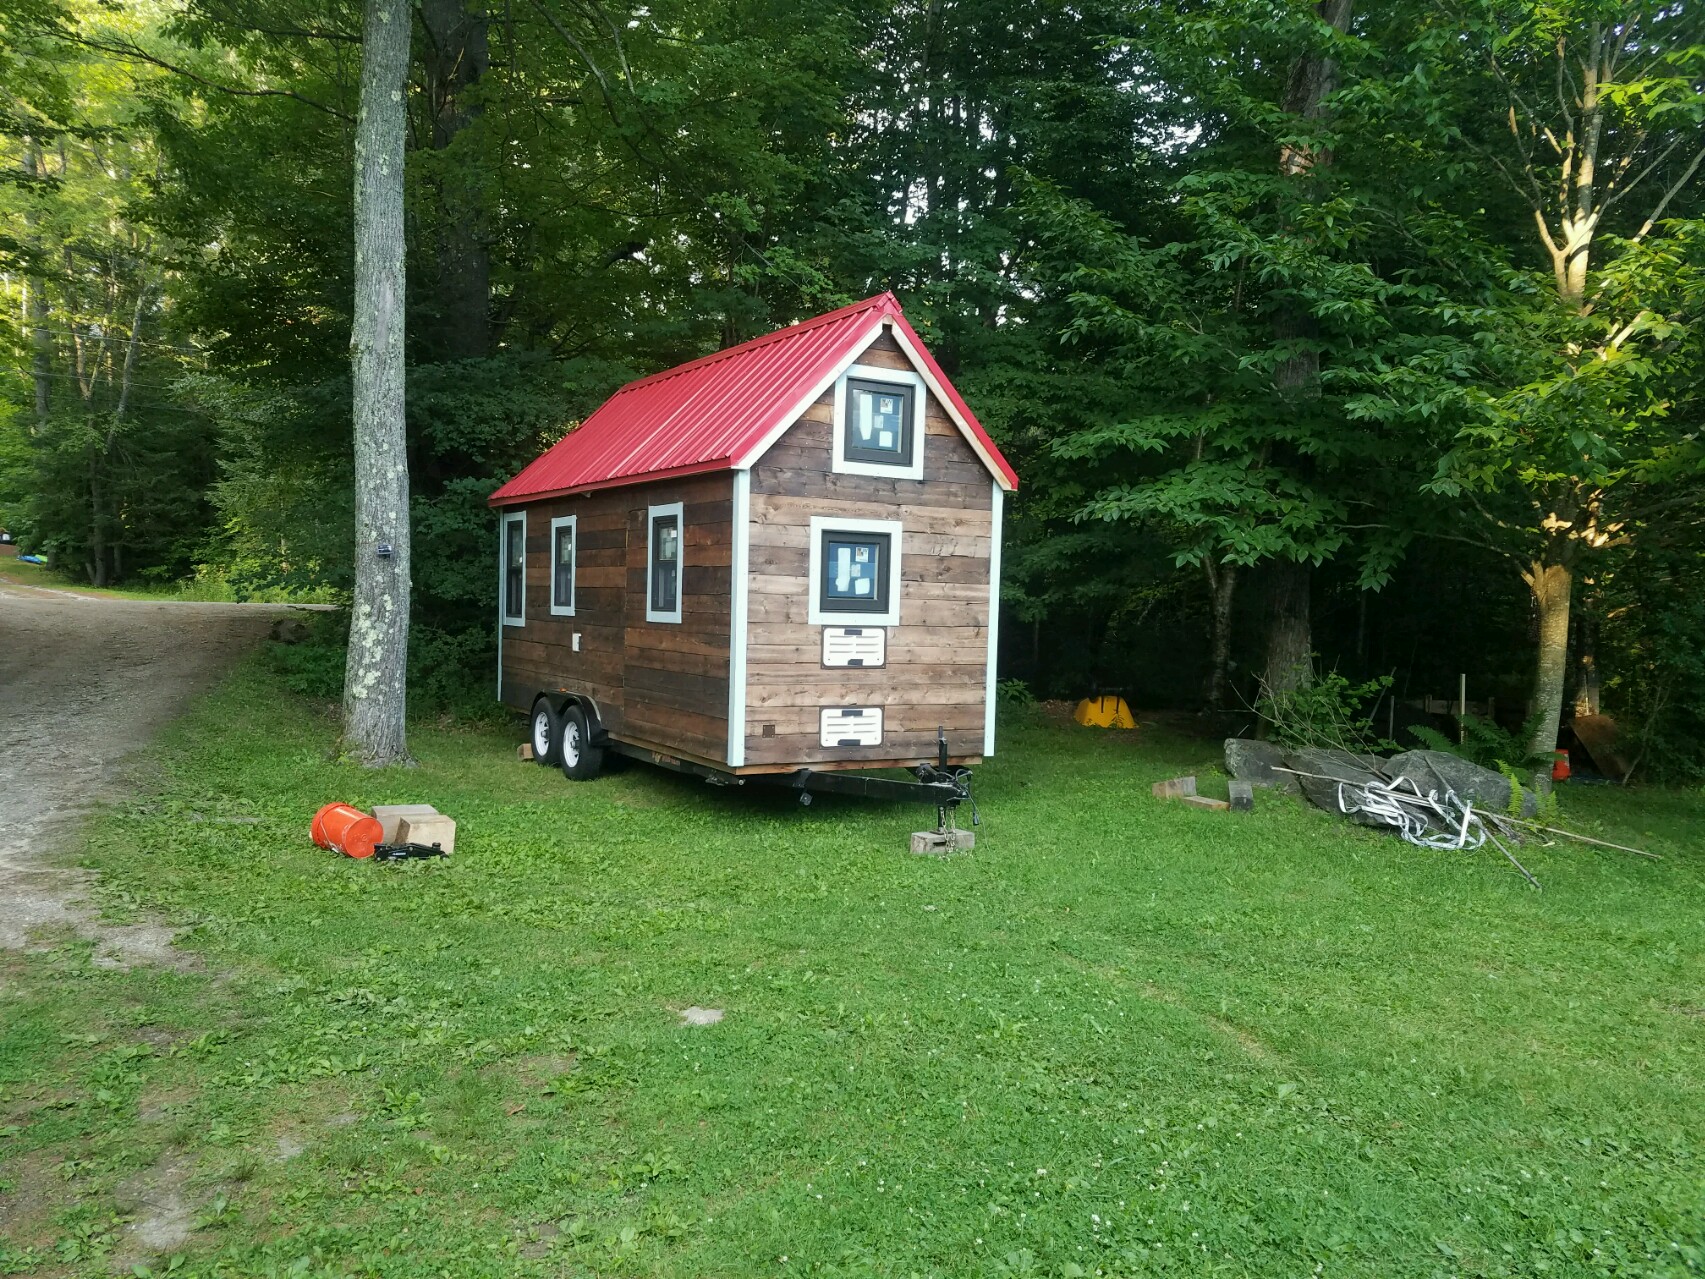
An image from the road, courtesy of Anderson.The house’s little corner of Vermont, for now.
At long last, the house is covered in siding! This process began back last August with the blackening of the boards of reclaimed lumber I bought from Jarmak Corporation and went slowly because, like everything else on this project, I had to learn everything as I went. In October I was running out of wood and contacted Jarmak to get more of the one-of-a-kind pieces, and they notified me that the yard and all the extra boards had tragically burned to the ground. So I went back into the scrap pile and used every inch of usable wood I could find. In some cases I had to strip off totally ratty edges and recut the tongues and grooves using a table saw equipped with a dado blade. I’m really pleased with the final look.
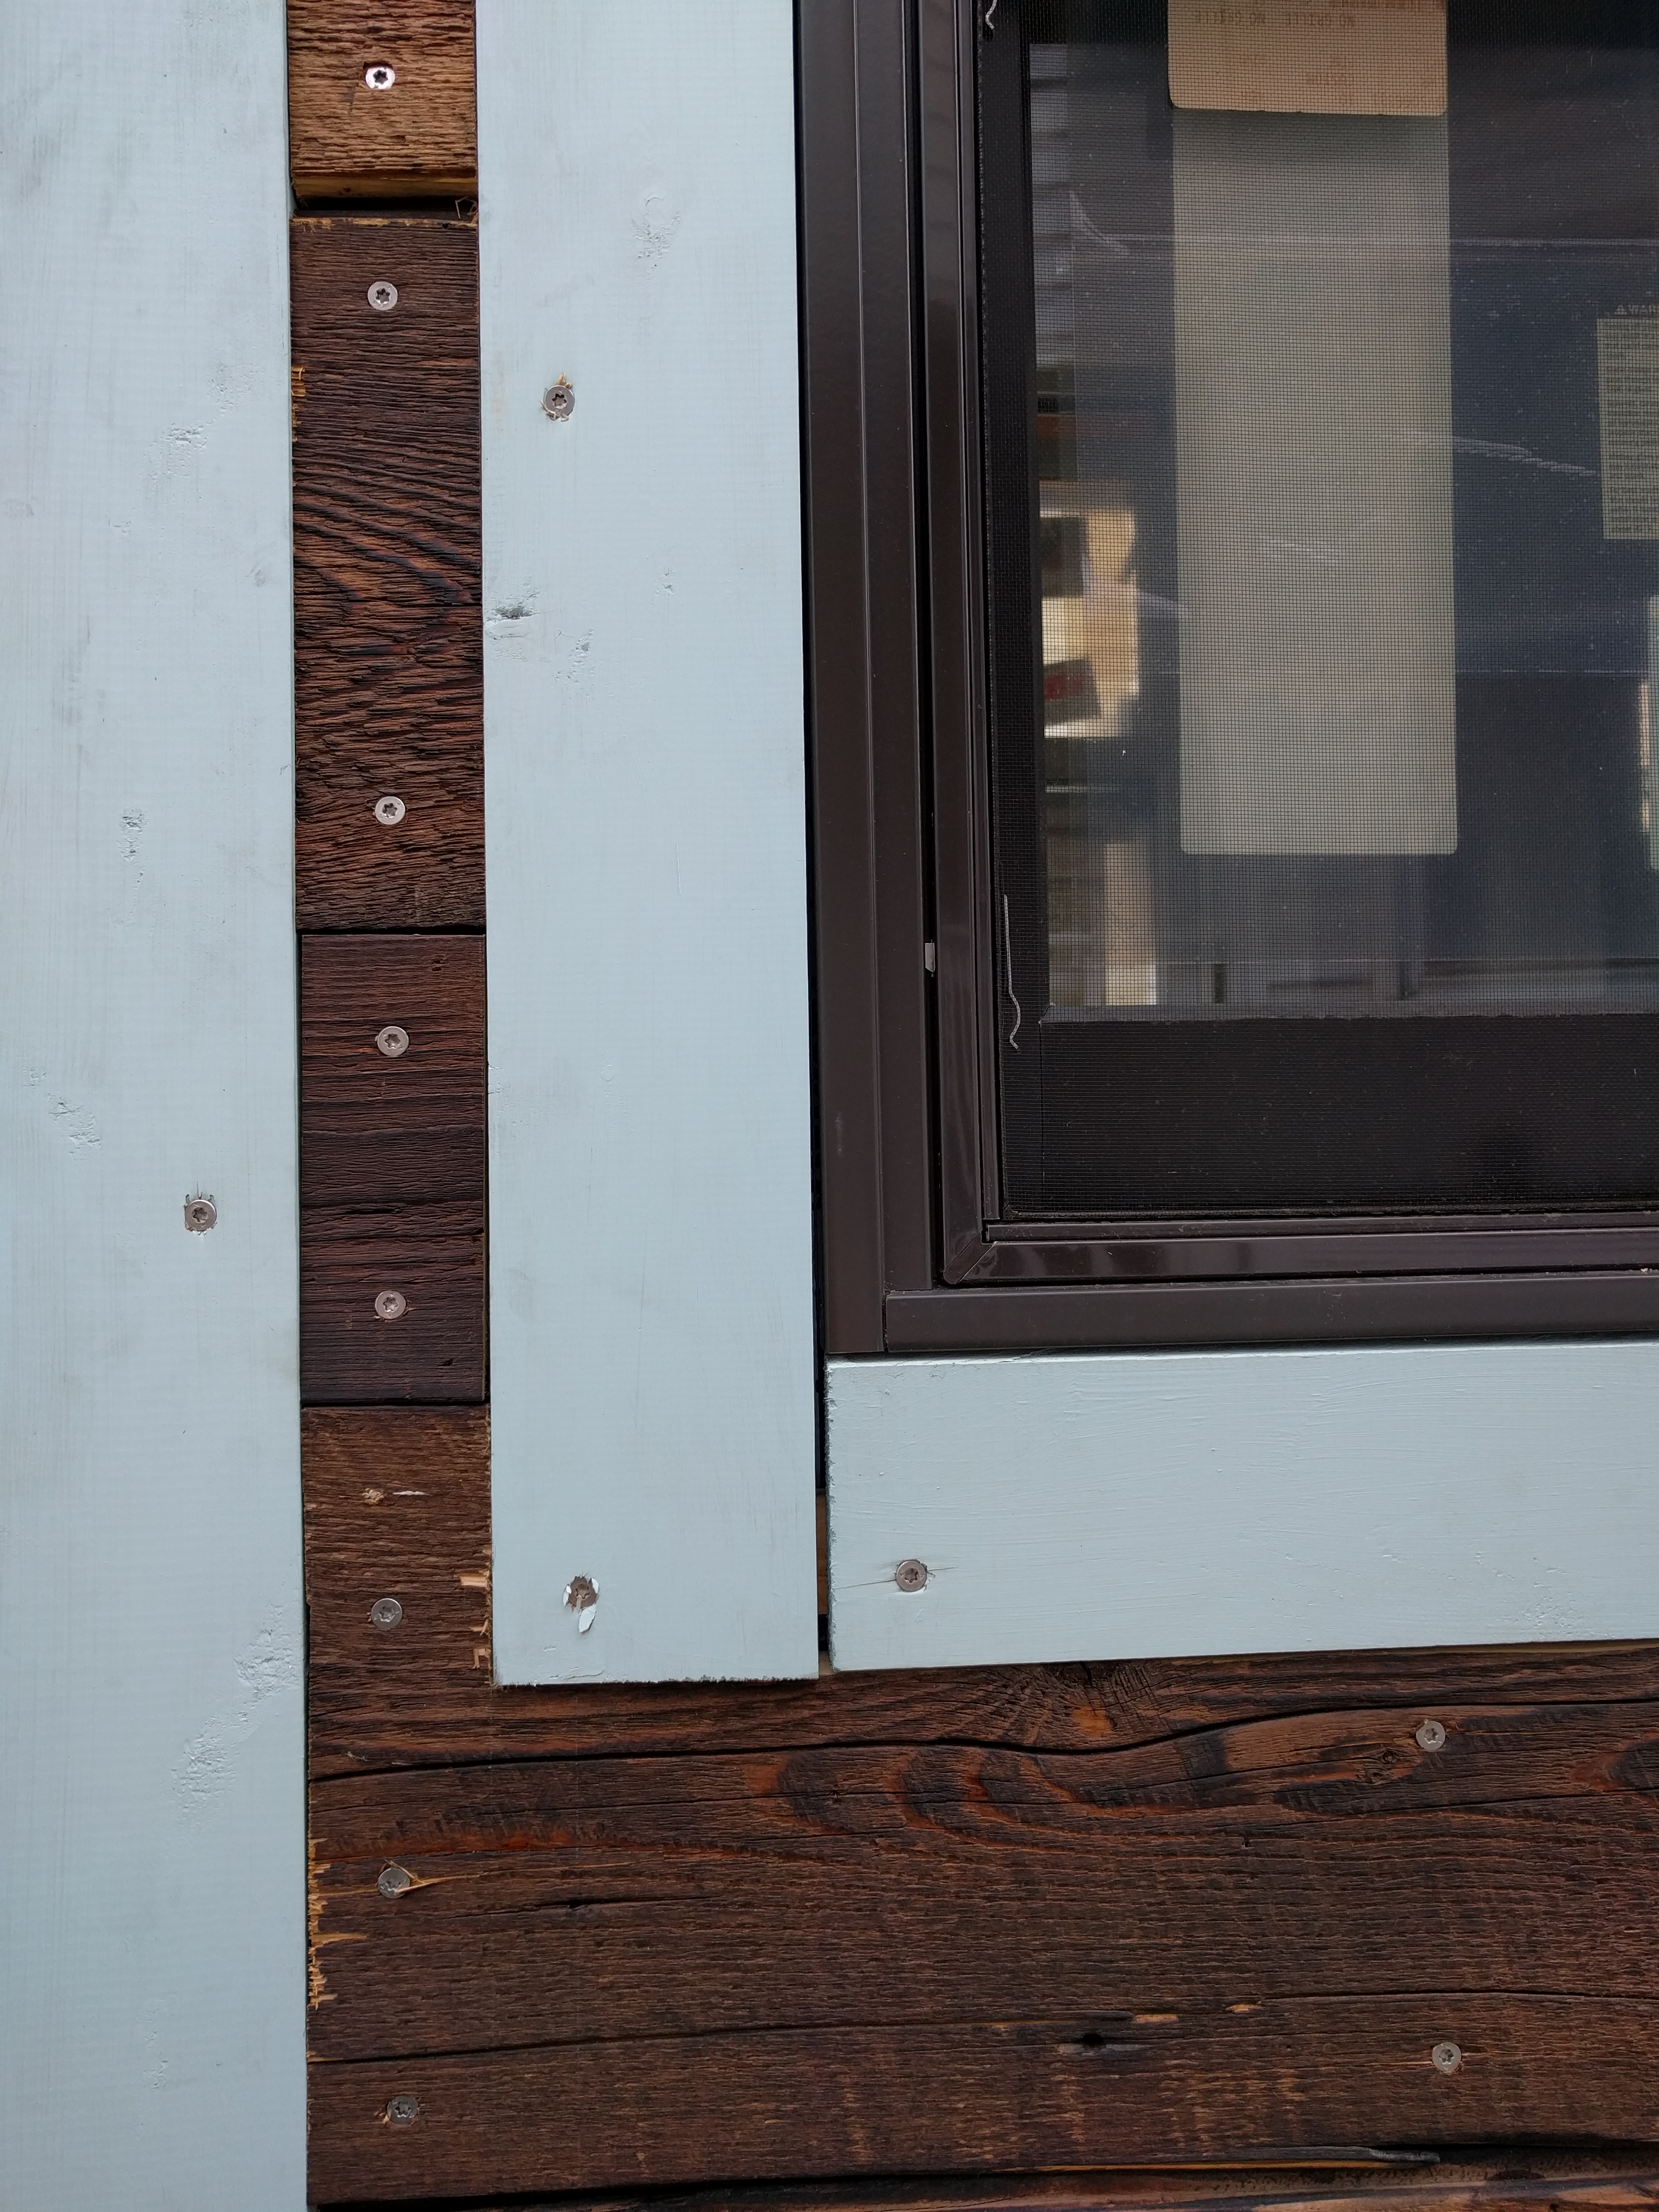
Here’s a closeup of some of a piece that’s not in great shape. You can see how the board at the bottom is split. But each board is glued and screwed so I don’t think they’ll go anywhere. Next time I wouldn’t bother jigsawing that little corner, but I was determined to make the horizontal lines continuous on either sides of all the windows. This is one of the details that I had to abandon as I started running out of boards.
The tiny house has already survived the winter with no leaks or water damage of any kind that I can see. I think I did it?
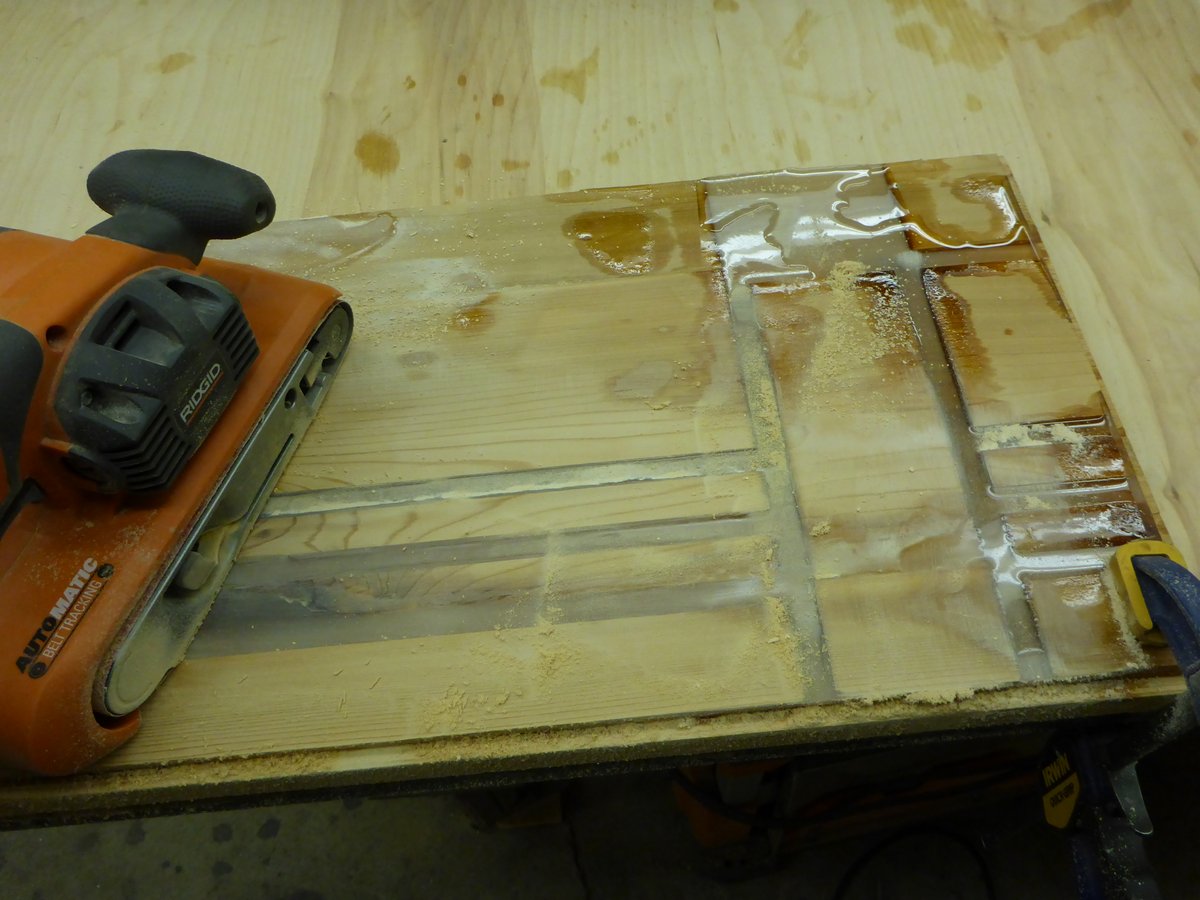
We continue to be impressed with Marc’s attention to detail on our front door. He sent us some photos of the finishing process, which involves sanding the resin, bevelling edges, and touching up some of the gaps. I wrote the captions, apologies to Marc if anything I say is inaccurate.
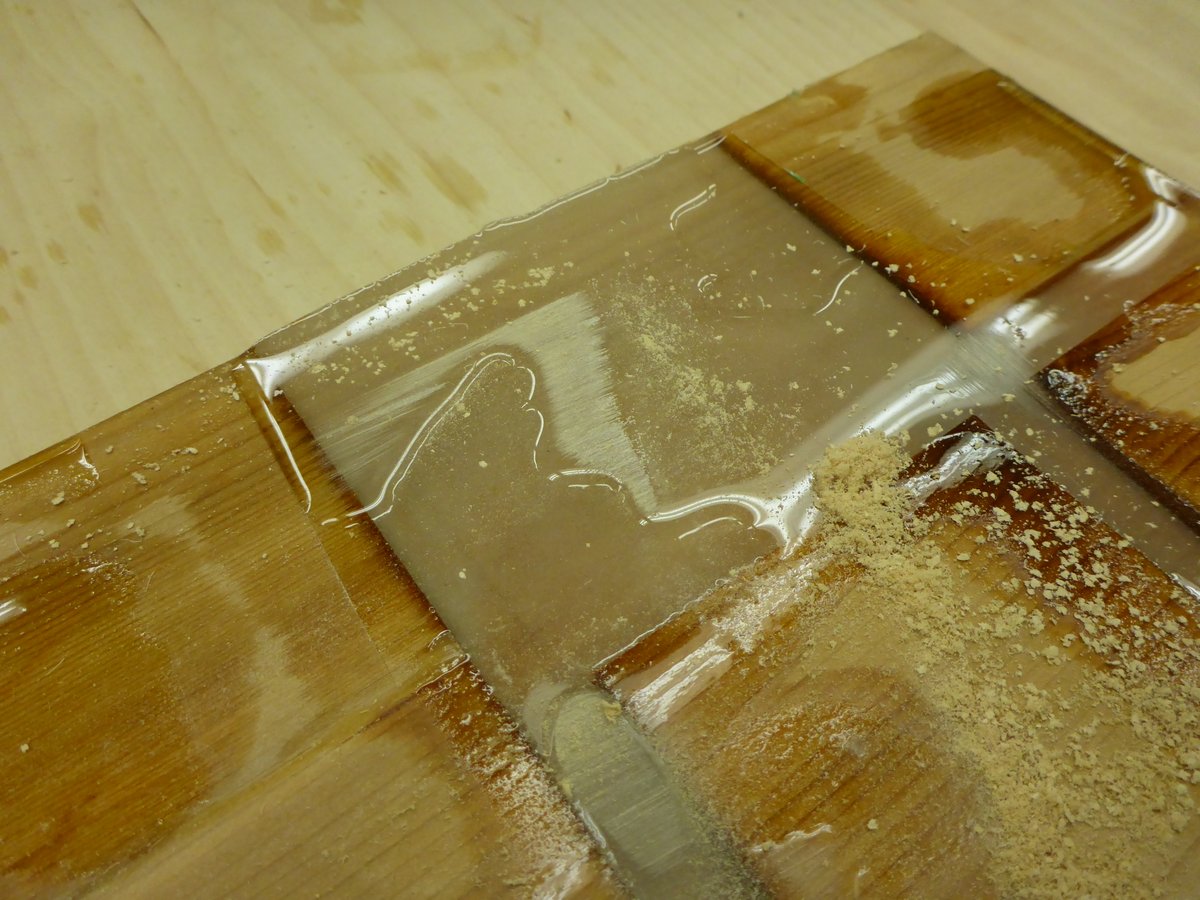
Belt sanding the excess resinI believe you are looking at where the resin overflowed the grooves and needs to be sanded down.
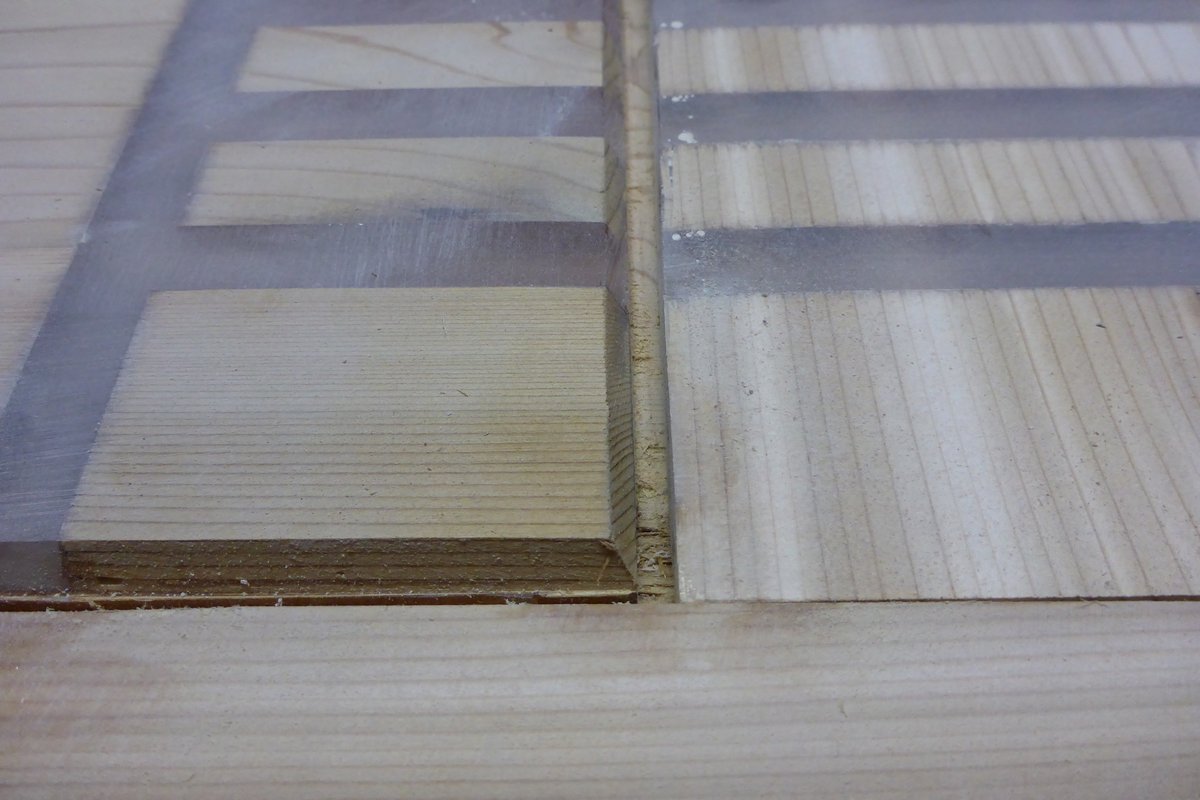
Because this is a front door, it is subject to extreme temperature and humidity changes. The interior may be hot and m-m-m– humid, and the exterior may be cold and dry. So the panels of the door float freely so they can expand and contract without causing the door to buckle. That’s why the pretty design has narrow gaps where the panels meet the stiles (outer parts of the door). The resin can’t be used in these gaps. When we worked on the design, Marc and I made sure that not too much of the design would be lost in the gaps.
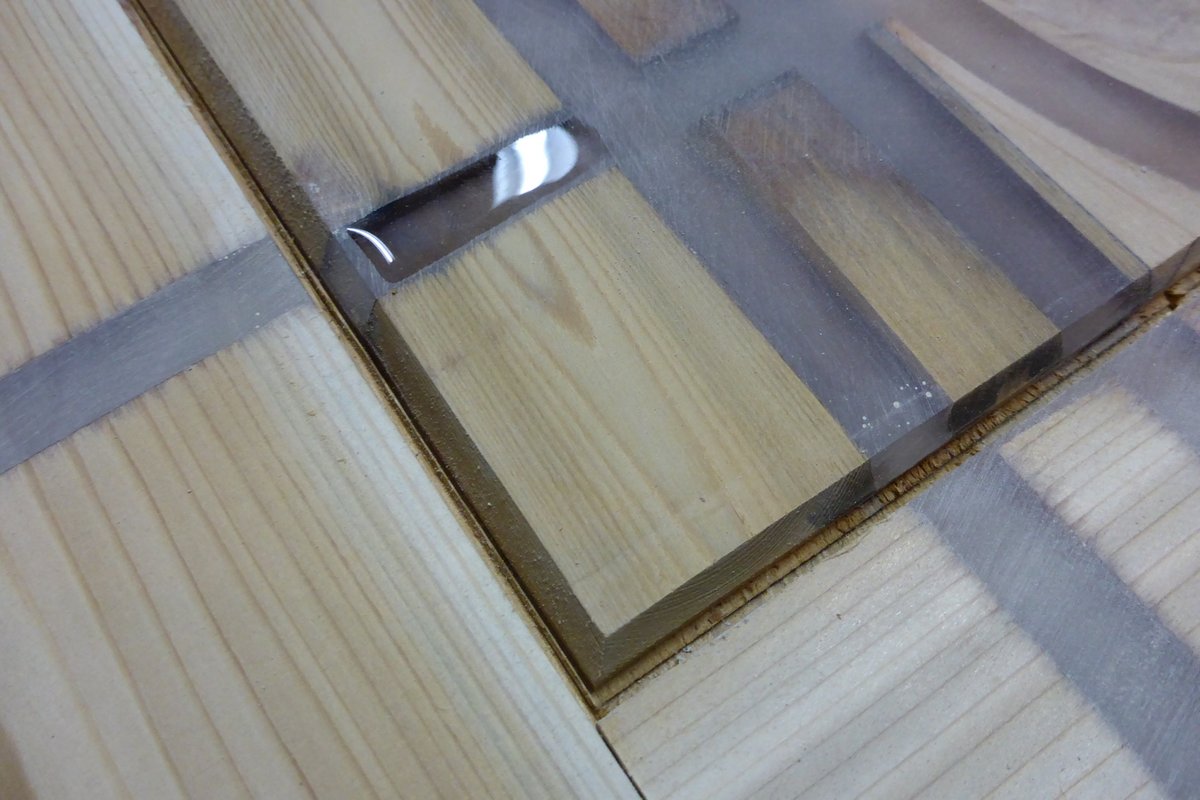
Closeup of bevelled edge and gap between panels.A touch-up of fresh resinlook at that even color!
We have already talked with our electrician, Alex, about making sure that the door gets properly illuminated during the day so it glows at night. He seemed to think that ambient light would do the trick, but with such a centerpiece we’ll do whatever it takes to make sure the resin gets properly charged.
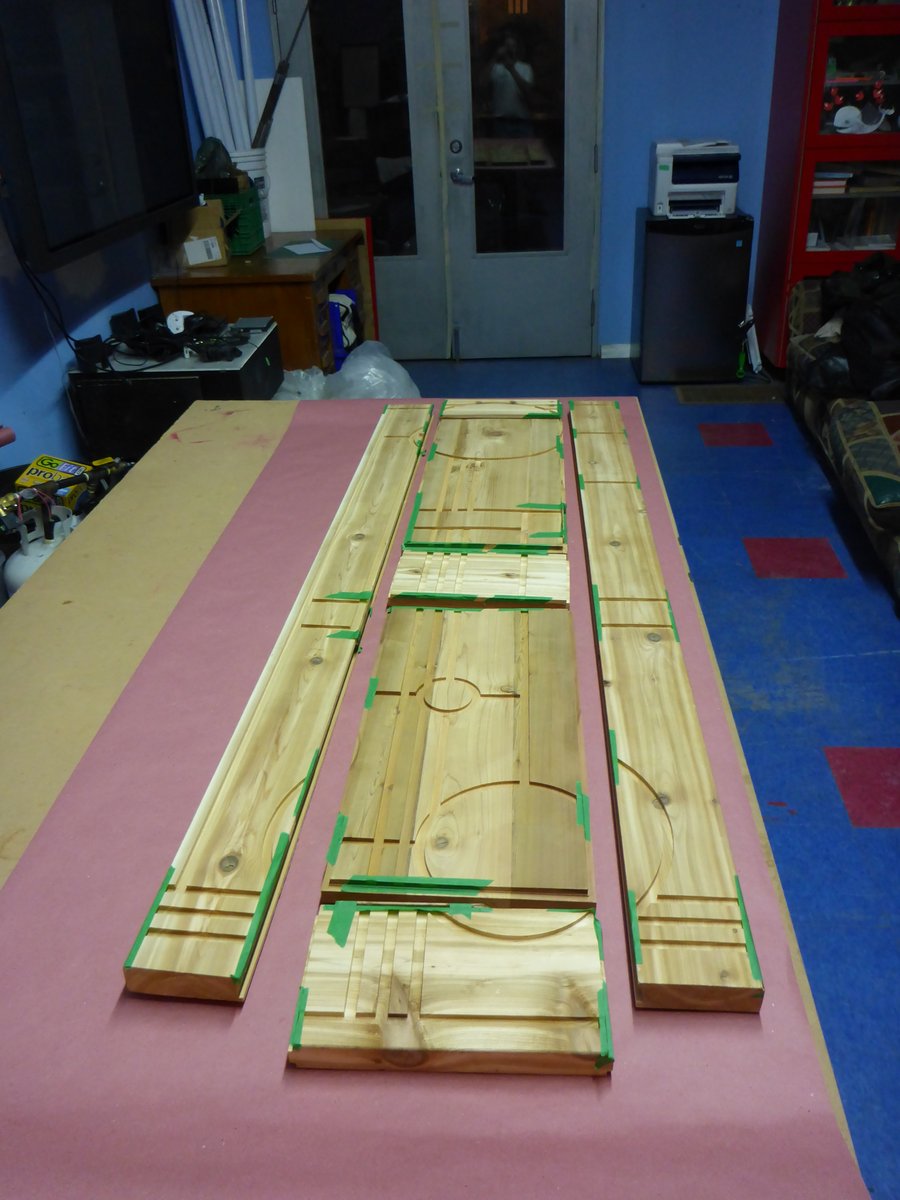
Last time, I mentioned that our front door is going to be extra special. At some point when we were talking to maker Marc Reeve-Newson about making the door, he mentioned that he had some special glow-in-the-dark resin that could be installed into grooves in the door. If we sent him a design, he could have a CNC ((Computer Numerical Control — basically a robot with a cutting head)) machine cut the grooves and then he could apply the resin and our front door would glow in the dark.
Coming up with a design for the glowing lines was a challenge. At first I came up with an intricate drawing full of delicate curves and curlicues. It also said “Speak Friend And Enter” in fancy Lord Of The Rings font because I’m an unoriginal nerd. Even though I used a lot of clipart, it took hours to get the look I was going for.
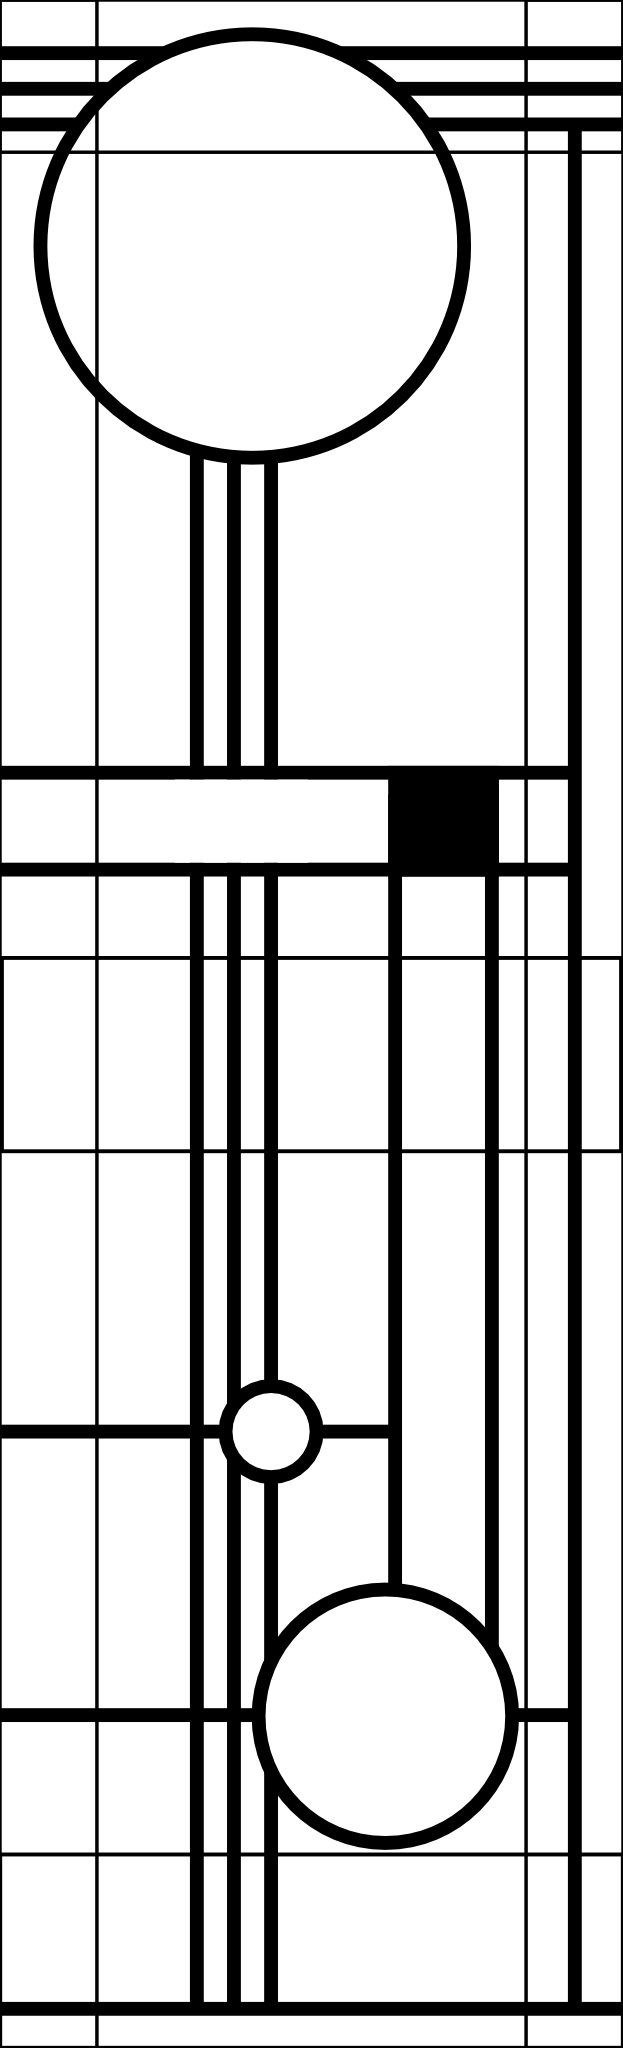
After some discussion with Marc, though, it became clear that the CNC would not have been able to properly etch those delicate shapes. Char also pointed out the organic shapes I had created would not fit with the modernist aesthetic we had been applying to the rest of the house. So I went back to the drawing board and whipped up something sort of in the style of Mondrian or Frank Lloyd Wright. Lots of thick, bold lines that the machine could cut more easily. Compared to the hours I spent on the first design, I banged this one out in probably half an hour.
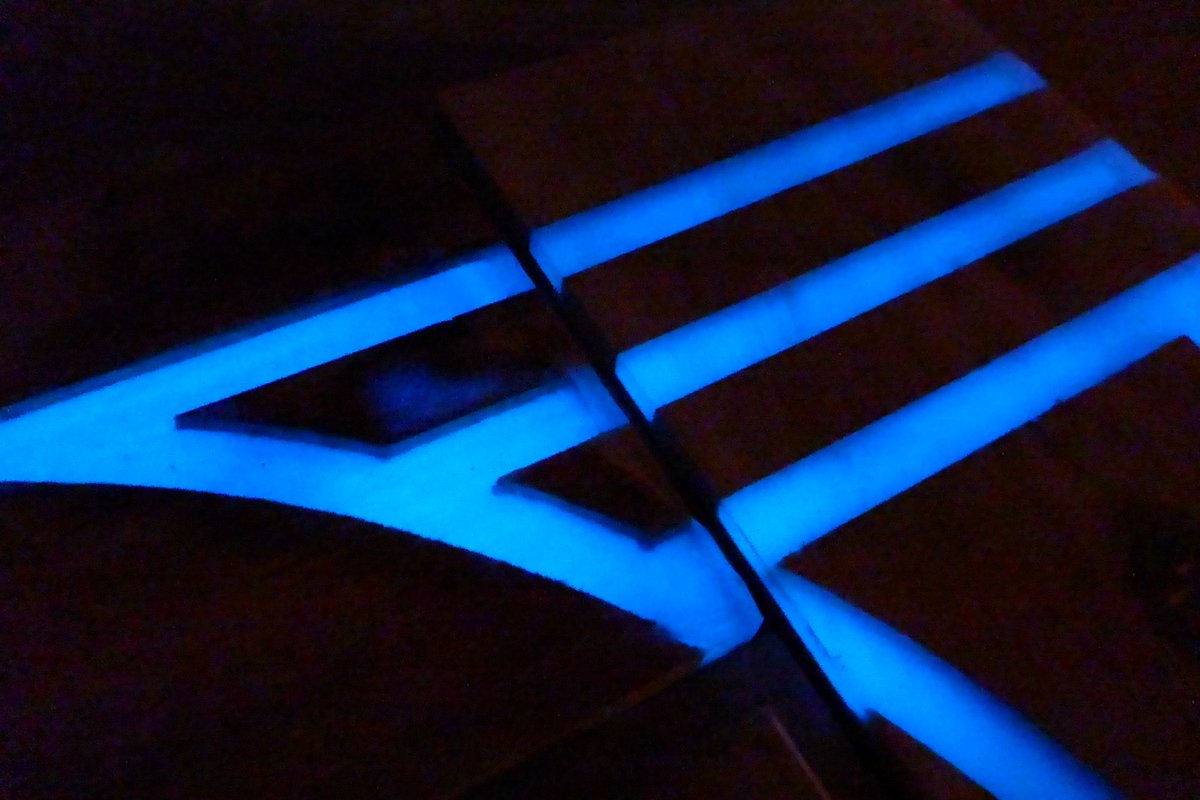
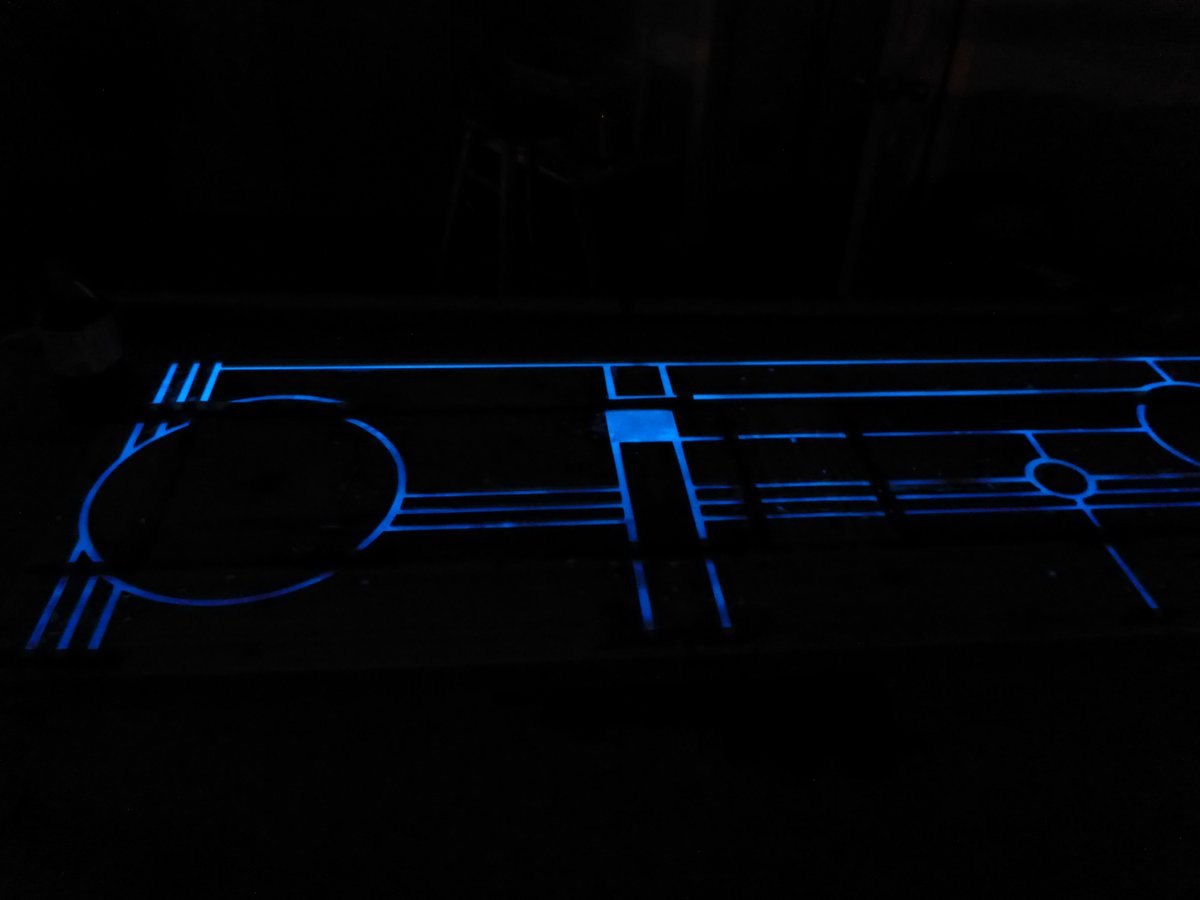
After some back and forth and small adjustments, we had a design that worked. And now we can see the (almost) finished result:
The door, with CNC carvings
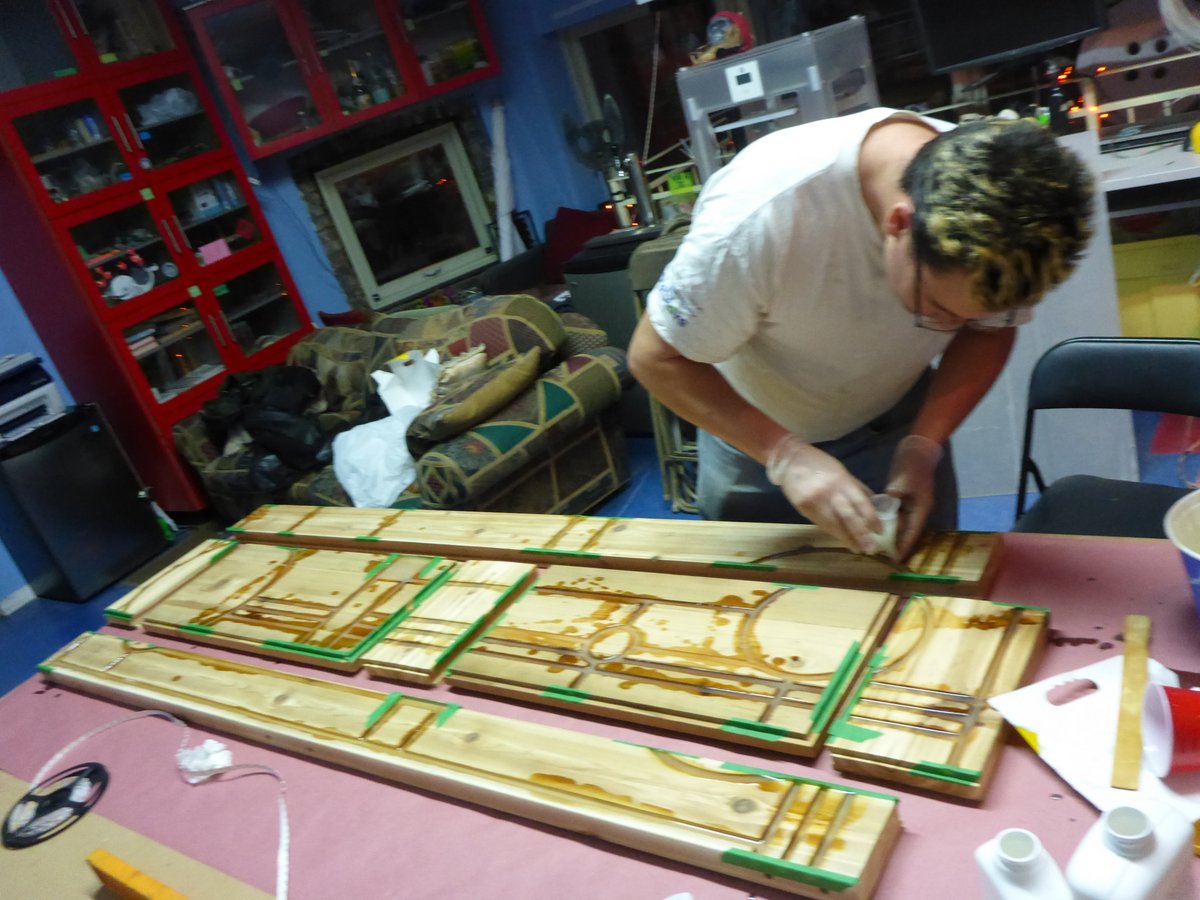
You can see how some of the circles changed size but on the whole the design is intact. Marc kindly sent some photos of the resin application process.
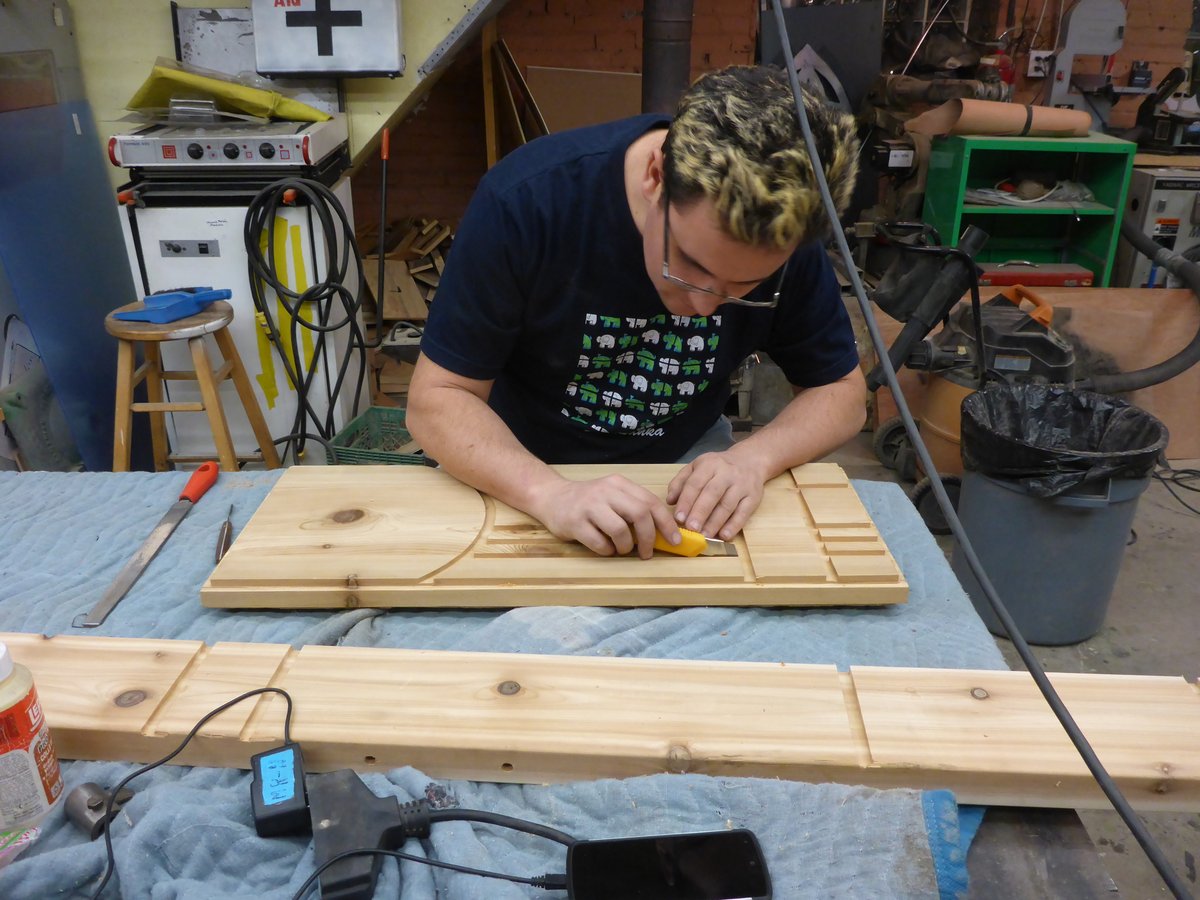
Our maker, Marc, at work. I believe he’s removing excess wood from the grooves to make them smooth.
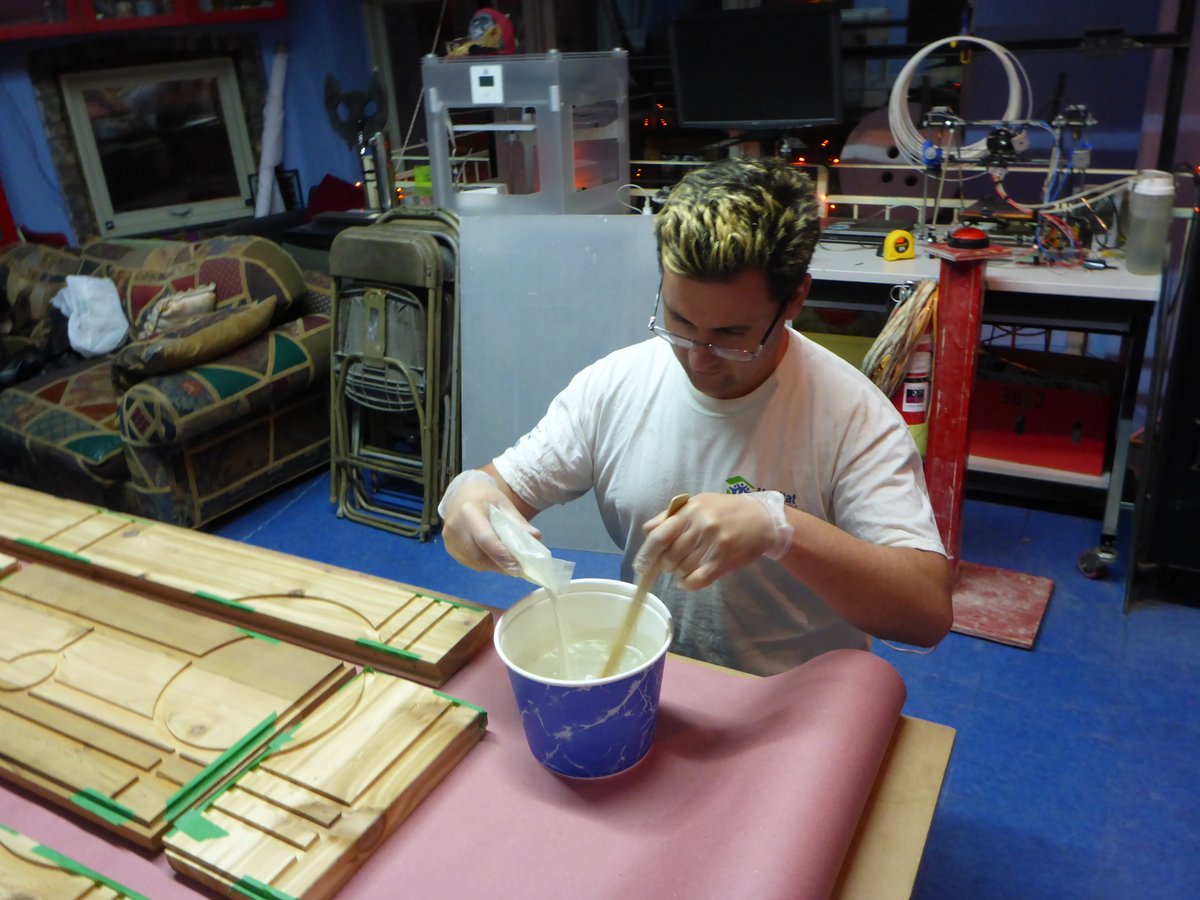
The following captions are care of Marc.
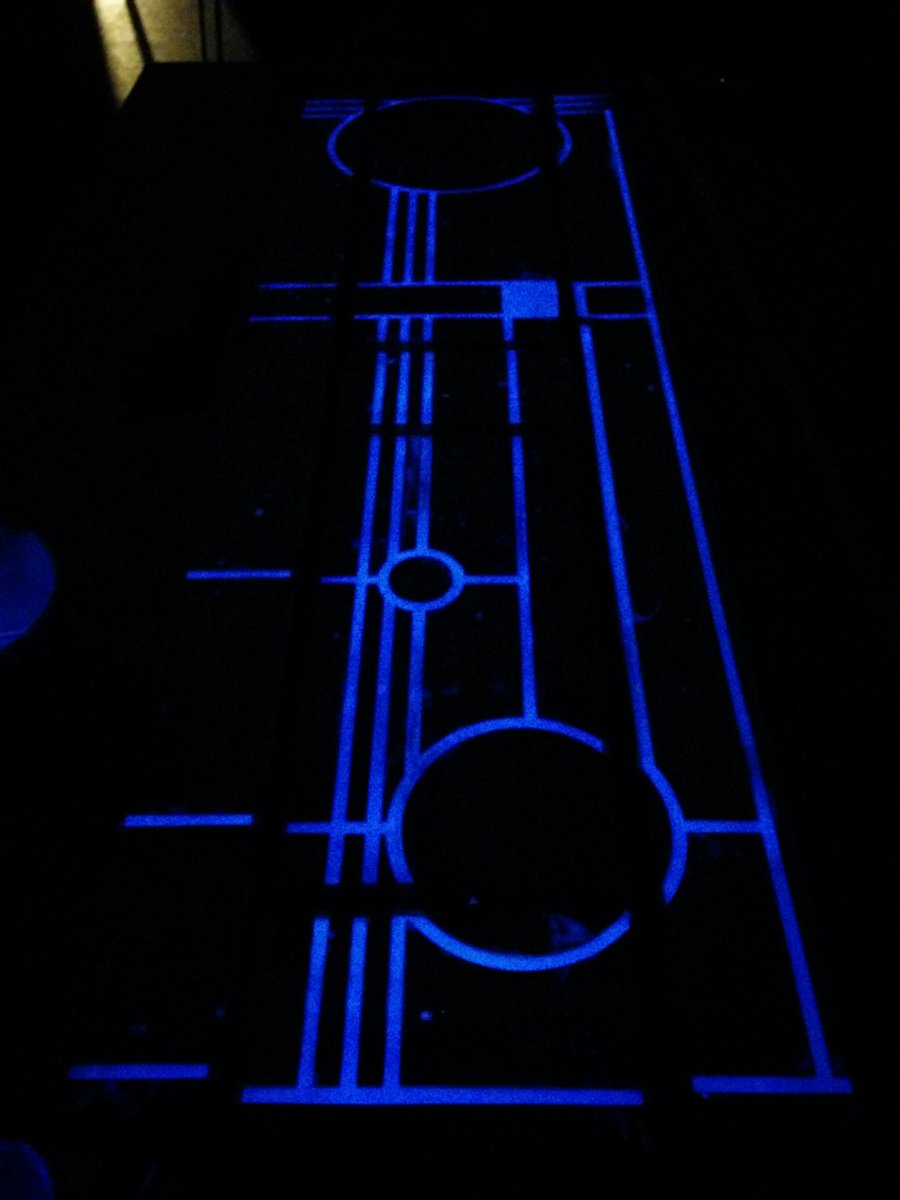
Start of the evening, the tape is to stop resin from flowing out of the grooves.Mixing in the glow in the dark powder.Pouring. The powder had a tendency to settle in the epoxy, so constant mixing was required.Charging the pigment with some UV strip lights I had kicking around.So here’s what the door looked like at the end of the eveningSide view
Char and I are both blown away by the photos. Marc still has some work to do sanding down the resin, but we couldn’t be happier with the finished product. We will have the door soon, and then we’ll install it in the house.
While we’ve been working on the siding, I’ve also been thinking the next stage of construction, which is roughing in the electrical system. I did a lot of research and made a big shopping list for electrical equipment, but I was starting to get overwhelmed and wasn’t sure I was making the right choices. Char and I discussed it and we decided it’d be best to hire someone to rough in the electrical for us.
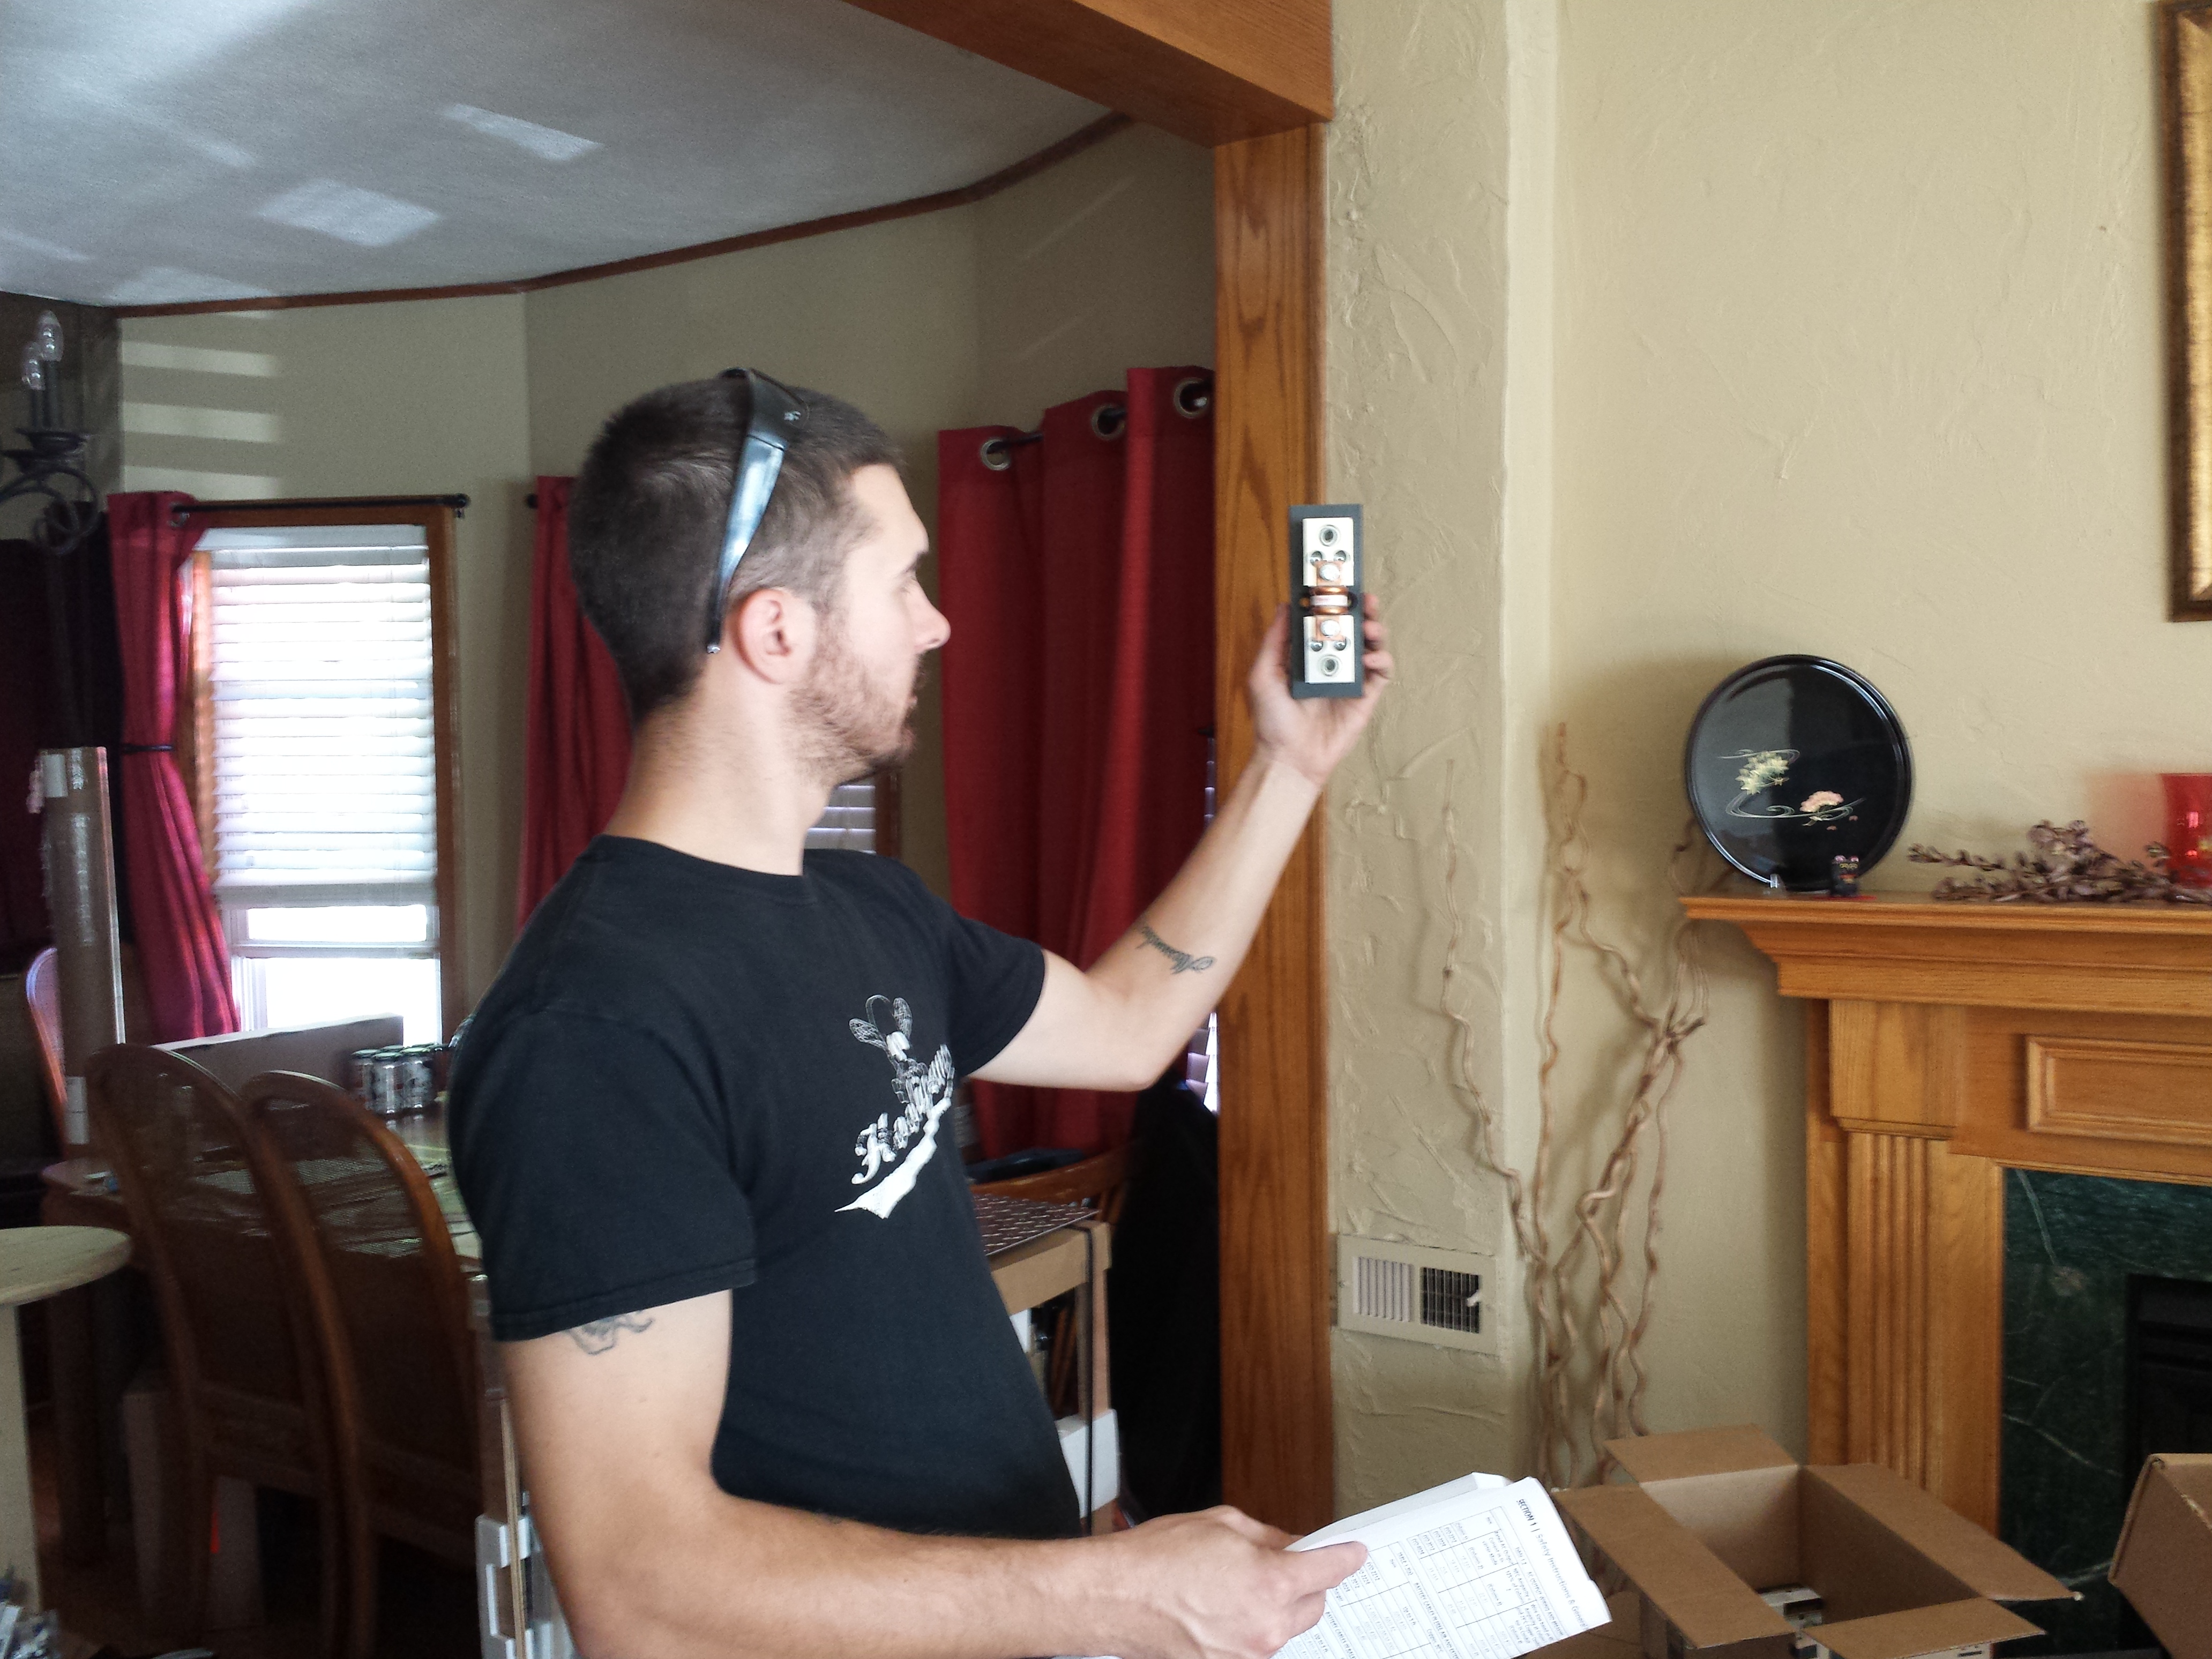
A mutual friend of ours introduced us to Alex Suzzi, a Licensed Electrician and Industrial Technician with 10 years experience, and after learning about the project he was excited to look at a tiny house and see how he could help ((If you’re interested in contacting Alex, you can reach him at alexsuzzi@gmail.com)). We showed him around and he immediately had tons of great ideas and suggestions for wiring tricks, like using low-voltage LED lighting and battery-less remote light switches. It’s a big relief to be able to put this task into someone else’s capable hands.
Alex admiring a 175A fast-blow fuse, for protecting our batteries from short-circuits.
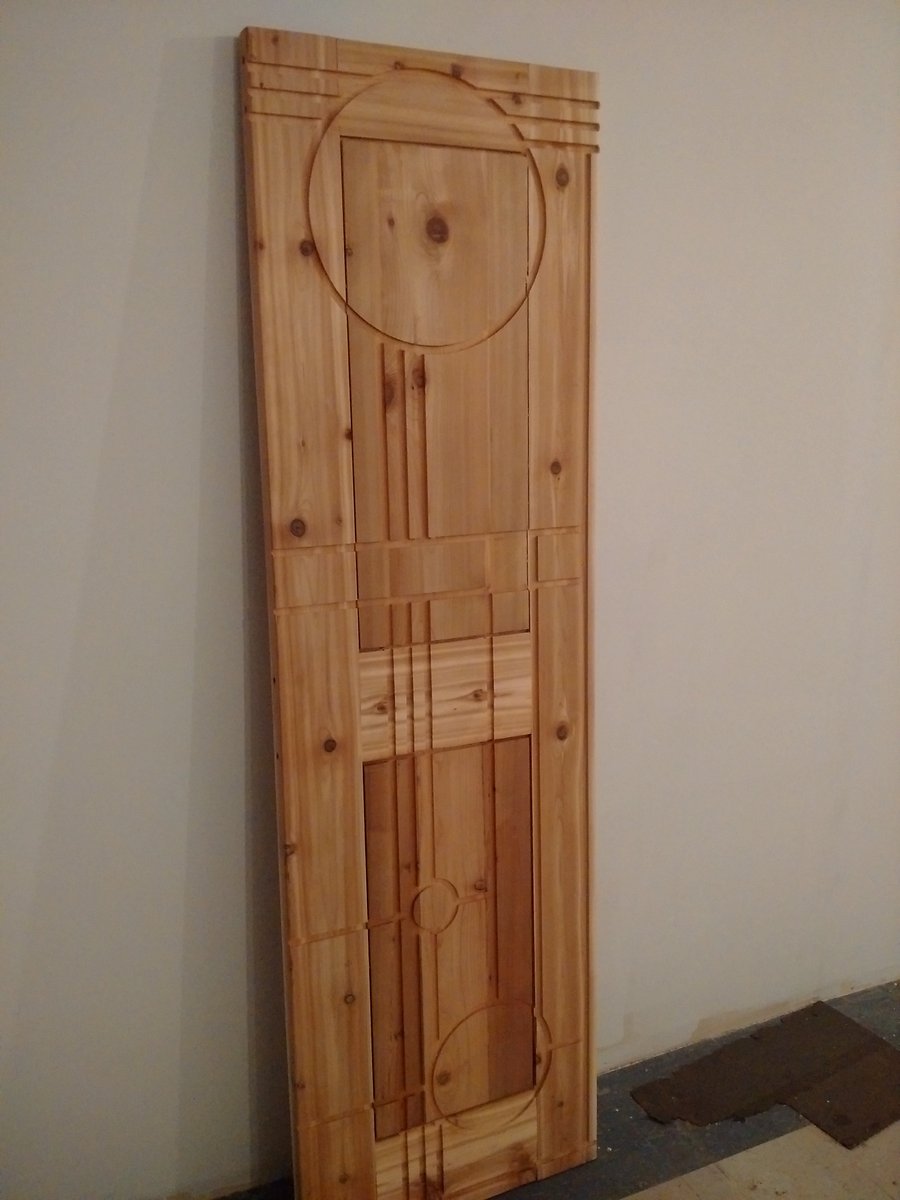
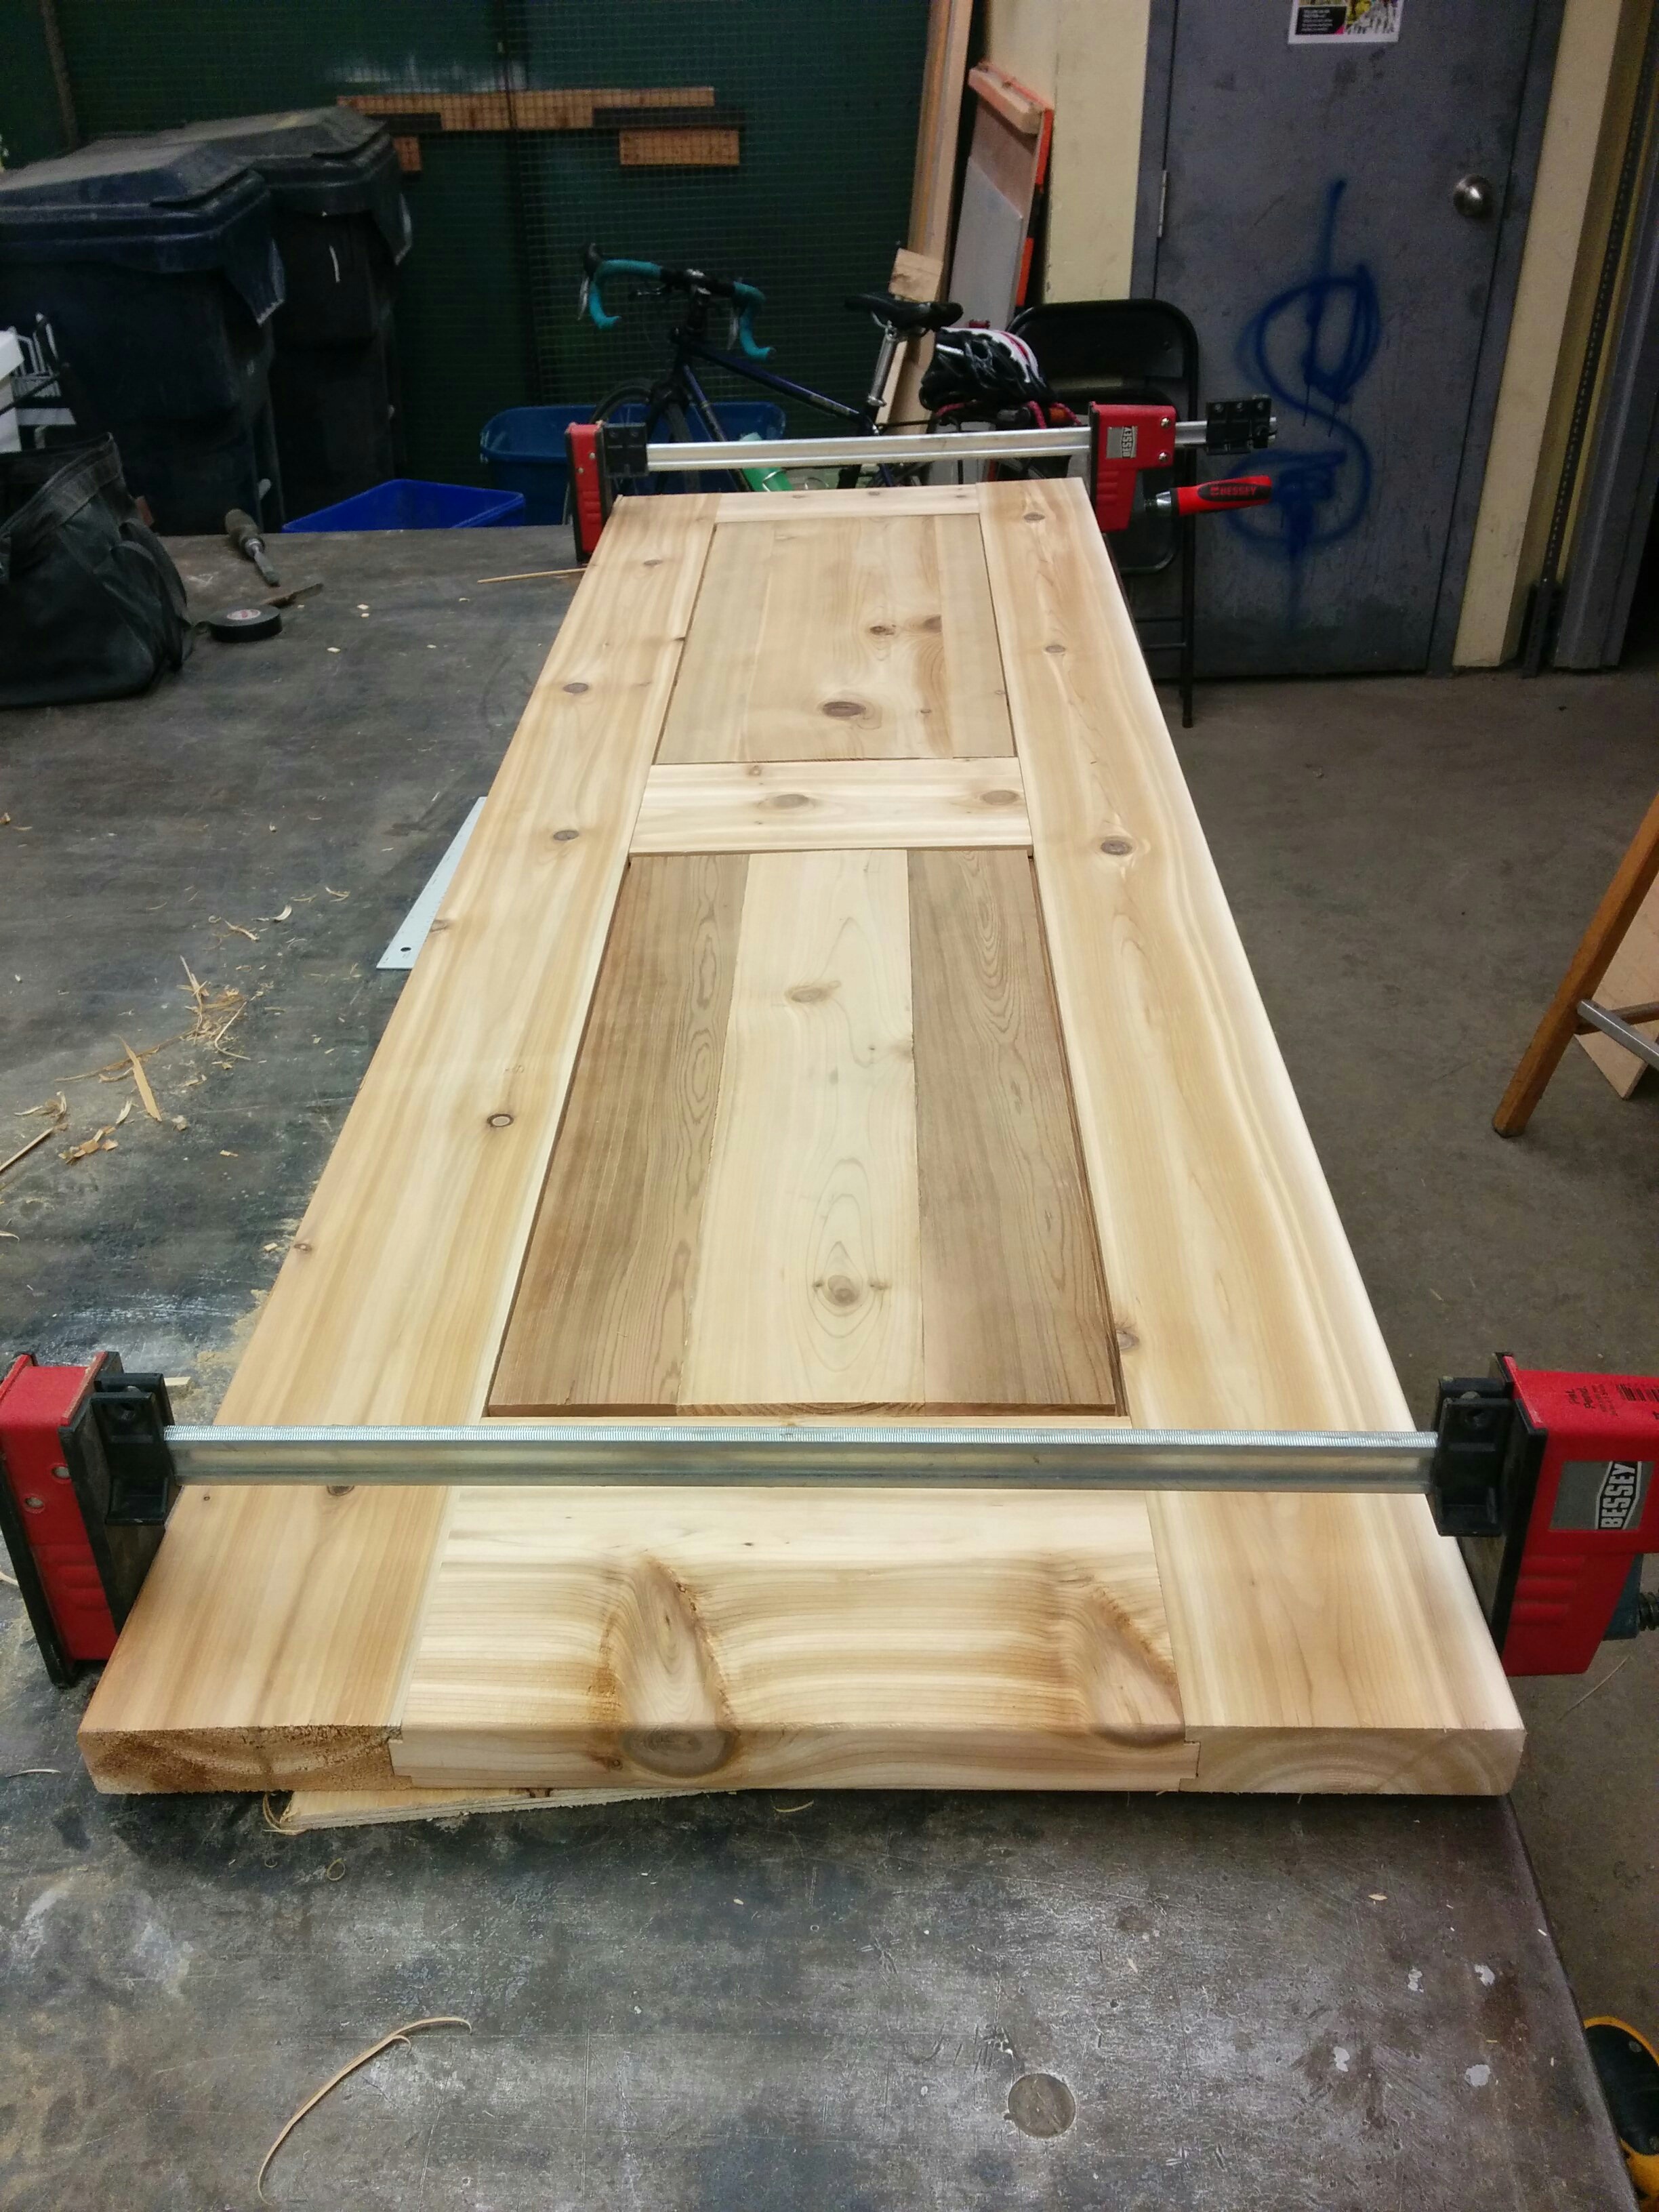
One other item we didn’t want to make ourselves is the front door. Tiny house front doors are critical and rarely a standard size, so it’s best to have a professional artisan do the carpentry. Char found Marc, who is crafting our door in the frigid land of Canada. Our door is going to be extra special, but I’m not going to give away what I mean by that just yet. For now, here is a shot Marc sent us of the door in progress.
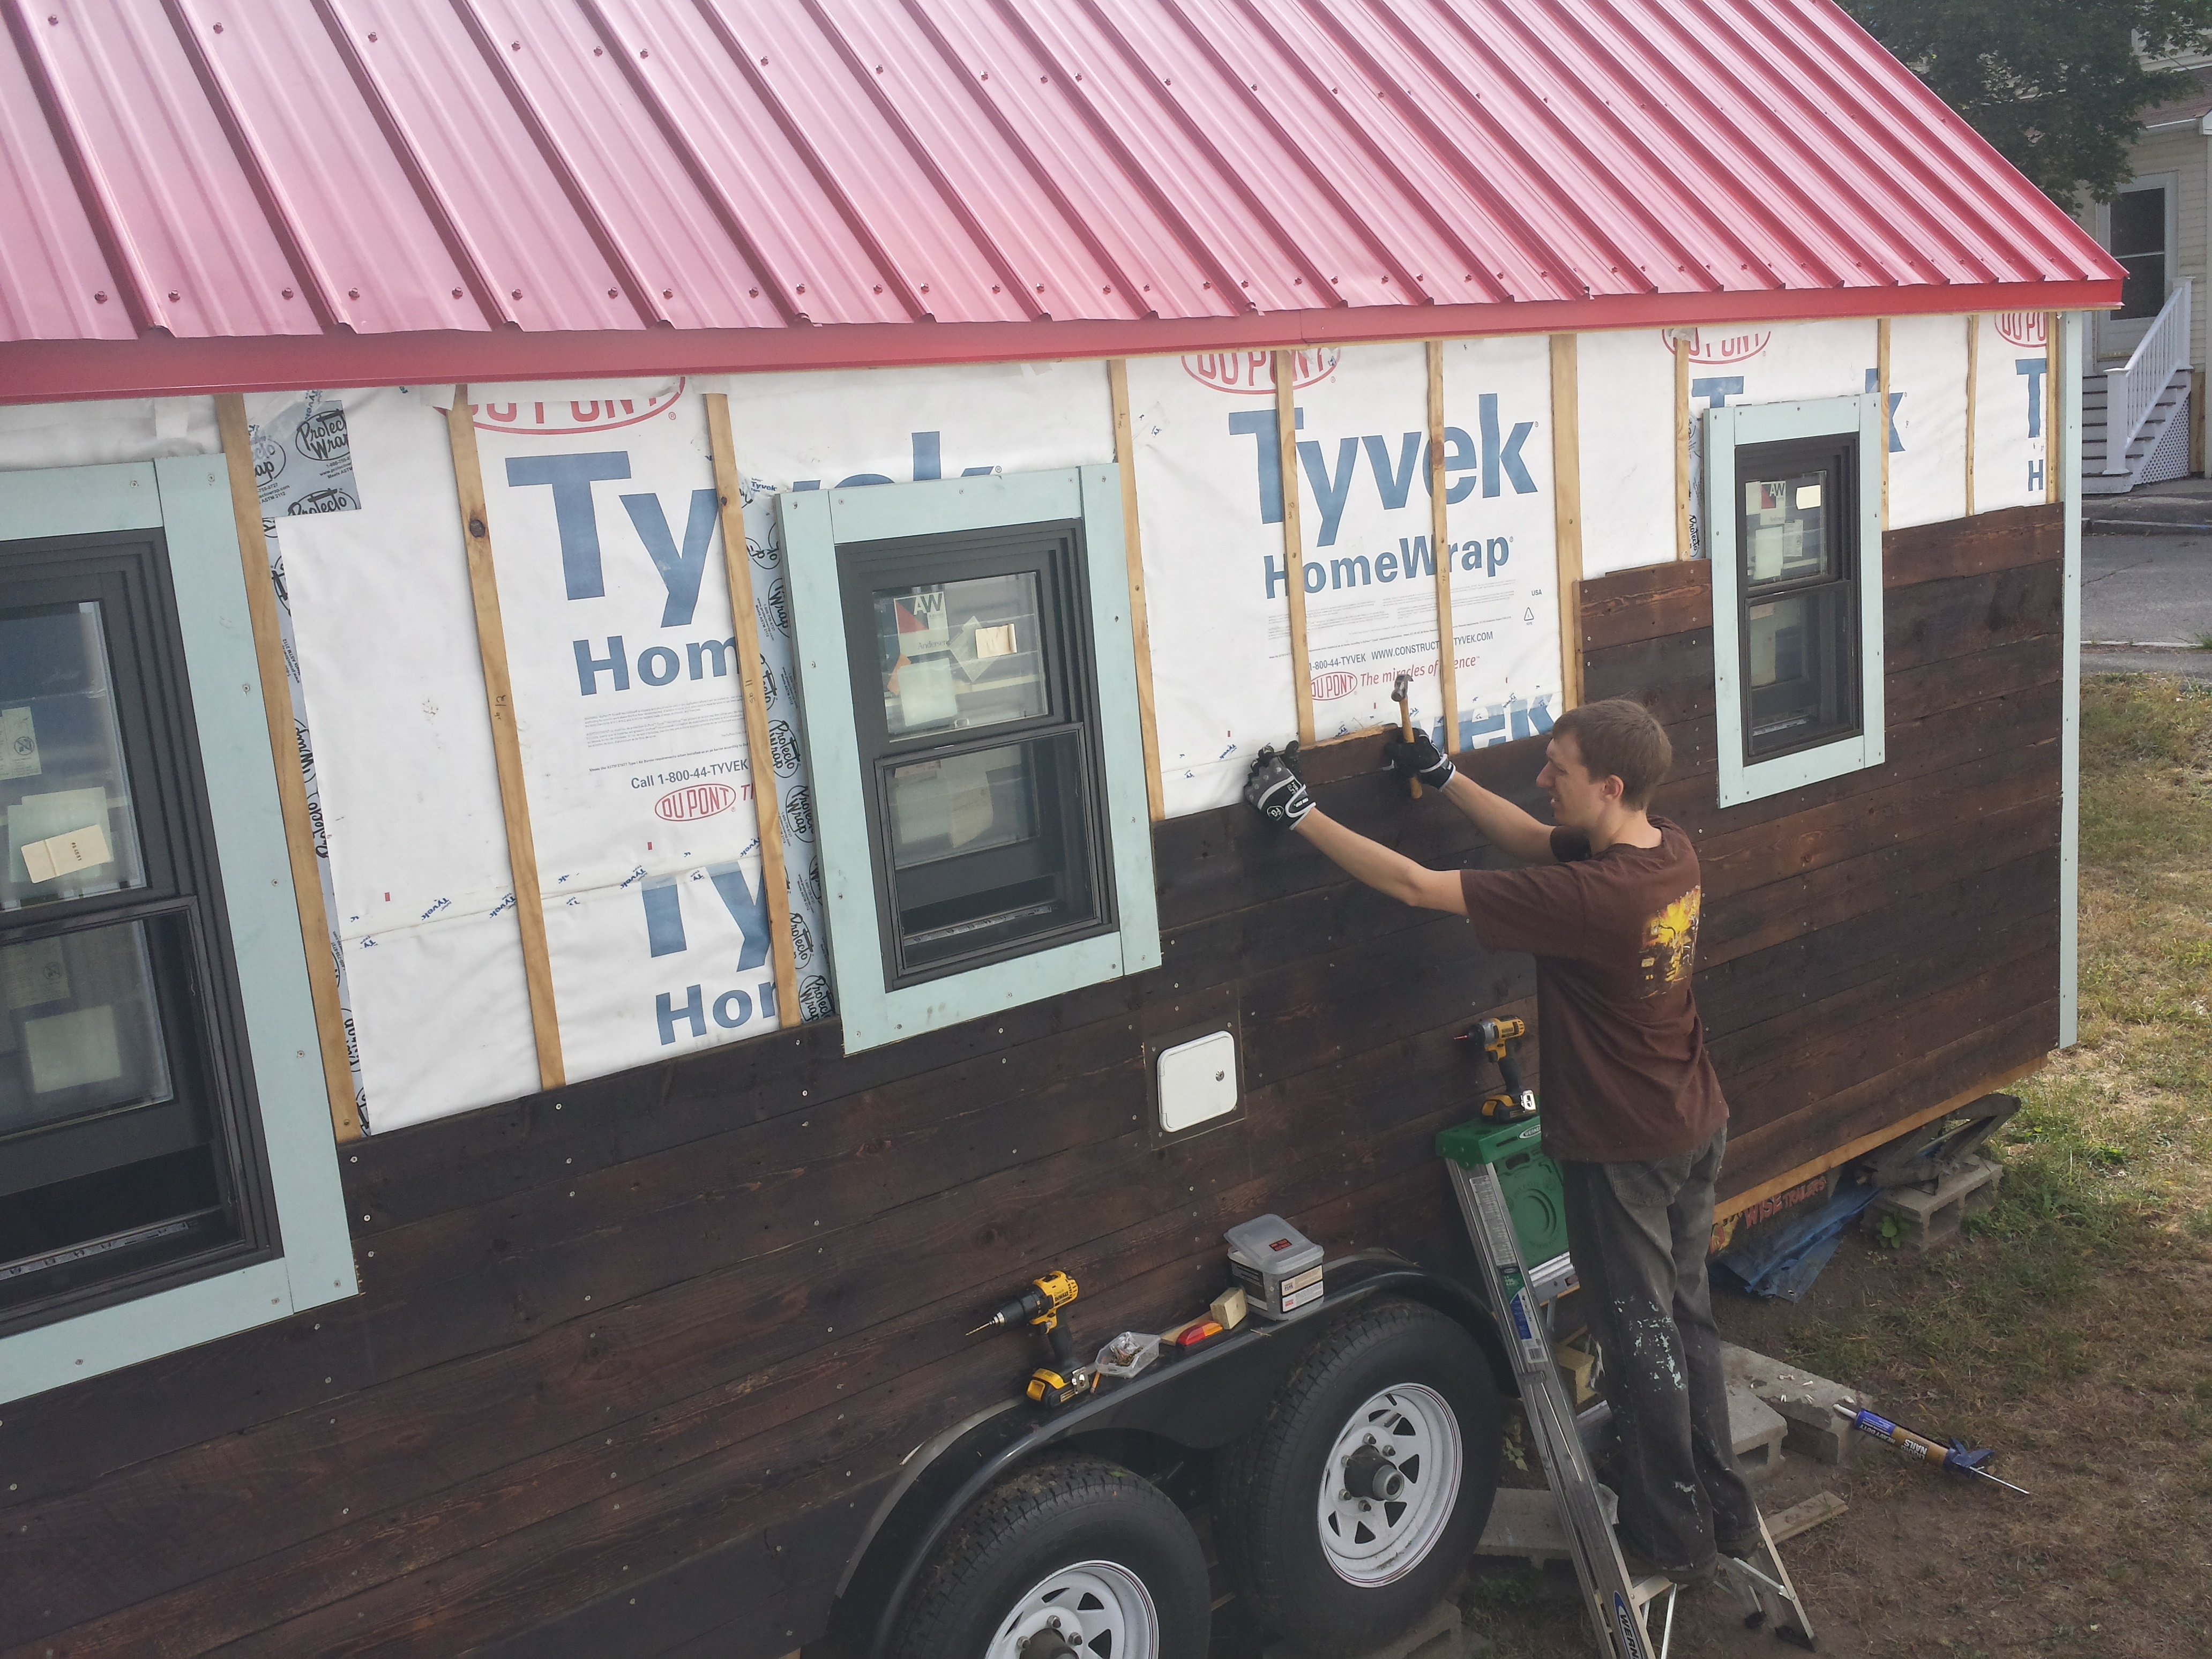
The process of mounting the tongue-and-groove siding to the house is coming along. We have now covered most of three sides of the house, and the reclaimed wood looks amazing.
Trying to coax tongues into groovesLookin’ good
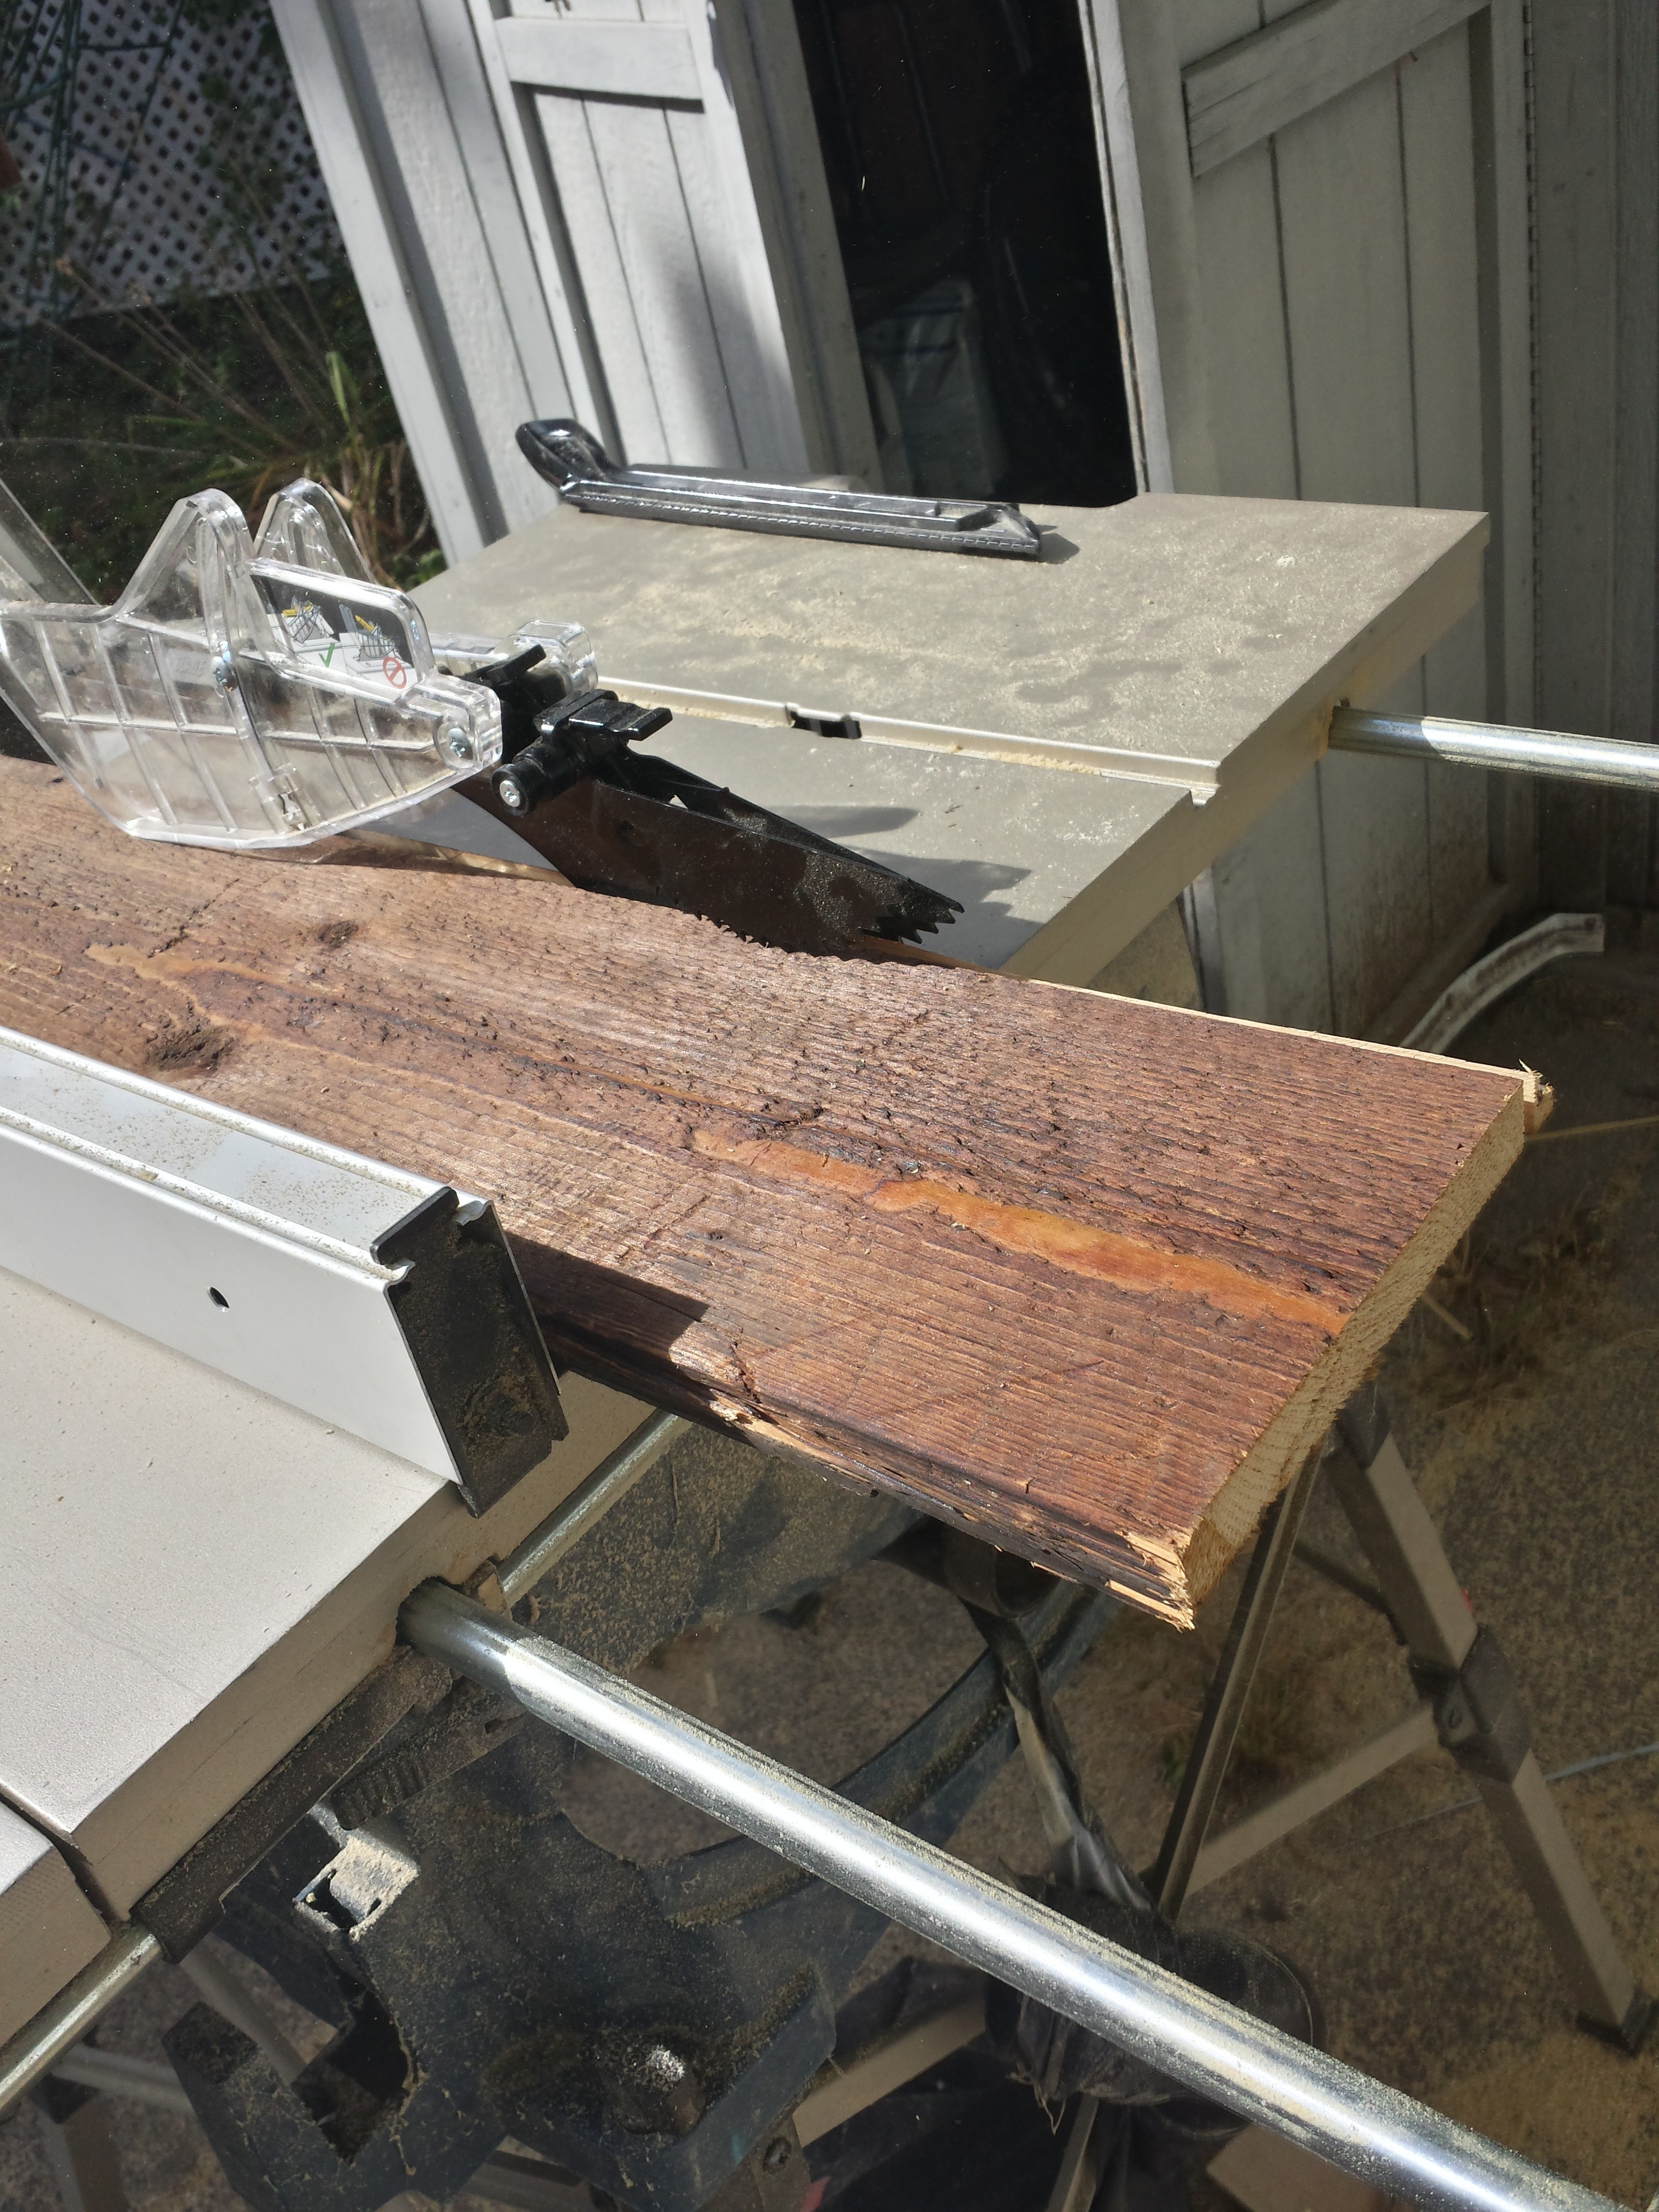
We will have enough wood to cover the house, but we’re starting to run out of the high quality pieces. What’s left are boards that have a lot of damage to the tongues or grooves. For these, I have to use a table saw fitted with a special blade called a dado blade. This lets me cut a groove 1/4″ wide or wider in the edge of a board, if I need to. I have done a few tests with scrap siding boards, and I think it will work.
Cutting off a bad grooveTest fitting a new groove
The last side of the house has a lot of utility connections, so more of the boards will have to be specially cut, like puzzle pieces. After that, the trickiest part will be attaching the very uppermost boards, the ones in the soffit of the roof. One of the lessons I’ve learned building the house is to do the easy things first, and just save the hard tasks for later.
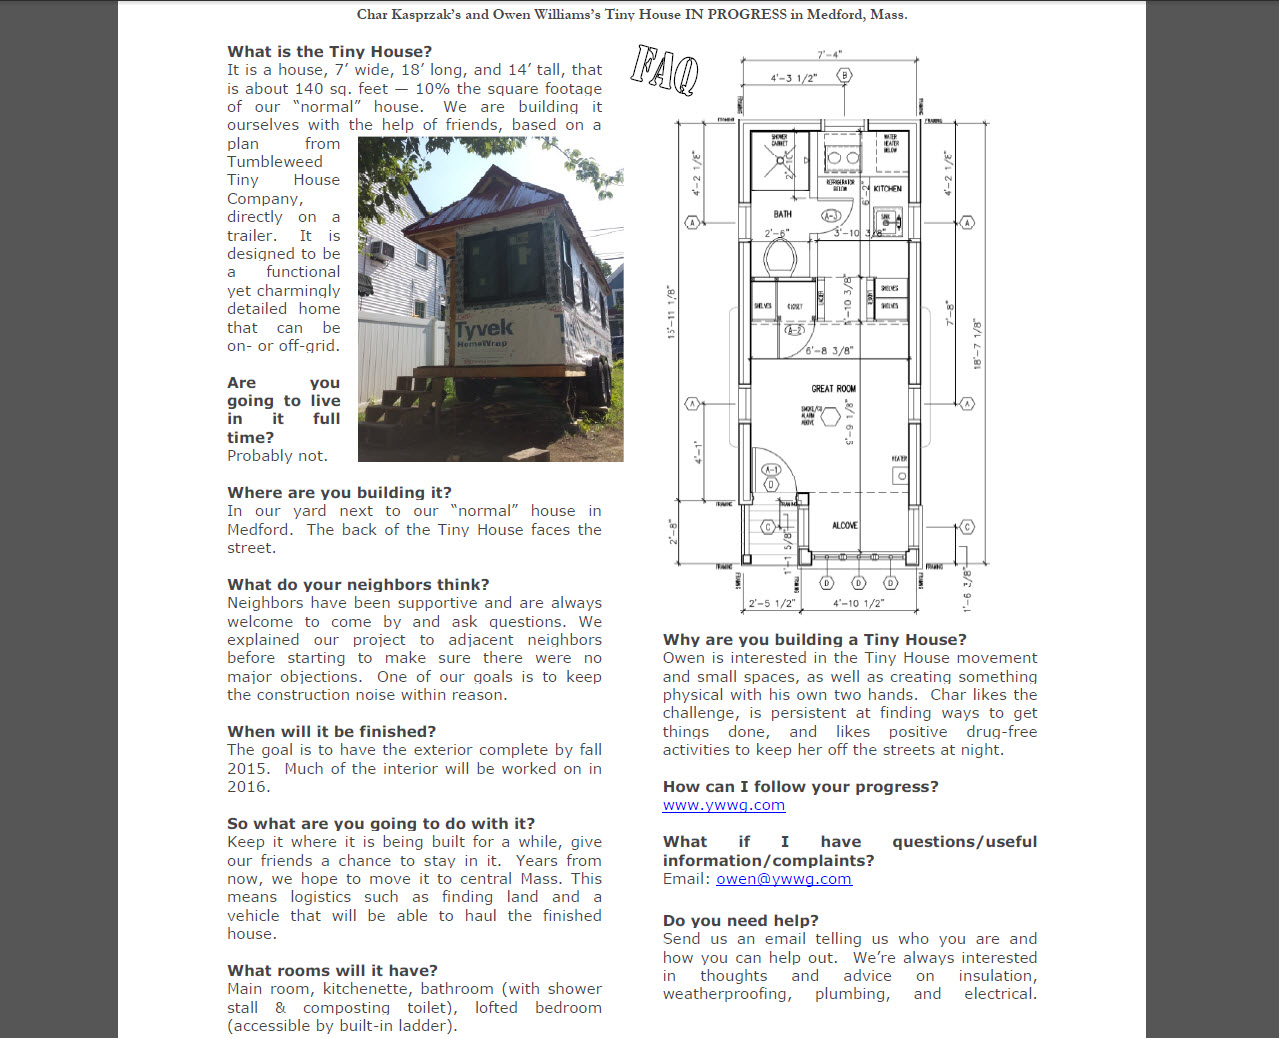
Presenting the new FAQ. Importantly, it reflects that we aim to have the exterior done this fall. I was thinking of putting a box of these out front by the sidewalk. Whenever we work on it, people walking their dogs and such always give us compliments and questions, now that it is recognizable as a tiny house!
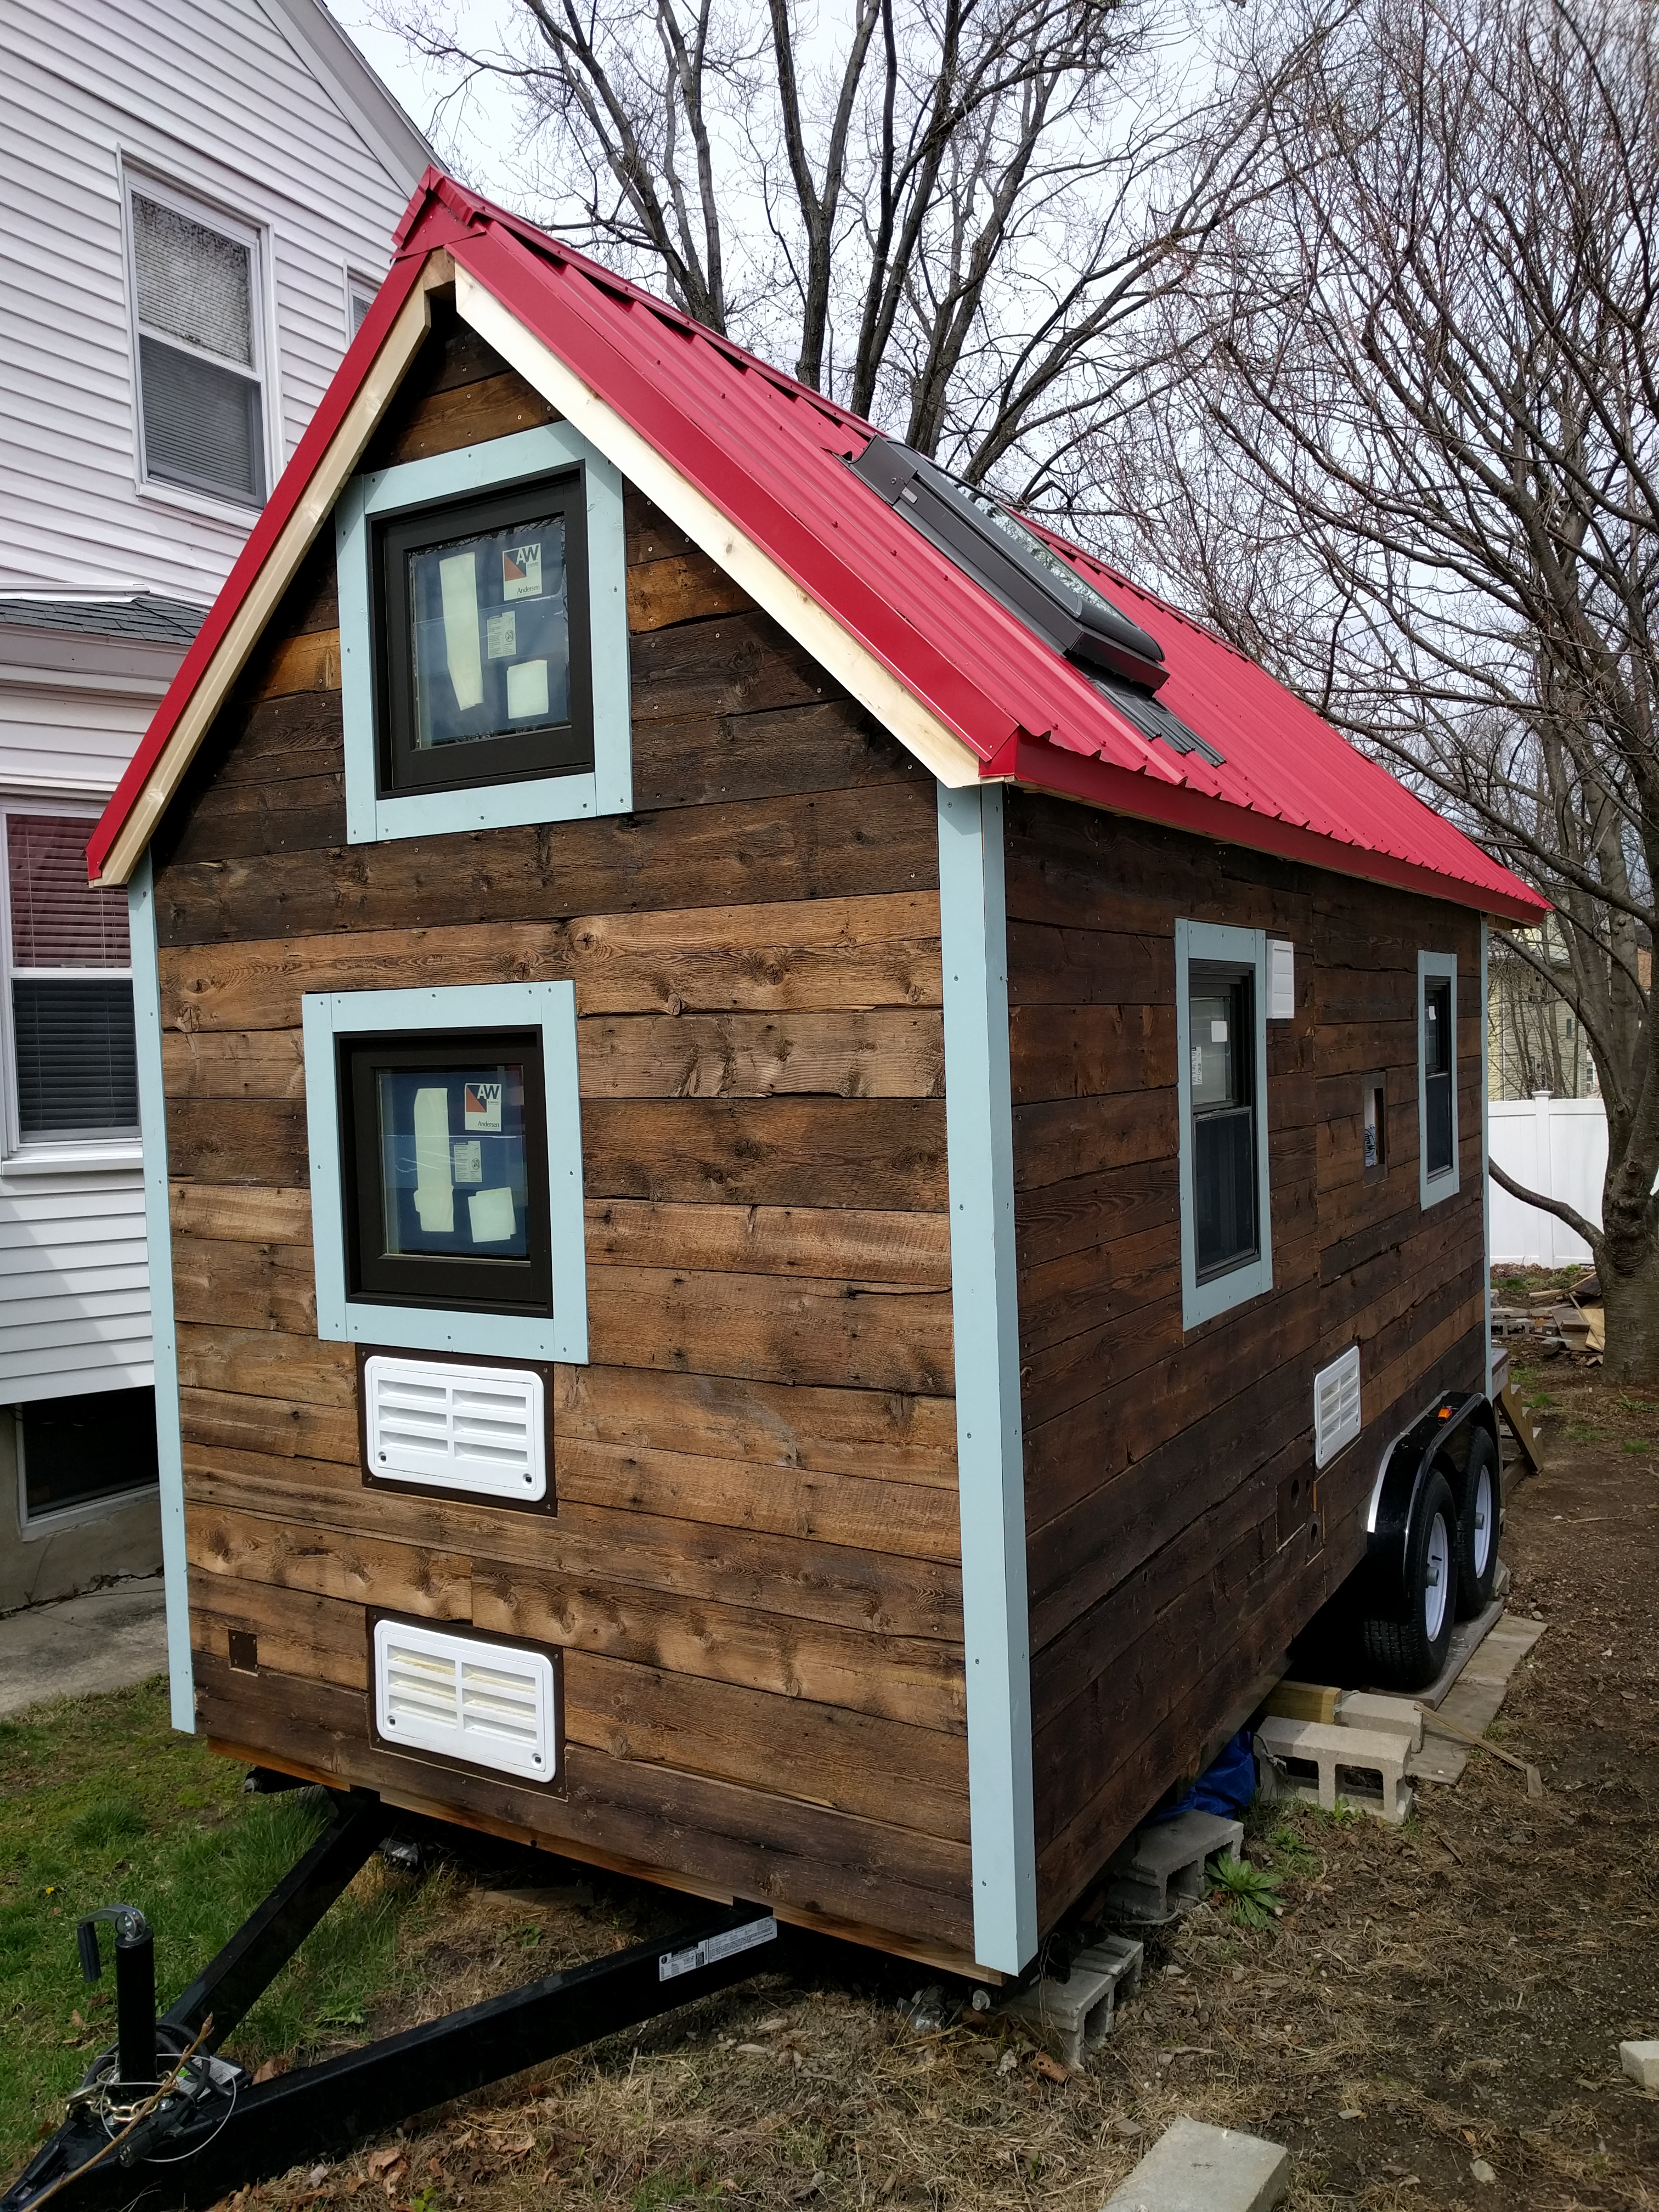
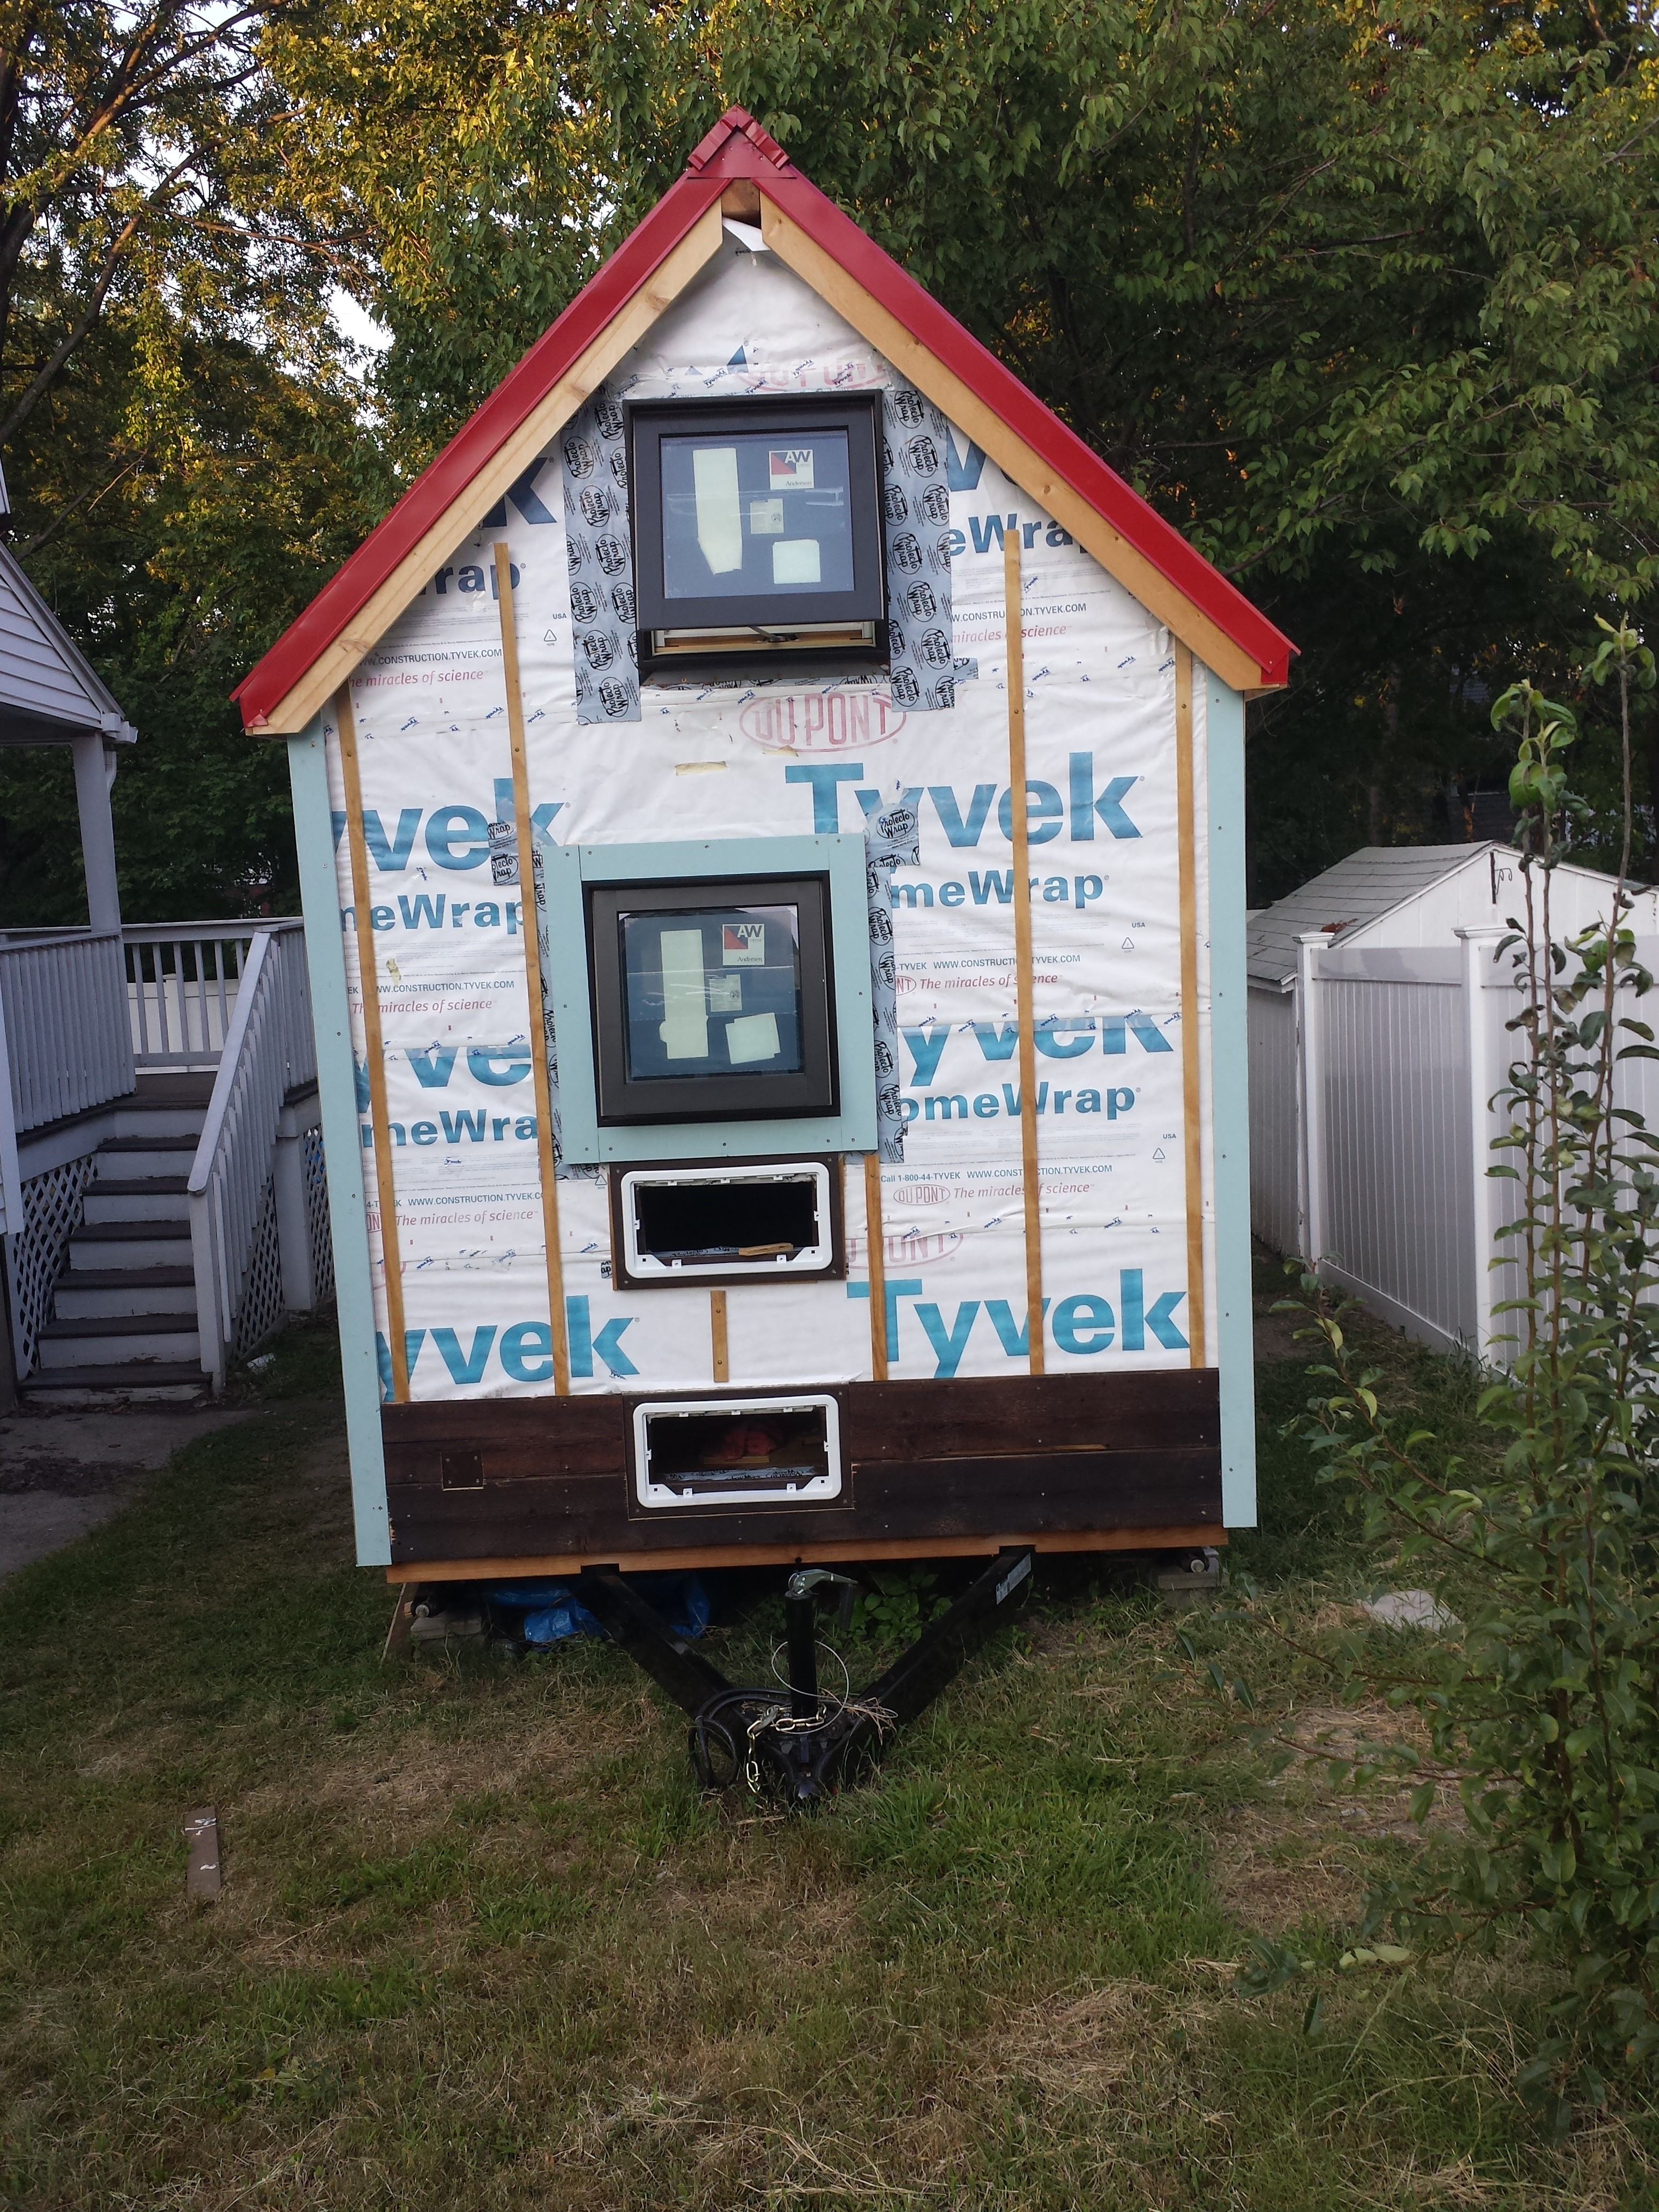
The bow end, now featuring edge trim, and the first trimmed window! Singed wood siding sneak preview! The two holes with the white frames are vents, as that is where the back of the little refrigerator will be. The little brown square at the lower left (you didn’t see it at first did you? Good!) is how propane will get into the house. There will be two propane tanks, just like ones you’d use for a barbeque grill, sitting outside the house. The gas will be piped through a to-be-drilled hole in the little brown square. The little refrigerator and other things will be powered by this propane.
This past weekend Char and I had been planning to start installing the siding on the house, but it was forecast to rain for three days straight. We had already put in requests to take a vacation day on Friday, so we had to find other work we could do on the house. Thankfully I’m learning to plan ahead, so we had some interior building tasks saved up.
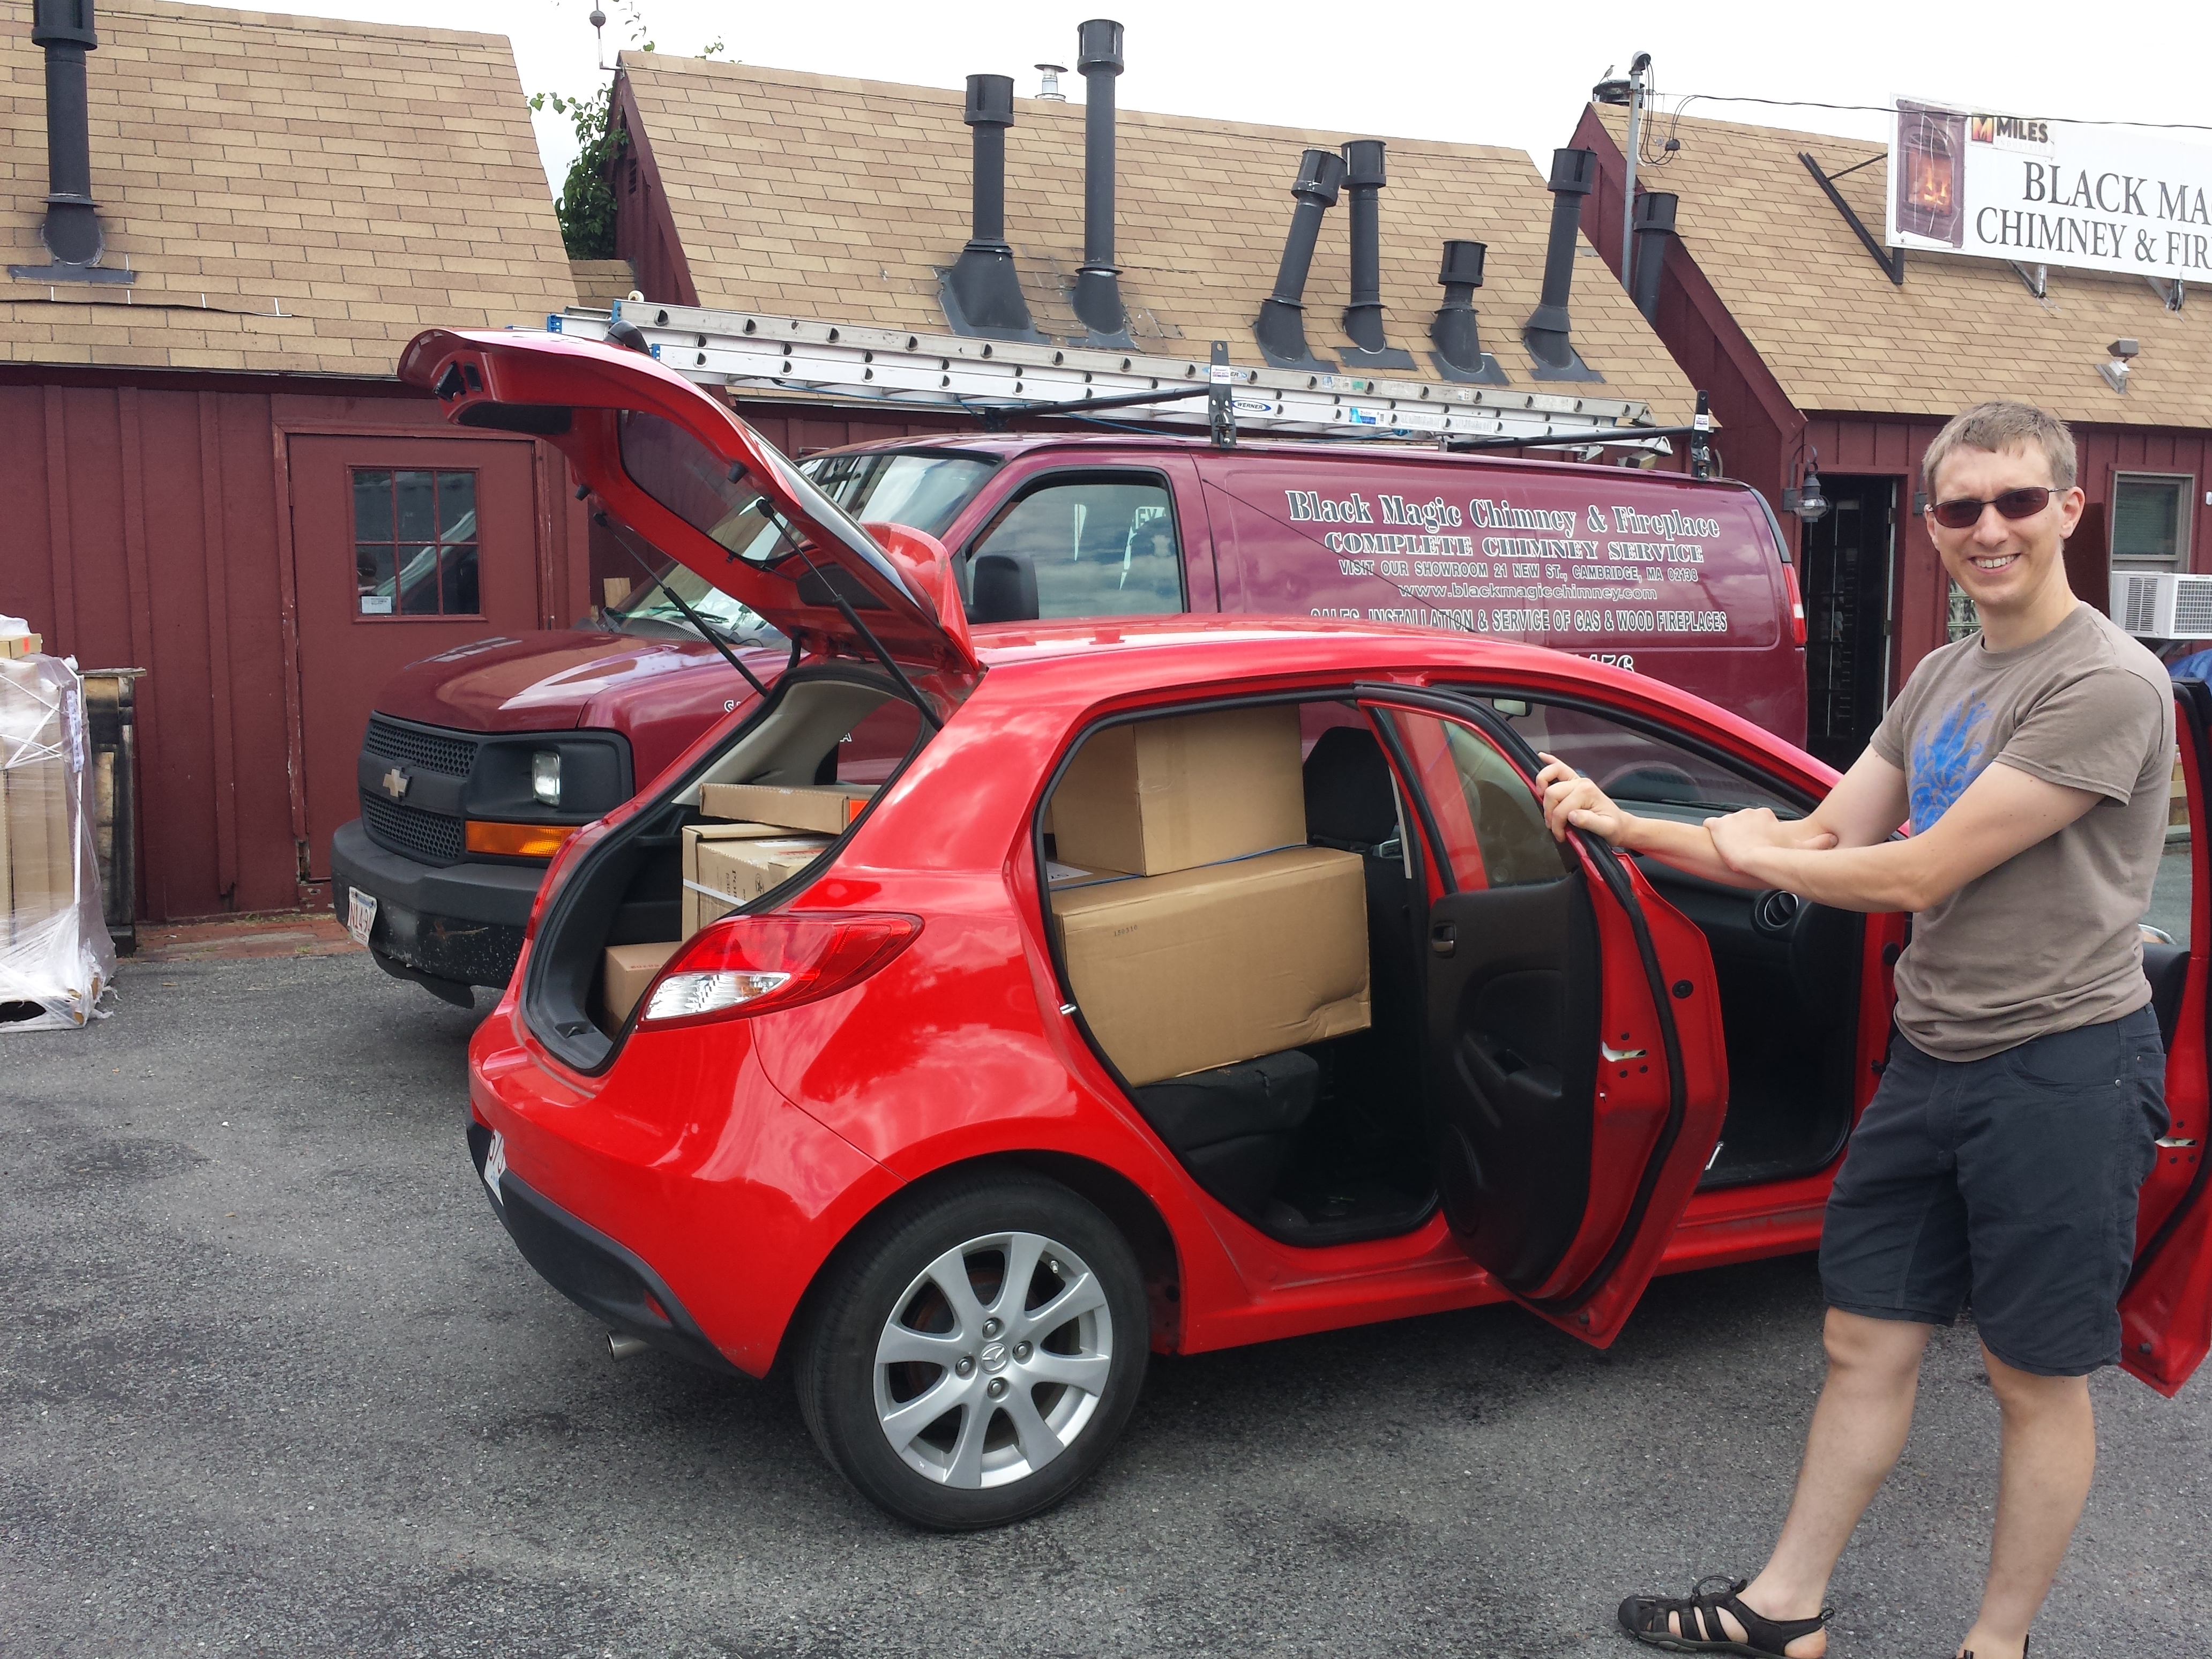
First, we picked up the propane fireplace that will heat the house in the winter. It’s large, but one thing we heard early on is that the mini boat heaters just don’t cut it in New England weather. This fireplace can really pump out heat when it’s cold, and the turn way down so we don’t overheat. The guys at the fireplace company thought there was no way all the boxes would fit in my car, but I showed them!
I am excellent at packing-Tetris
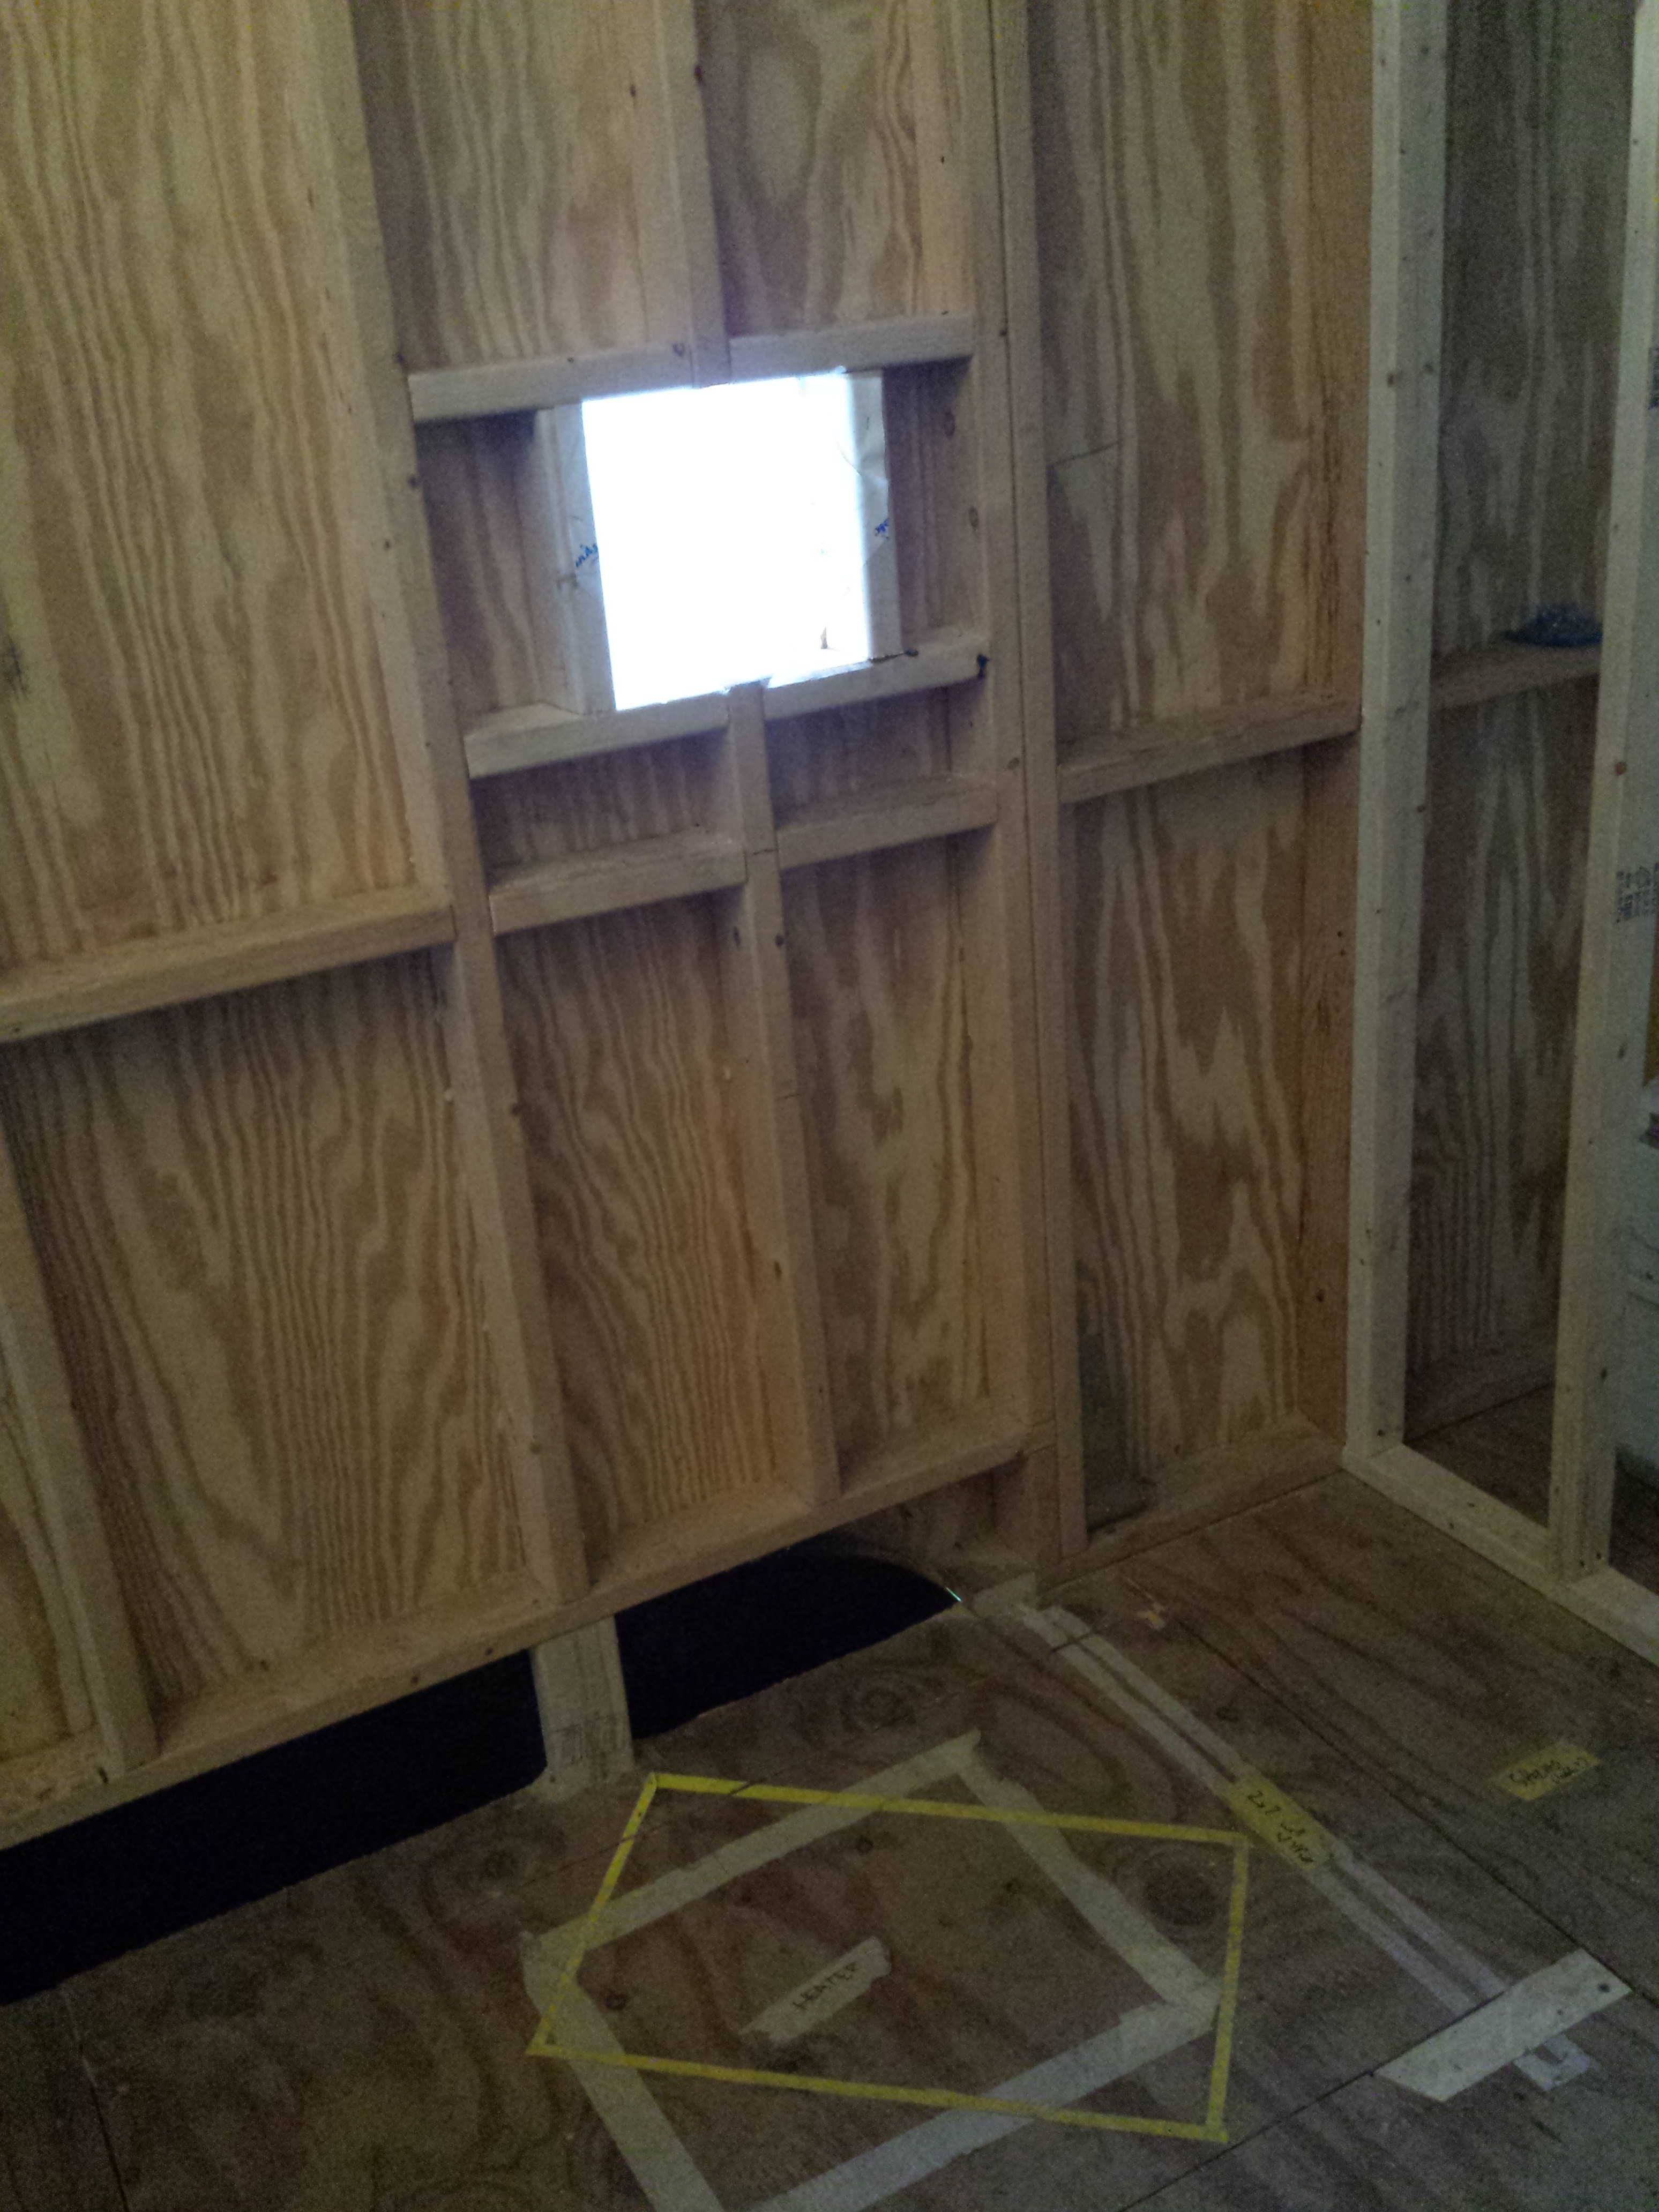
Also to help prepare the house for the fireplace, I cut a hole in the side of the house for the exhaust vent.
The heater goes in the yellow rectangle, and the exhaust goes out the hole.
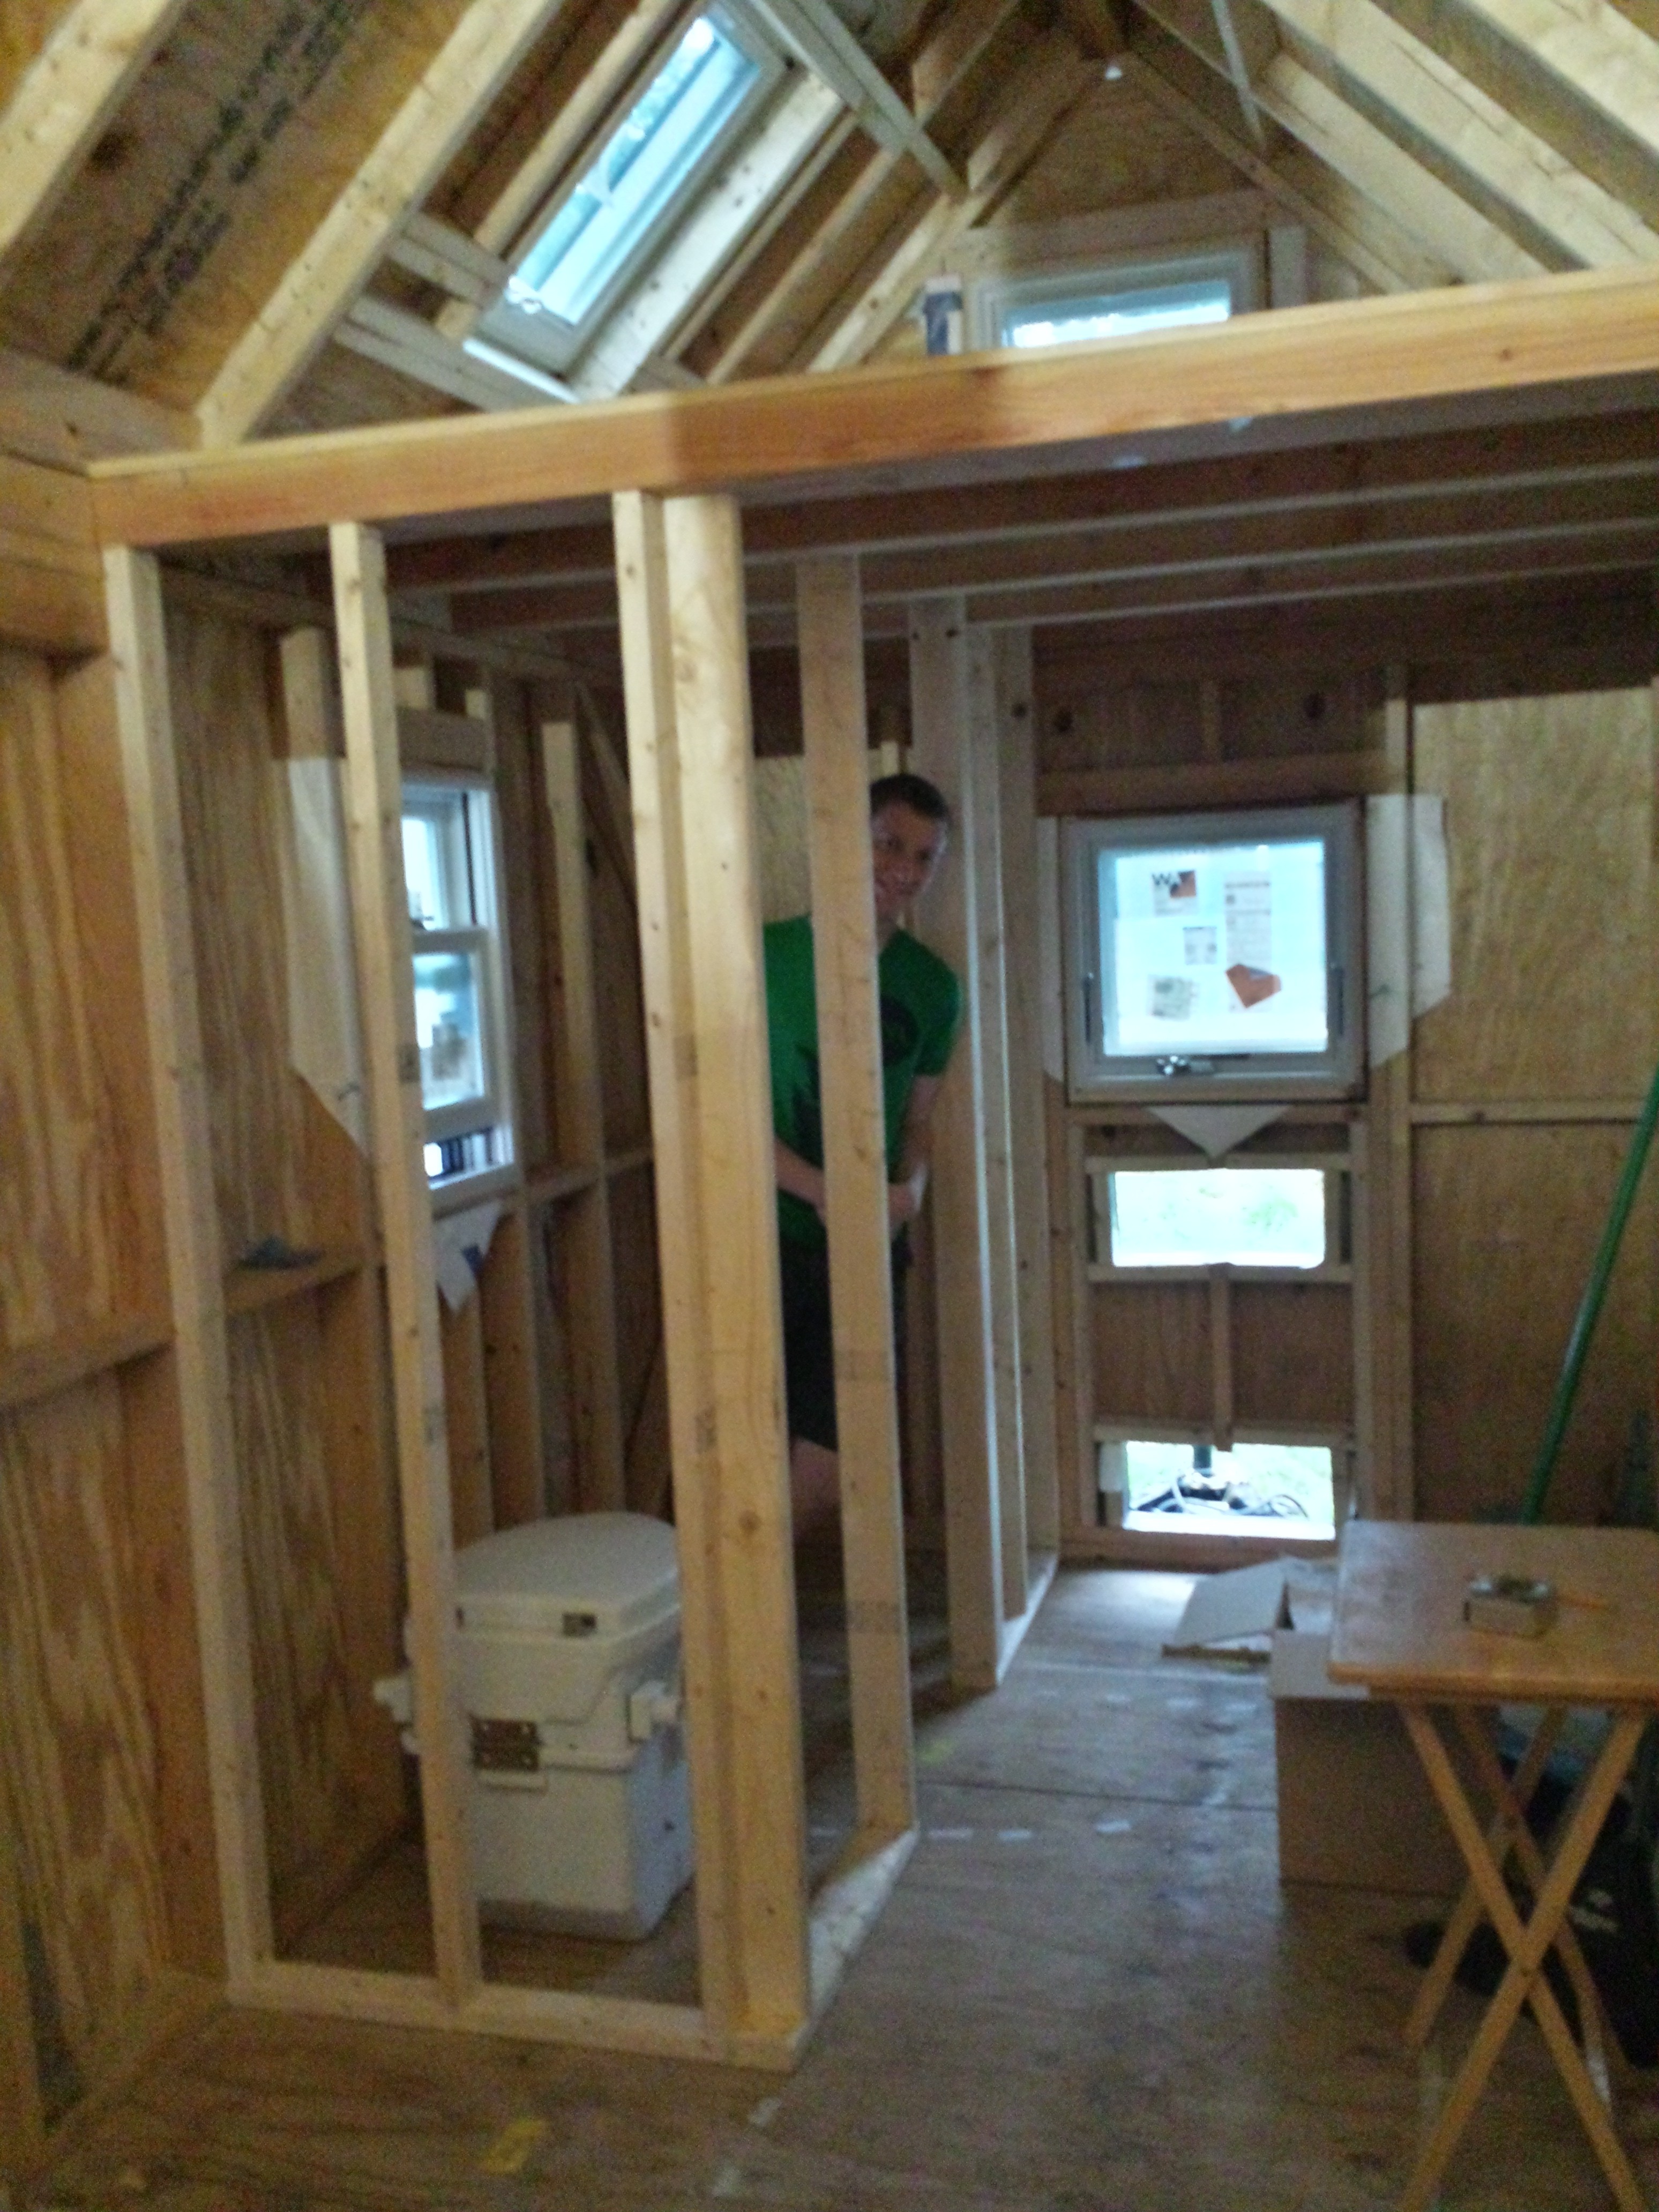
Char and I also installed the studs for the bathroom walls. The interior is starting to really take shape!
Peeking out of the bathroom doorway
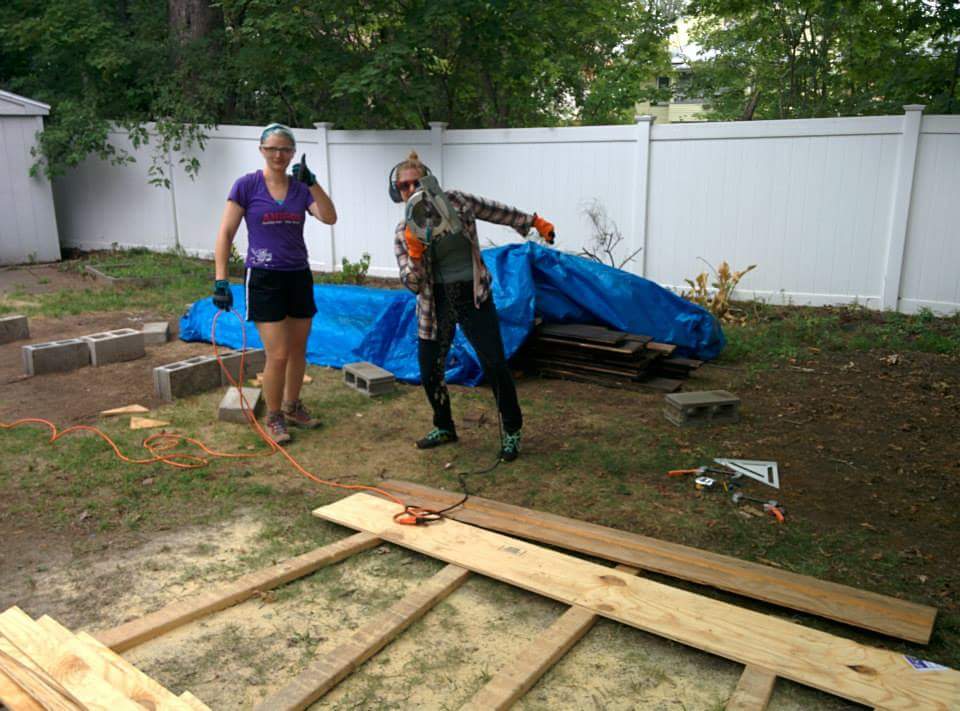
On Sunday, it didn’t actually rain at all, so Char and her friend Ruth worked on cutting furring strips for mounting the exterior trim. Despite not having a lot of circular saw experience, they both did an excellent job.
Circular Saw Badasses
Despite the rain, we really made a lot of progress this weekend. Soon enough the siding and trim will be up and the exterior will be done!