Framing Learning Experiences

Today Owen finished framing one of the long port walls. The long length of the wall posed some new challenges, documented in this video.

He also made some modifications to the wall, demonstrating the need to plan for interior details while building the exterior. While the Tumbleweed plans specify a marine boat heater for warmth, we’ve heard a few reports that the boat heater just doesn’t cut it in a New England winter.  An alternative we discovered is the Hampton series of propane stoves, one of which is small enough for a tiny house but puts out much more heat than the marine heaters.  Because of its larger size and clearance requirements, Owen needed to study the floor plans carefully to find a place the heater could fit.  Moving one of the windows freed up the right amount of space, and that required changing the framing of the port wall.

The red arrow shows how we changed the heater from being mounted on one side to a larger heater in the corner.

Put a tarp on it

Mike, Lea and Nicolle were over to do some more wall assembling, and to do the next step before framing can happen: setting up a tarp.  This will protect the wood from water damage from rain that may happen before the roof is complete, as that will be a process we cannot possibly do all in one day, and New England means rain.  Well, what we have to work with are our “regular” house’s deck and one tree.  We are going to create something akin to a carport.  Because there aren’t a lot of place to tie a tarp, we’ll be creating a support arch for the bow side of the Tiny House out of PVC and rebar, according to Mike’s experience.  More on that to come!

image
Owen climbs up to where the tarp corner will be held.
image
Yeah, we’ll need more support on the bow side of the tarp.
image
A peek at the finish, unraised walls underneath the tarp.


One frame assembled, another almost

After some vacation time away from home, we’re back.  Owen is happy to poke his head through Bay Wall 1, and another wall (the bow wall, which will be for the kitchen and bathroom) in which the pieces of wood are drilled together but the resulting frame still needs some metal reinforcement materials added, a strap and two holddowns.

wpid-wp-1405198582783.jpeg
Bay Wall 1: Future window

Owen adds:
Astute observers will see that the Bay Wall is a little strange — normally the header would also be supported by a jack stud so the force goes into the ground through wood and isn’t born just by the screws — however that’s what the plans show, so that’s what I did.

wpid-wp-1405198613495.jpeg
Bow wall. The “bottom” of the wall is nearest to camera.

Let’s make the sill

The weather was once again perfect, so we cut more wood to make the next step of the framing process, the sills.  We have to work on improving our squaring process (aka, getting things perpendicular that are supposed to be perpendicular) before we make much more progress on actually constructing the first wall, though.

image
Hip to be square
image
The setup of the pieces of wood for "Bay Wall 1"

Tiny House FAQ

After fielding questions from many people who are curious about this project, I have compiled this FAQ:


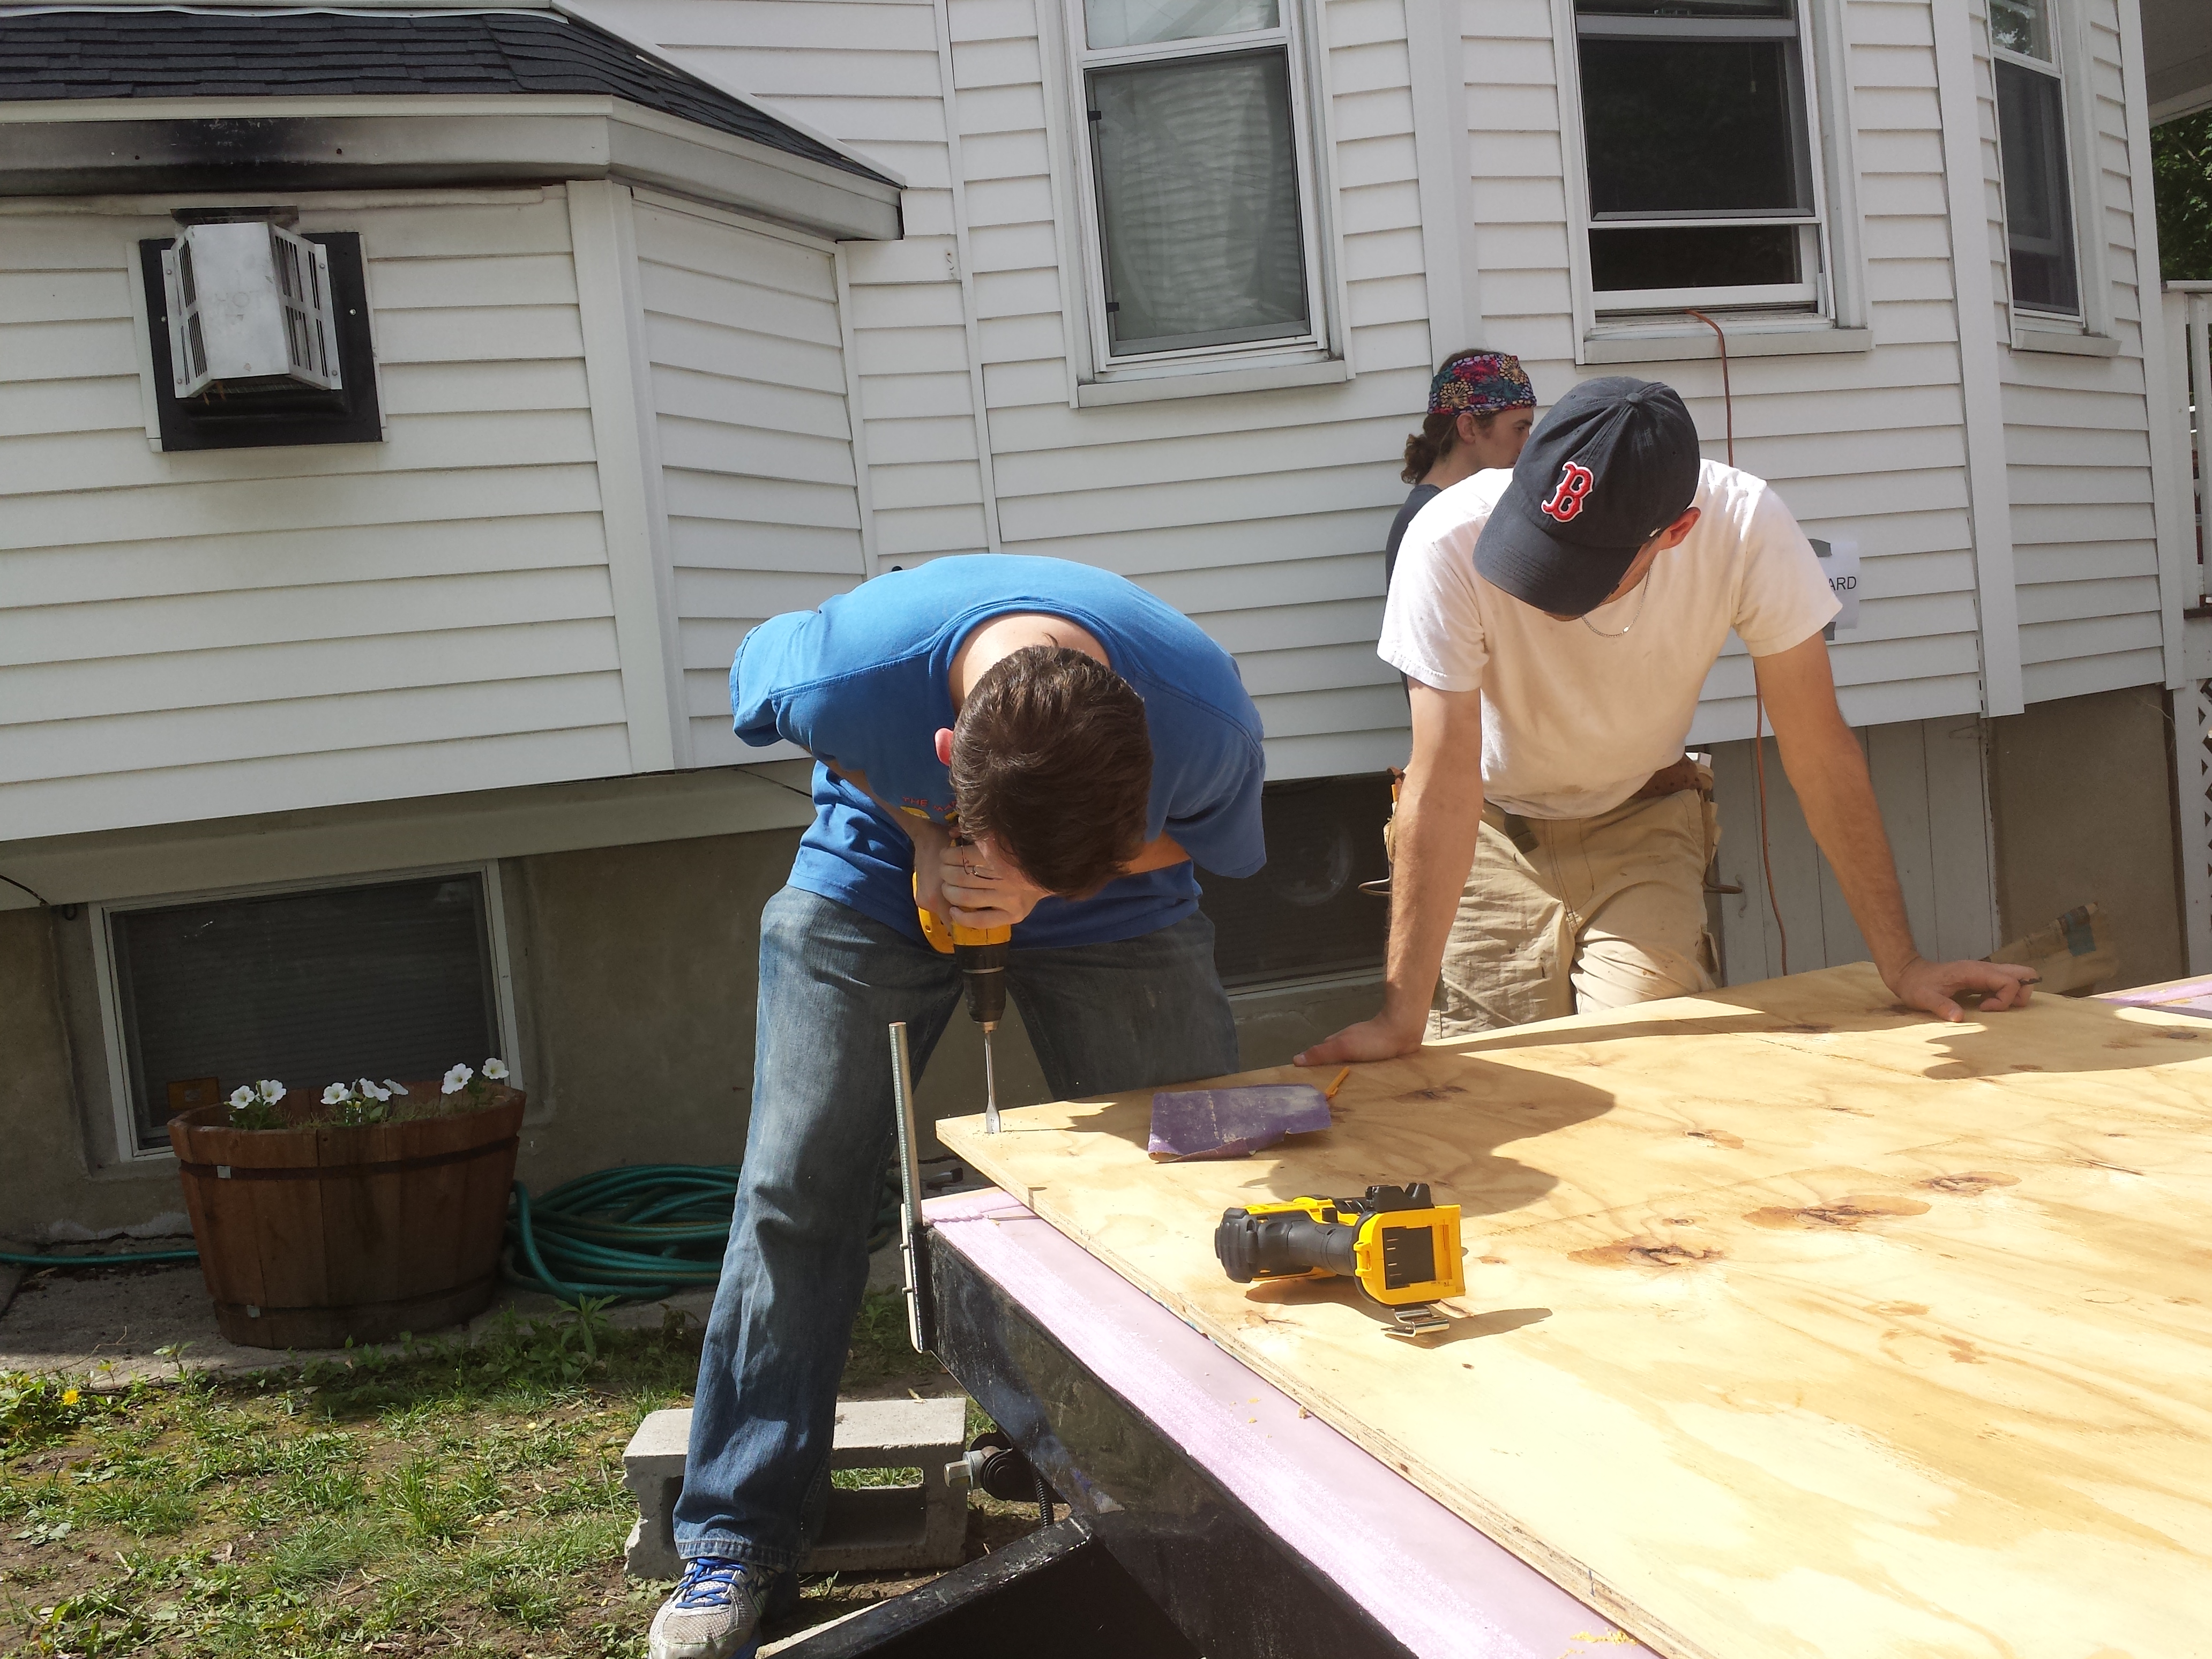
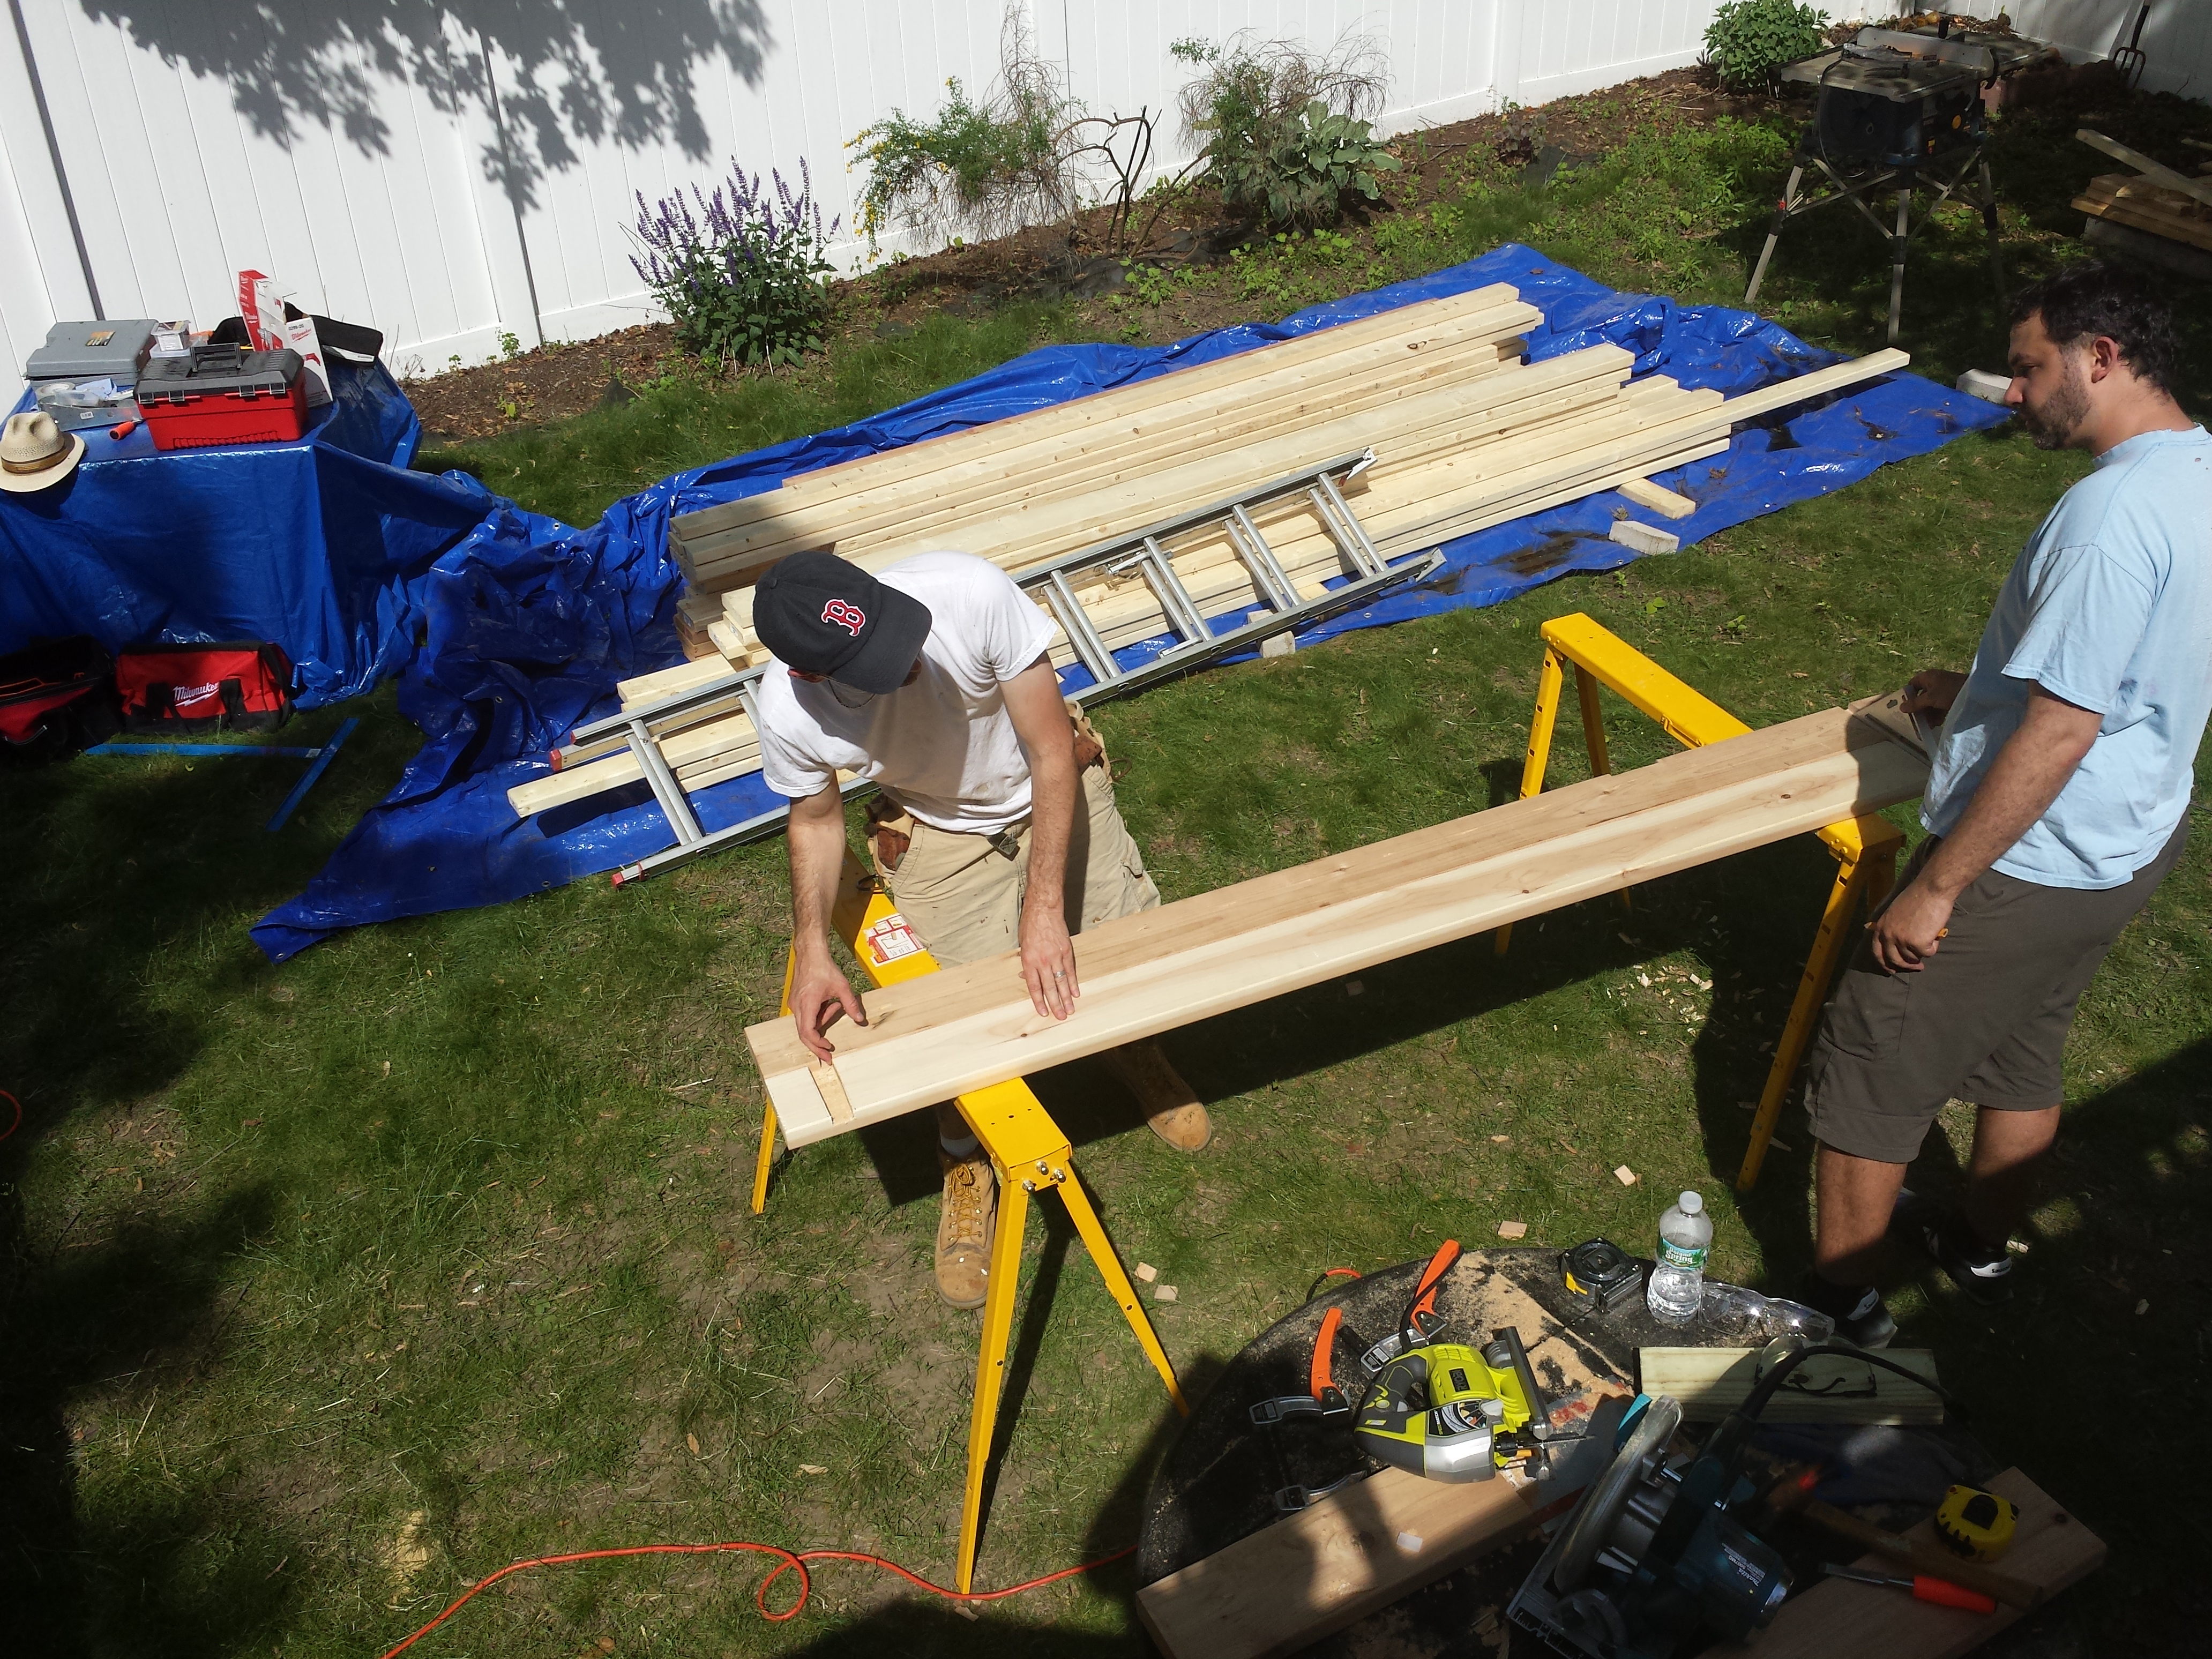
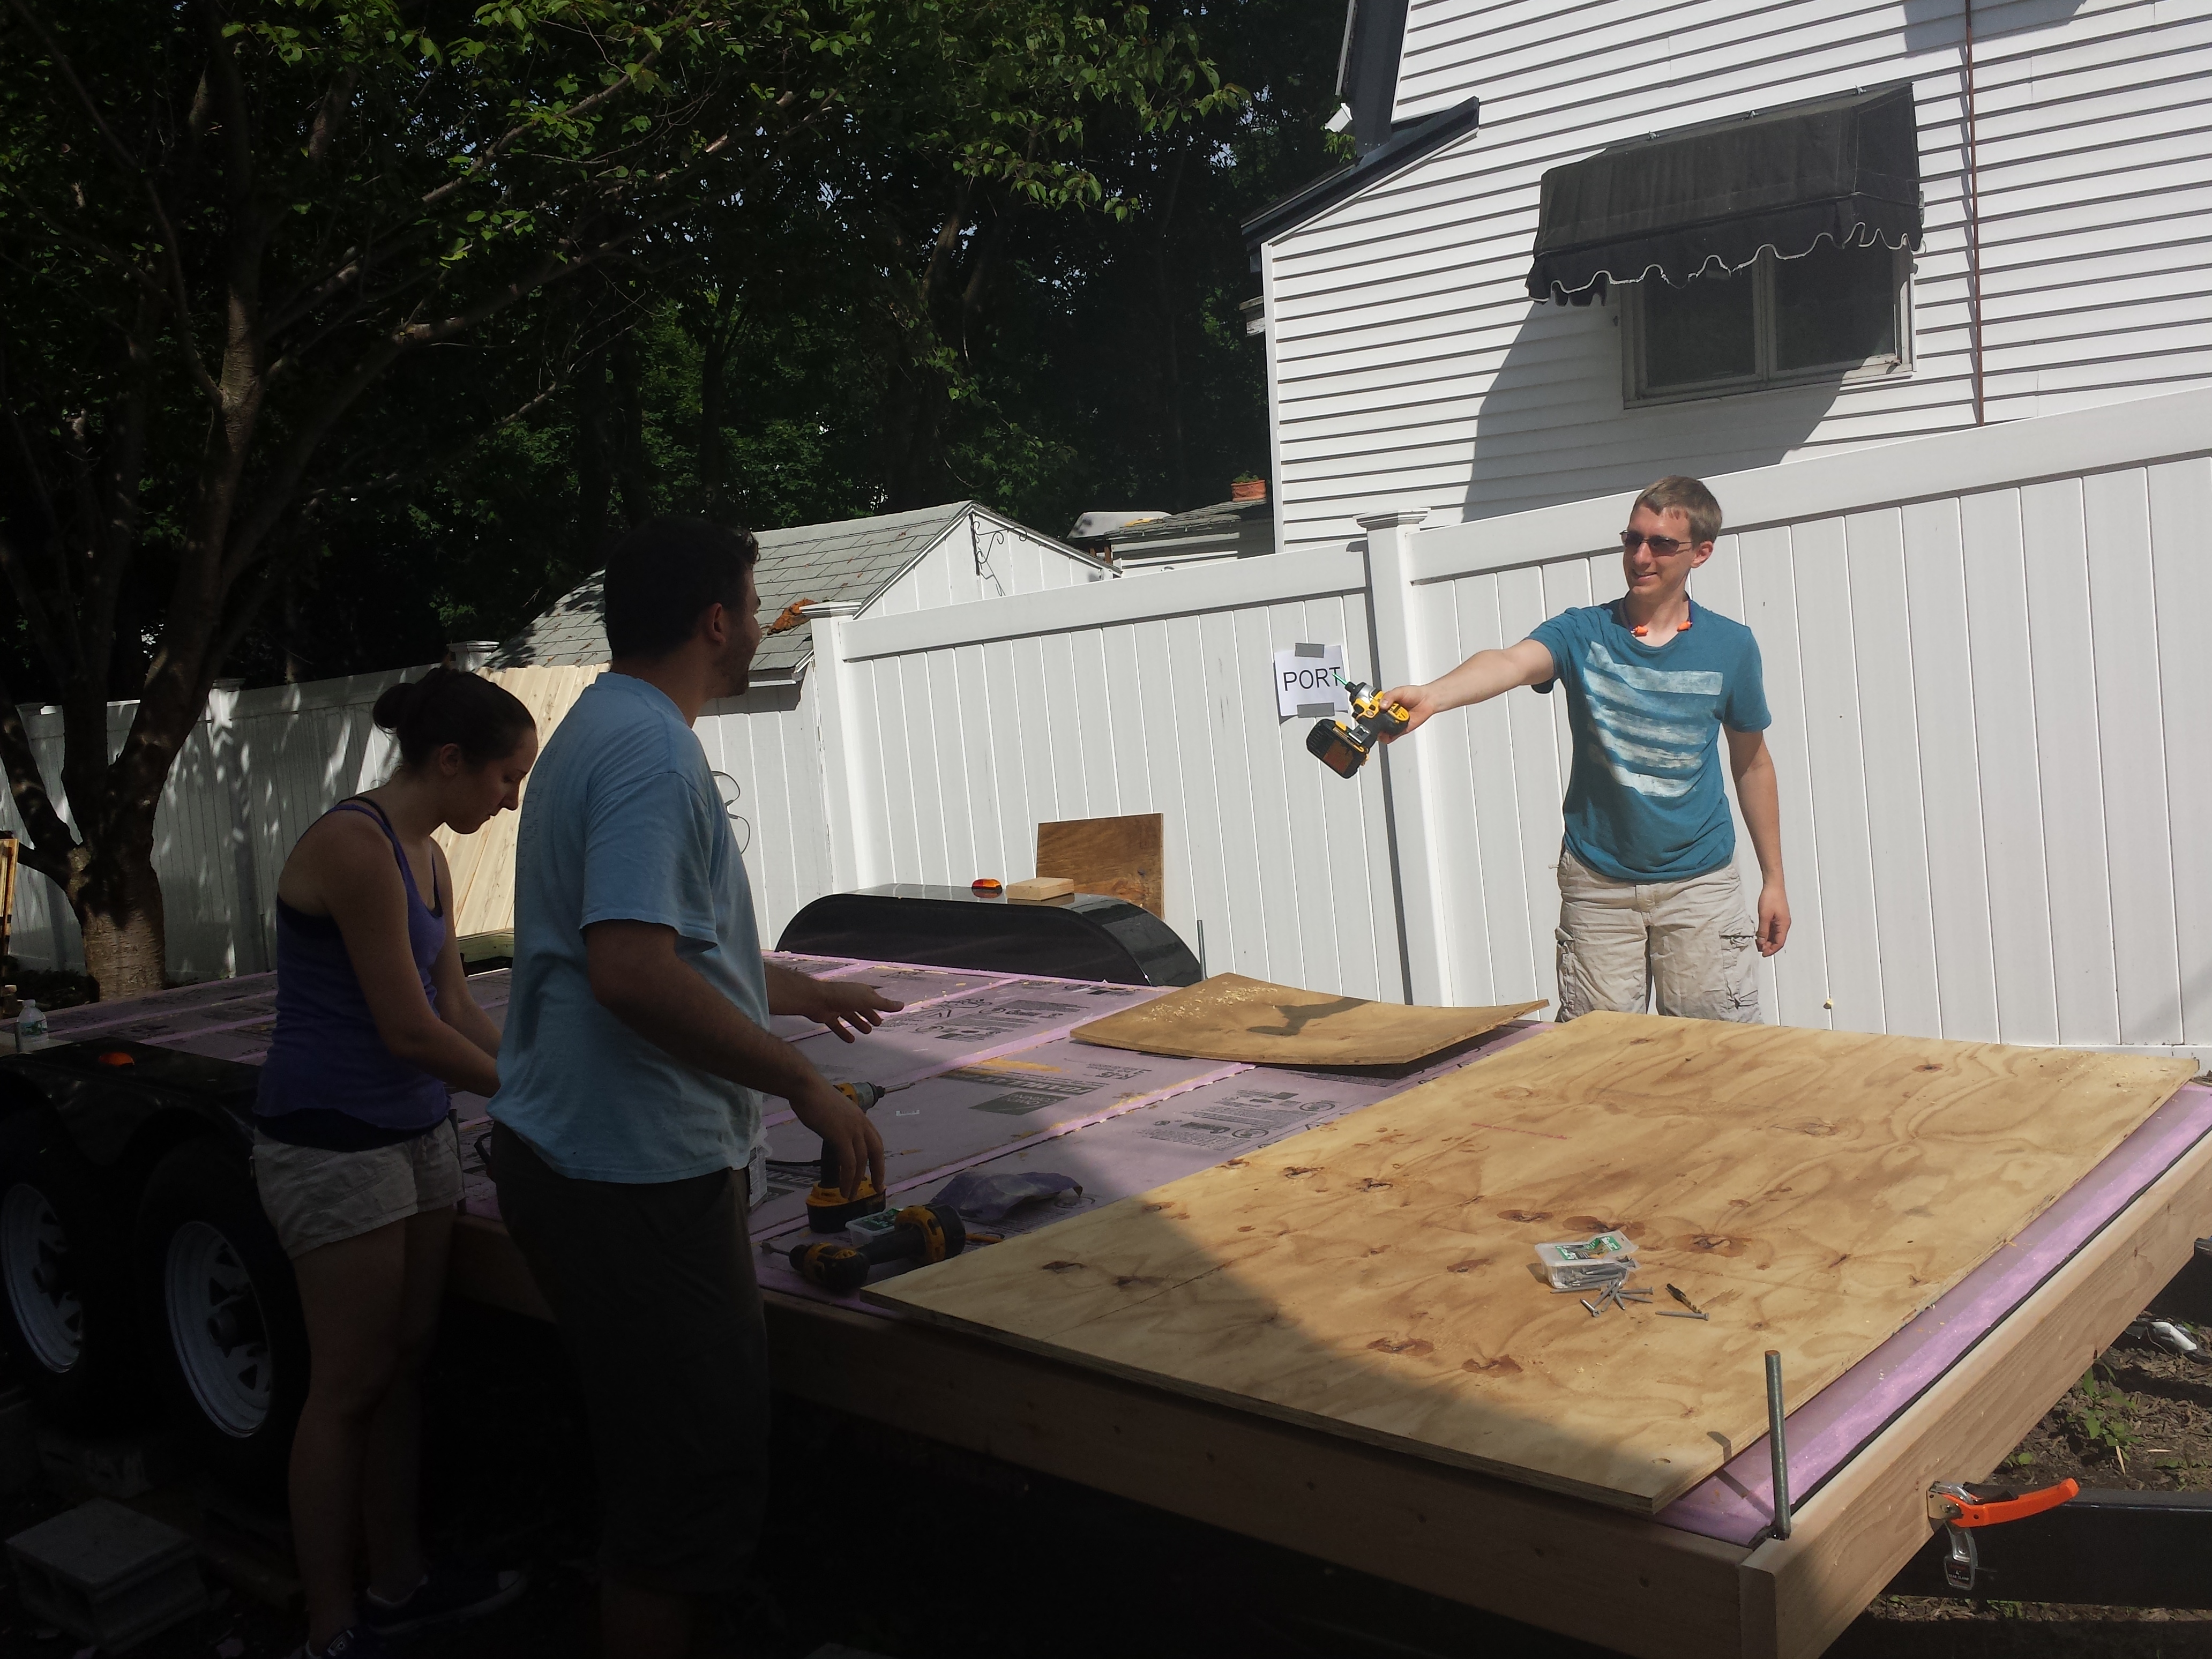
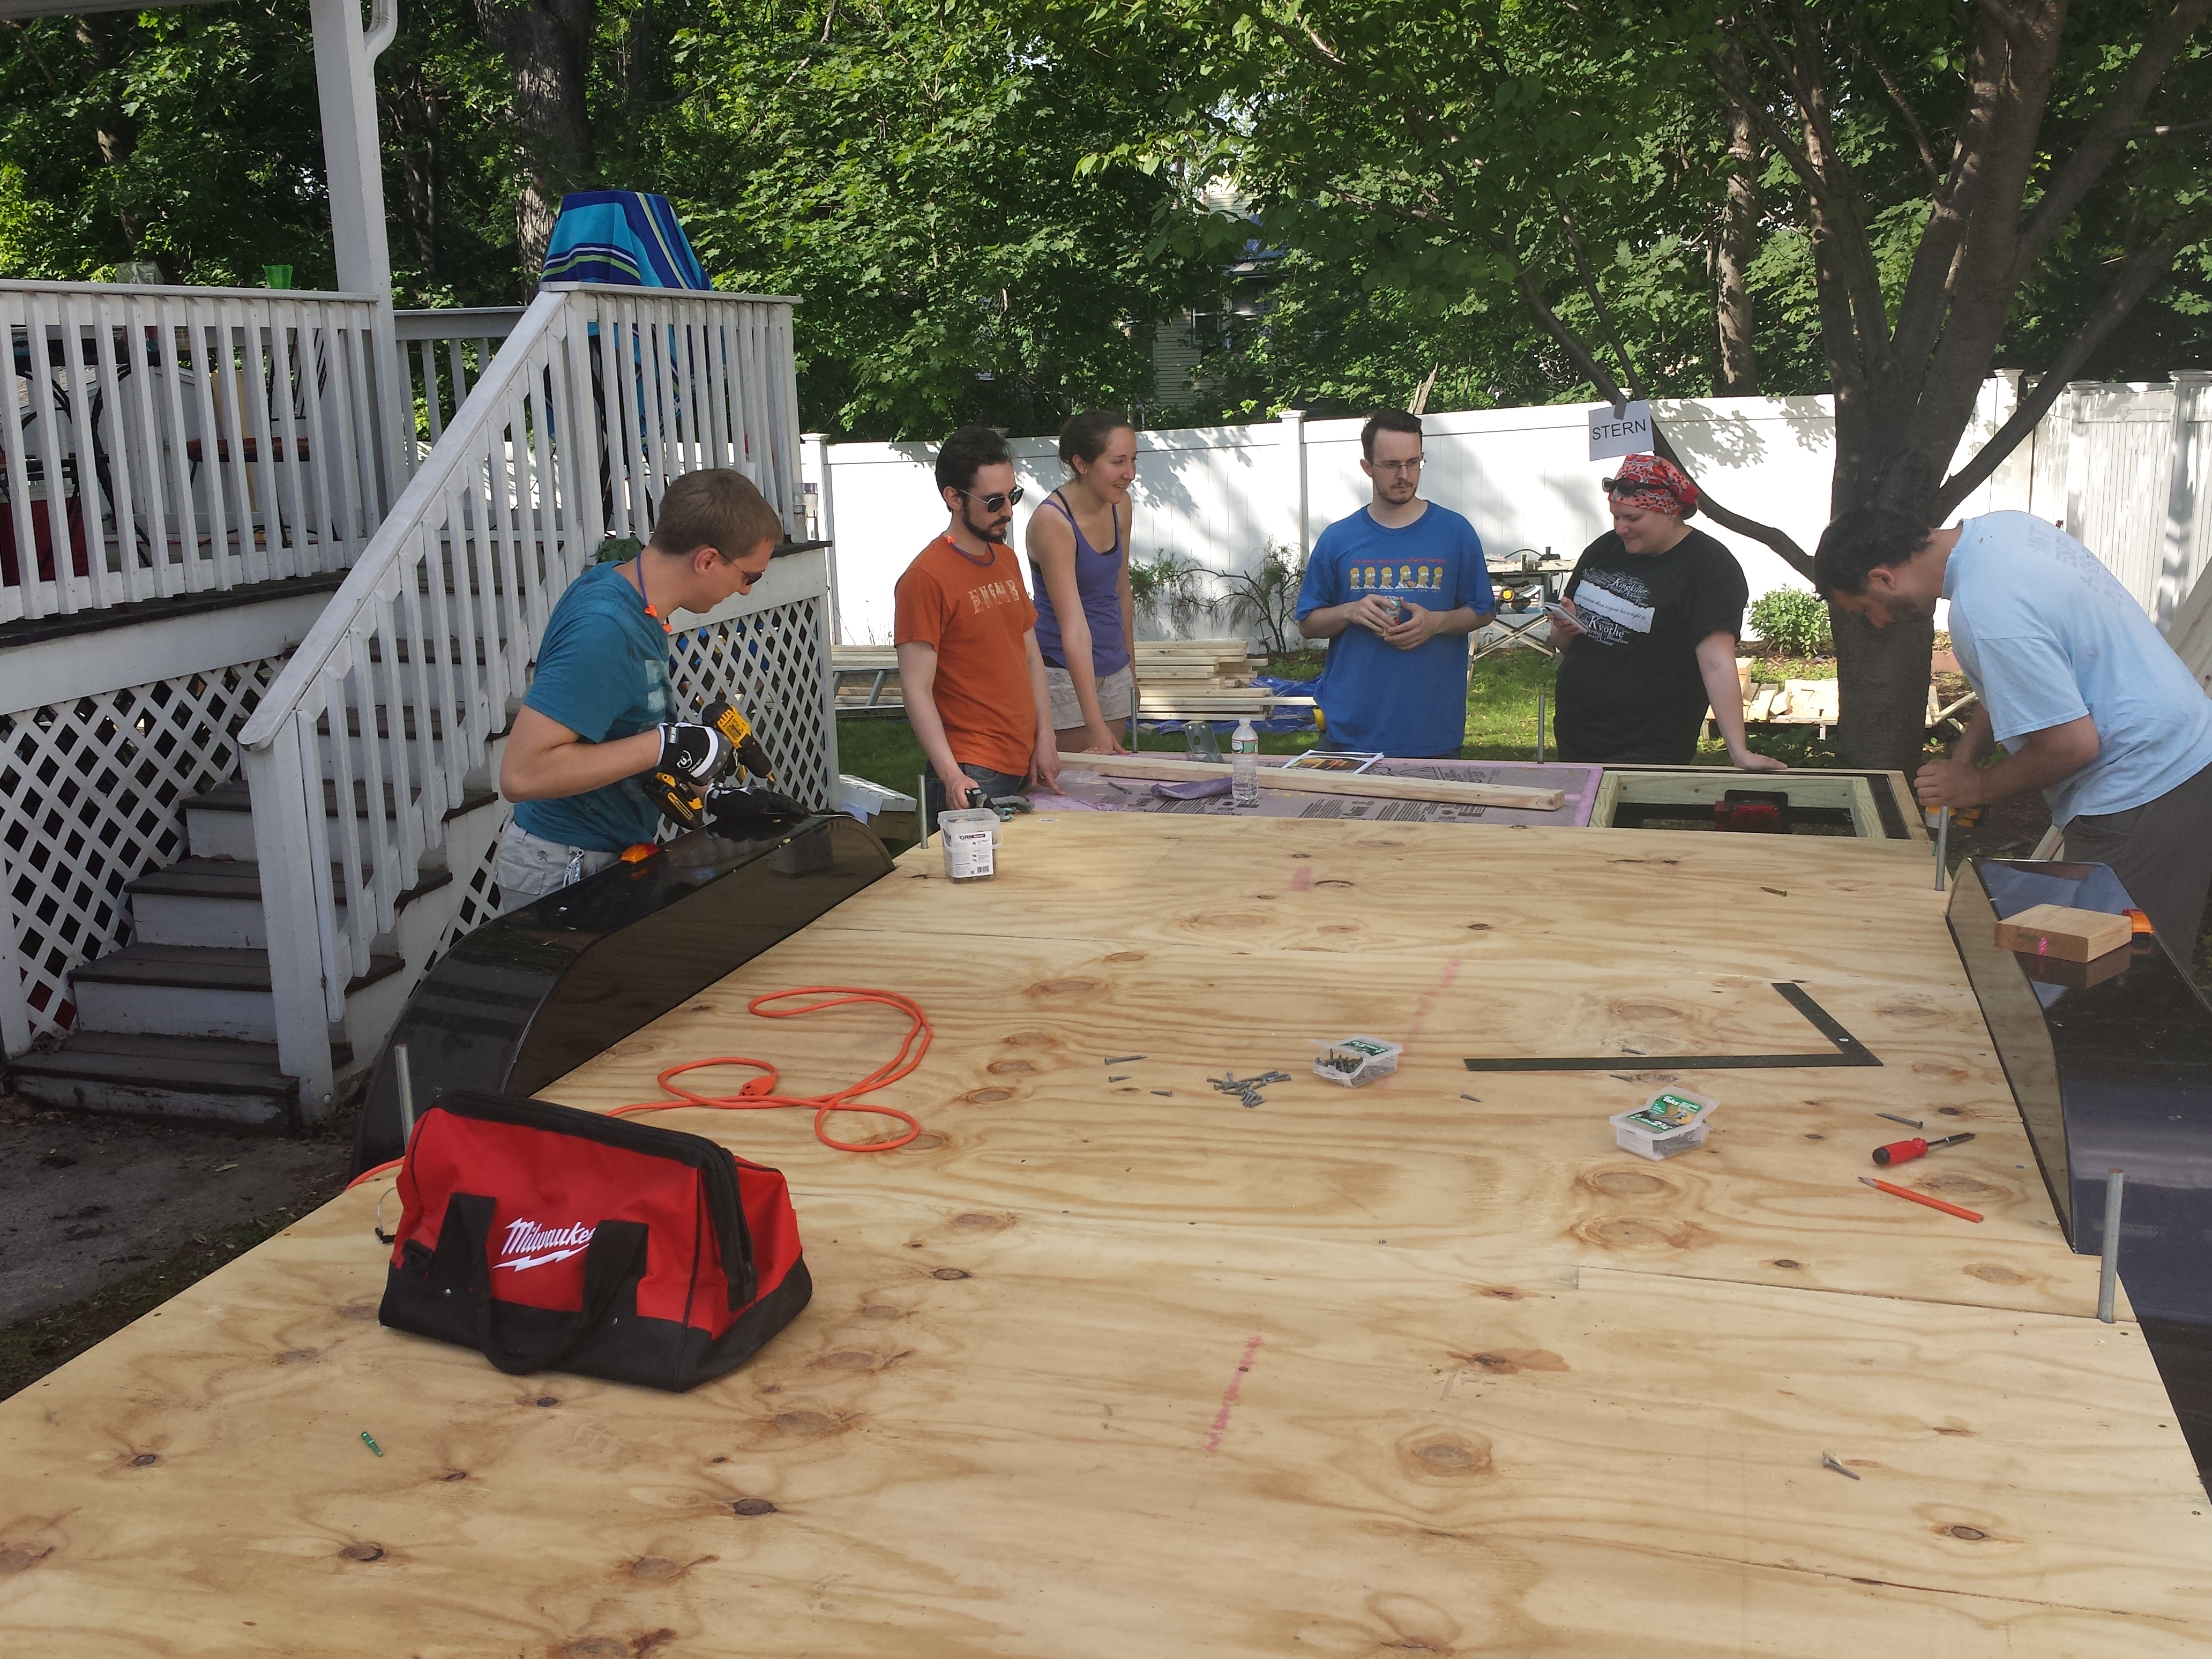
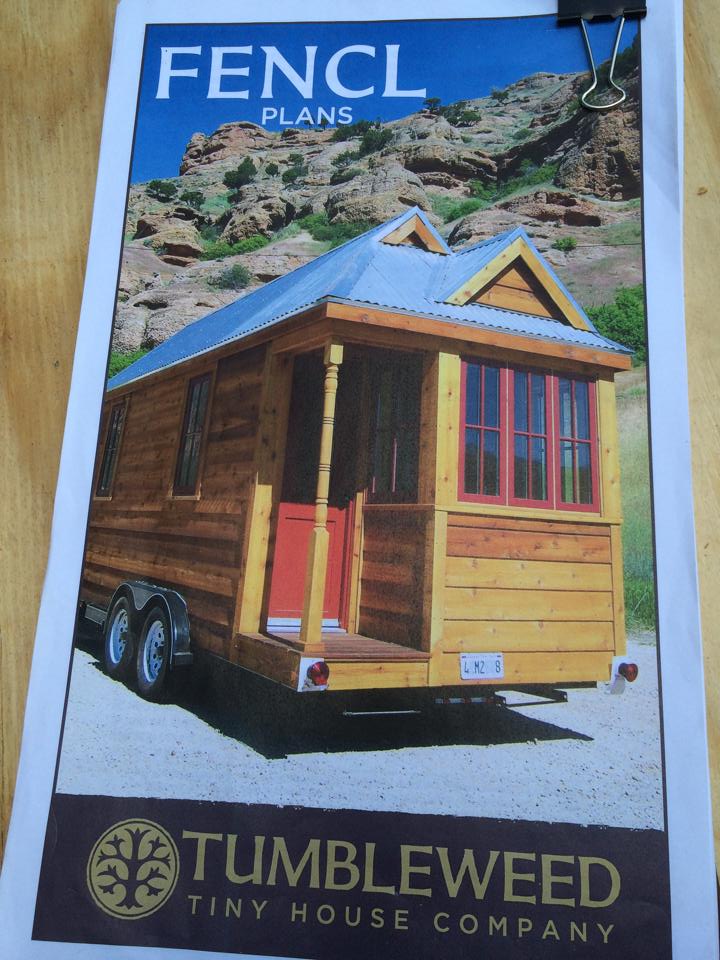
What is the Tiny House?

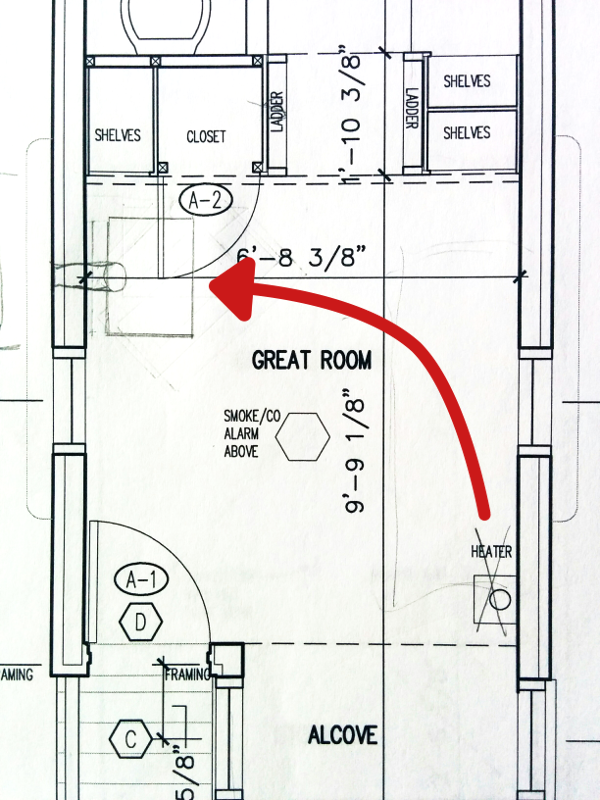
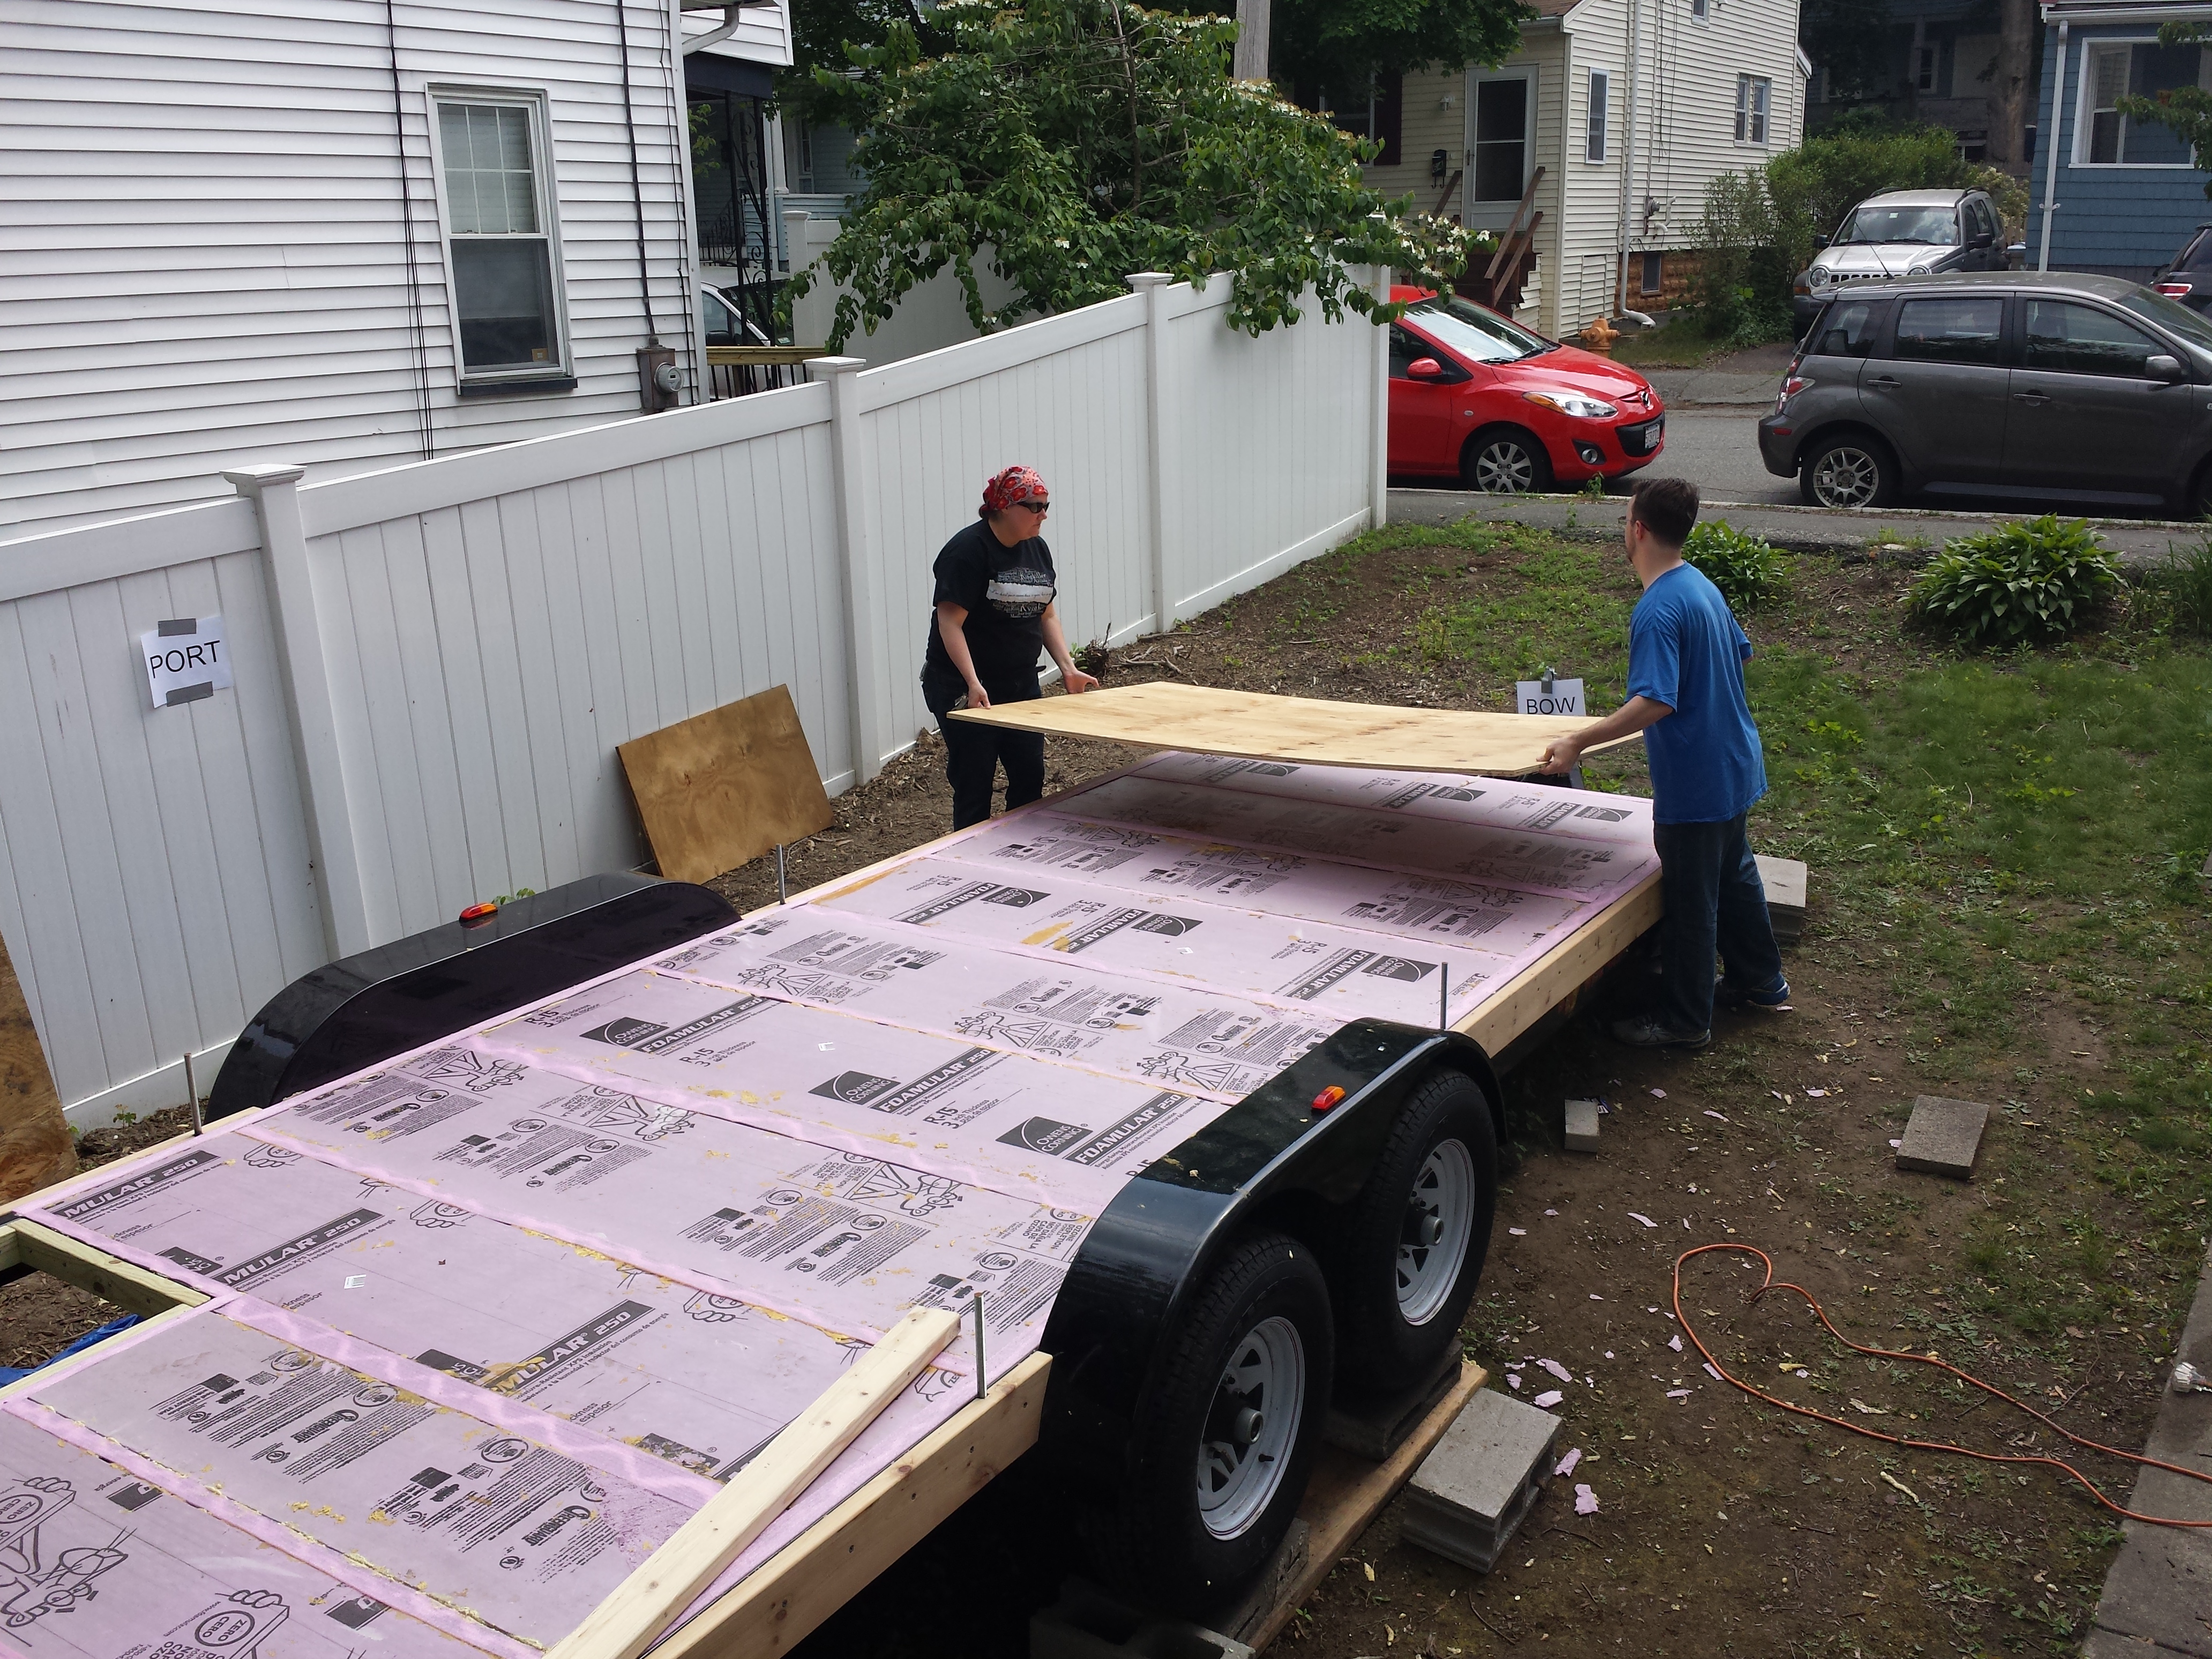
It is a liveable house, 7’ wide, 18’ long, and 14’ tall, that is about 140 sq. feet — 10% the square footage of our “normal” house.  We are building it ourselves with the help of friends, based on a plan from Tumbleweed Tiny House Company, directly on a trailer.  It is designed to be a functional yet charmingly detailed home.


Are you going to live in it?

Probably not.


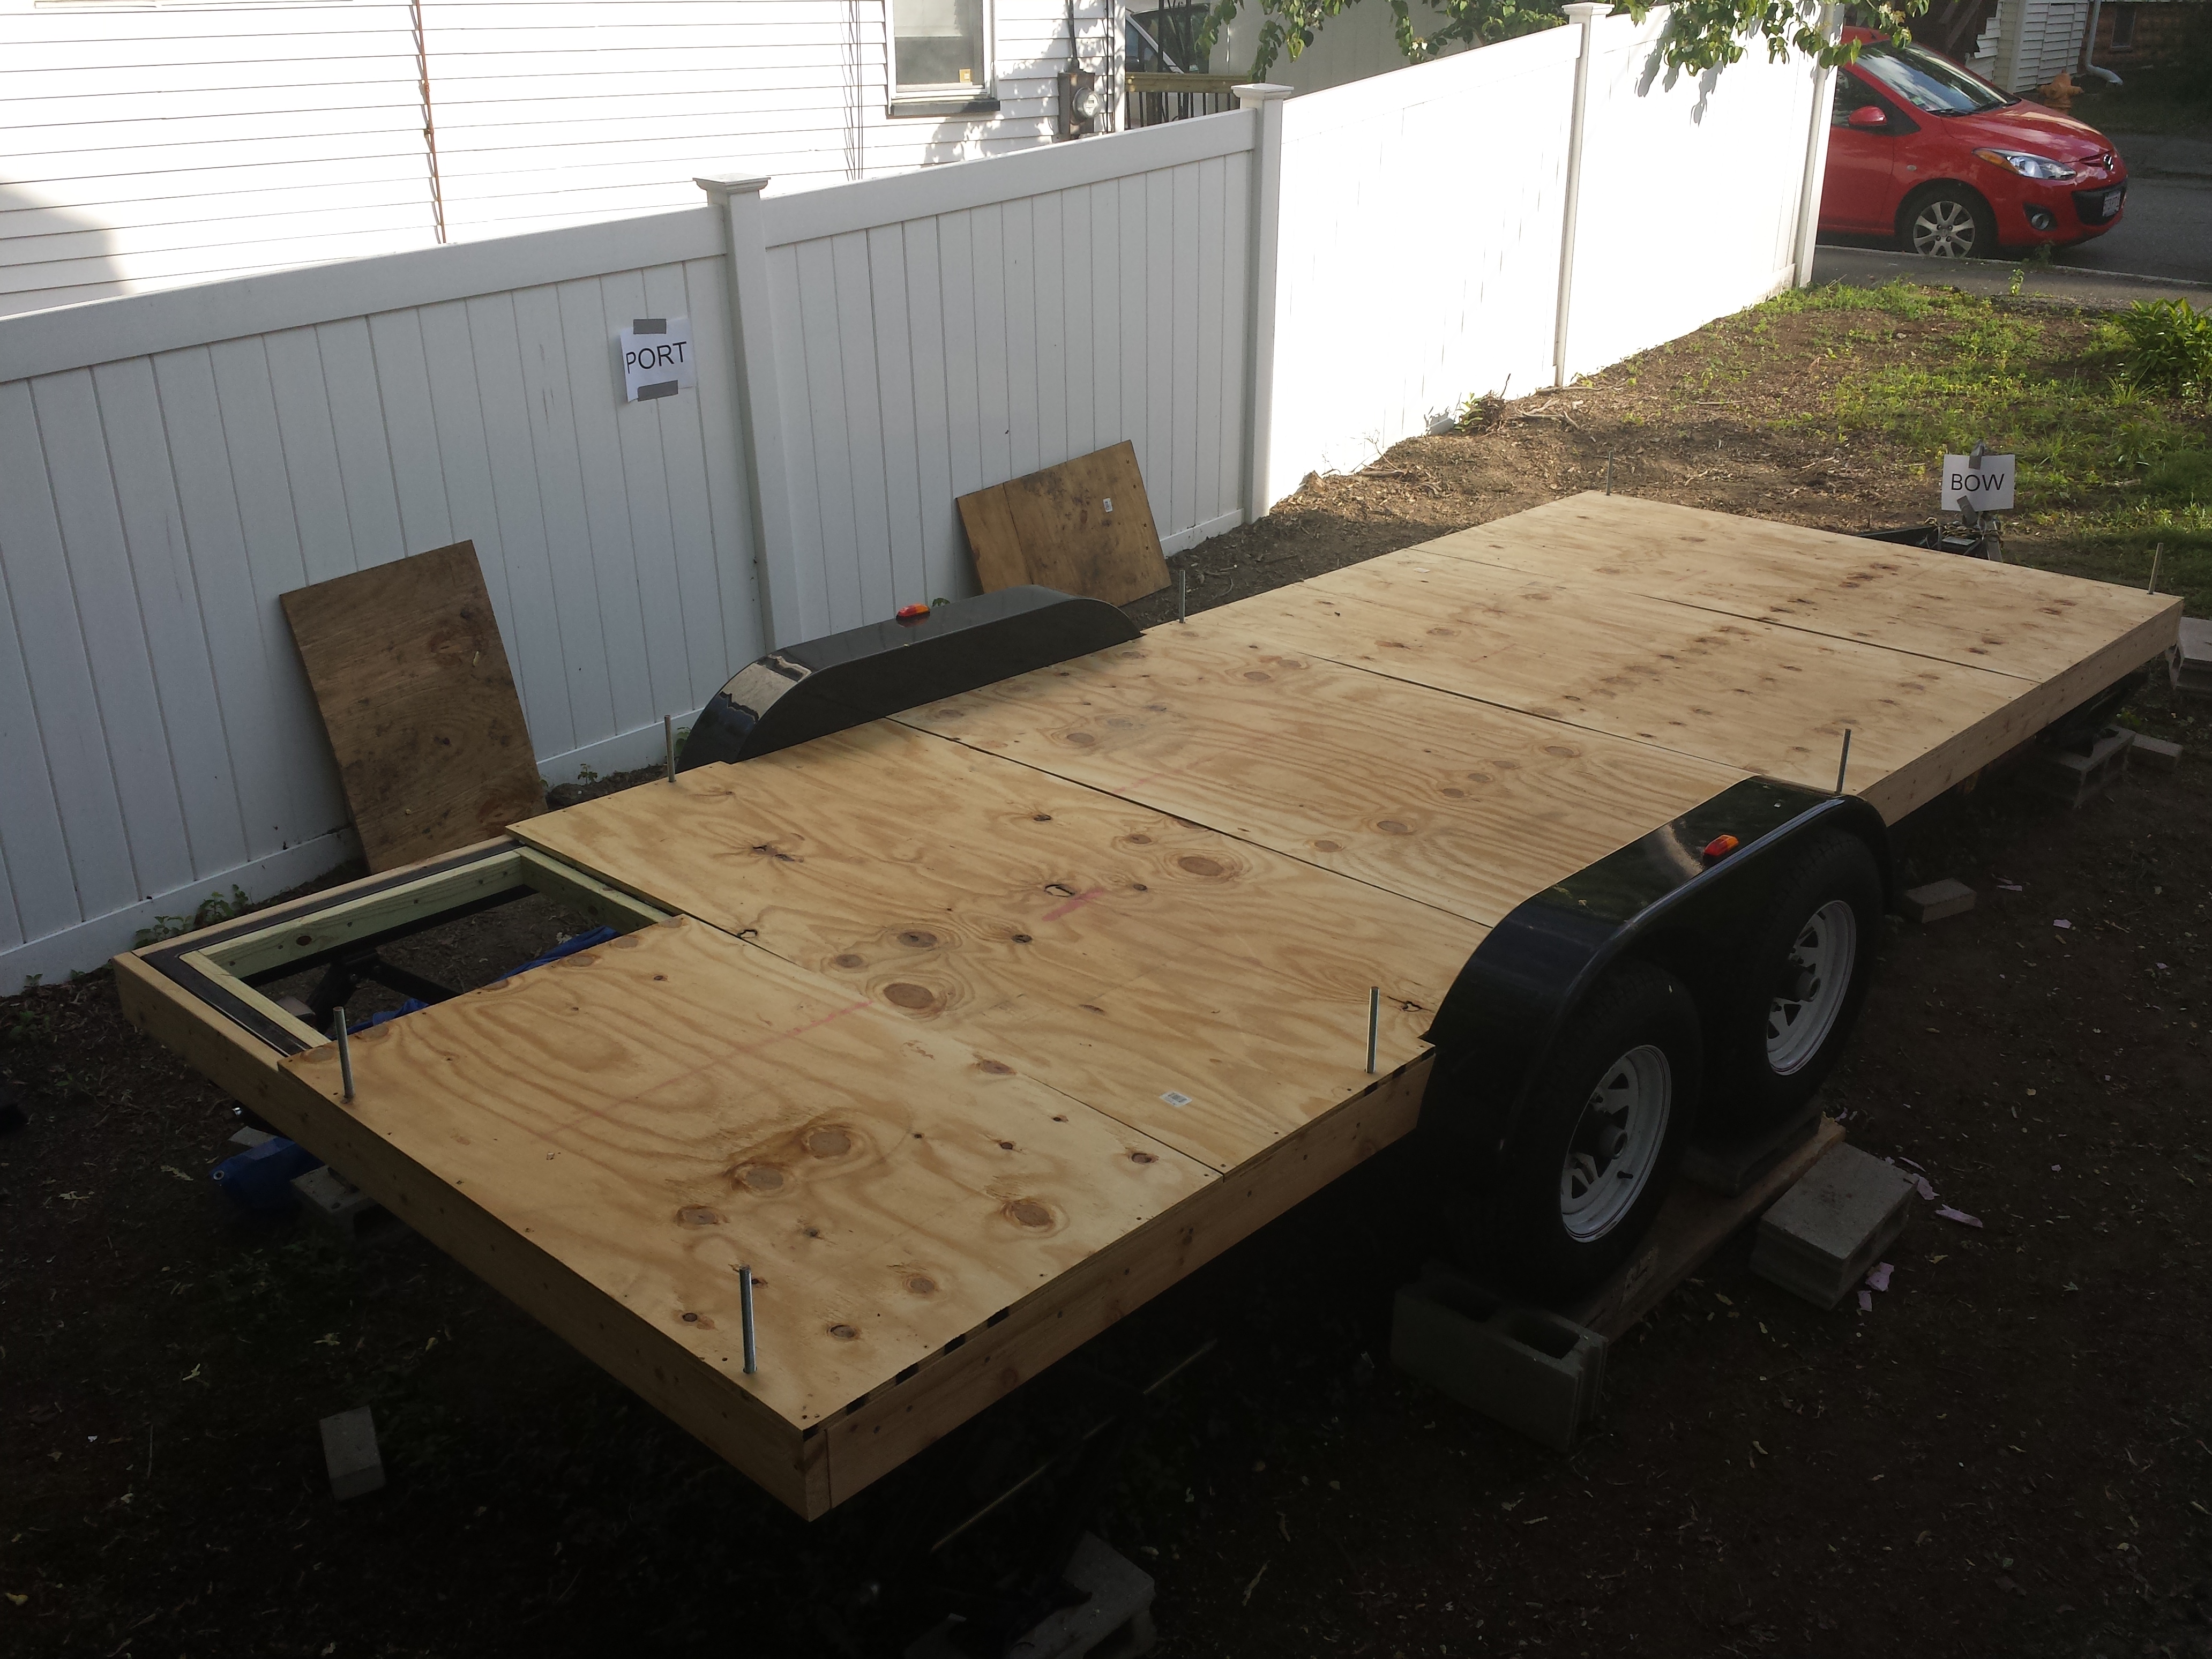
Where are you building it?

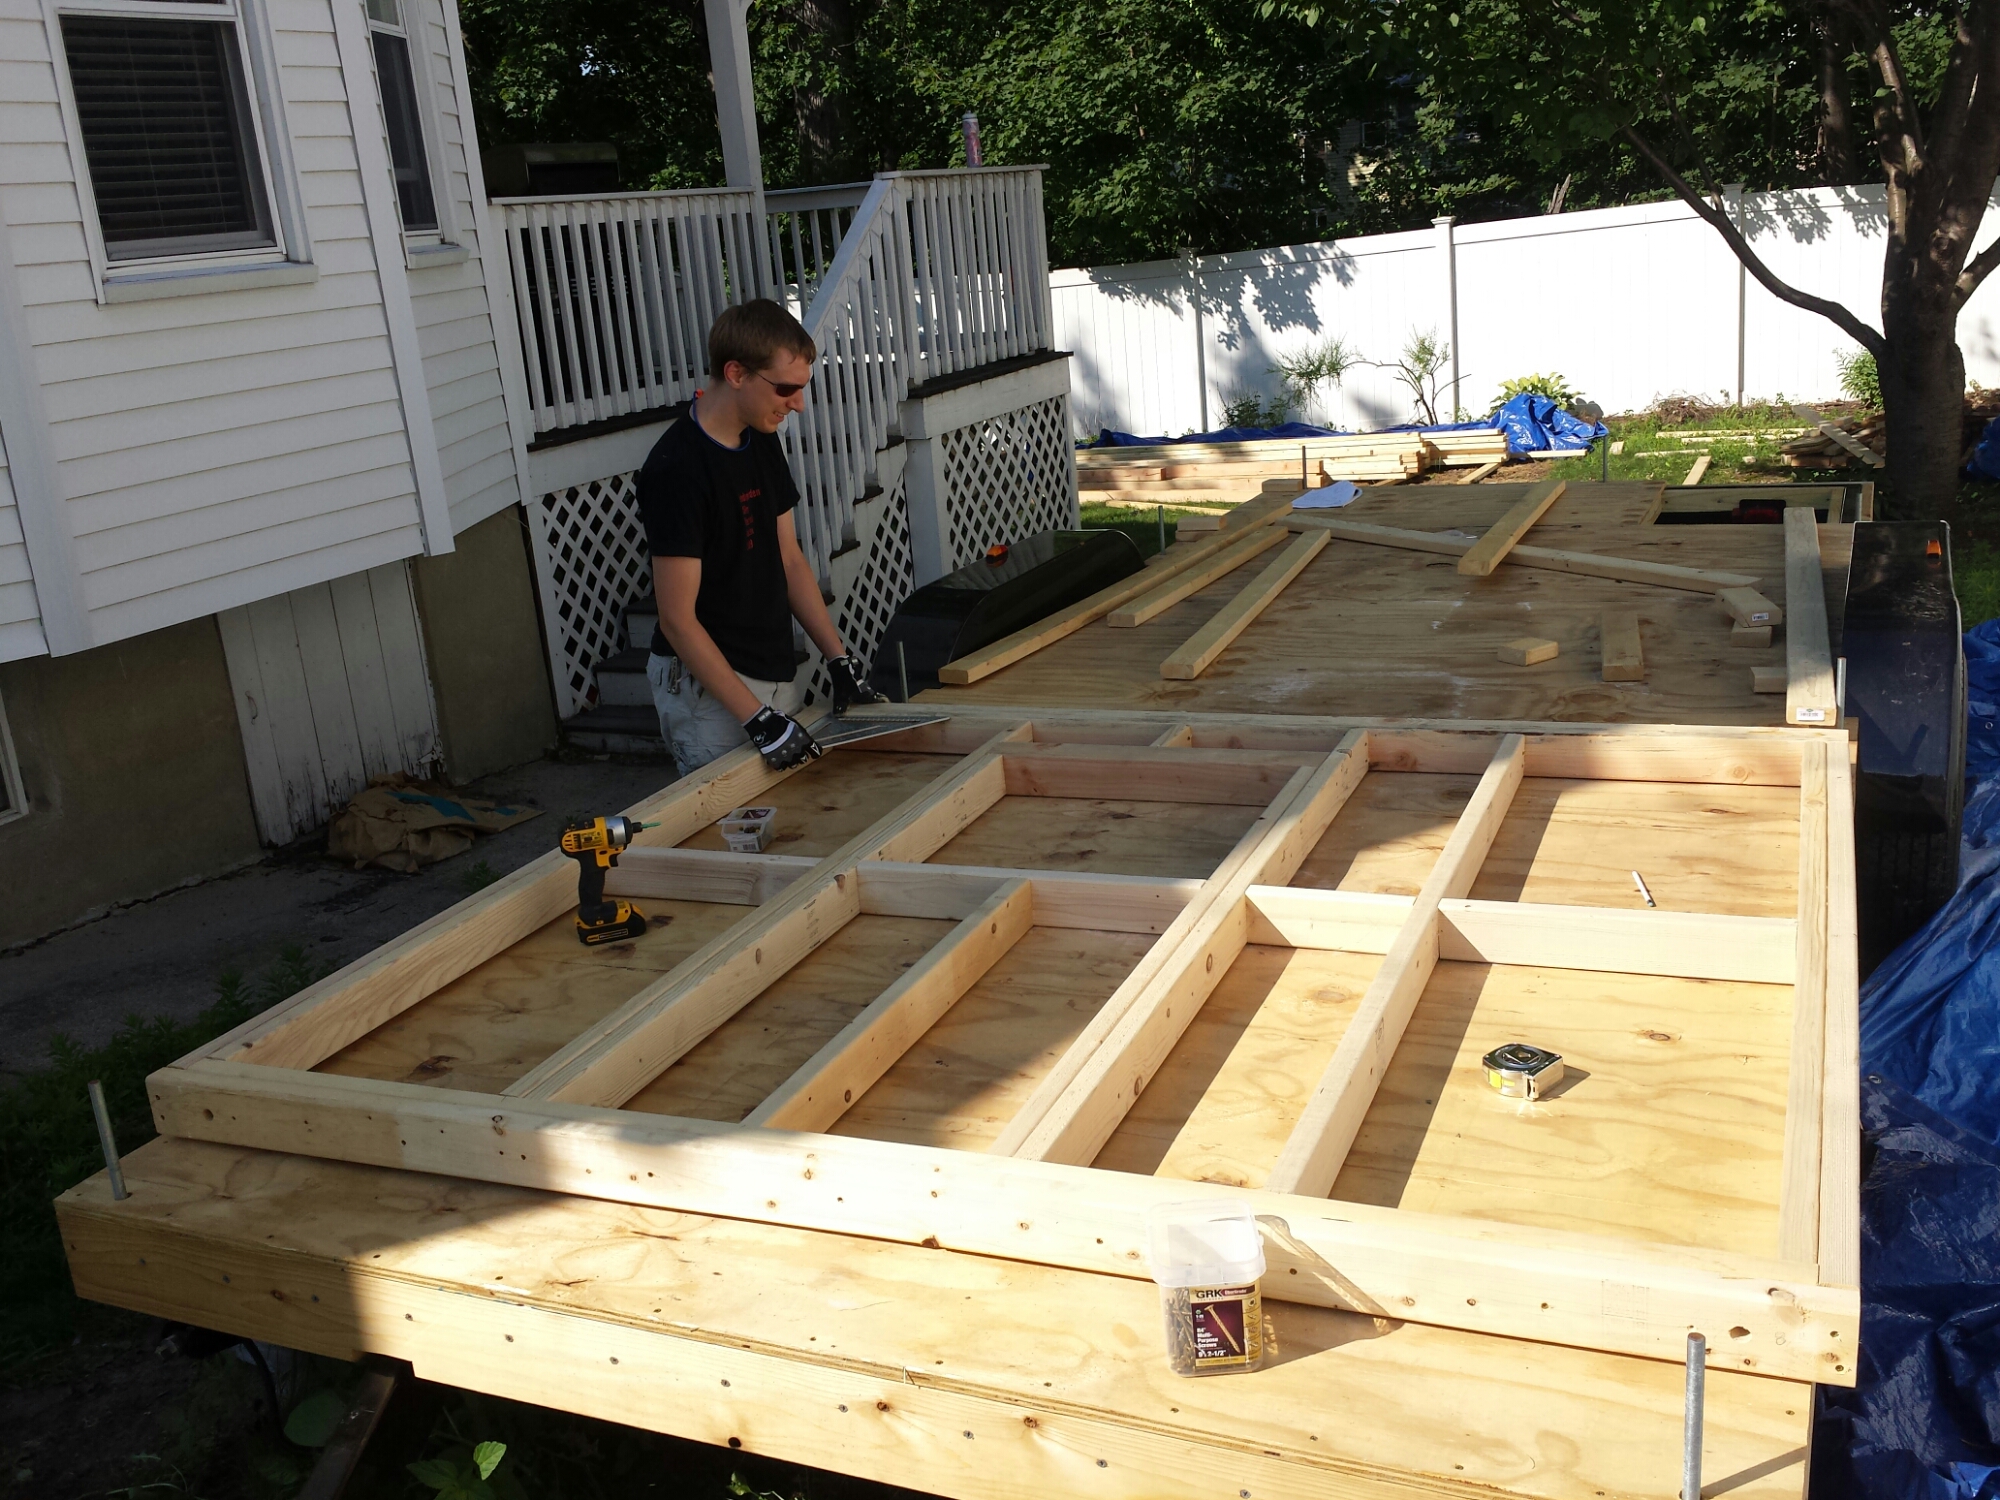
Next to our “normal” house in Medford, in our “backyard” which is actually on the side of our house.  The back of the Tiny House faces the street.


What do your neighbors think?

Neighbors have been supportive and are always welcome to come by and ask questions.  We explained our project to adjacent neighbors before starting to make sure there were no major objections.  One of our goals is to keep the construction noise within reason.


When will it be finished?

Definitely not 2014.  The goal is to have it in a livable state by fall of 2015, though it’s likely there will be finishing details still to do at that time.


So what are you going to do with it?

Keep it where it is being built for a while, make sure our friends get a chance to stay in it, possibly AirBnB it.  Years from now, we hope to move it to the Berkshires near MassMOCA.  This means logistics such as finding land and a vehicle that will be able to haul the finished house.


What rooms will it have?

Main room, kitchenette, bathroom (with shower stall & composting toilet), lofted bedroom (accessible by built-in ladder).


Why are you building a Tiny House?

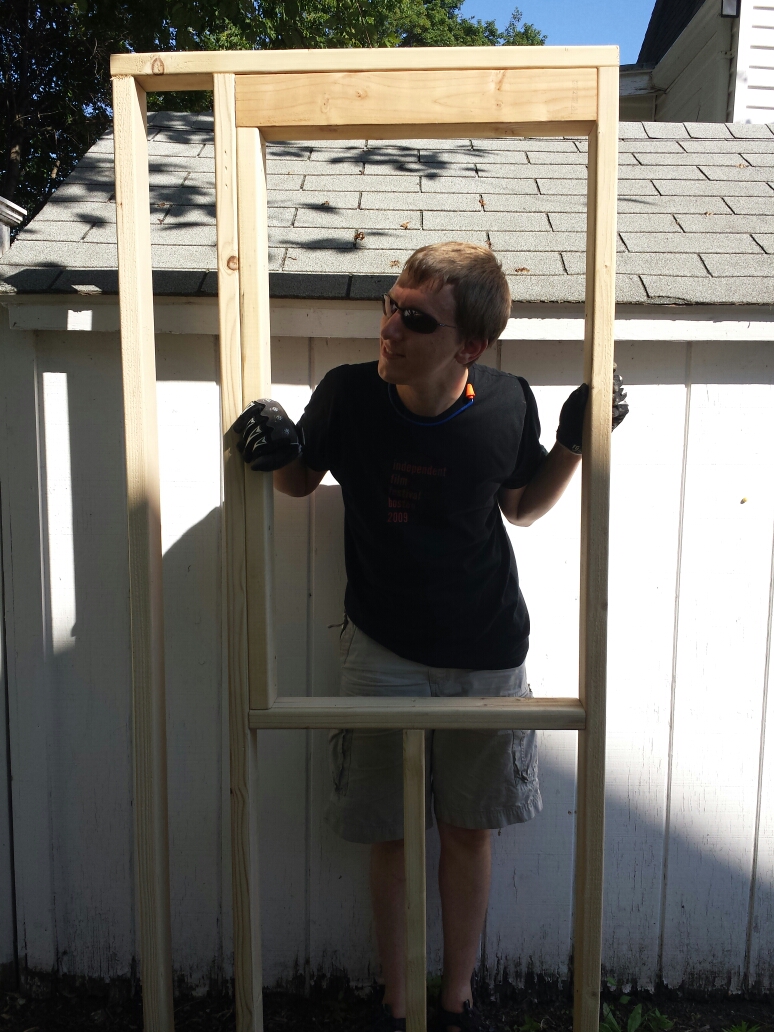
Owen is interested in the Tiny House movement and small spaces, as well as creating something physical with his own two hands.  Char likes the challenge, is persistent at finding ways to get things done, and likes positive drug-free activities to keep her off the streets at night.


How can I follow your progress?

www.ywwg.com/wordpress

What if I have questions/useful information/complaints?

email: owen@ this domain.

Prepping for framing party

image

Owen is clamping on pieces of treated wood to be drilled into the metal frame.  Also pictured are cedar pieces that go on the outside of the metal frame.  Owen has cut them so one end fits with the curve of the wheel well, and they have grooves to accommodate the shiny tubular metal things sticking up (No idea what they’re called).  We drilled them on after this photo was taken, covering the .com label.

image

Ideally the drill holes will be 6 inches apart.  But there’s some adjustment to avoid conflict with nails coming from the other direction.  So I’m using a pencil to indicate where I want them before drilling.

image

Project supervisor says “Keep up the good work on the puny house, humans” from her comfortable spot inside.

Insulation installation

image

These pink slabs are custom-cut by Owen first, so they fit, with a little bit tucked under the black metal rail.  There will be a can of gap filler used later today.

The pink material is high-grade insulation that took longer than expected to both locate a seller and then to order and have delivered.  It has an R-value suitable for cold New England winters.