Tiny House Electricity

One of my more ambitious goals with my Tiny House is to make it work off-grid — that is, livable even in a location with no dedicated power, water, or sewage connections.

My vague (mostly uninformed) plan has been to buy a large, deep-cycle marine battery or perhaps a high-end high-capacity Li-Ion battery, occasionally charge it with a generator with DC output, and run as much of the house off of that 12V current as possible.  So far I have found all the necessary utilities that run off 12V, including a water pump, water heater, propane stove, and even a propane refrigerator.  And, in my ignorance, I thought I would just run 12V DC all over the house for LED lighting.

Turns out, that’s a bad idea:

Many people when first contemplating going off grid expect to use 12V DC power because they see 12V batteries and 12V lights used in RV; so they think this is how power is used in off-grid applications. It’s is a reasonable assumption but fraught with technical problems.

If you choose to wire with 12V you will need specialized hardware, fuses and or breaker or breakers. In many cases special (read expensive) terminals bus bars and definitely larger and thus more expensive copper wires. The cheap stuff is simply an invitation for a fire down the road.

— Electronic Navigator, Why Not Use 12V DC For Off-Grid

After doing more reading, it sounds like the best thing to do is use an inverter to convert the 12V DC into standard household 110AC, and use standard wiring all over the house for sockets and lights.  I still have to do more research to make sure that everything will be safe, and the battery won’t be working too hard, but at least the general plan is still sound.

It’s very easy for me to gloss over details, and building the Tiny House has helped me learn when to recognize when I’m doing that, and instead focus and really think deeply about a small aspect of a large project.  Getting the electricity right could mean the difference between a livable house and one that’s frustrating, or worse, one that’s burned to the ground.

Snow update

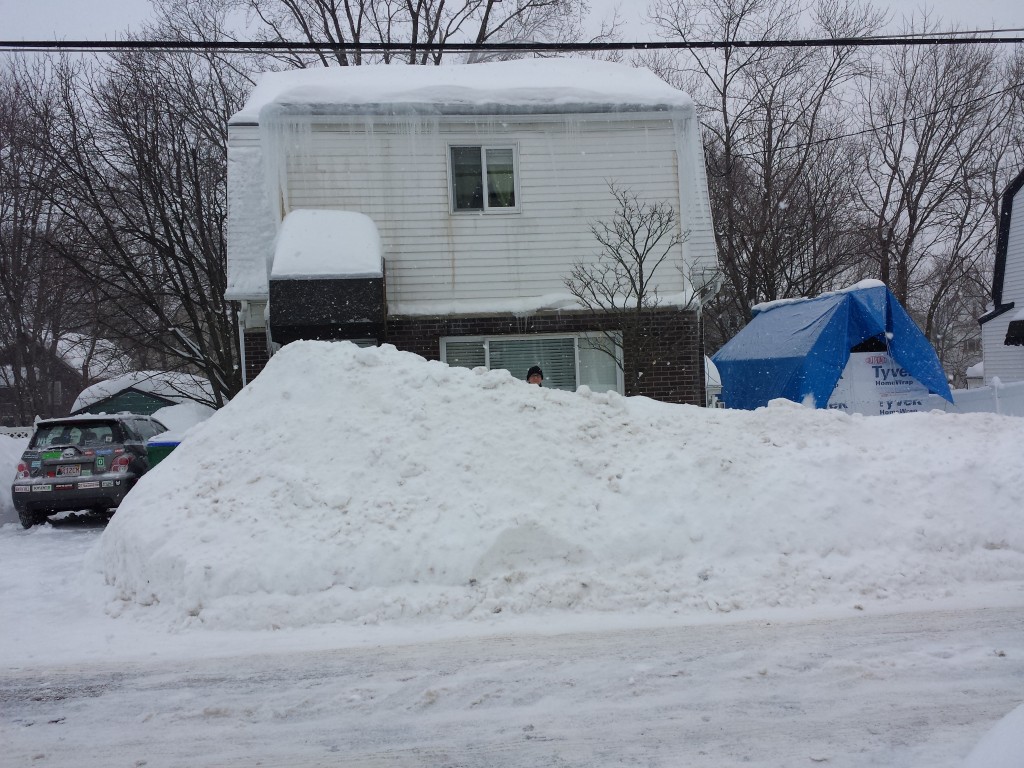
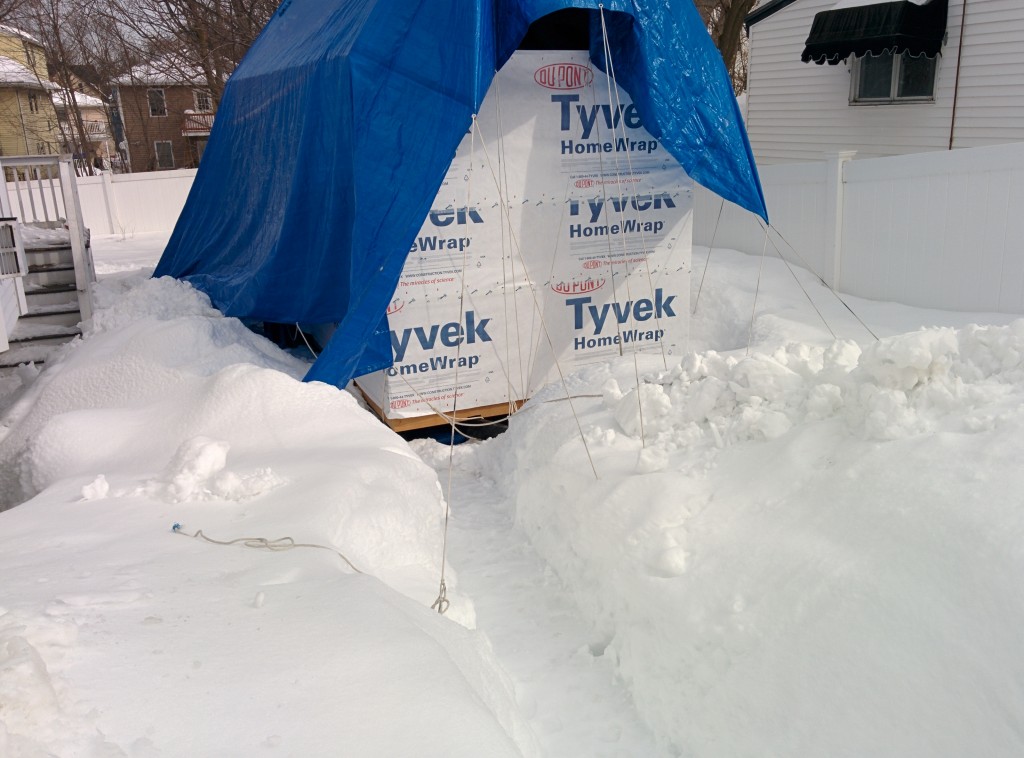
Some of you were wondering how our Tiny House fared after the record snow we received in January and February. Thanks to the slippery blue tarp, pretty well!

This is actually after a full day of melting!
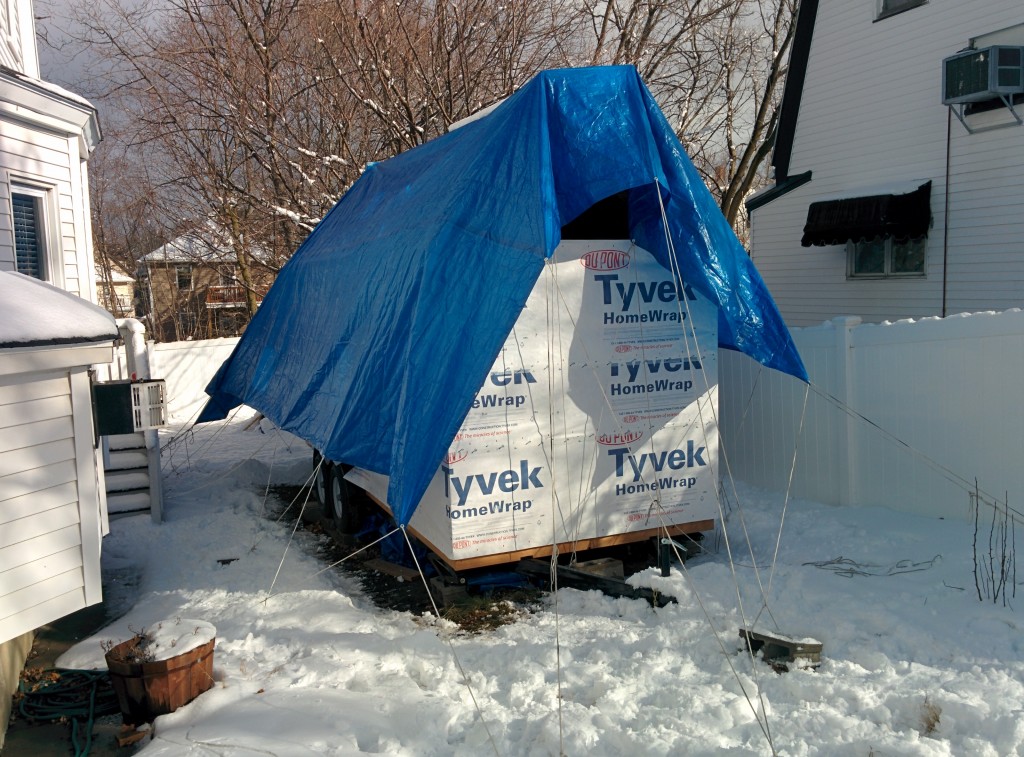
This is actually after a full day of melting.

Since the snow was so light and fluffy, it never accumulated on the roof. Instead it was all shed to the sides, piling up some pretty impressive snowbanks. At this point it’s not really possible to get to the back yard — the snow is up to the edges of the tarp, so I have to crawl underneath or dig through the snow. The tarp is in sad shape, with a large hole and almost half the grommets ripped out. But I’ve been tending it as I go, and it’s still doing its job.

The presence of the snow will slow down construction because we have to wait for it all to melt before we can really start building again.

Scene from February 11th.

Anticipating a Blizzard

heavy snow and strong winds will result in the potential for blizzard conditions with near zero visibility. Along the southeast New England coast…the snow may be wet enough to result in some downed tree limbs and power outages. Travel may become impossible and life threatening across the entire region. This has the potential to be a historic storm.

— National Weather Service

Is this Tiny House ready for 12-18 inches of snow?  I hope so.  We got 4-5 inches of wet snow over the weekend, and the tarp shed it all quite easily.  But there was still a lot of tension on the ends of the roof, and I wouldn’t be surprised if the small hole that’s already there gets bigger.  I tried to adjust the tarp to cover up most of the hole in the front of the house, but if the wind is high enough it may not make a difference and the loft could get covered in snow.  We’re definitely crossing our fingers on this one.

Hopefully not too much snow will blow in the front.
Patience, little house.

That’s a wrap

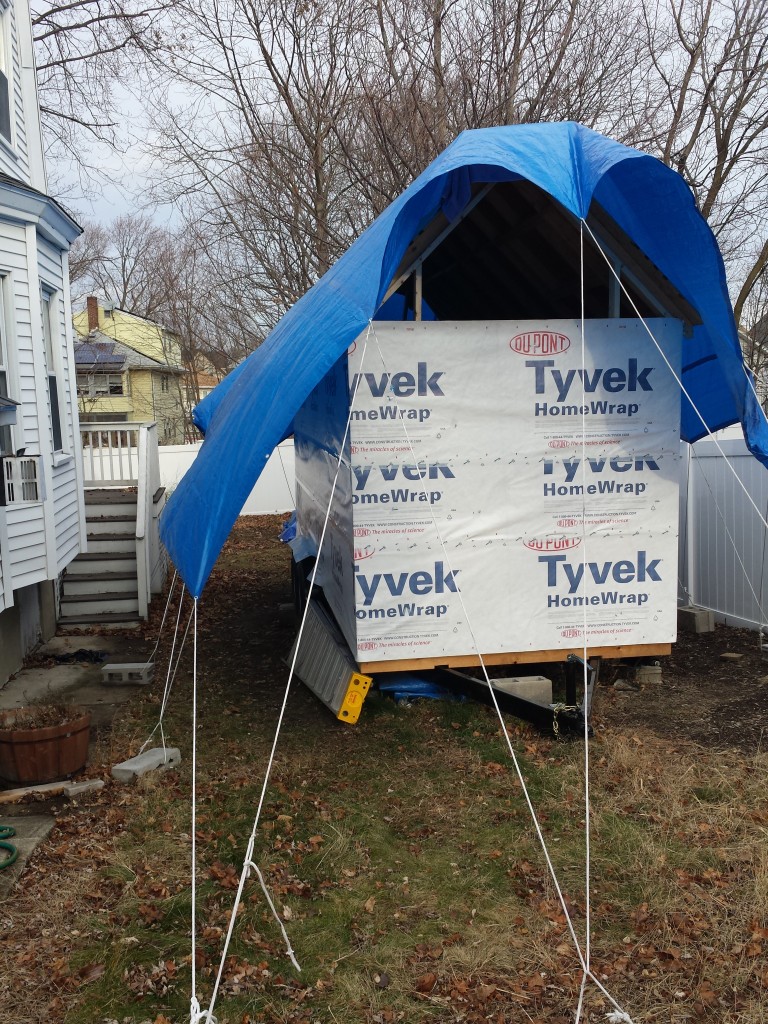
This weekend, despite the December cold, Owen wrapped the house. As a timesaver, no holes were cut for the windows. That will have to be addressed later.  The tarp has been holding so far.

2014-12-28 14.14.28

Hibernating for the winter

2014-12-13 15.40.02

Things are quieting down on the work site now that the sun sets at 4:30 and the temperature is regularly near freezing.  But that doesn’t mean we’re not still working on the tiny house!

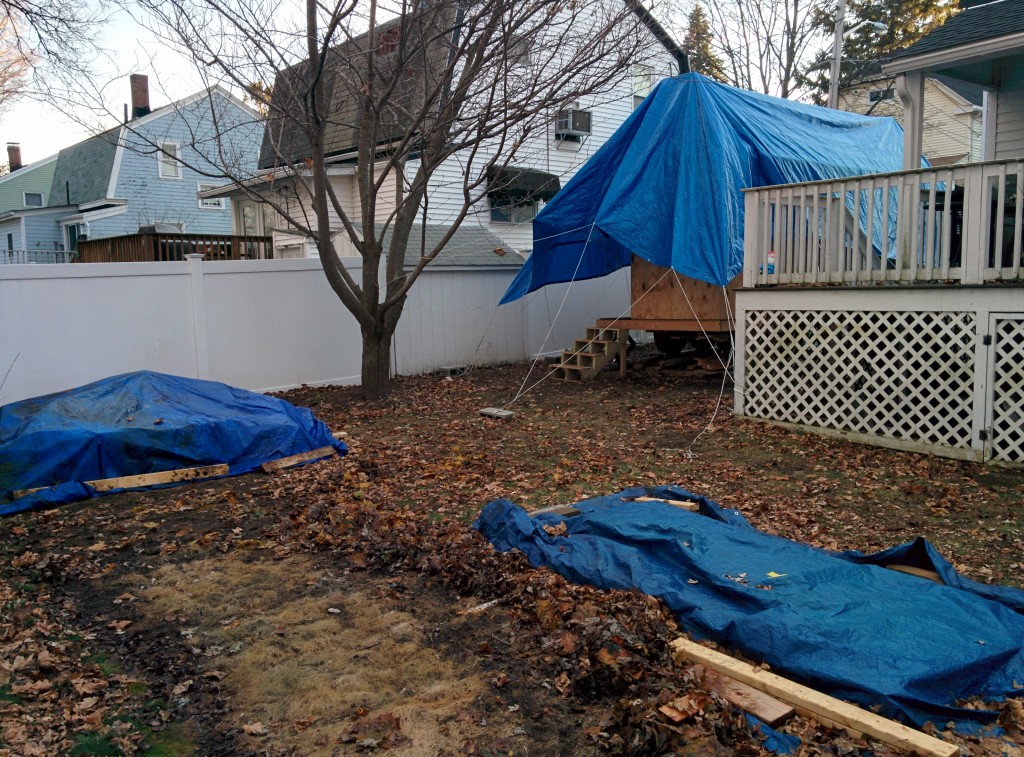
The most important thing I’ve been doing is checking and rechecking the tarps and weatherproofing.  I have the tarp hanging pretty much down to a science now, so I no longer have problems with holes in the tarp or water collecting anywhere.  It has even snowed once, so I could see that the tarp shouldn’t have any major problems with snow cover either.  Most of the wood still in the yard is scrap.  Anything that I will need has been moved into the house itself or underneath it.  I bought a Junkster, which I will fill with scrap to clear out some of the mess.

Char and I have been pushing forward on planning some of the eventual finishing details.  We’ve been working on a design for the vertical post that will go on our front porch, and we’re also moving ahead on having a master carpenter build our front door.  Some time in January we’ll go to Ikea to look at counters for the kitchen.  I’ll also start getting serious about ordering appliances and the windows, too.

I also plan to do small pieces of work on the house itself — there’s still one more window to frame, for instance.  Also I could cut out holes for the windows and affix the house wrap to help protect the structure from weather.  And I don’t just want to leave it out there for 4 months without checking on it once in a while!

It’s obvious why most people try to build their tiny houses in one summer, but that was never a realistic possibility for us given our full-time jobs.  I look forward to spring when we can finish the exterior and get rid of the tarp for good!


Framing finished

I talked to Owen about his recent work:

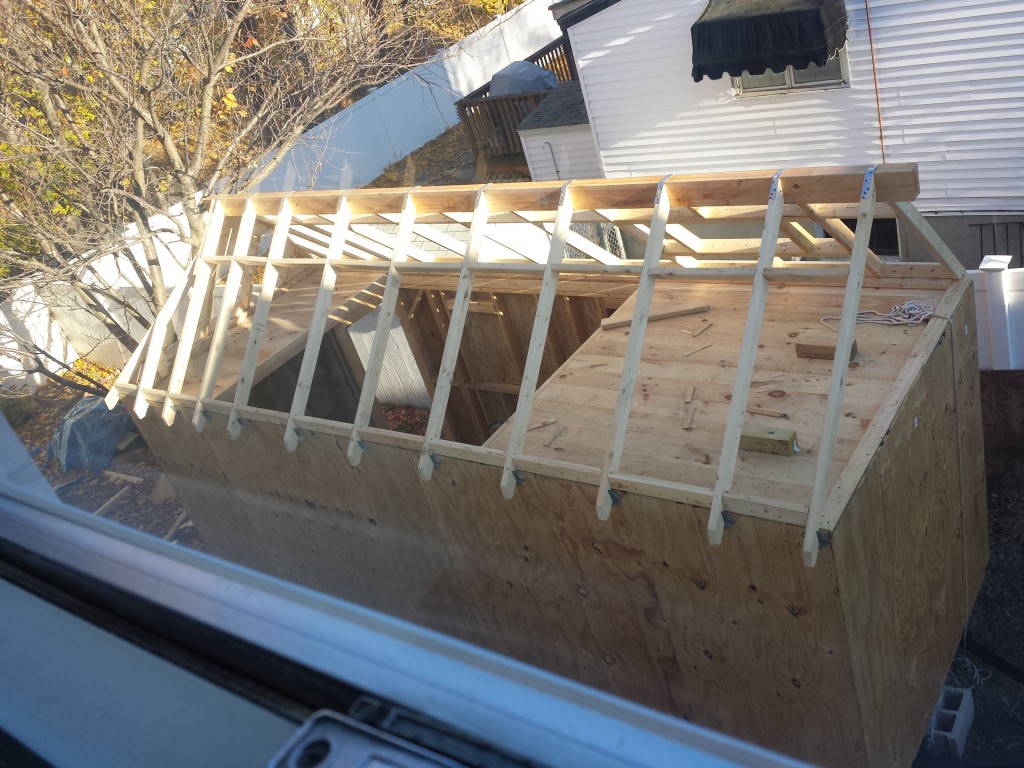
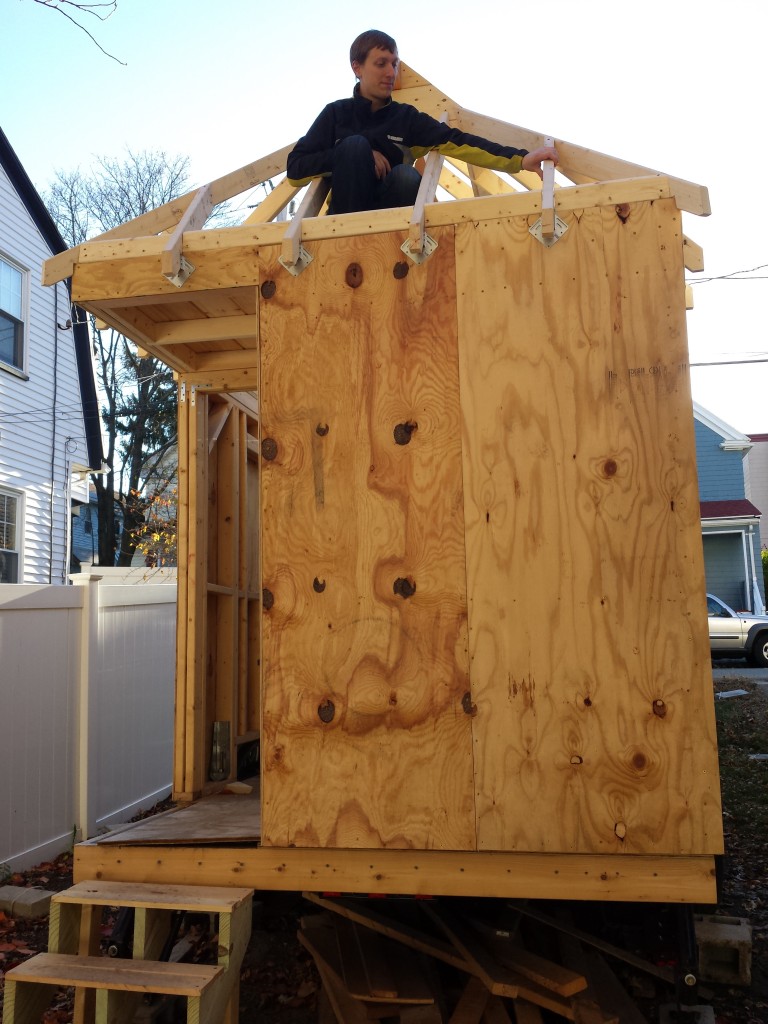
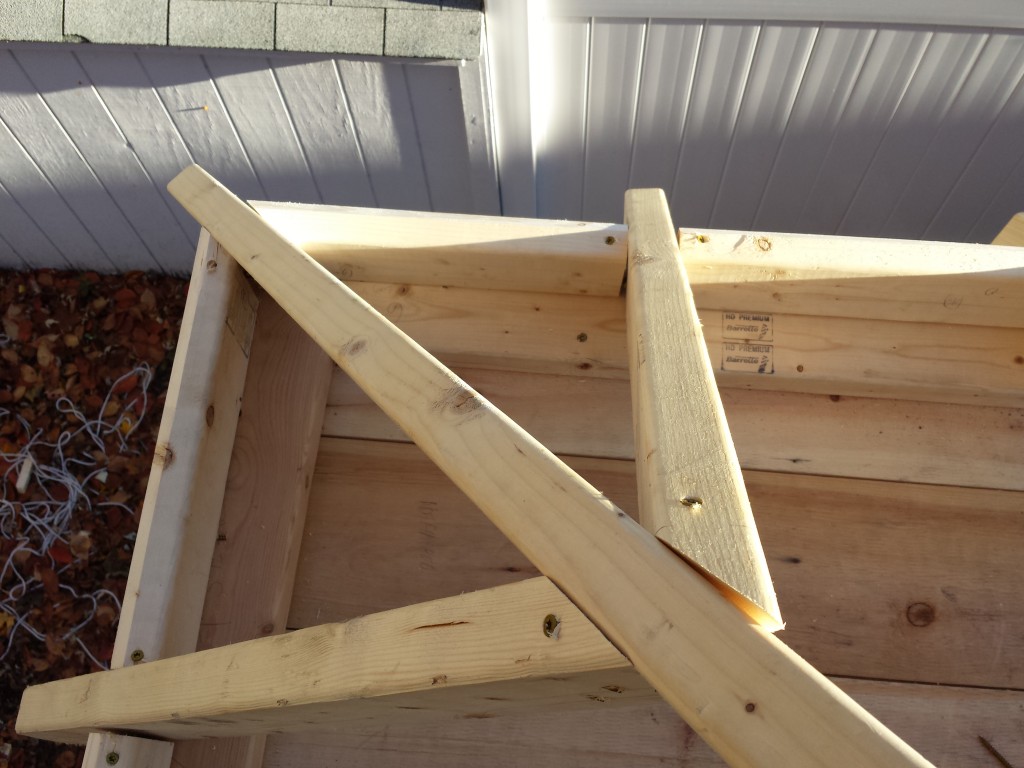
“Today I finished framing the roof, including the hip roof.  The hip roof was probably the most difficult thing the project has required so far.  The plans are too vague about how big the hip roof should be. I made it too small.  Therefore, the rafters were supposed to be at 45 degrees, but they were not able to be.  After much trial and much error, I was able to construct rafters that look ok from a distance, although up close you can see how they are imperfect. Others who have built the FENCL eliminate the hip roof.  Now I know why.

“I think the way I was able to construct it is ok, but we won’t know for sure until we try to put the plywood sheathing on it tomorrow.

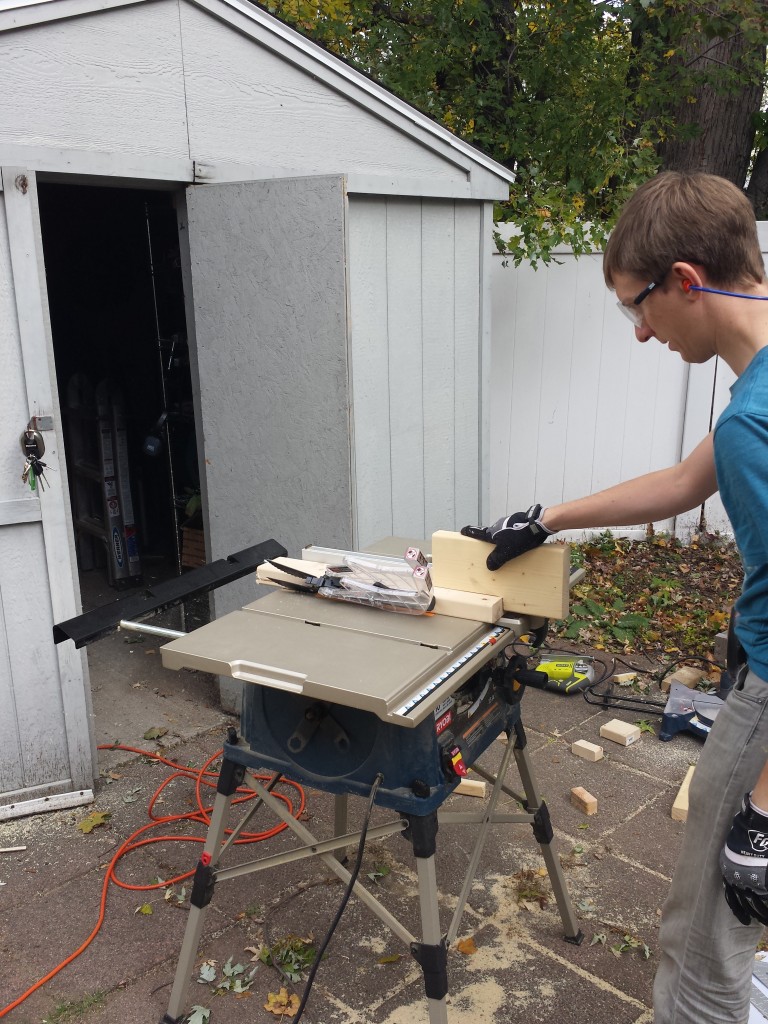
“Hip rafters are difficult to cut because they require compound cuts. This is a cut that is at an angle in two different directions. For each individual rafter, I probably had to cut ten practice cuts on scrap wood, trying to find the right pair of angles. There were 6 rafters, all different. Two weekends were spent trying to get these angles right. I eventually gave up on trying to measure the pieces, because it wasn’t producing good, consistent results.”

2014-11-15 14.32.38 2014-11-15 14.34.48 2014-11-15 14.35.17 2014-11-15 14.36.10


Savoy Tiny House

Last weekend we took a trip to Savoy, MA to enjoy the fall foliage and take a break from working on our house. But it wasn’t a total break: We were doing hands-on research by staying in someone’s completed tiny house that I found a few months ago on Airbnb. This tiny house is remotely located in the woods, but was connected to electricity and incoming water.

I am writing this posted a week after the fact, but here are a few concerns that our trip brought to light, or reinforced decisions we already made:

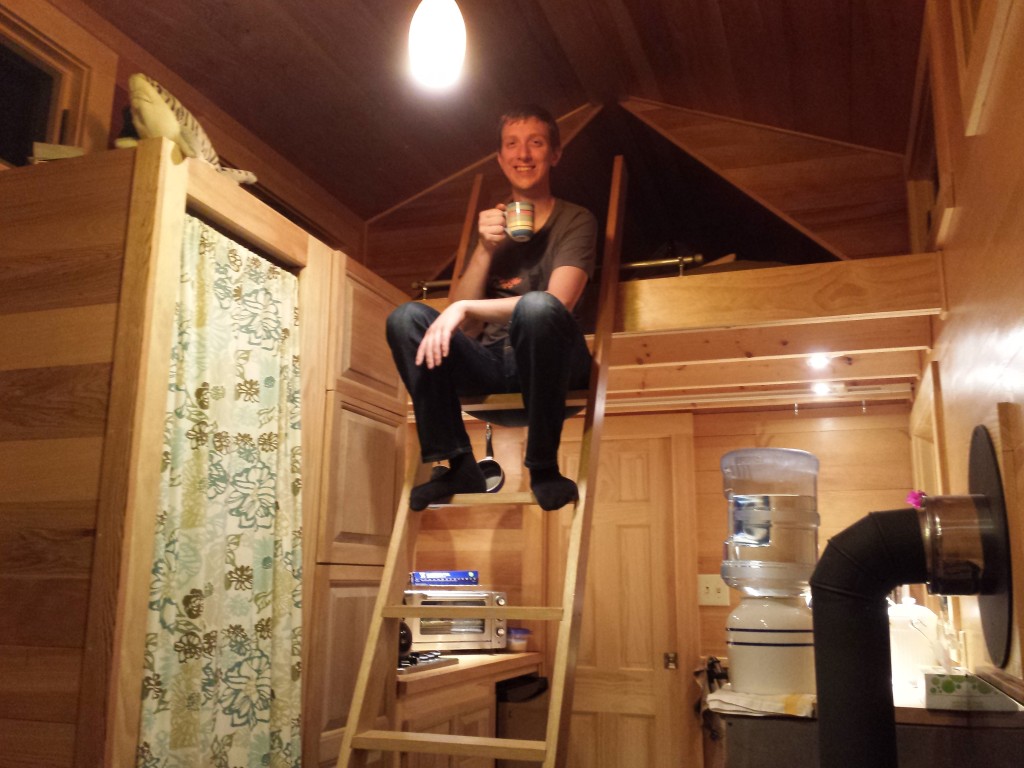
The importance of a ladder that is not always in the way. This ladder had to be manoeuvred carefully between its two locations: off to the side and right in the middle of the house. It seemed like it often needed to be in the other location. Also, there were delicate lights hanging from the ceiling that were low enough that while moving the ladder, we had to avoid hitting them.

How long a 5-gallon hot water heater lasts. Um, just enough for two showers in a row (I was going to write “enough for two people”, but I don’t think two people could have fit in the shower stall at once; we did not try) if both people take SHORT showers that includes turning the water off while not actively rinsing.

The usefulness of pocket doors. There was a pocket door for the bathroom. Owen said he does not think we can spare the room to have a pocket door for ours. Is this ironic?

How to use a composting toilet. Also, the degree to which it smelled. This degree was pretty tolerable, but the toilet’s fan needs to be on all the time. This meant there was a little bit of noise, which bothered me not at all but bothered Owen some. I’m pretty sure in Medford the ambient city noise will be such that this would be inaudible, but our toilet won’t have a fan anyway.

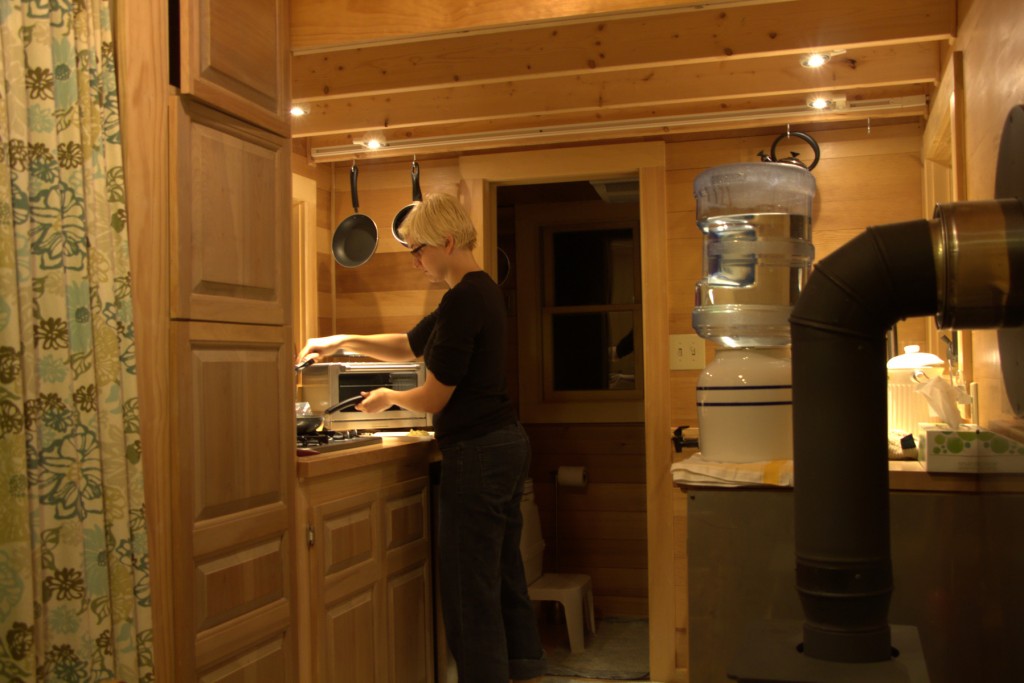
How much valuable space a toaster oven takes up especially when it’s on the counter at an angle. Also, having a huge drinking water dispenser. Our kitchen will be laid out differently to preserve as much counter space as possible.

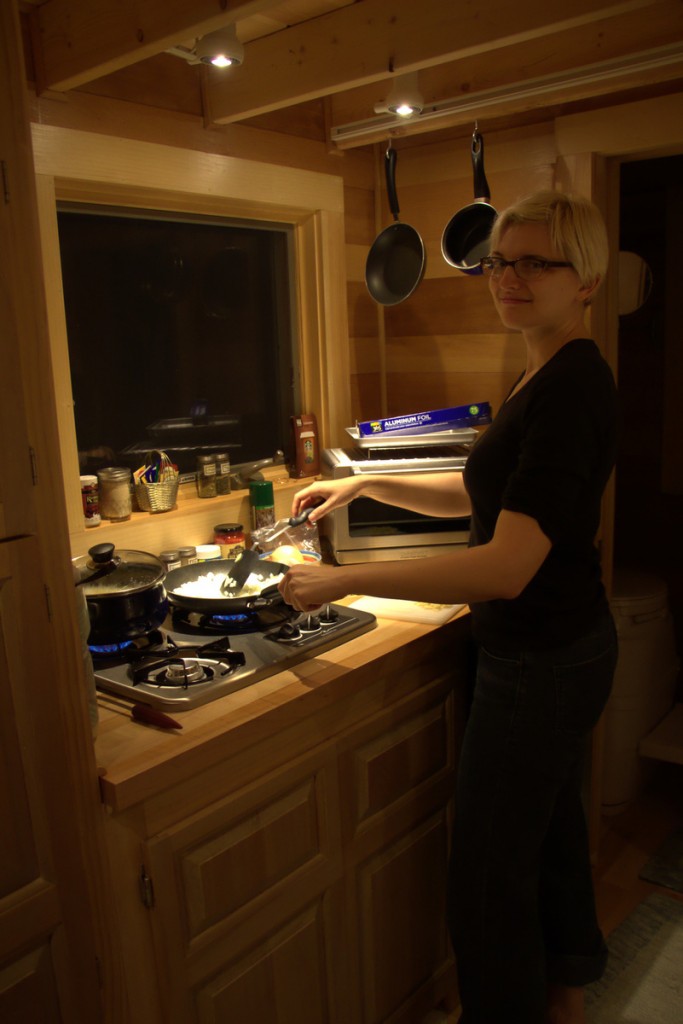
The stove needed to be match-lit. We’ll have to figure out what we’re doing for ours.

Cooking onions in a small space makes me cry intensely. Note to self: Open all the windows ahead of time.

Which direction cabinet doors should swing open. If you’re standing in the kitchen and the cabinets contain kitchen things, the doors should swing open so that the opening is nearest to the kitchen, especially if the ladder is there, blocking most of where the door wants to go when open.

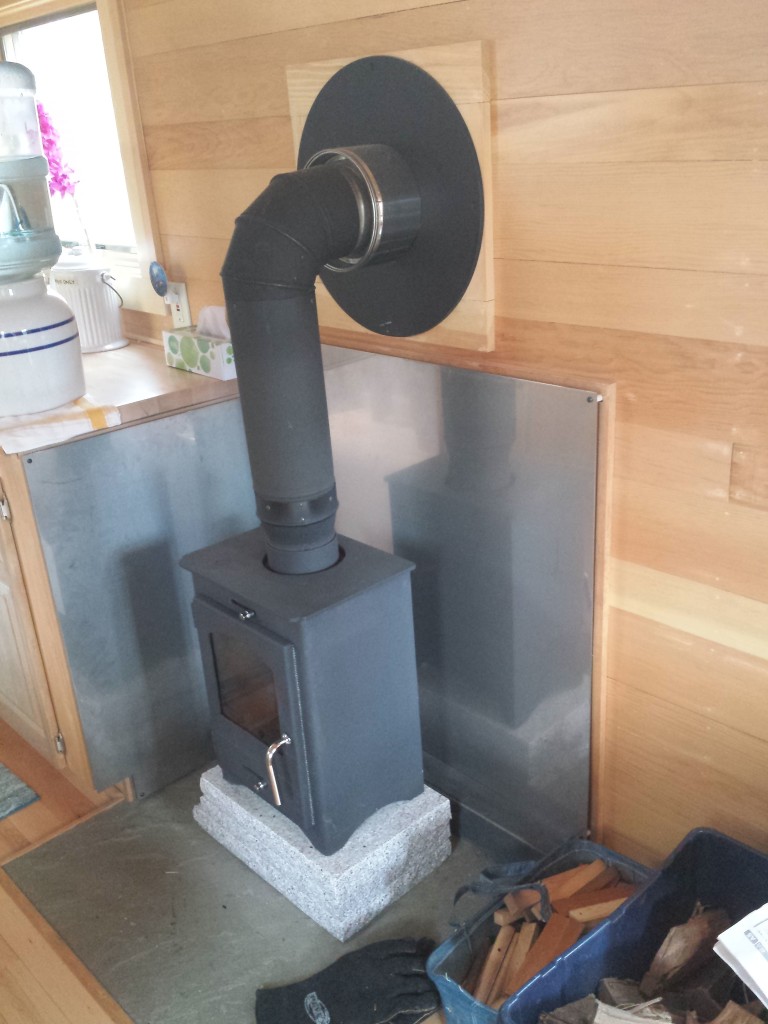
A wood-burning stove as the only heat source. It did have a certain rustic appeal, but that’s not what we’re going for, and it takes up a bit of room. But, it did heat the place up. (Also there was a notable lack of a smoke and carbon monoxide detectors.)

The ceiling height of the loft. It’s low enough that it was not effortless to get dressed up there.

How to deal with the fact that the whole thing shakes a little.

2014-10-18 11.27.18 2014-10-19 11.32.45 2014-10-19 11.35.56 IMG_2308-hd IMG_2313-hd 2014-10-17 20.48.51 2014-10-19 11.36.44


Raise the Roof

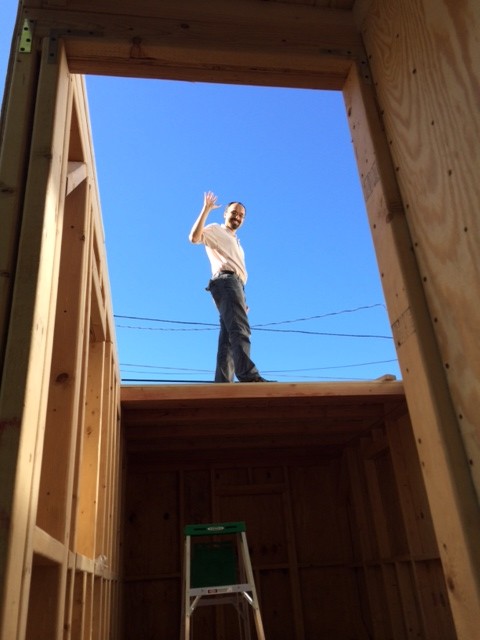
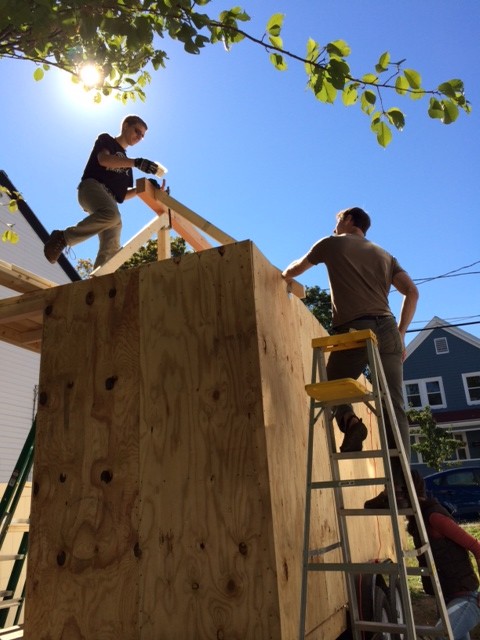
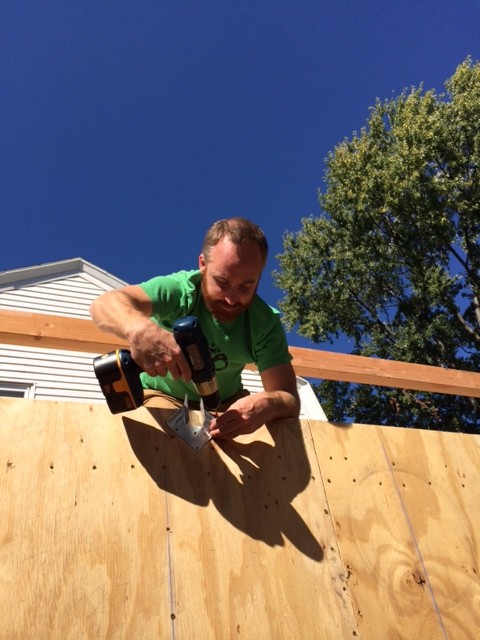
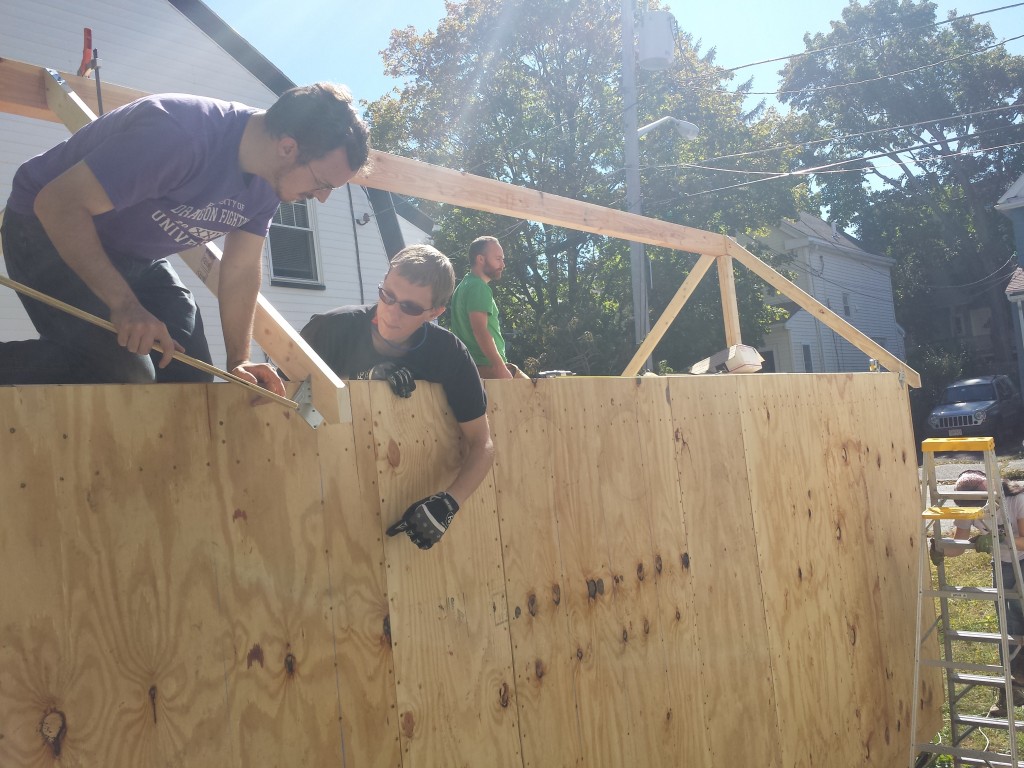
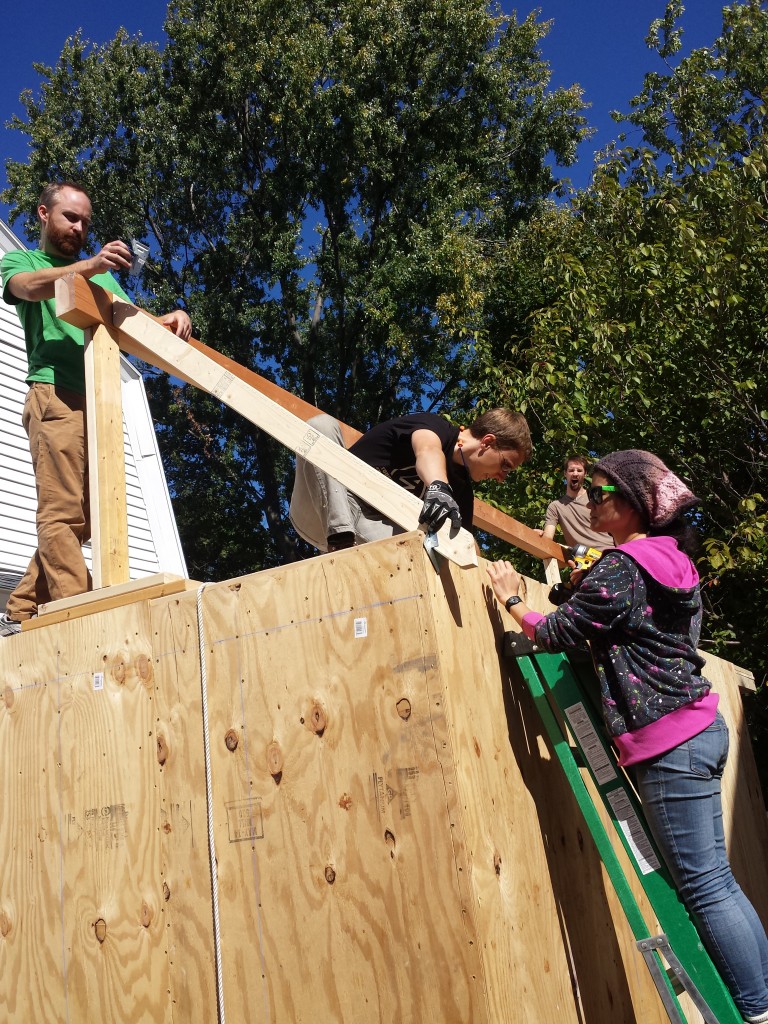
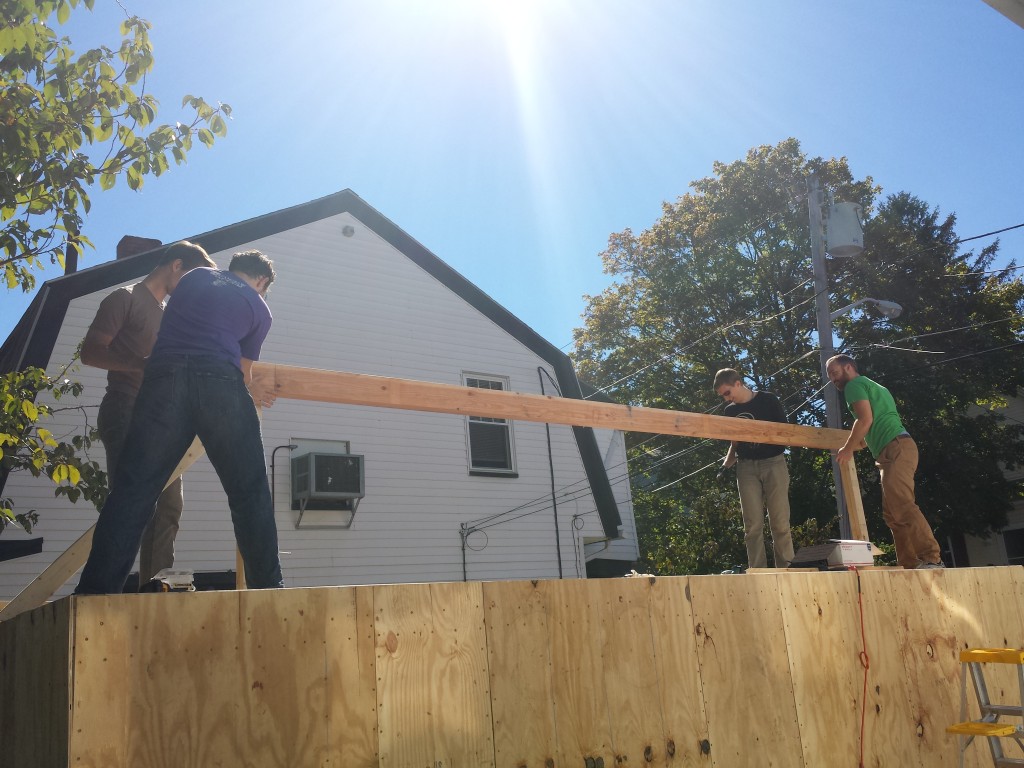
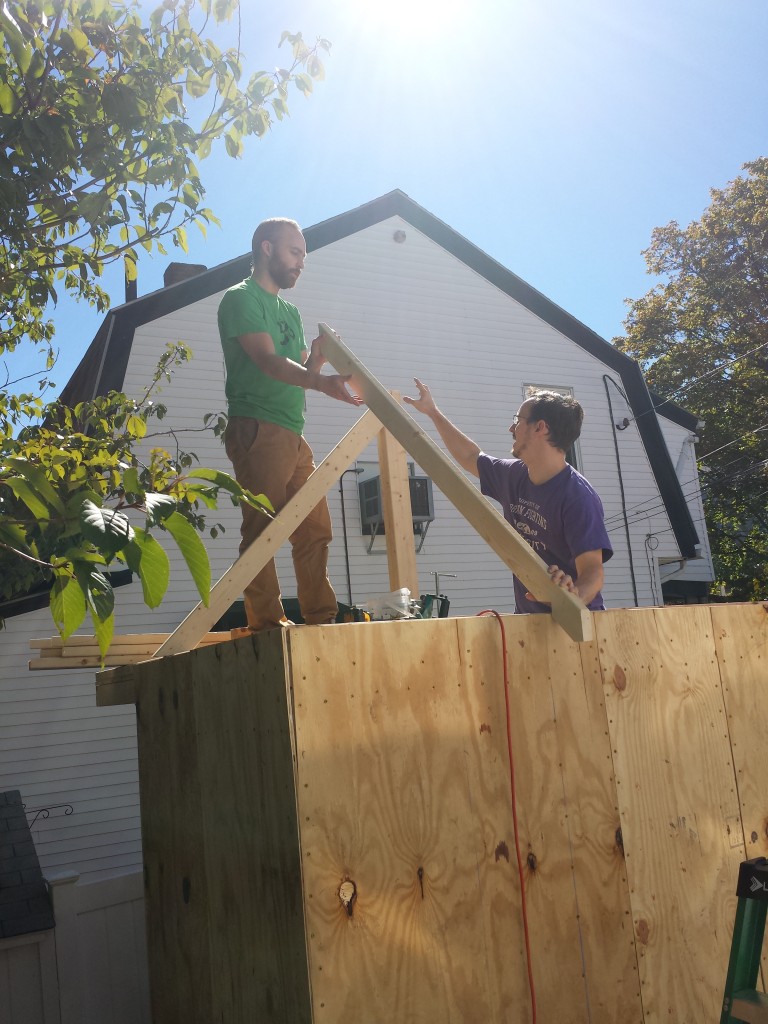
This past Sunday was our 3rd party, this one with the objective of putting up the roof frame. Four people were needed to lift the ridge beam the 13 1/2 feet up to its place as the highest point of the house, since that one piece weighed 125 pounds.  We also got the rafters securely into place at intervals along the beam.

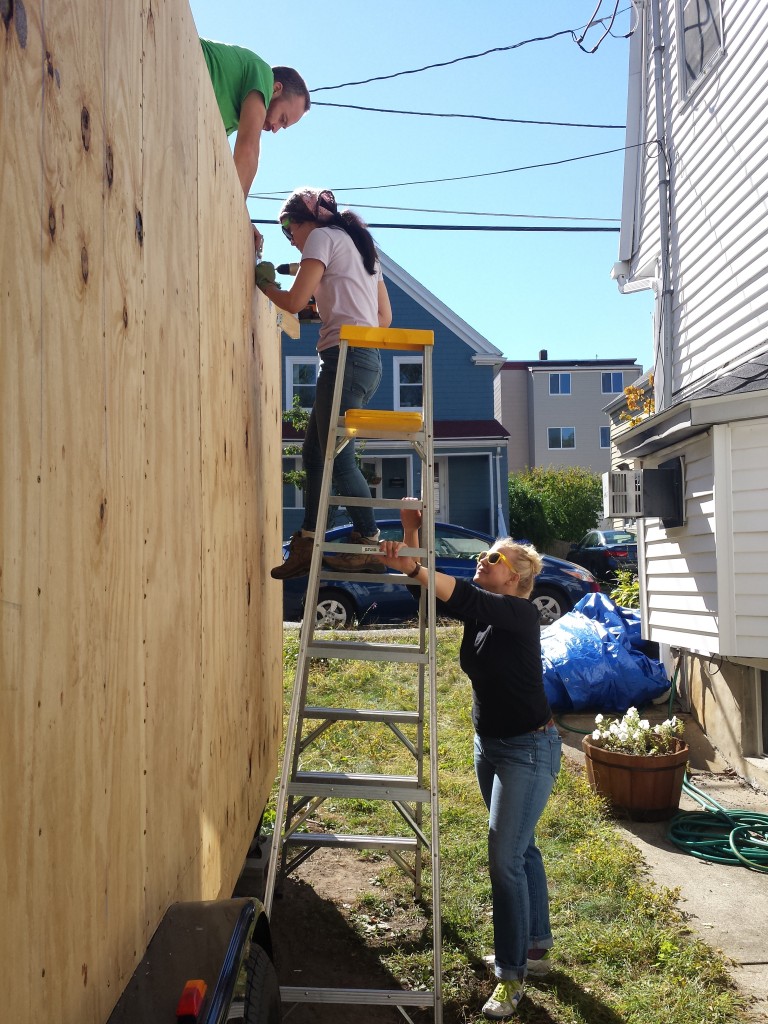
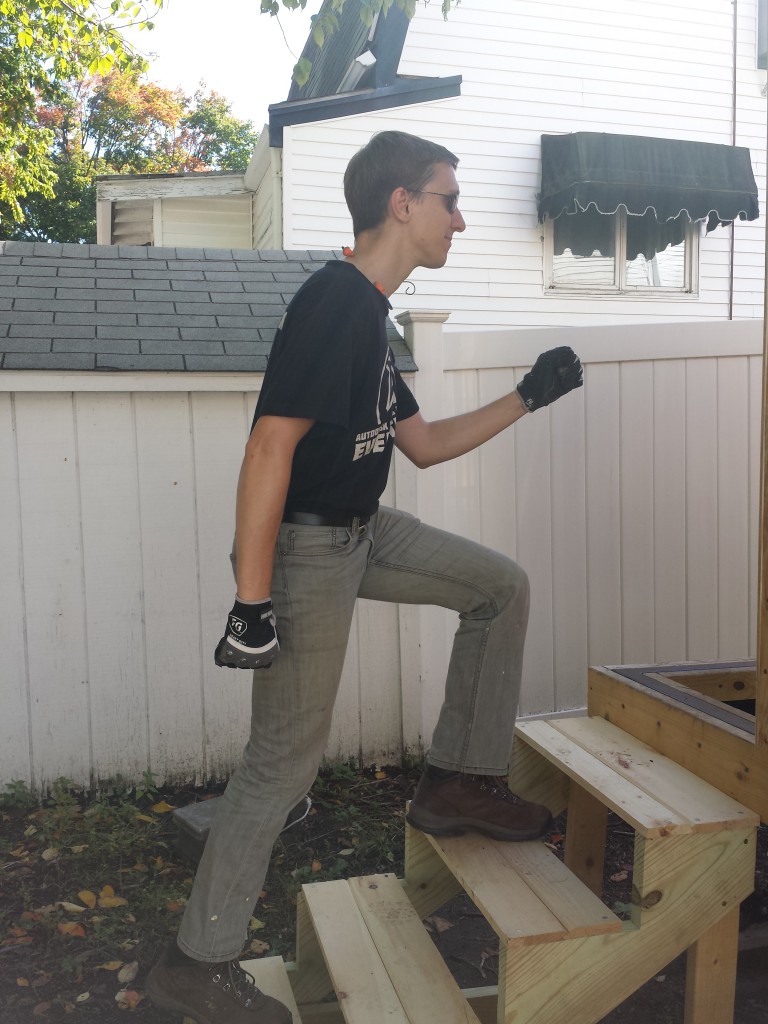
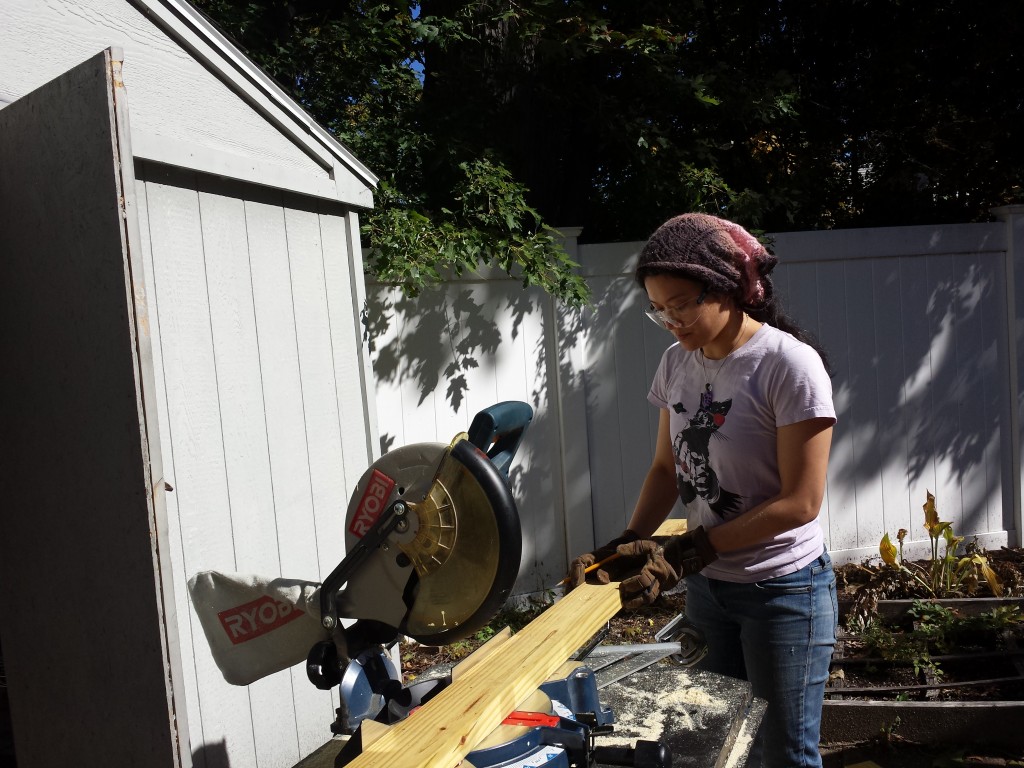
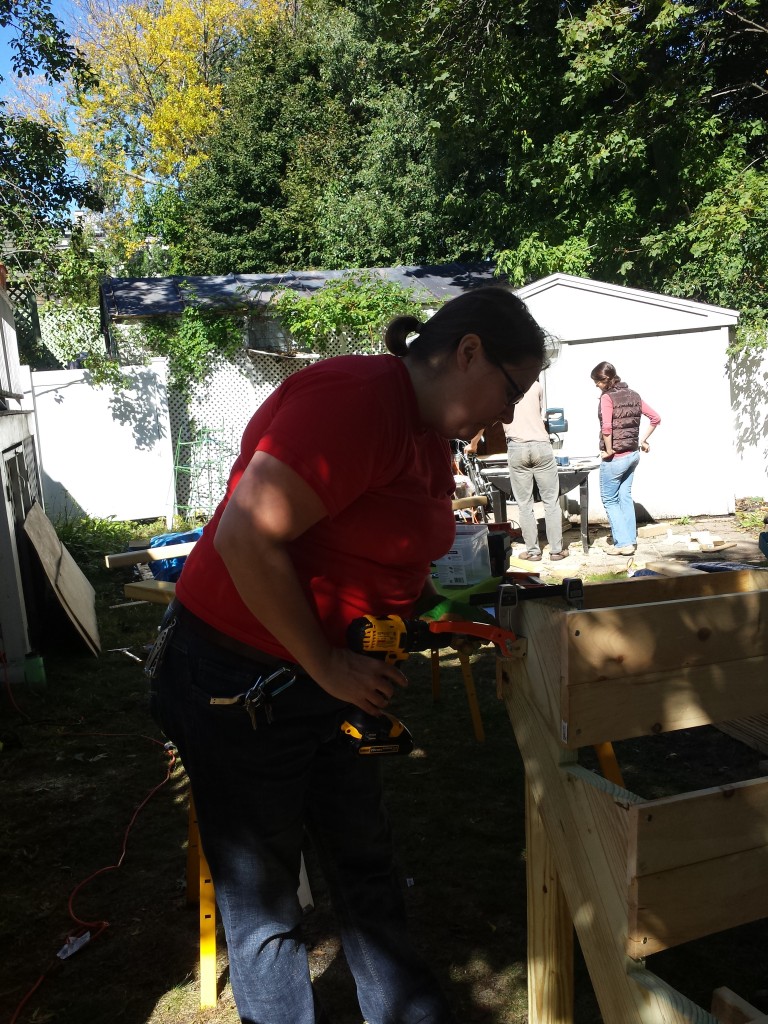
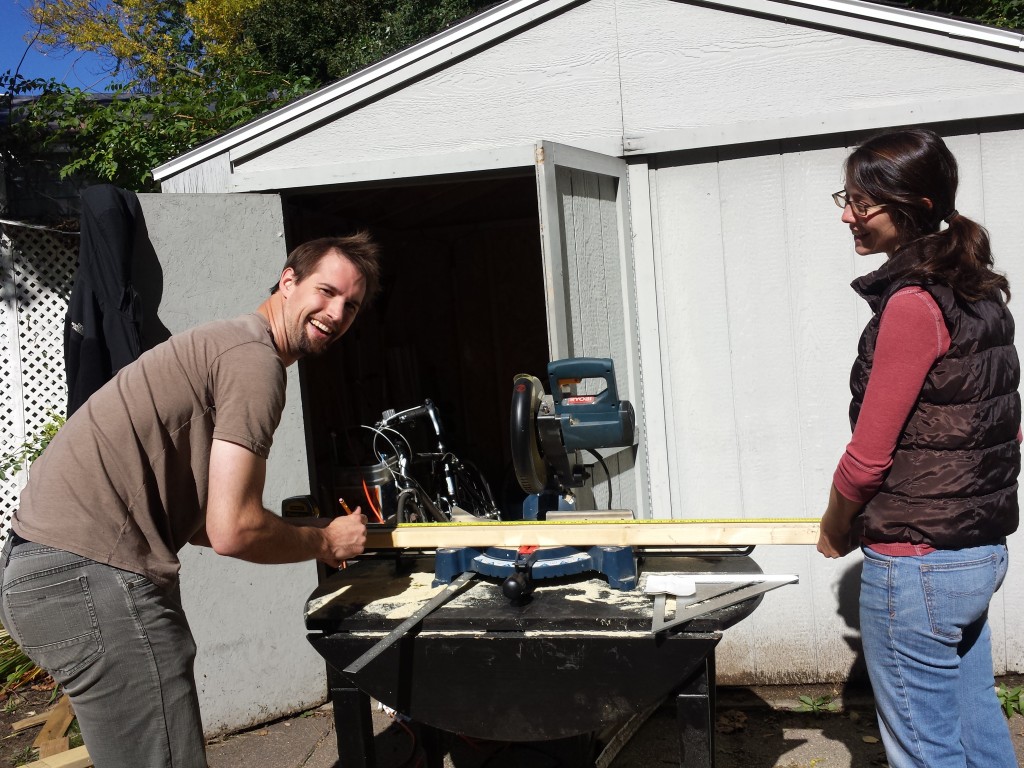
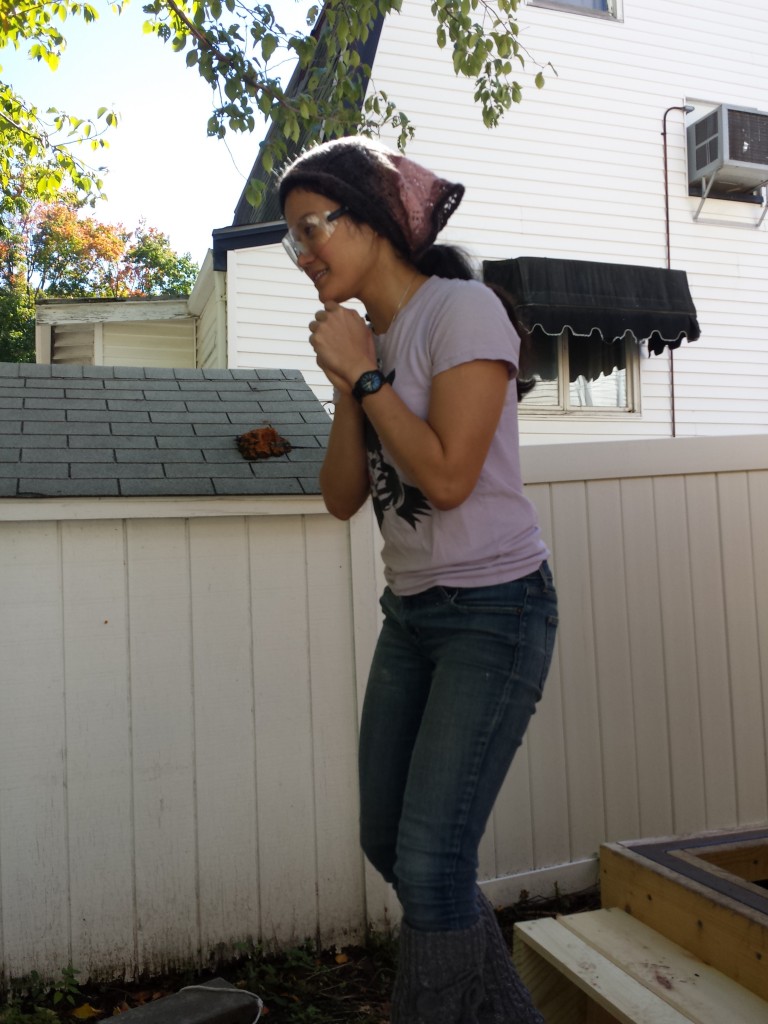
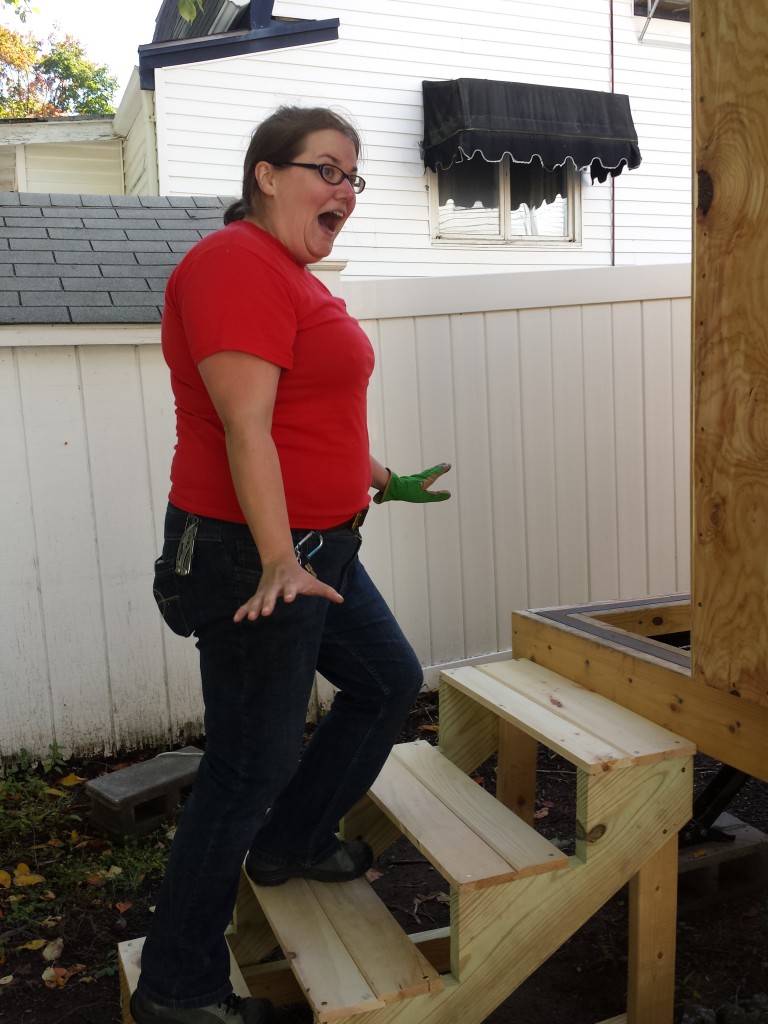
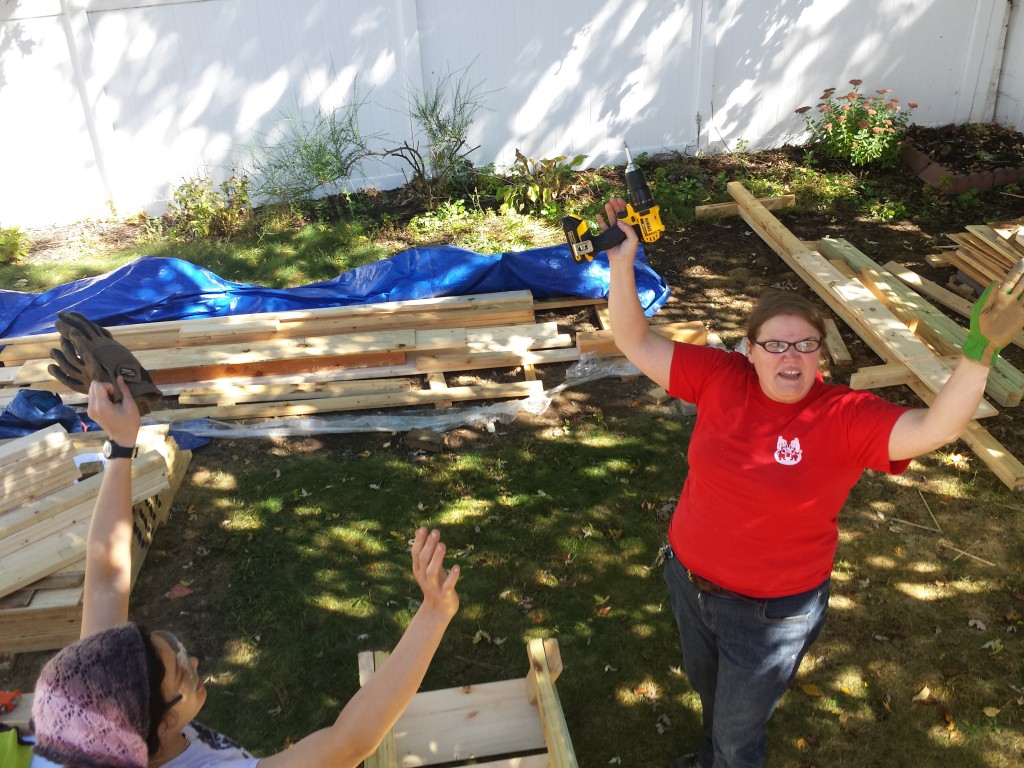
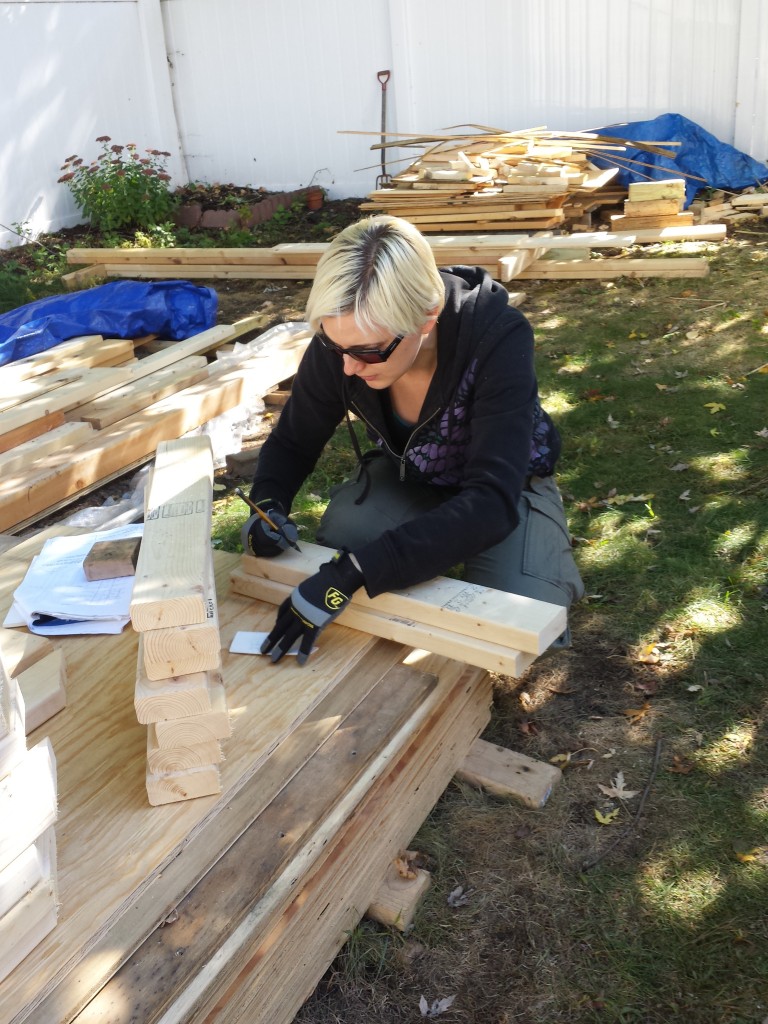
Accomplishments at this party include a rerigging of the tarp.  This had to be done because there is now a steeply peaked roof frame in place, and it could be set up so that it is easy to put up and won’t be at risk of pooling rainwater anymore.  In addition to meeting our objective getting the roof frame up, we also now have a detached staircase leading up to the door.  Nicolle expressed some time ago that this would be a good idea. Owen bought a simple 4-step frame from Home Depot, and Nicolle constructed stair step parts. Nicolle and May-Lee cut, assembled, and drilled it together.  Our stretch goal of getting the roof sheathed by the of the party did not happen but that’s ok.

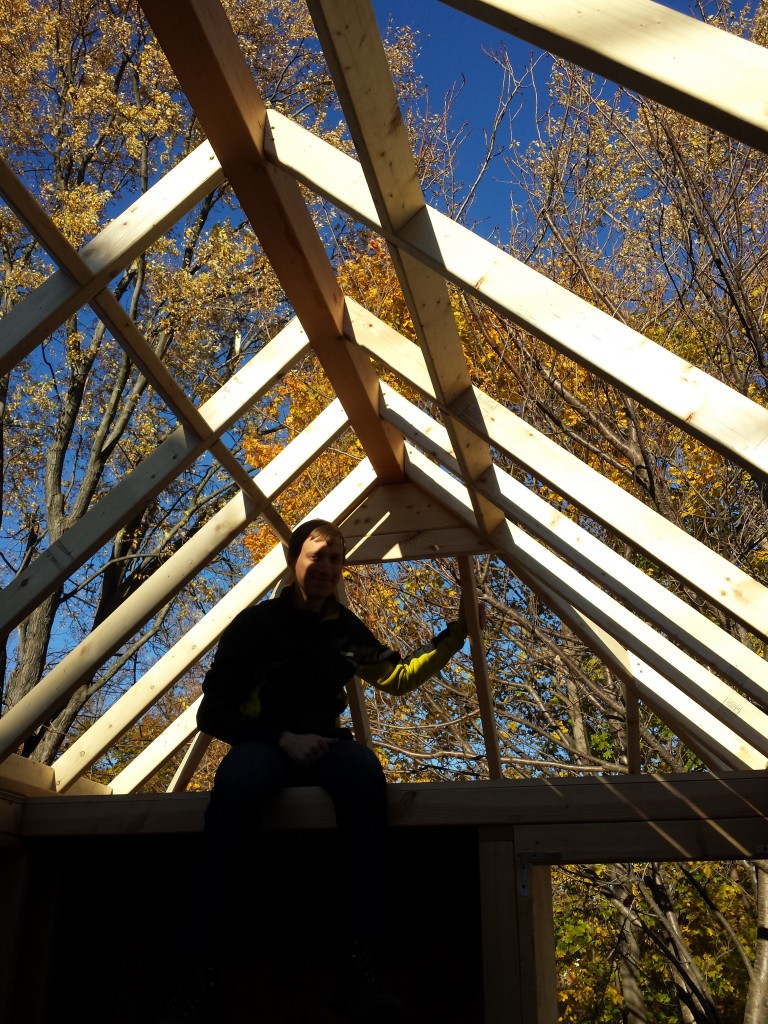
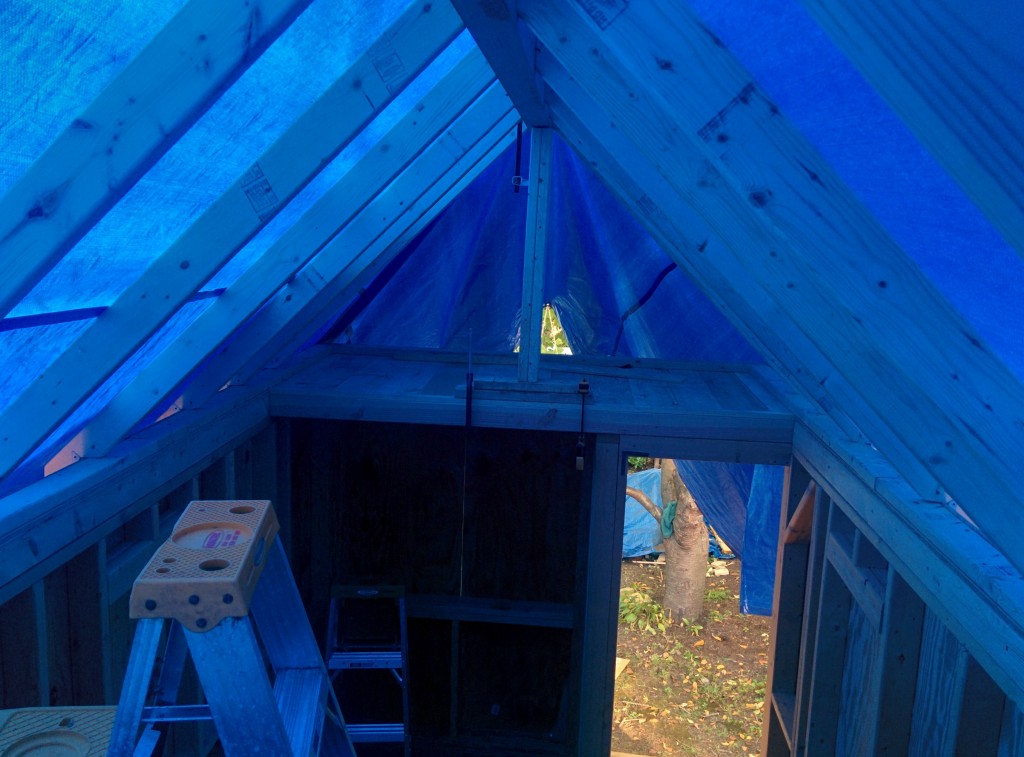
With the rafters in place, being inside the tiny house gives a a warm blue glow and the sensation of the space that the house will actually occupy.  Many thanks to Nicolle, Andy, May-Lee, Chris, Eric, Natalie, Pavel, Elizabeth and Benny for their hard work, expertise, bringing their own tools, and photography, and to Amir and Trae for lending us their tools and ladders even though they did not attend.
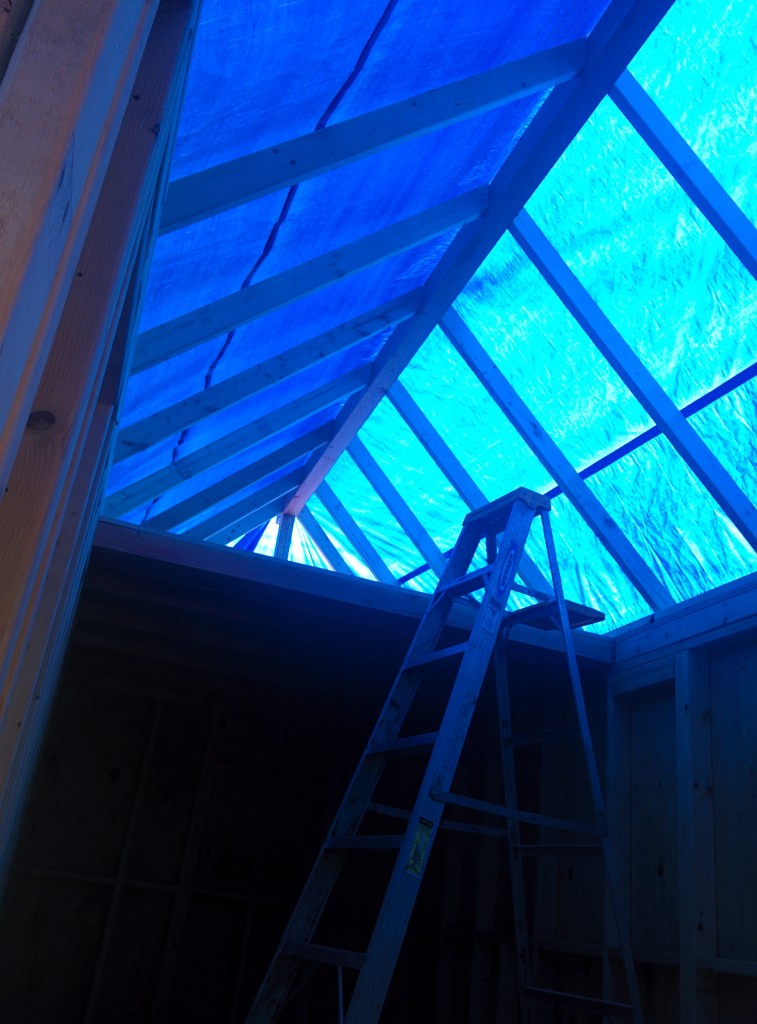
 

photo 22 photo 11 photo 5 photo 2 2014-10-05 13.33.13 2014-10-05 13.27.02 2014-10-05 12.11.05 2014-10-05 12.05.46 2014-10-05 11.53.54 2014-10-05 11.49.20 2014-10-05 11.43.39 2014-10-05 11.47.23 2014-10-05 11.48.15 2014-10-05 11.53.35 2014-10-05 11.53.06 2014-10-05 11.51.30 2014-10-05 11.17.54 2014-10-05 16.34.16 2014-10-05 16.33.54

Lofty Goals

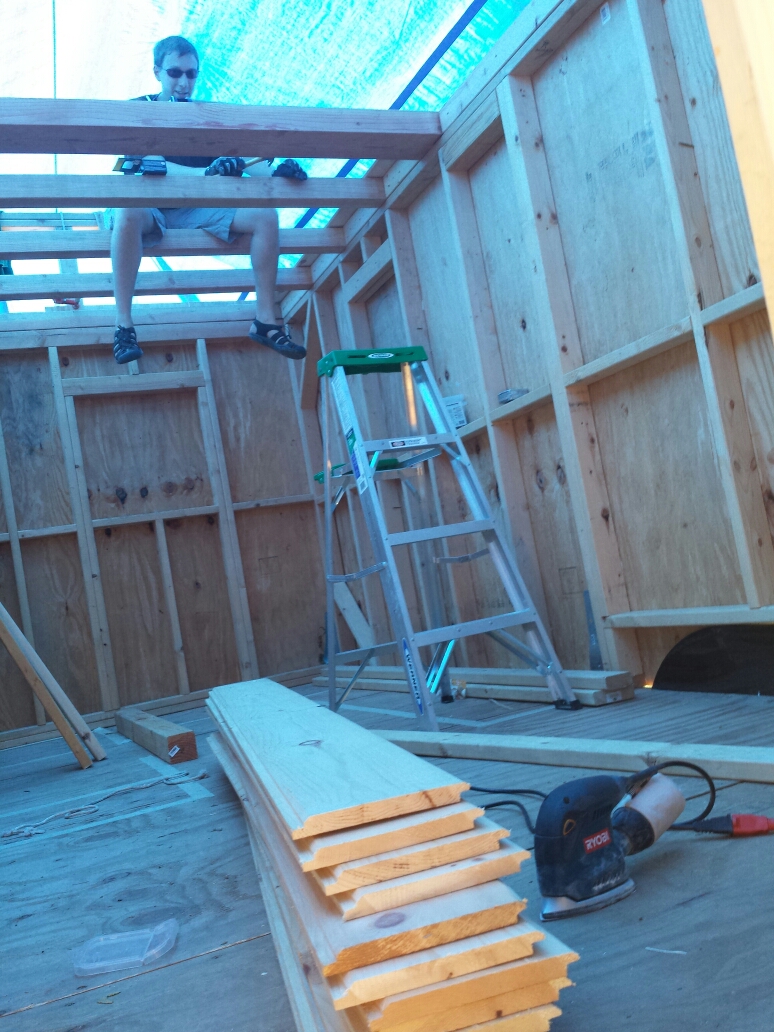
The loft is the first part of the house being constructed in which part of the surface will be the visible interior surface of the house.  Up until now, all work has been purely structural, and will be hidden under other layers.

image
Photo taken Saturday, September 27, 2014