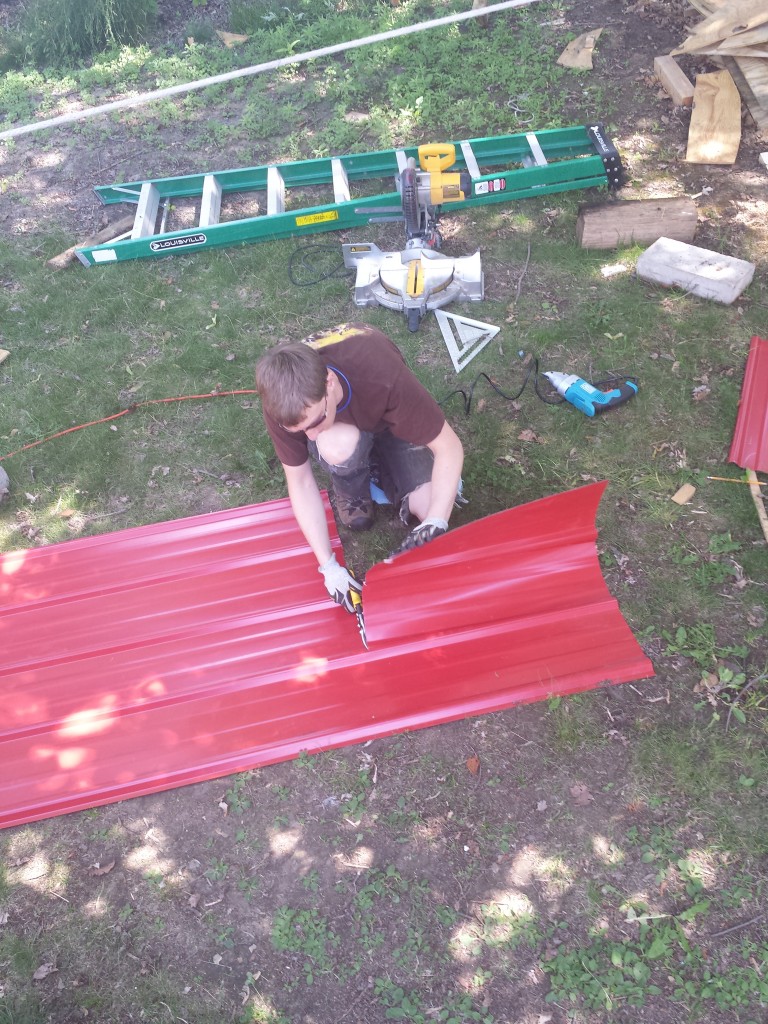
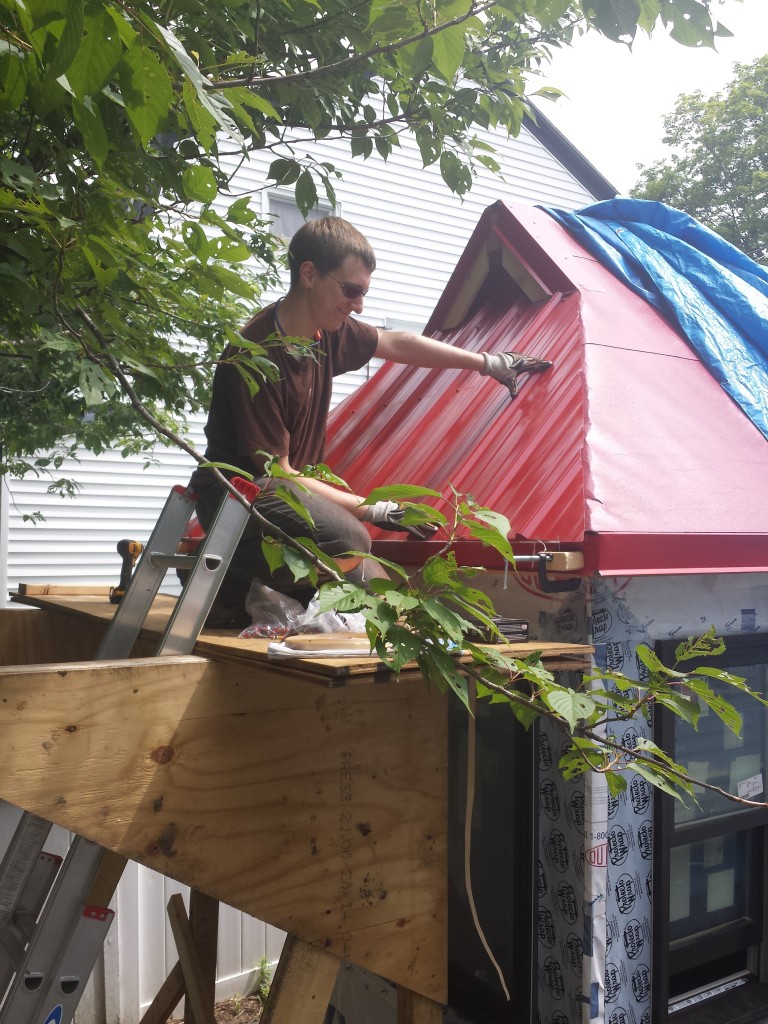
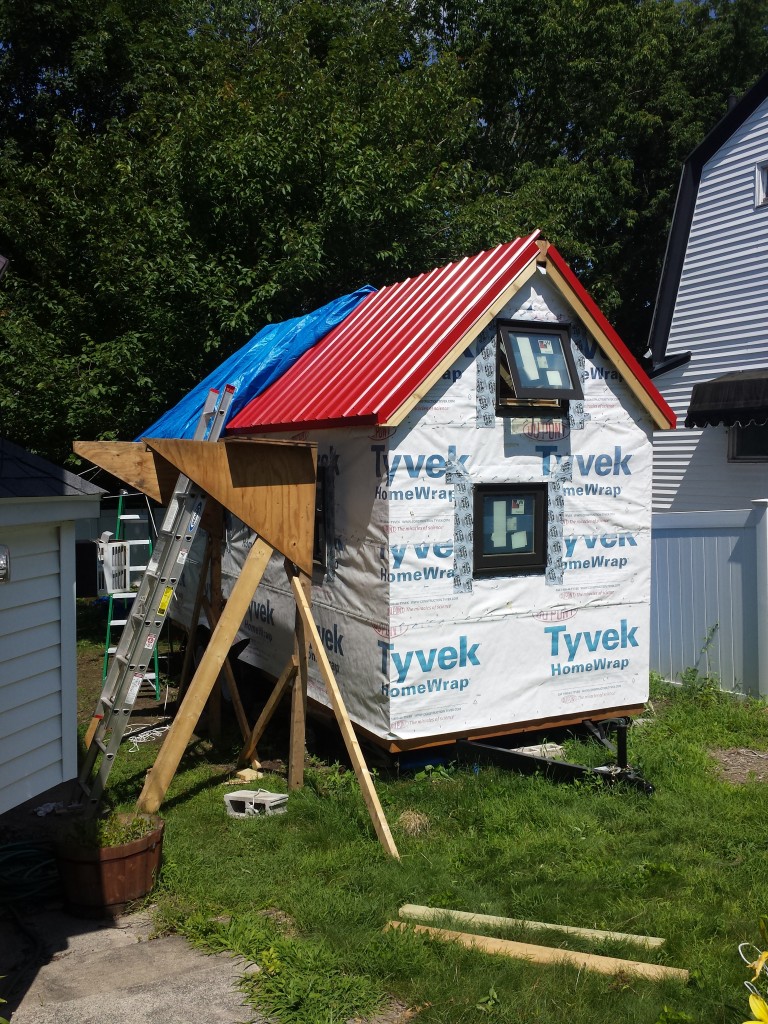
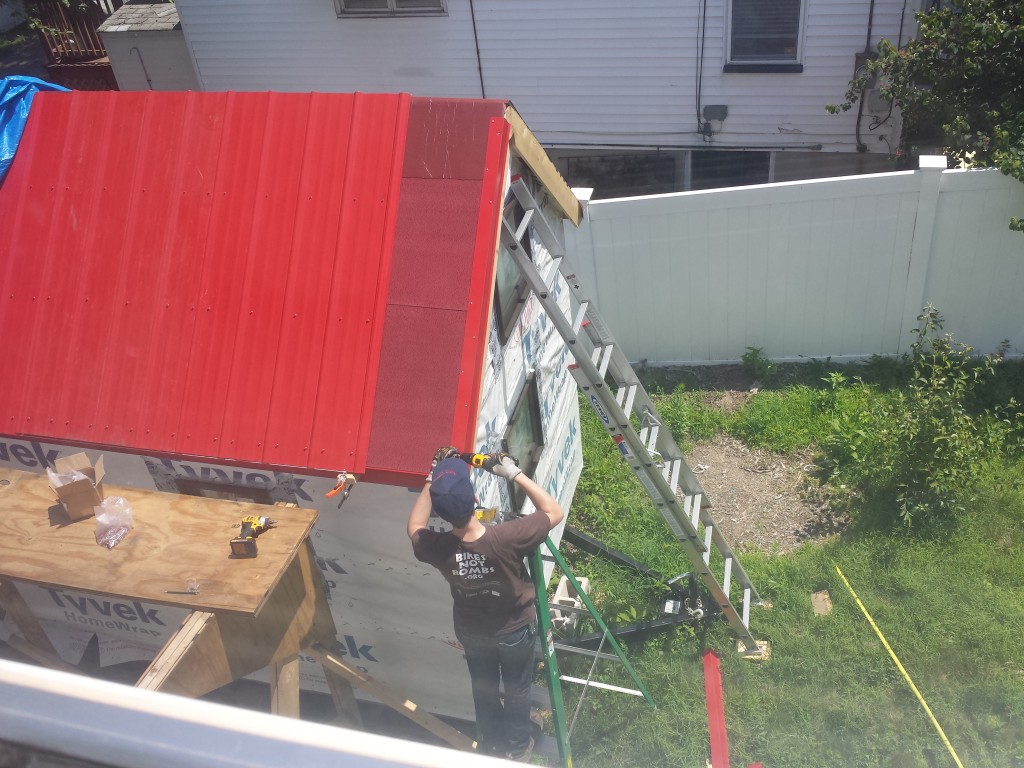
Summer has been a busy time with work, BBQs, etc., but this weekend (and the weekend of June 20th and 21st) we made time to work on the metal part of the roof. We went with a classic red. (Officially, “Patriot Red”.) June 20th and 21st, we did the hip roof at the front of the house, yesterday we did the entire port side, and today we did most of the starboard side, save the part around the skylight. Work on the port side actually started a couple weeks ago, but Owen didn’t get very far working by himself. Between holding the metal down tight and working the screw driver, it’s really necessary to have two people on the job.
The most difficult part about installing the roof is the lack of margin for error. Once the screws have been installed, it’s not possible to remove them and try again. The first hole will still be there and happily leak water into the space below. So once a piece is down, it’s down.
Another tricky part about installing a standing seam roof is that each metal panel overlaps with the previous panel, so that any error in alignment is propagated down the entire roof. This can cause, say, the roof to overhang much more at one end than the other.
Owen says: I used online tutorials by Roofing Intelligence to fill in the details of how to install my roof. Luckily the metal they use in the videos is exactly what I ordered, so it was easy to apply the lessons to our own roof.
Ultimately the roof has some flaws and looks amateurish, but I believe that it will function correctly: no leaks! We have removed the tarp, and it is supposed to rain this week, so we’ll find out for sure soon enough.


