We continue to be impressed with Marc’s attention to detail on our front door. He sent us some photos of the finishing process, which involves sanding the resin, bevelling edges, and touching up some of the gaps. I wrote the captions, apologies to Marc if anything I say is inaccurate.
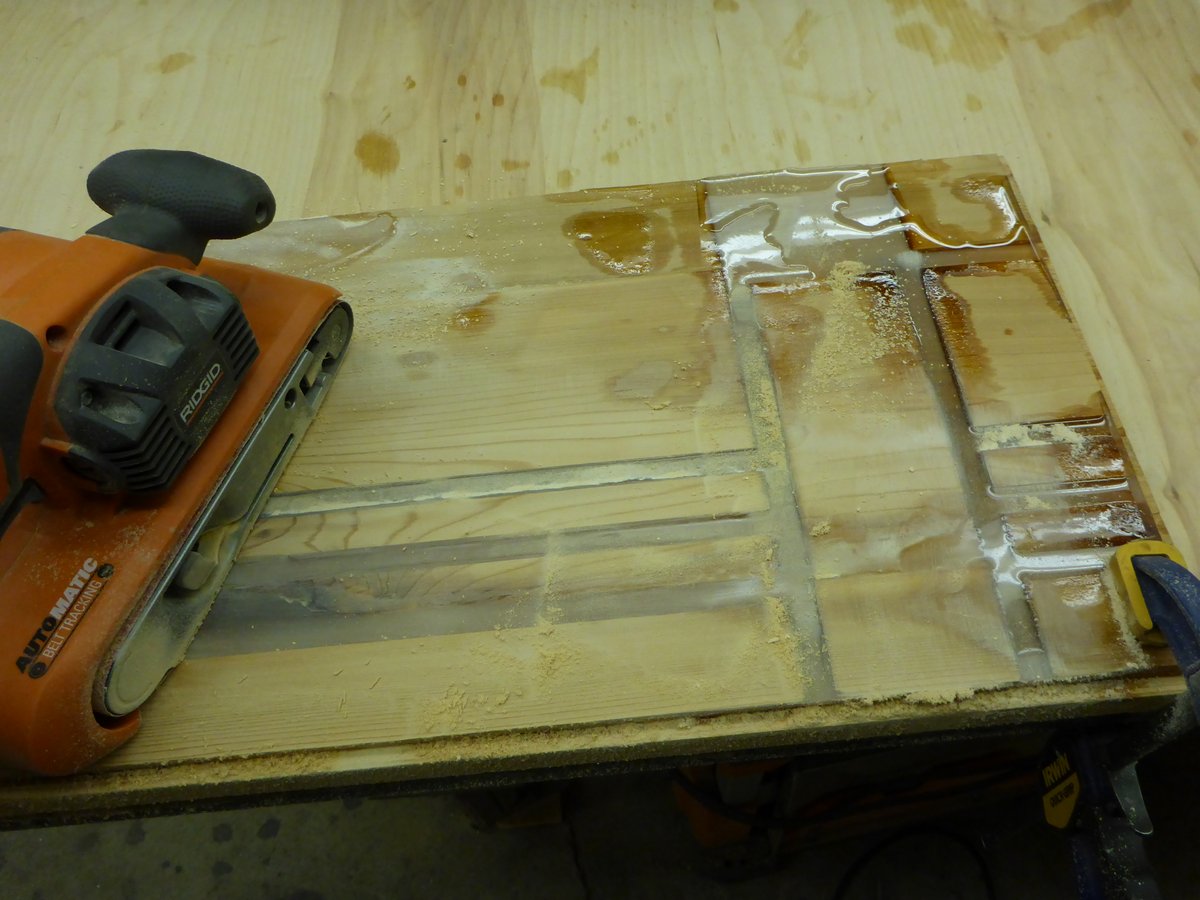
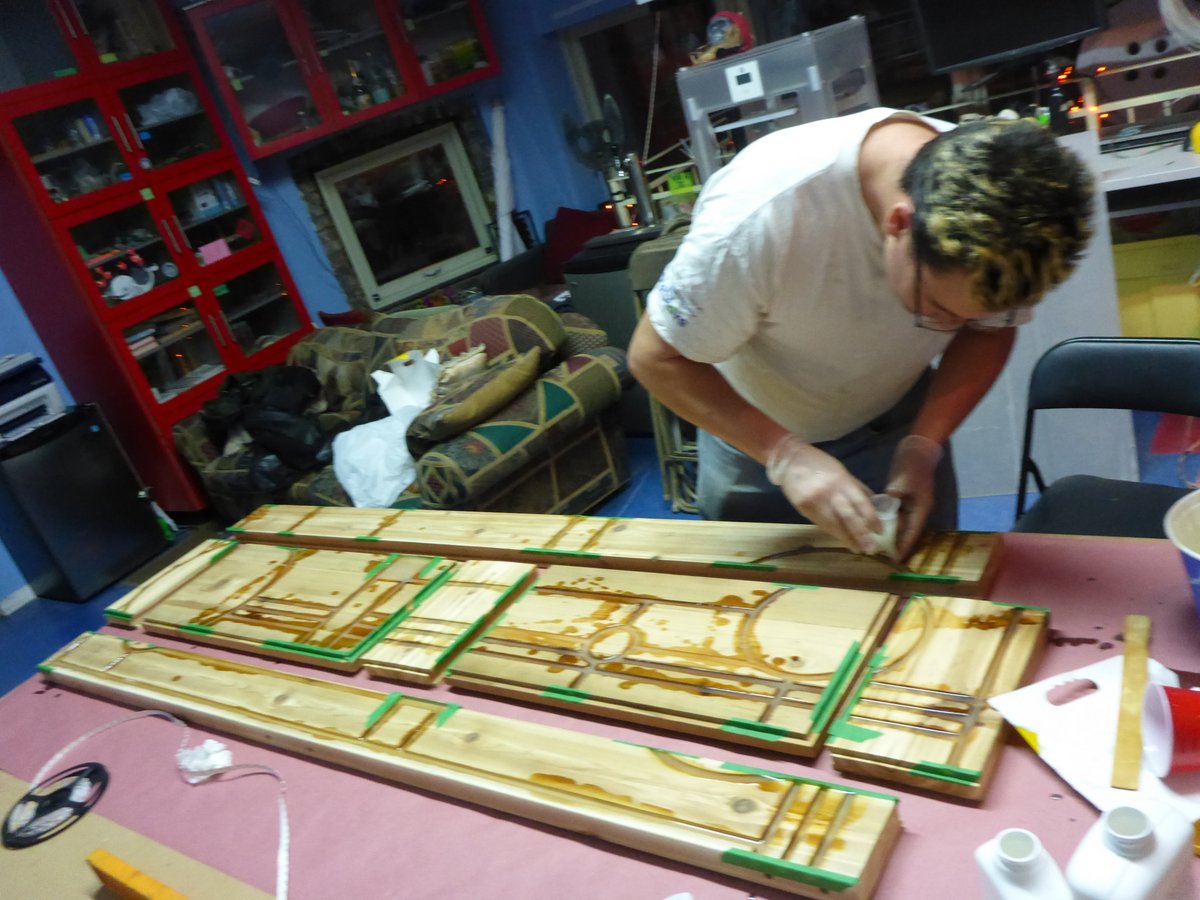
Belt sanding the excess resinI believe you are looking at where the resin overflowed the grooves and needs to be sanded down.
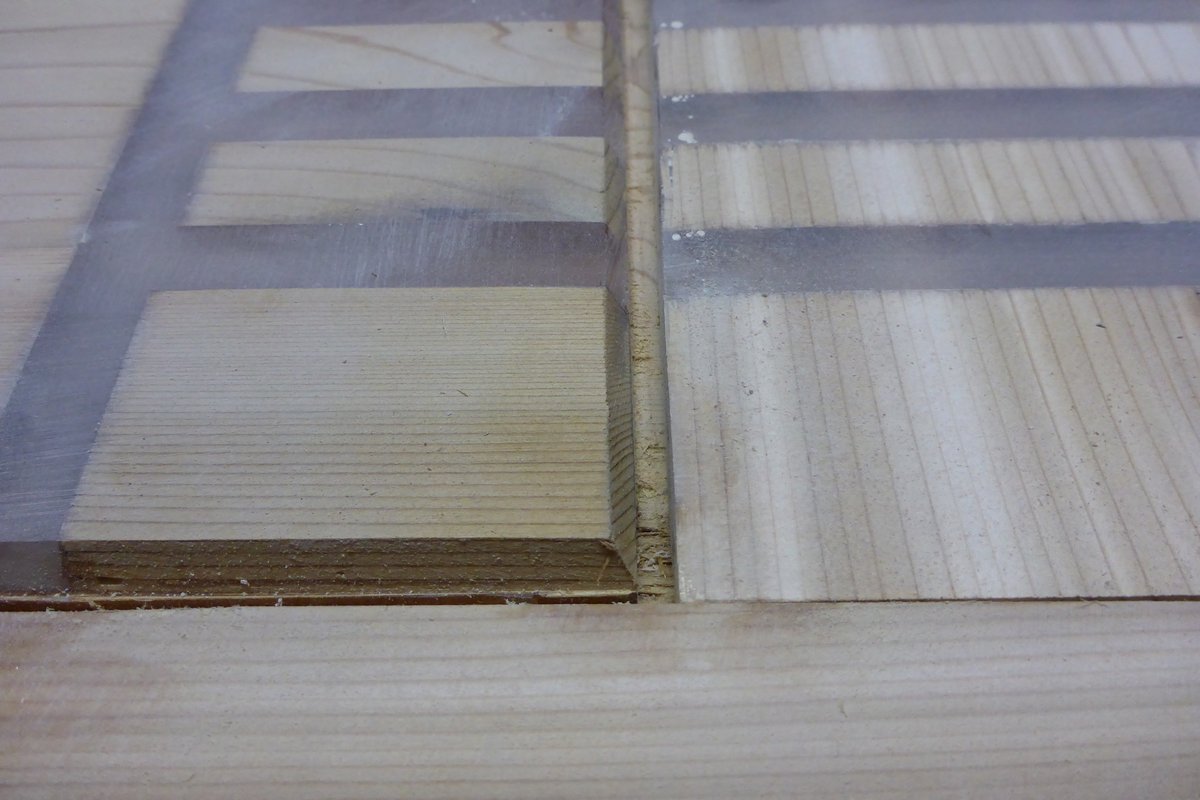
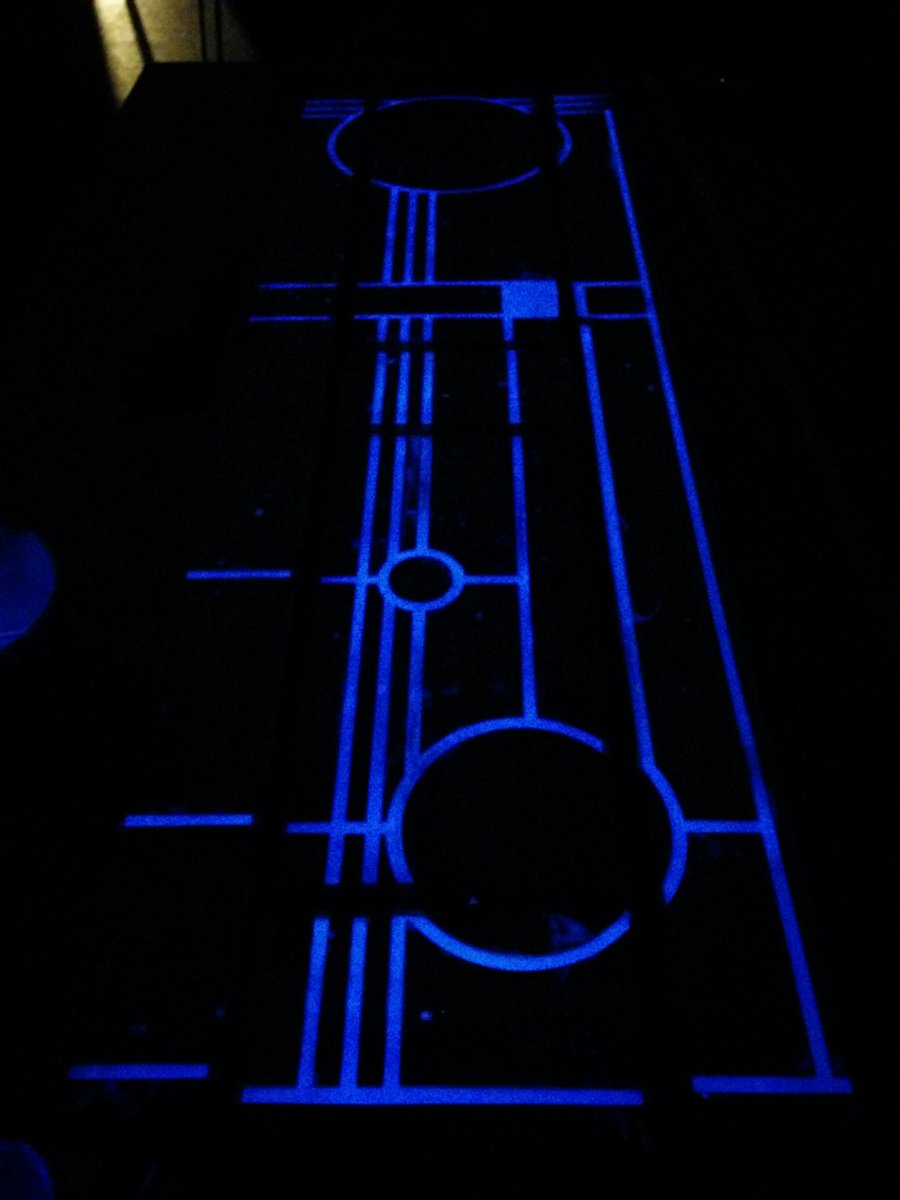
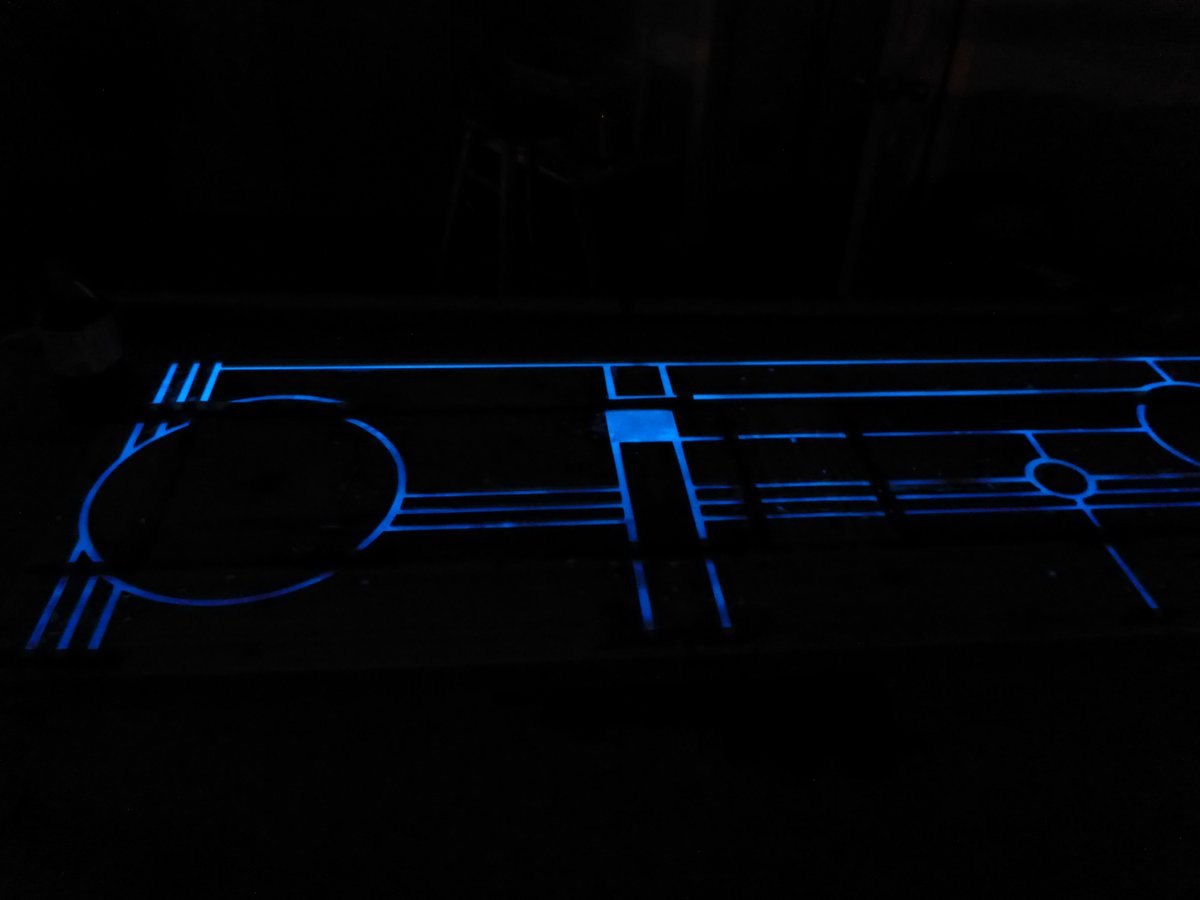
Because this is a front door, it is subject to extreme temperature and humidity changes. The interior may be hot and m-m-m– humid, and the exterior may be cold and dry. So the panels of the door float freely so they can expand and contract without causing the door to buckle. That’s why the pretty design has narrow gaps where the panels meet the stiles (outer parts of the door). The resin can’t be used in these gaps. When we worked on the design, Marc and I made sure that not too much of the design would be lost in the gaps.
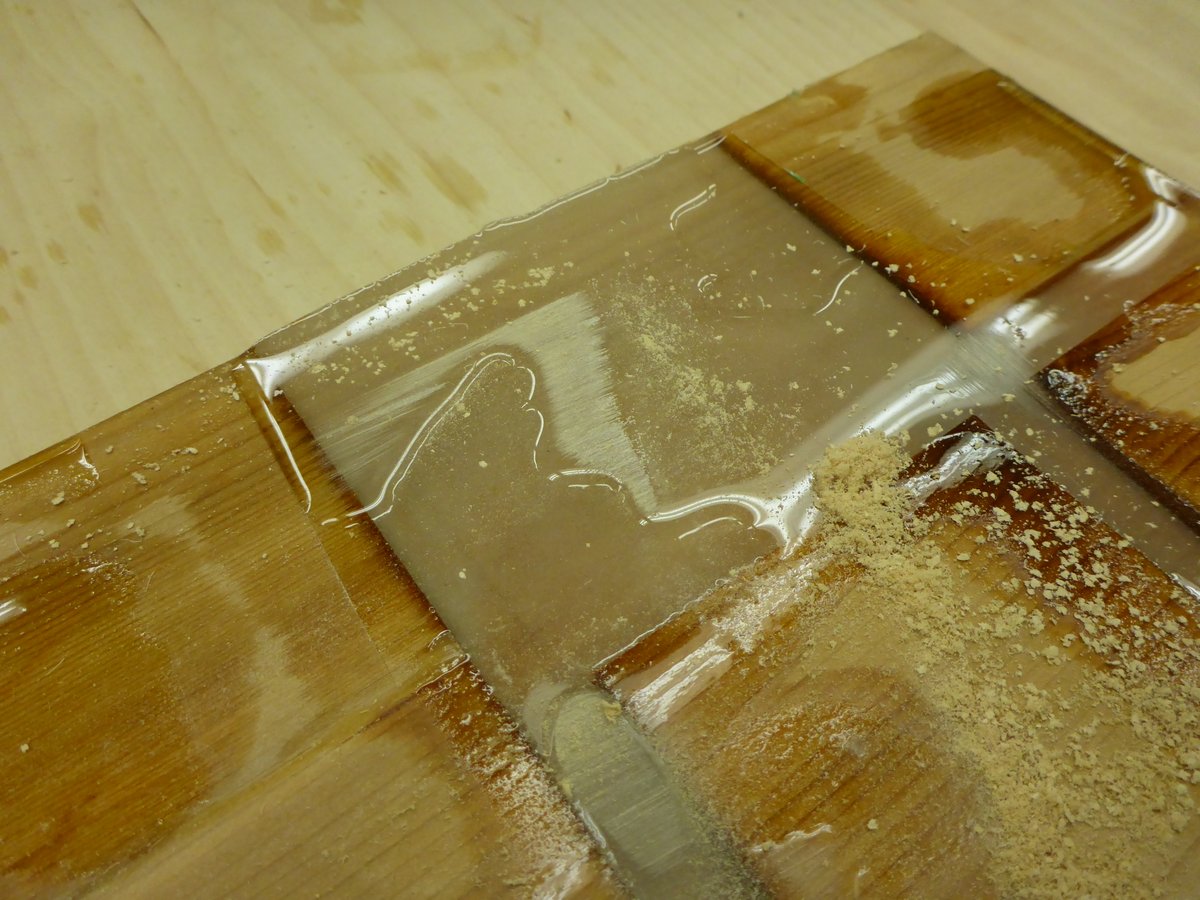
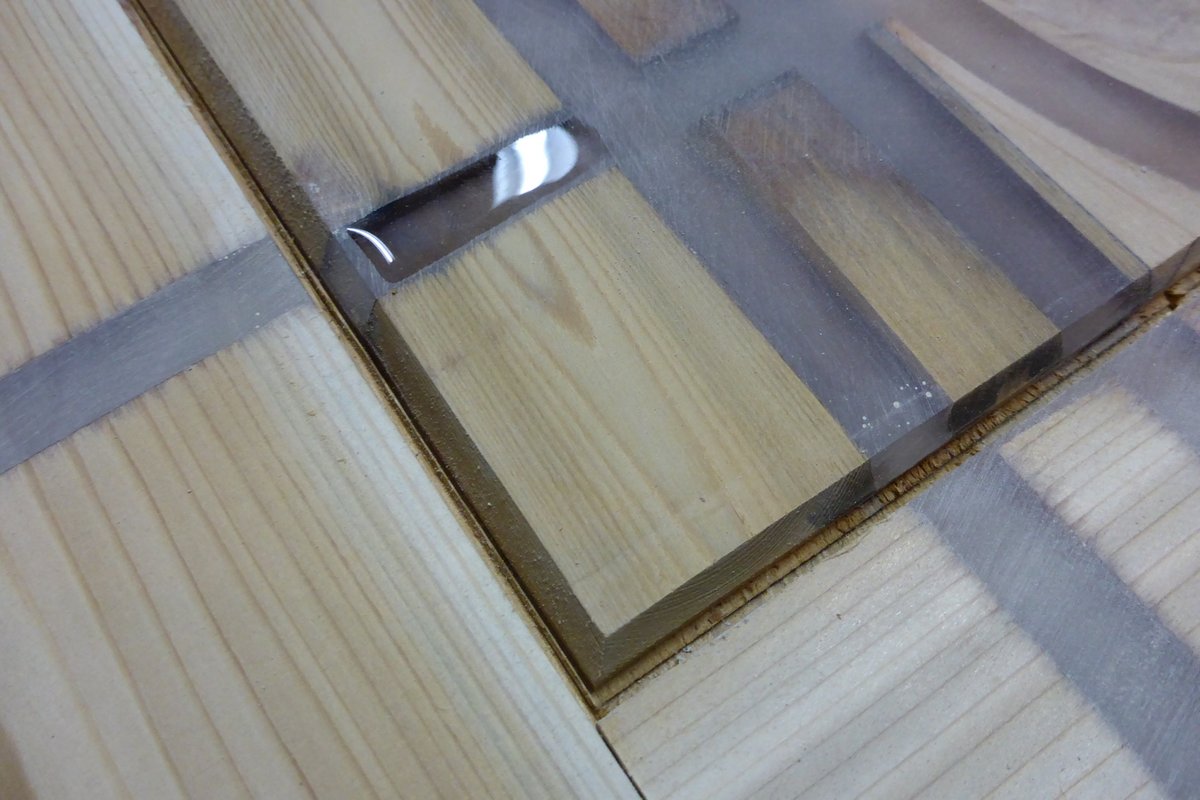
Closeup of bevelled edge and gap between panels.A touch-up of fresh resinlook at that even color!
We have already talked with our electrician, Alex, about making sure that the door gets properly illuminated during the day so it glows at night. He seemed to think that ambient light would do the trick, but with such a centerpiece we’ll do whatever it takes to make sure the resin gets properly charged.
Last time, I mentioned that our front door is going to be extra special. At some point when we were talking to maker Marc Reeve-Newson about making the door, he mentioned that he had some special glow-in-the-dark resin that could be installed into grooves in the door. If we sent him a design, he could have a CNC ((Computer Numerical Control — basically a robot with a cutting head)) machine cut the grooves and then he could apply the resin and our front door would glow in the dark.
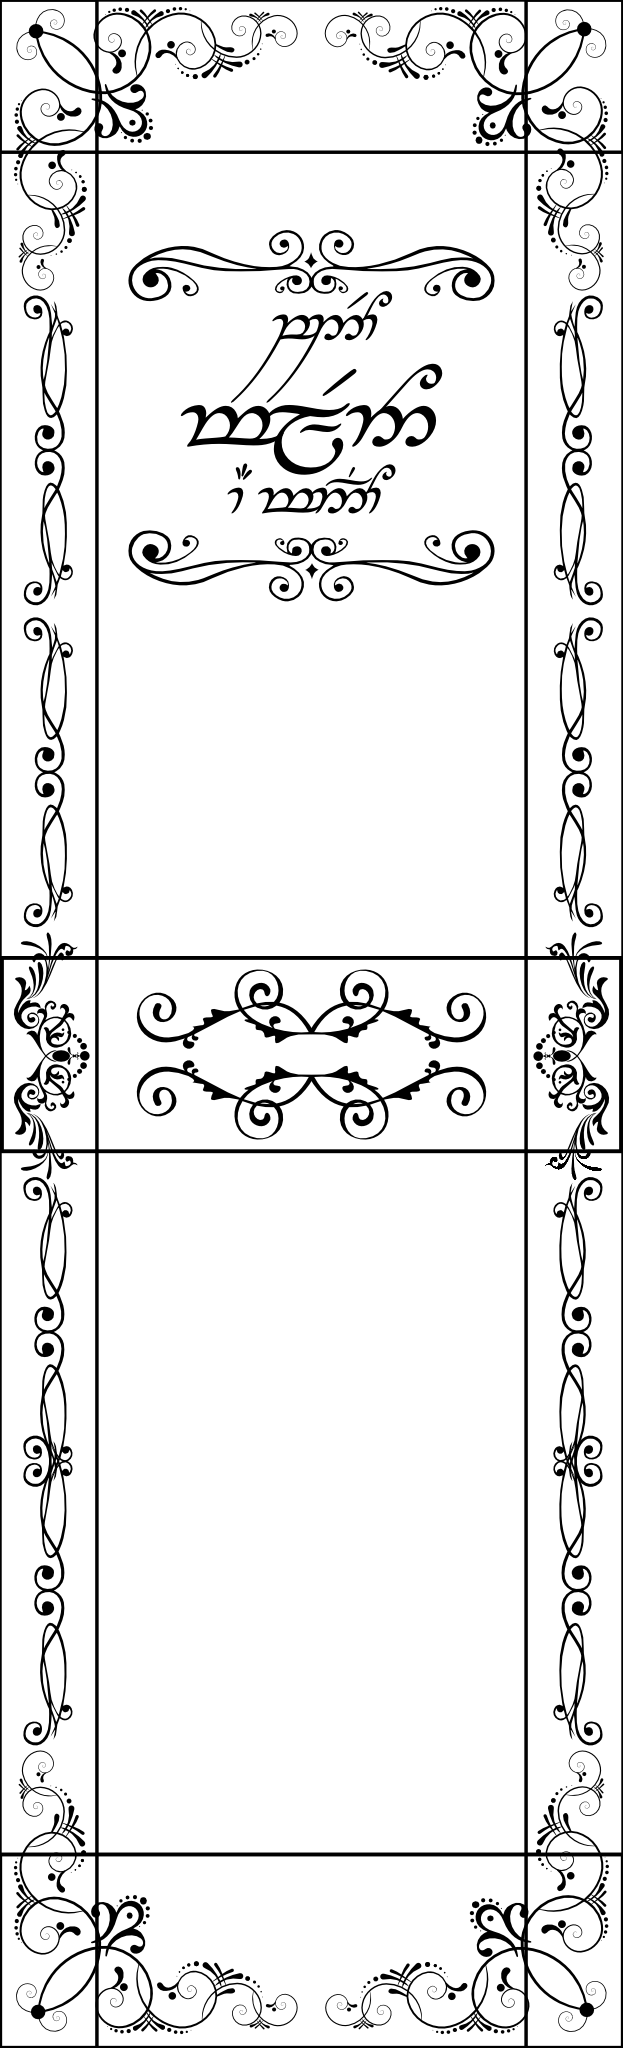
Coming up with a design for the glowing lines was a challenge. At first I came up with an intricate drawing full of delicate curves and curlicues. It also said “Speak Friend And Enter” in fancy Lord Of The Rings font because I’m an unoriginal nerd. Even though I used a lot of clipart, it took hours to get the look I was going for.
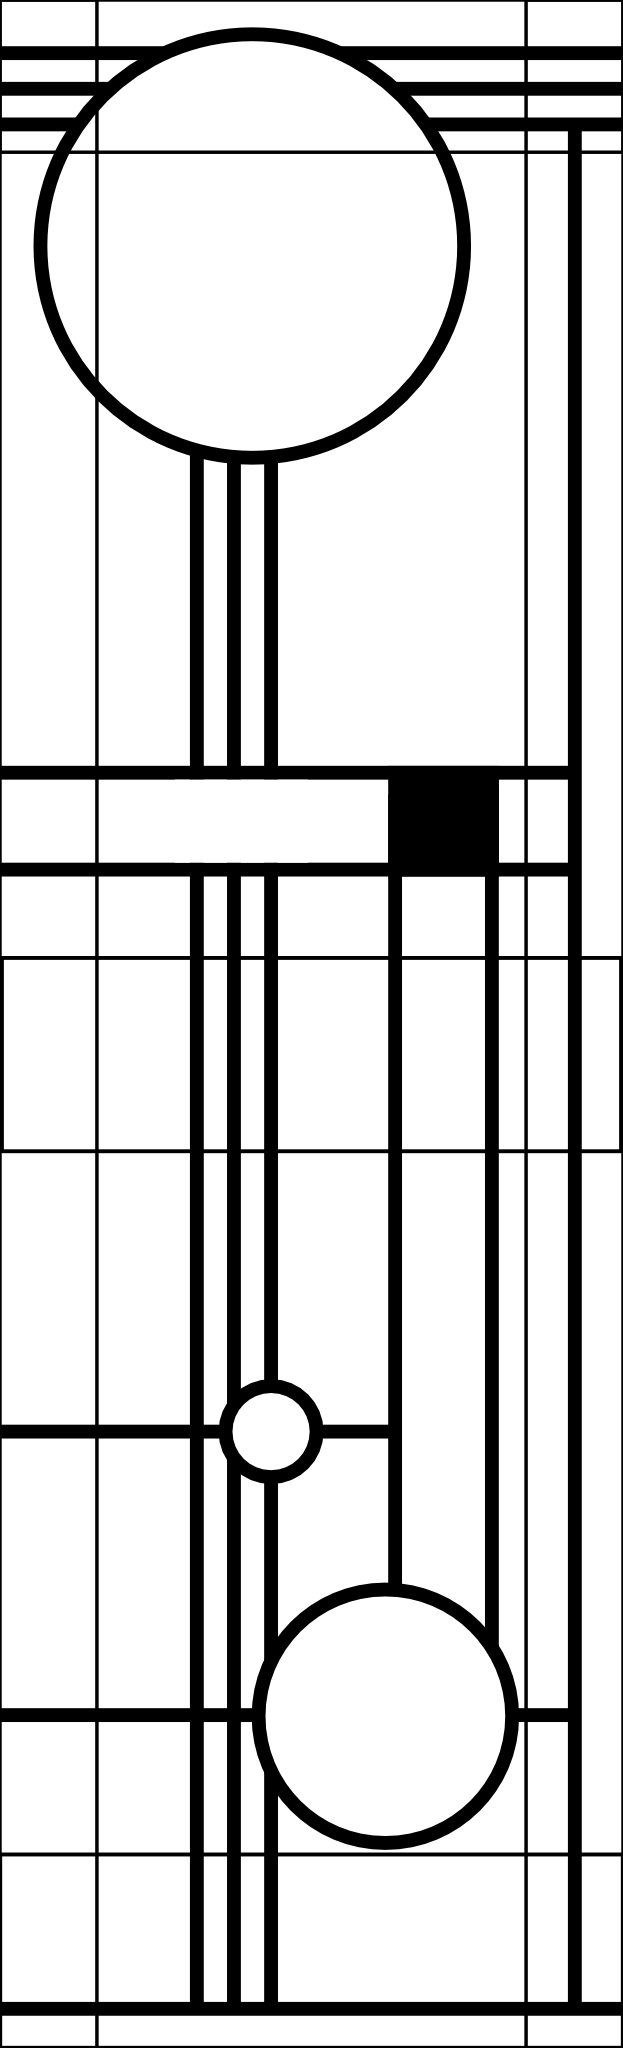
After some discussion with Marc, though, it became clear that the CNC would not have been able to properly etch those delicate shapes. Char also pointed out the organic shapes I had created would not fit with the modernist aesthetic we had been applying to the rest of the house. So I went back to the drawing board and whipped up something sort of in the style of Mondrian or Frank Lloyd Wright. Lots of thick, bold lines that the machine could cut more easily. Compared to the hours I spent on the first design, I banged this one out in probably half an hour.
After some back and forth and small adjustments, we had a design that worked. And now we can see the (almost) finished result:
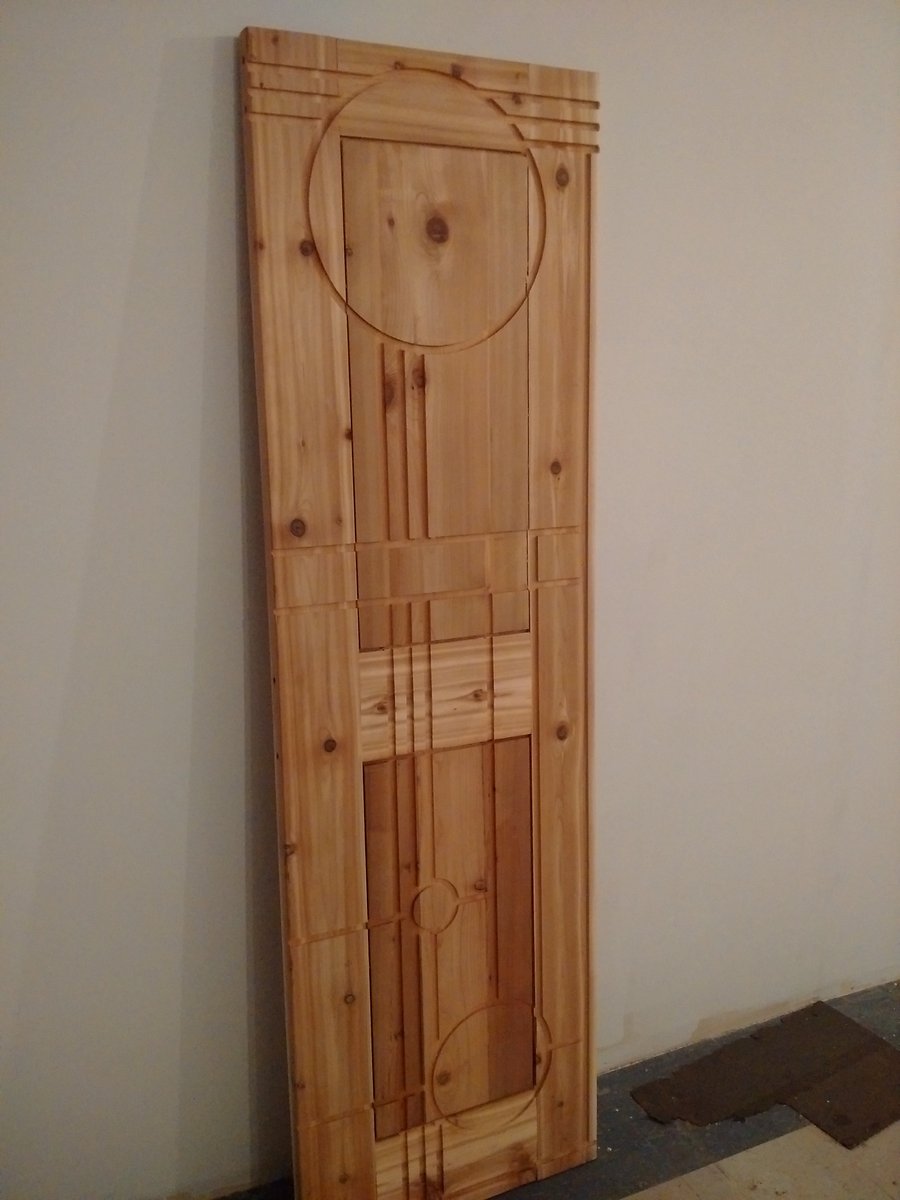
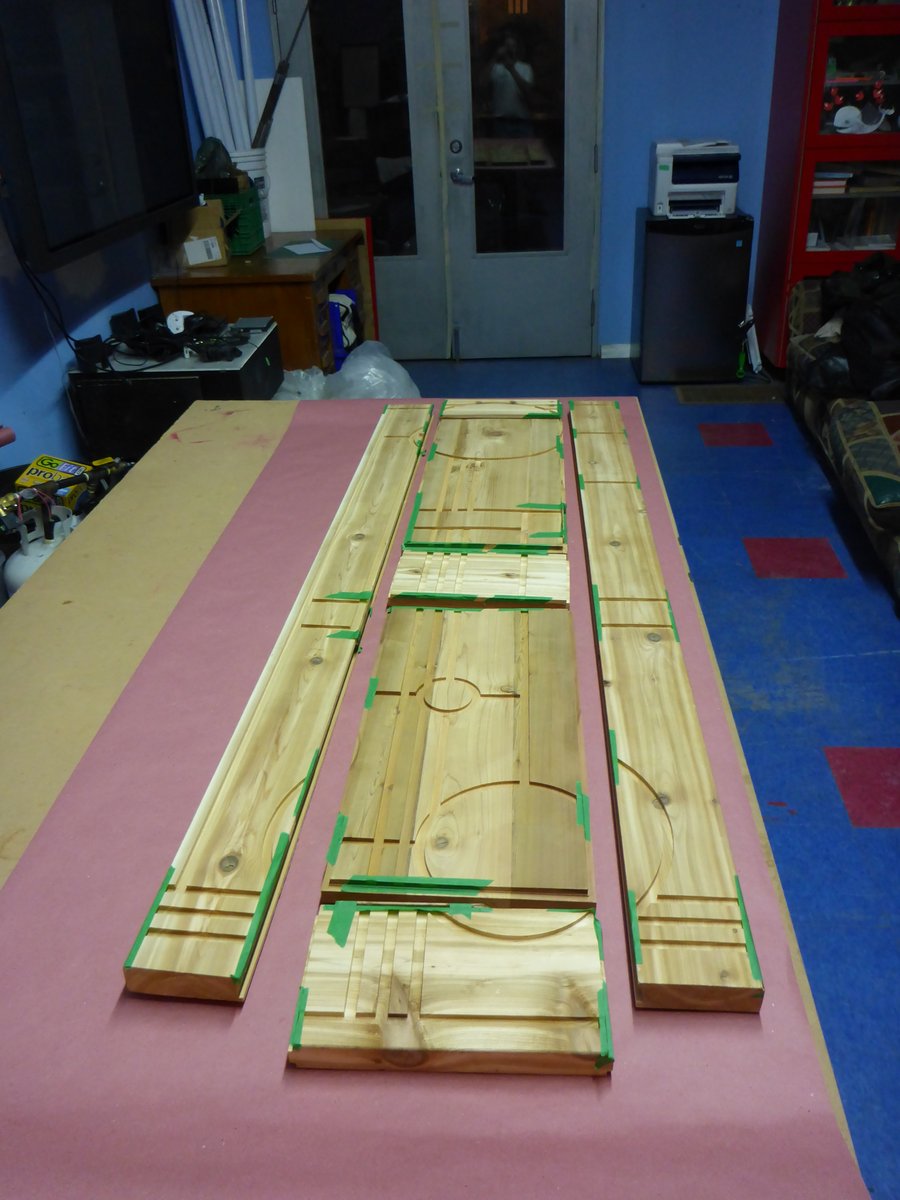
The door, with CNC carvings
You can see how some of the circles changed size but on the whole the design is intact. Marc kindly sent some photos of the resin application process.
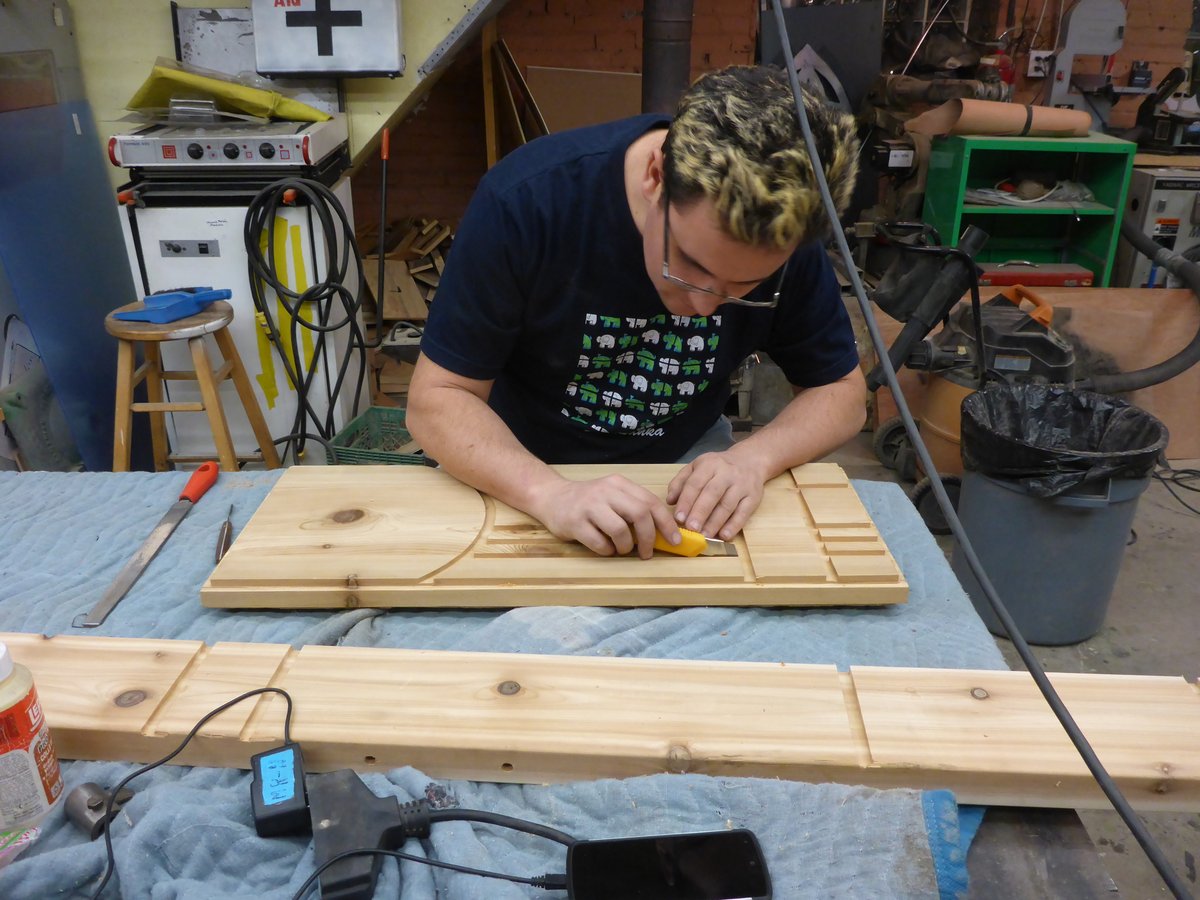
Our maker, Marc, at work. I believe he’s removing excess wood from the grooves to make them smooth.
The following captions are care of Marc.
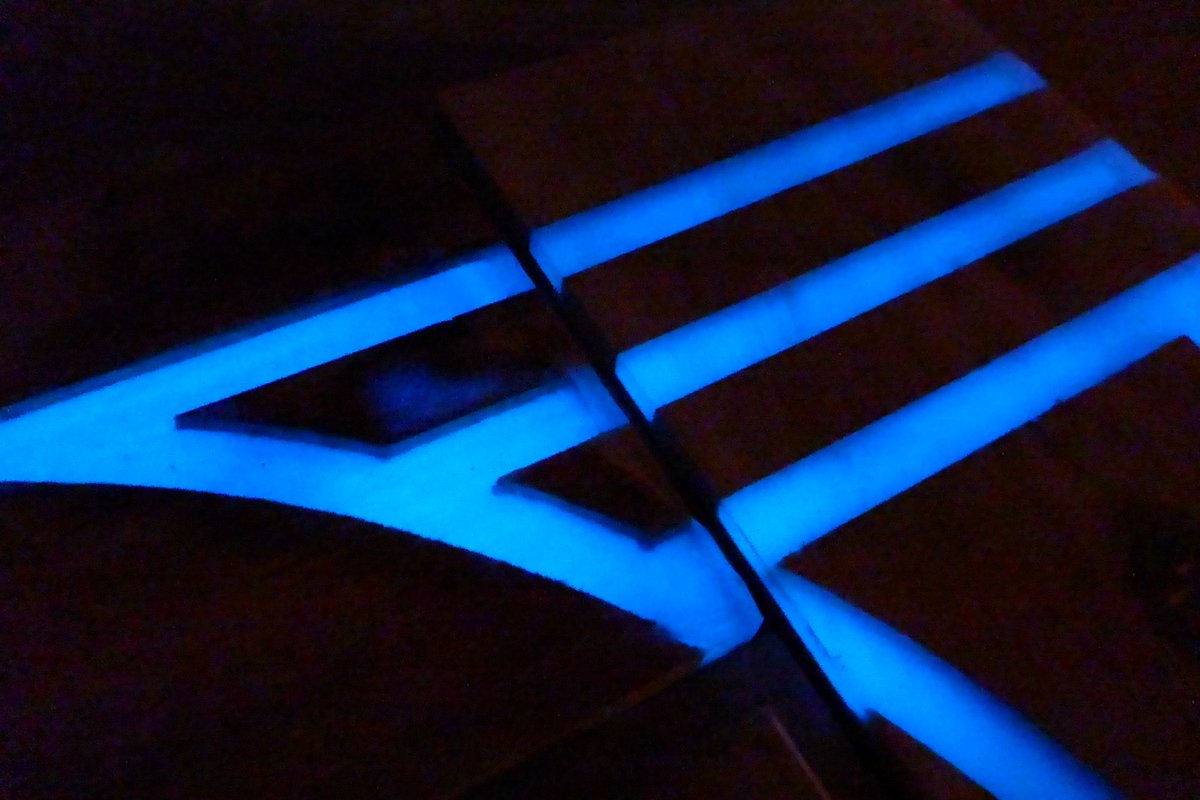
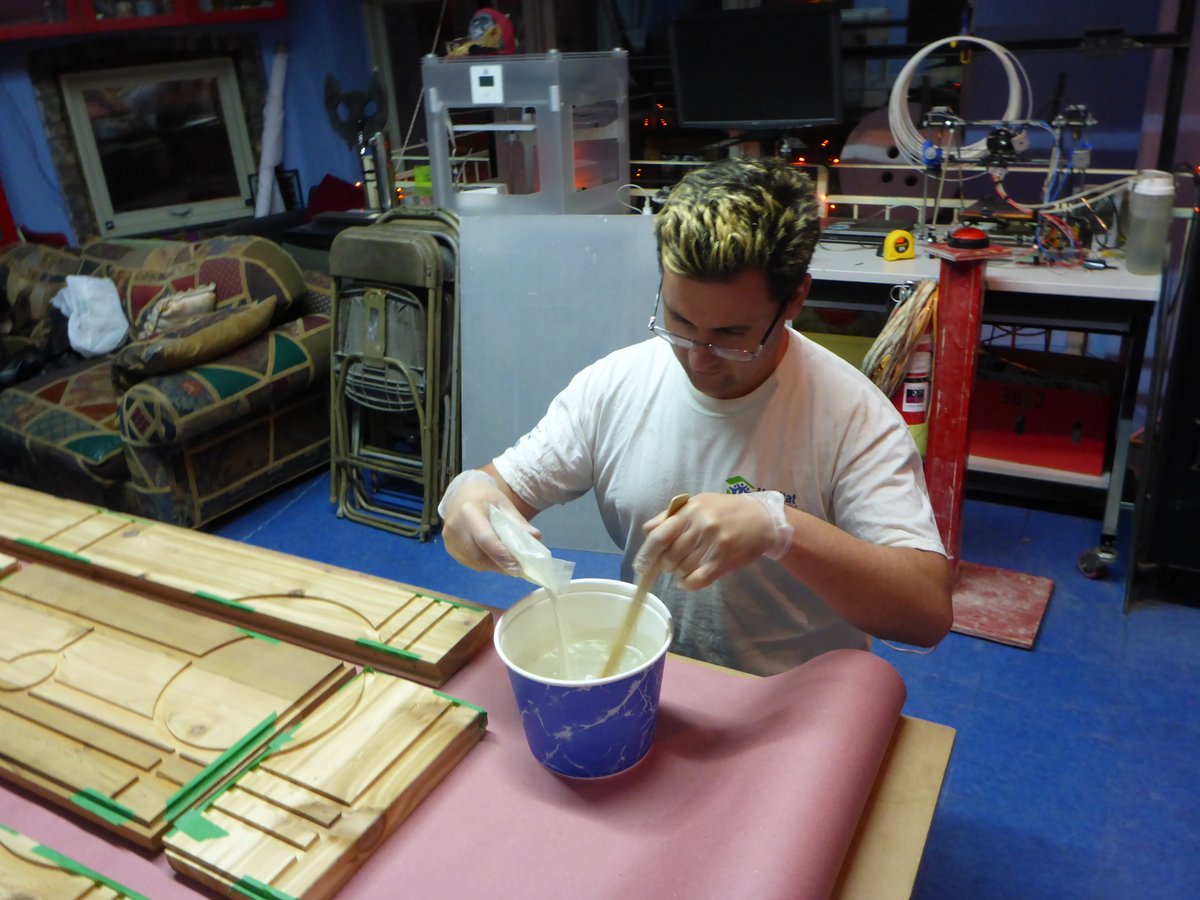
Start of the evening, the tape is to stop resin from flowing out of the grooves.Mixing in the glow in the dark powder.Pouring. The powder had a tendency to settle in the epoxy, so constant mixing was required.Charging the pigment with some UV strip lights I had kicking around.So here’s what the door looked like at the end of the eveningSide view
Char and I are both blown away by the photos. Marc still has some work to do sanding down the resin, but we couldn’t be happier with the finished product. We will have the door soon, and then we’ll install it in the house.