Making Progress on the Roof

I am tired of the tarp. It’s been up for over half a year and it’s full of holes. So, we are prioritizing roof work — it must come above all else (get it?). Roofs are the first line of defense from the rain and snow.  So, the “order of operations” for installing all the roof parts must be followed, or else the finished roof may leak.  For our roof, the order is:

  1. Eave drip edges
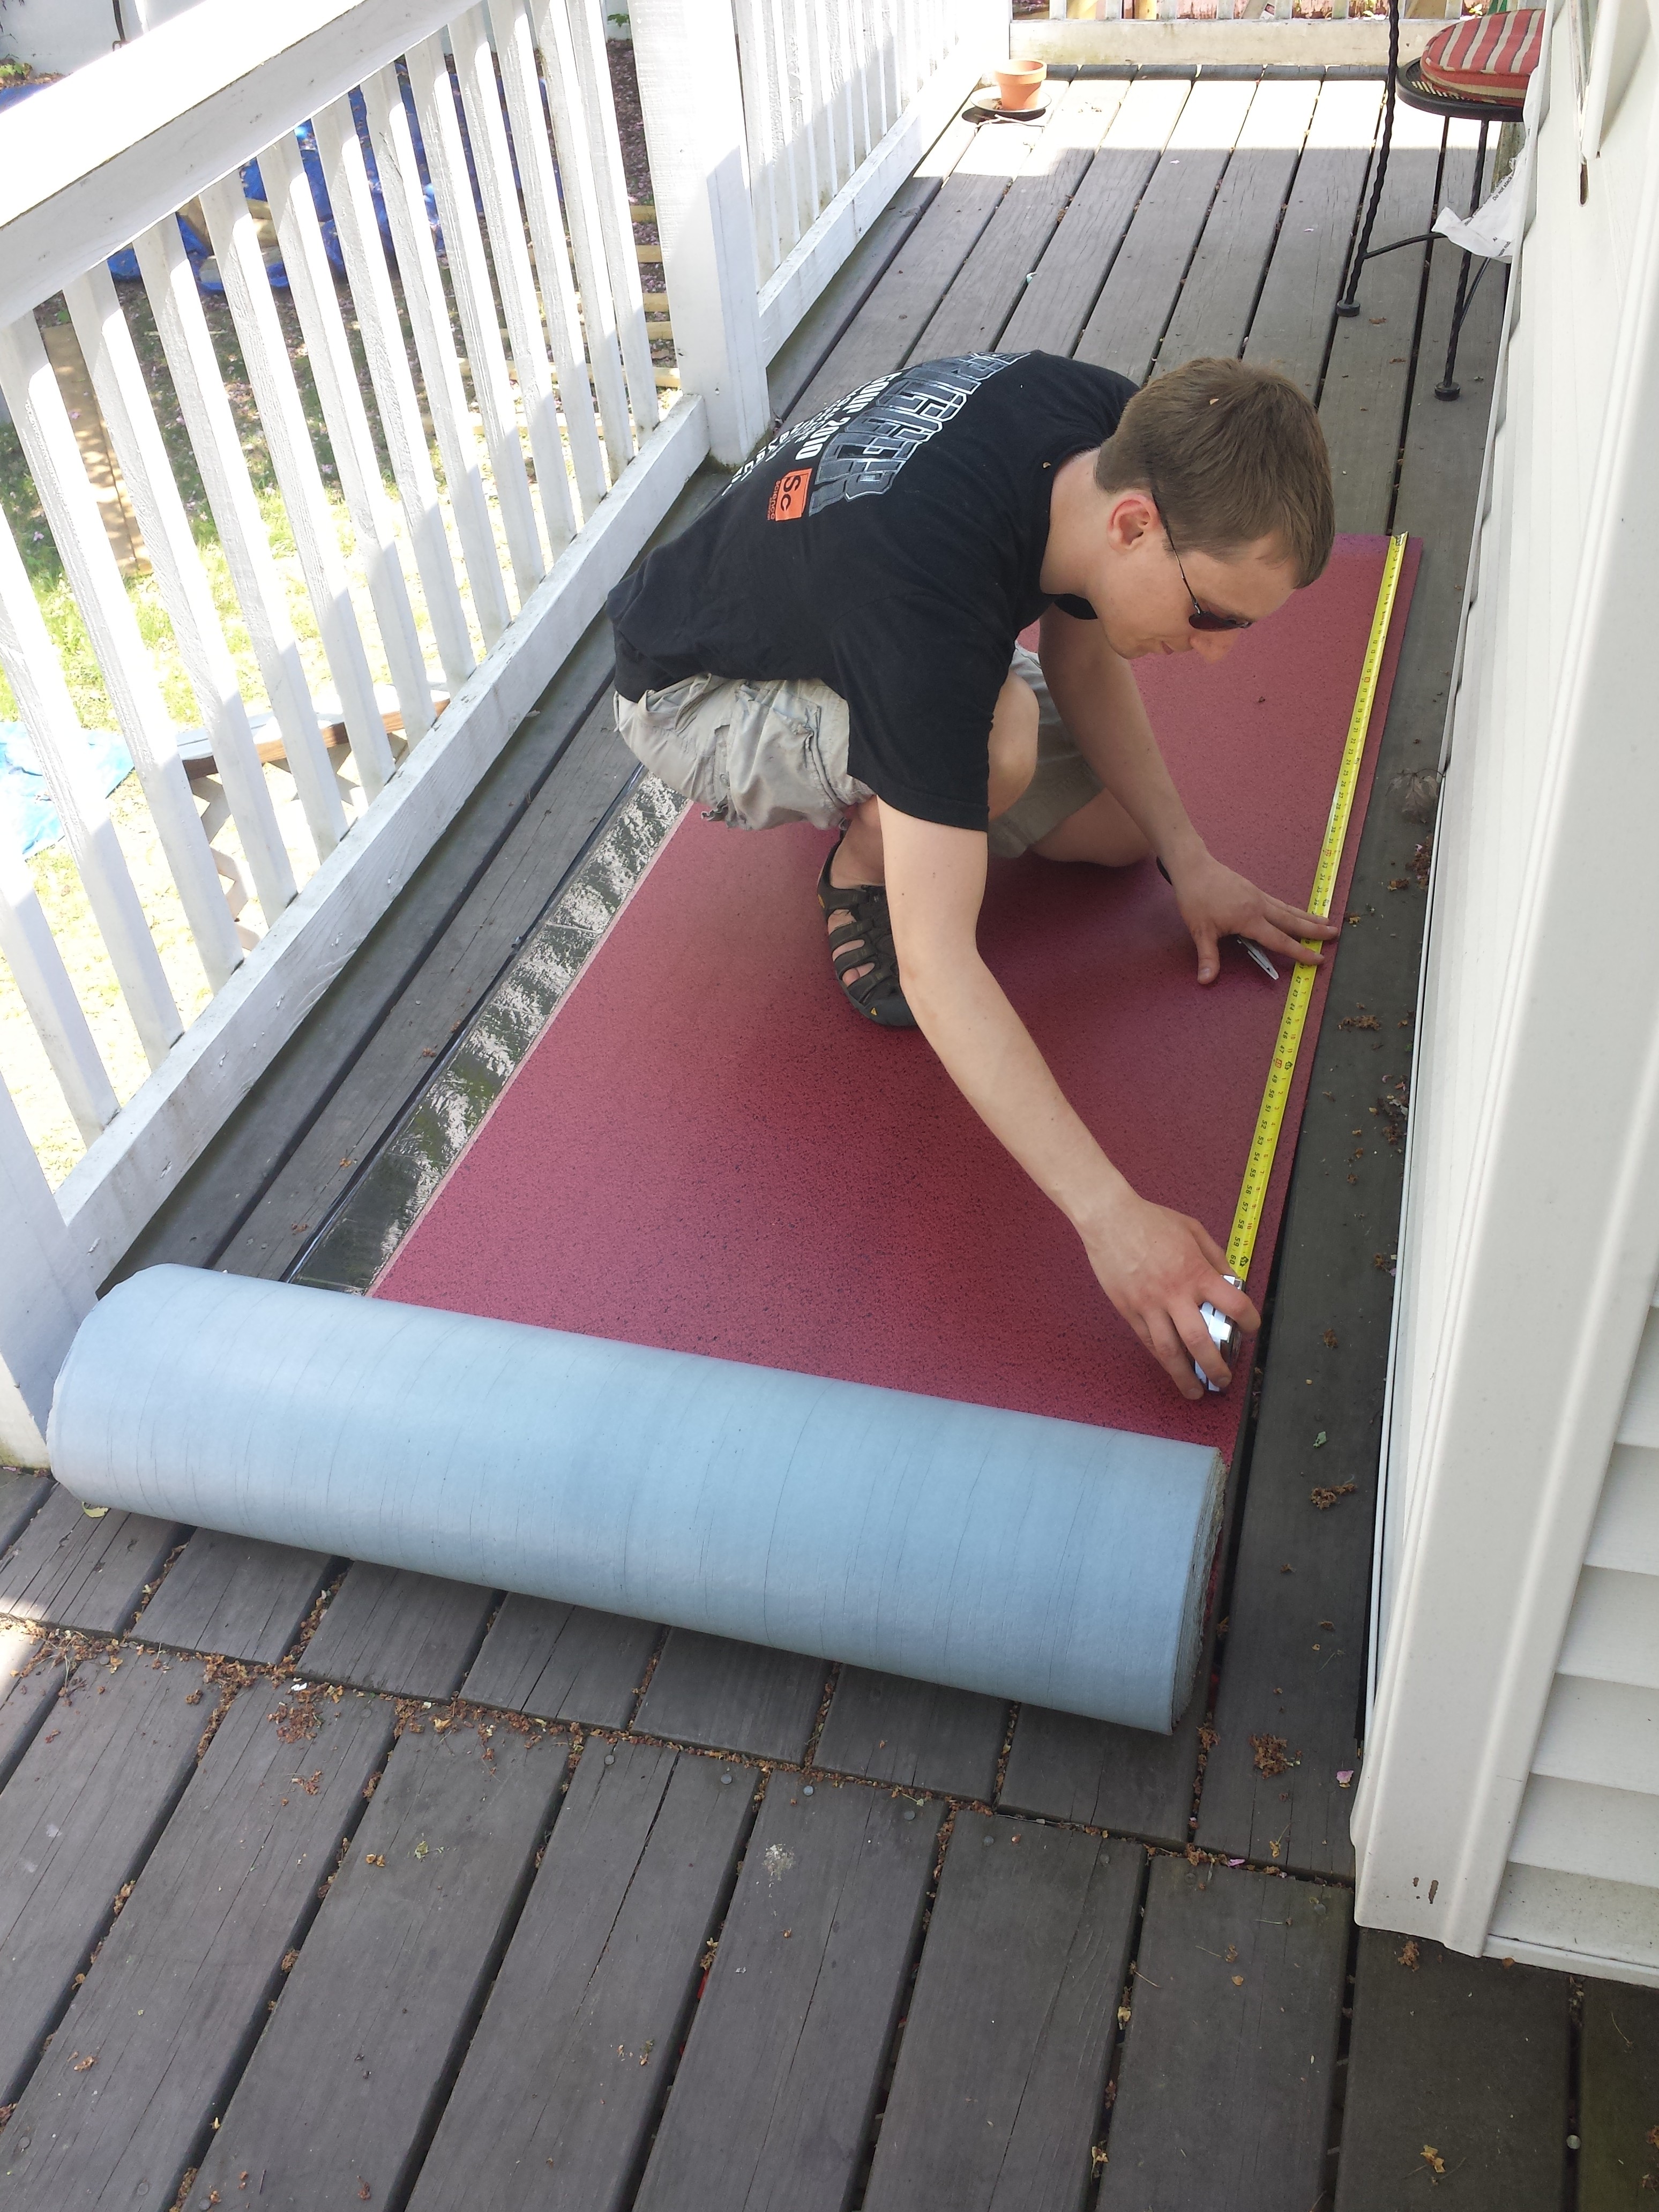
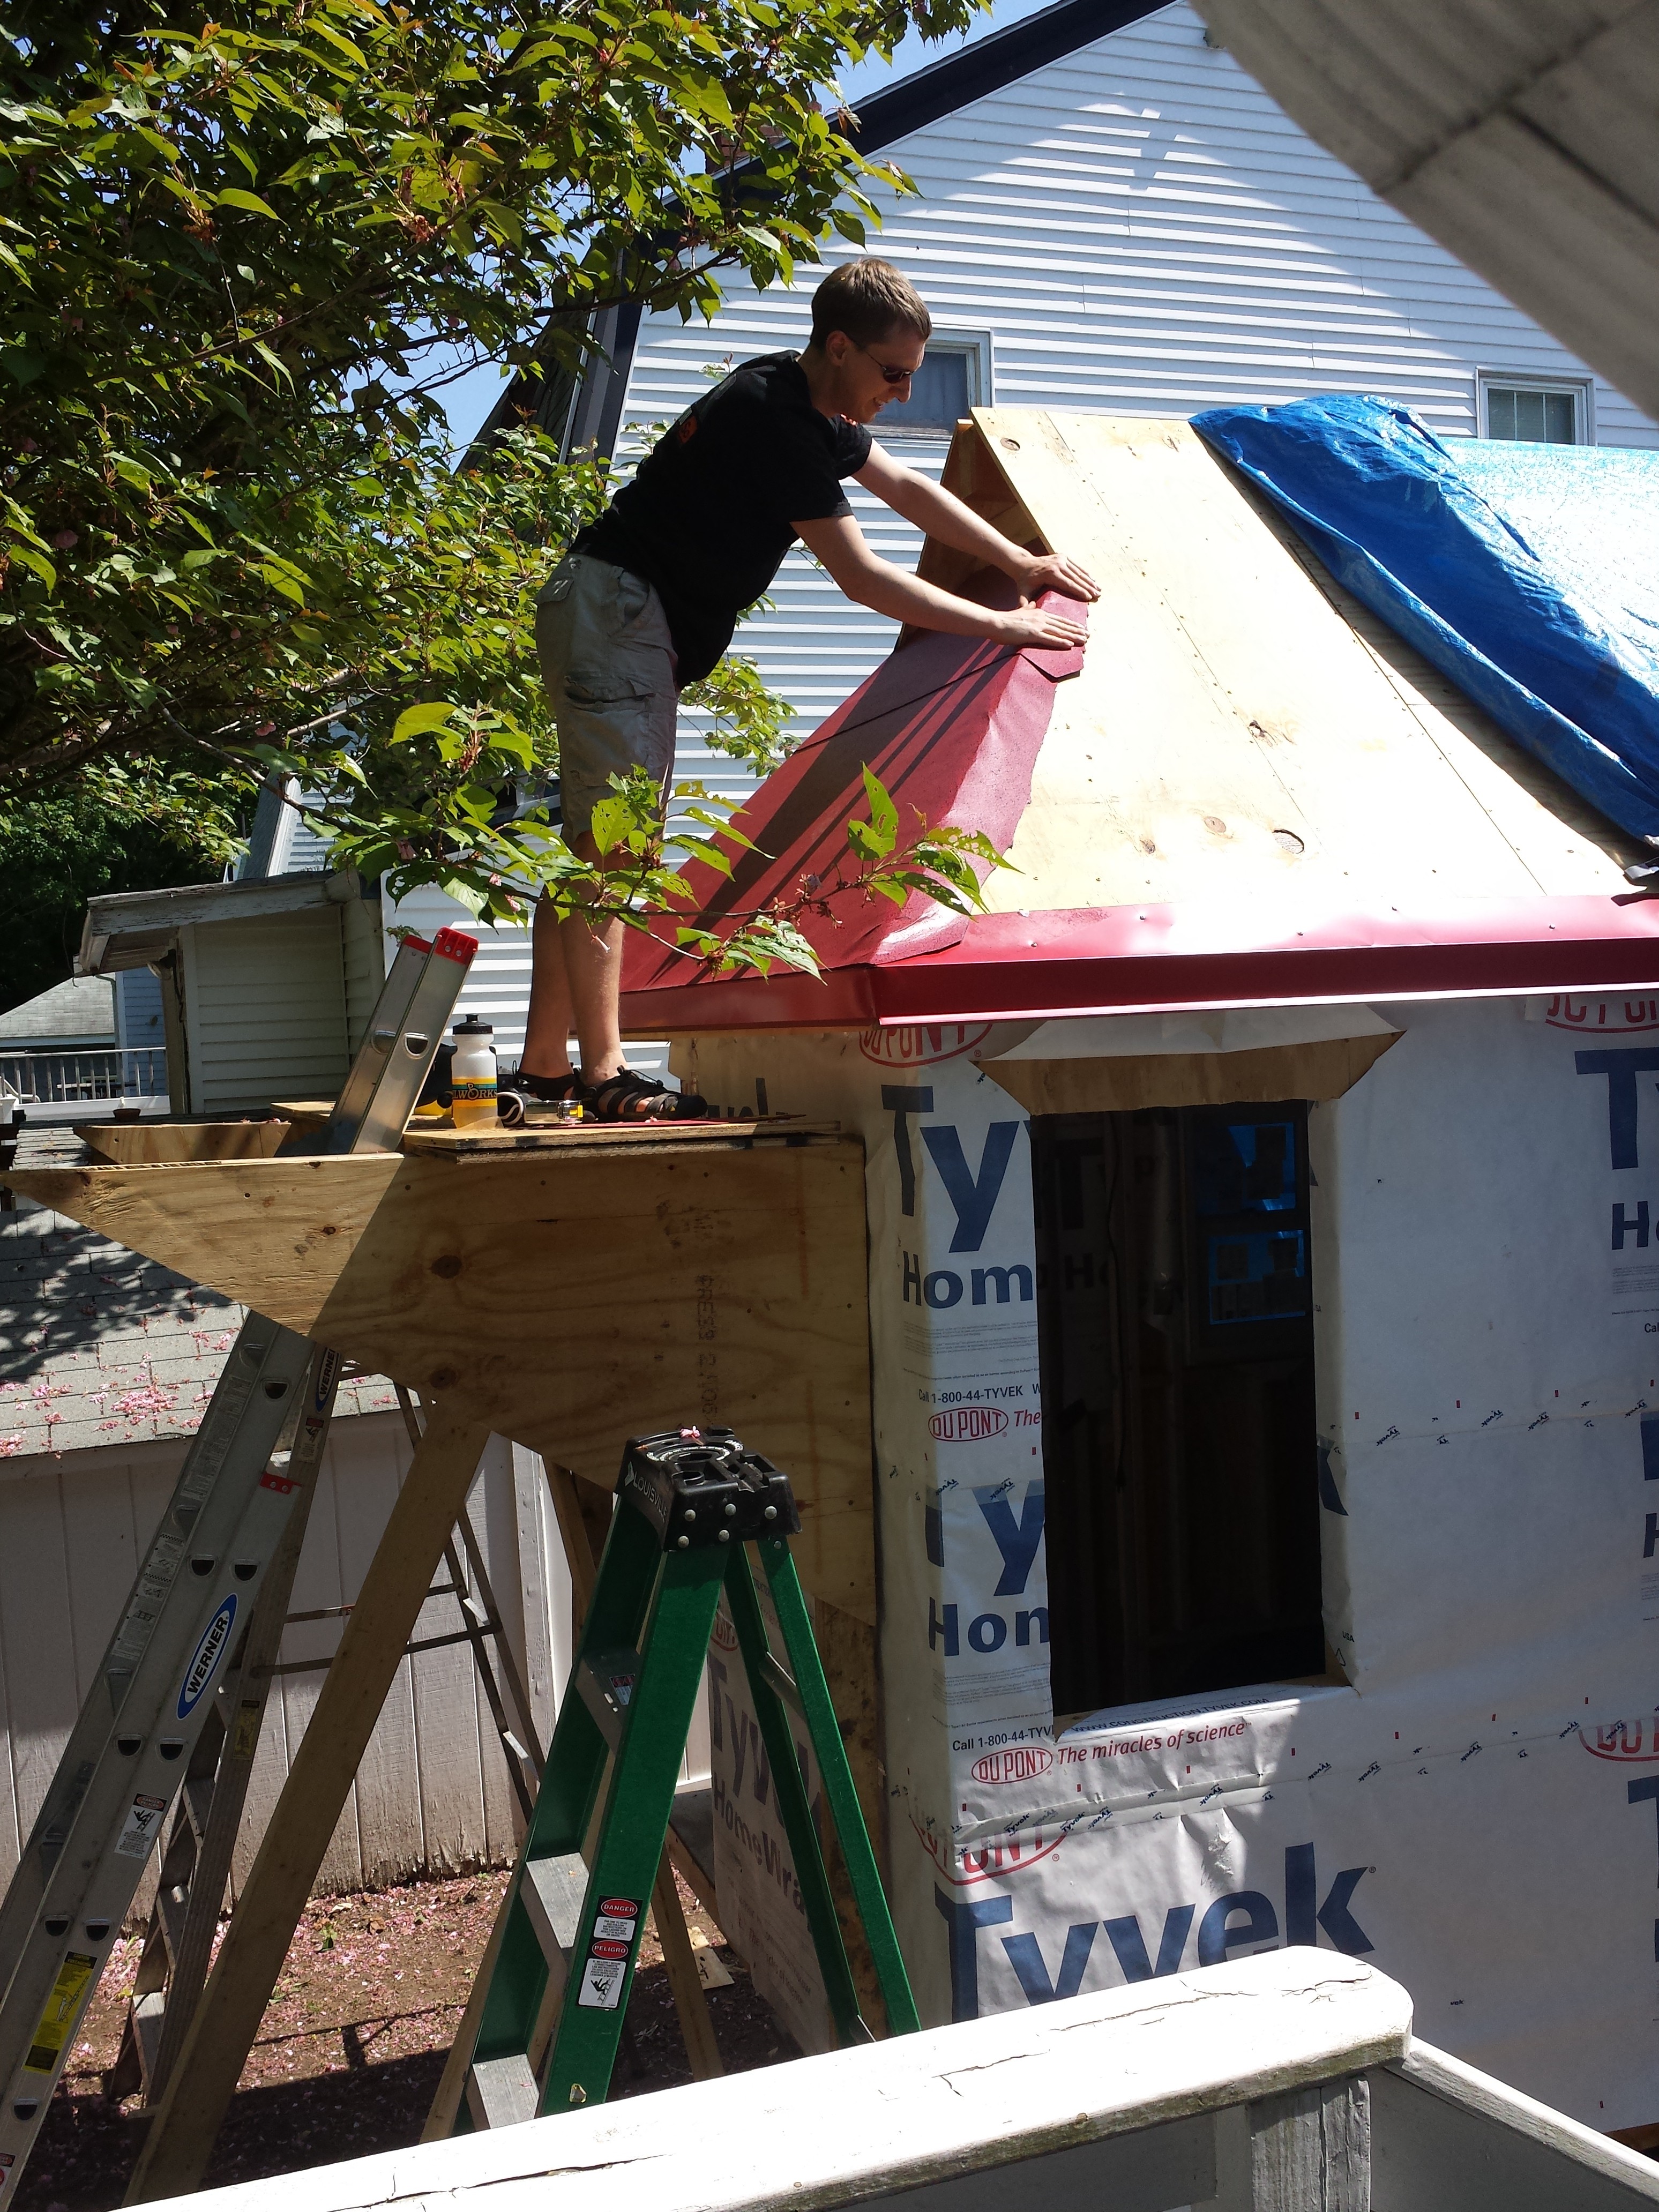
  2. Underlayment ((A waterproof, heatproof, self-adhesive rubber layer that says in big letters that it contains cancer-causing agents.  This is what really keeps the house dry))
  3. Rake drip edges
  4. Roofing panels
  5. Hip ridge covering
  6. Roof ridge covering

With each of these steps, we have to do the installation low-to-high, and back-to-front. So the very first things to install are at the back of the house close to the edge, and the last things to install are at the front of the house toward the ridge. At every step of the way, a raindrop should fall gently from one surface higher up to a lower surface below. At no time should a drop of rain encounter a seam where it could puddle and leak.

The underlayment is designed to be walked upon

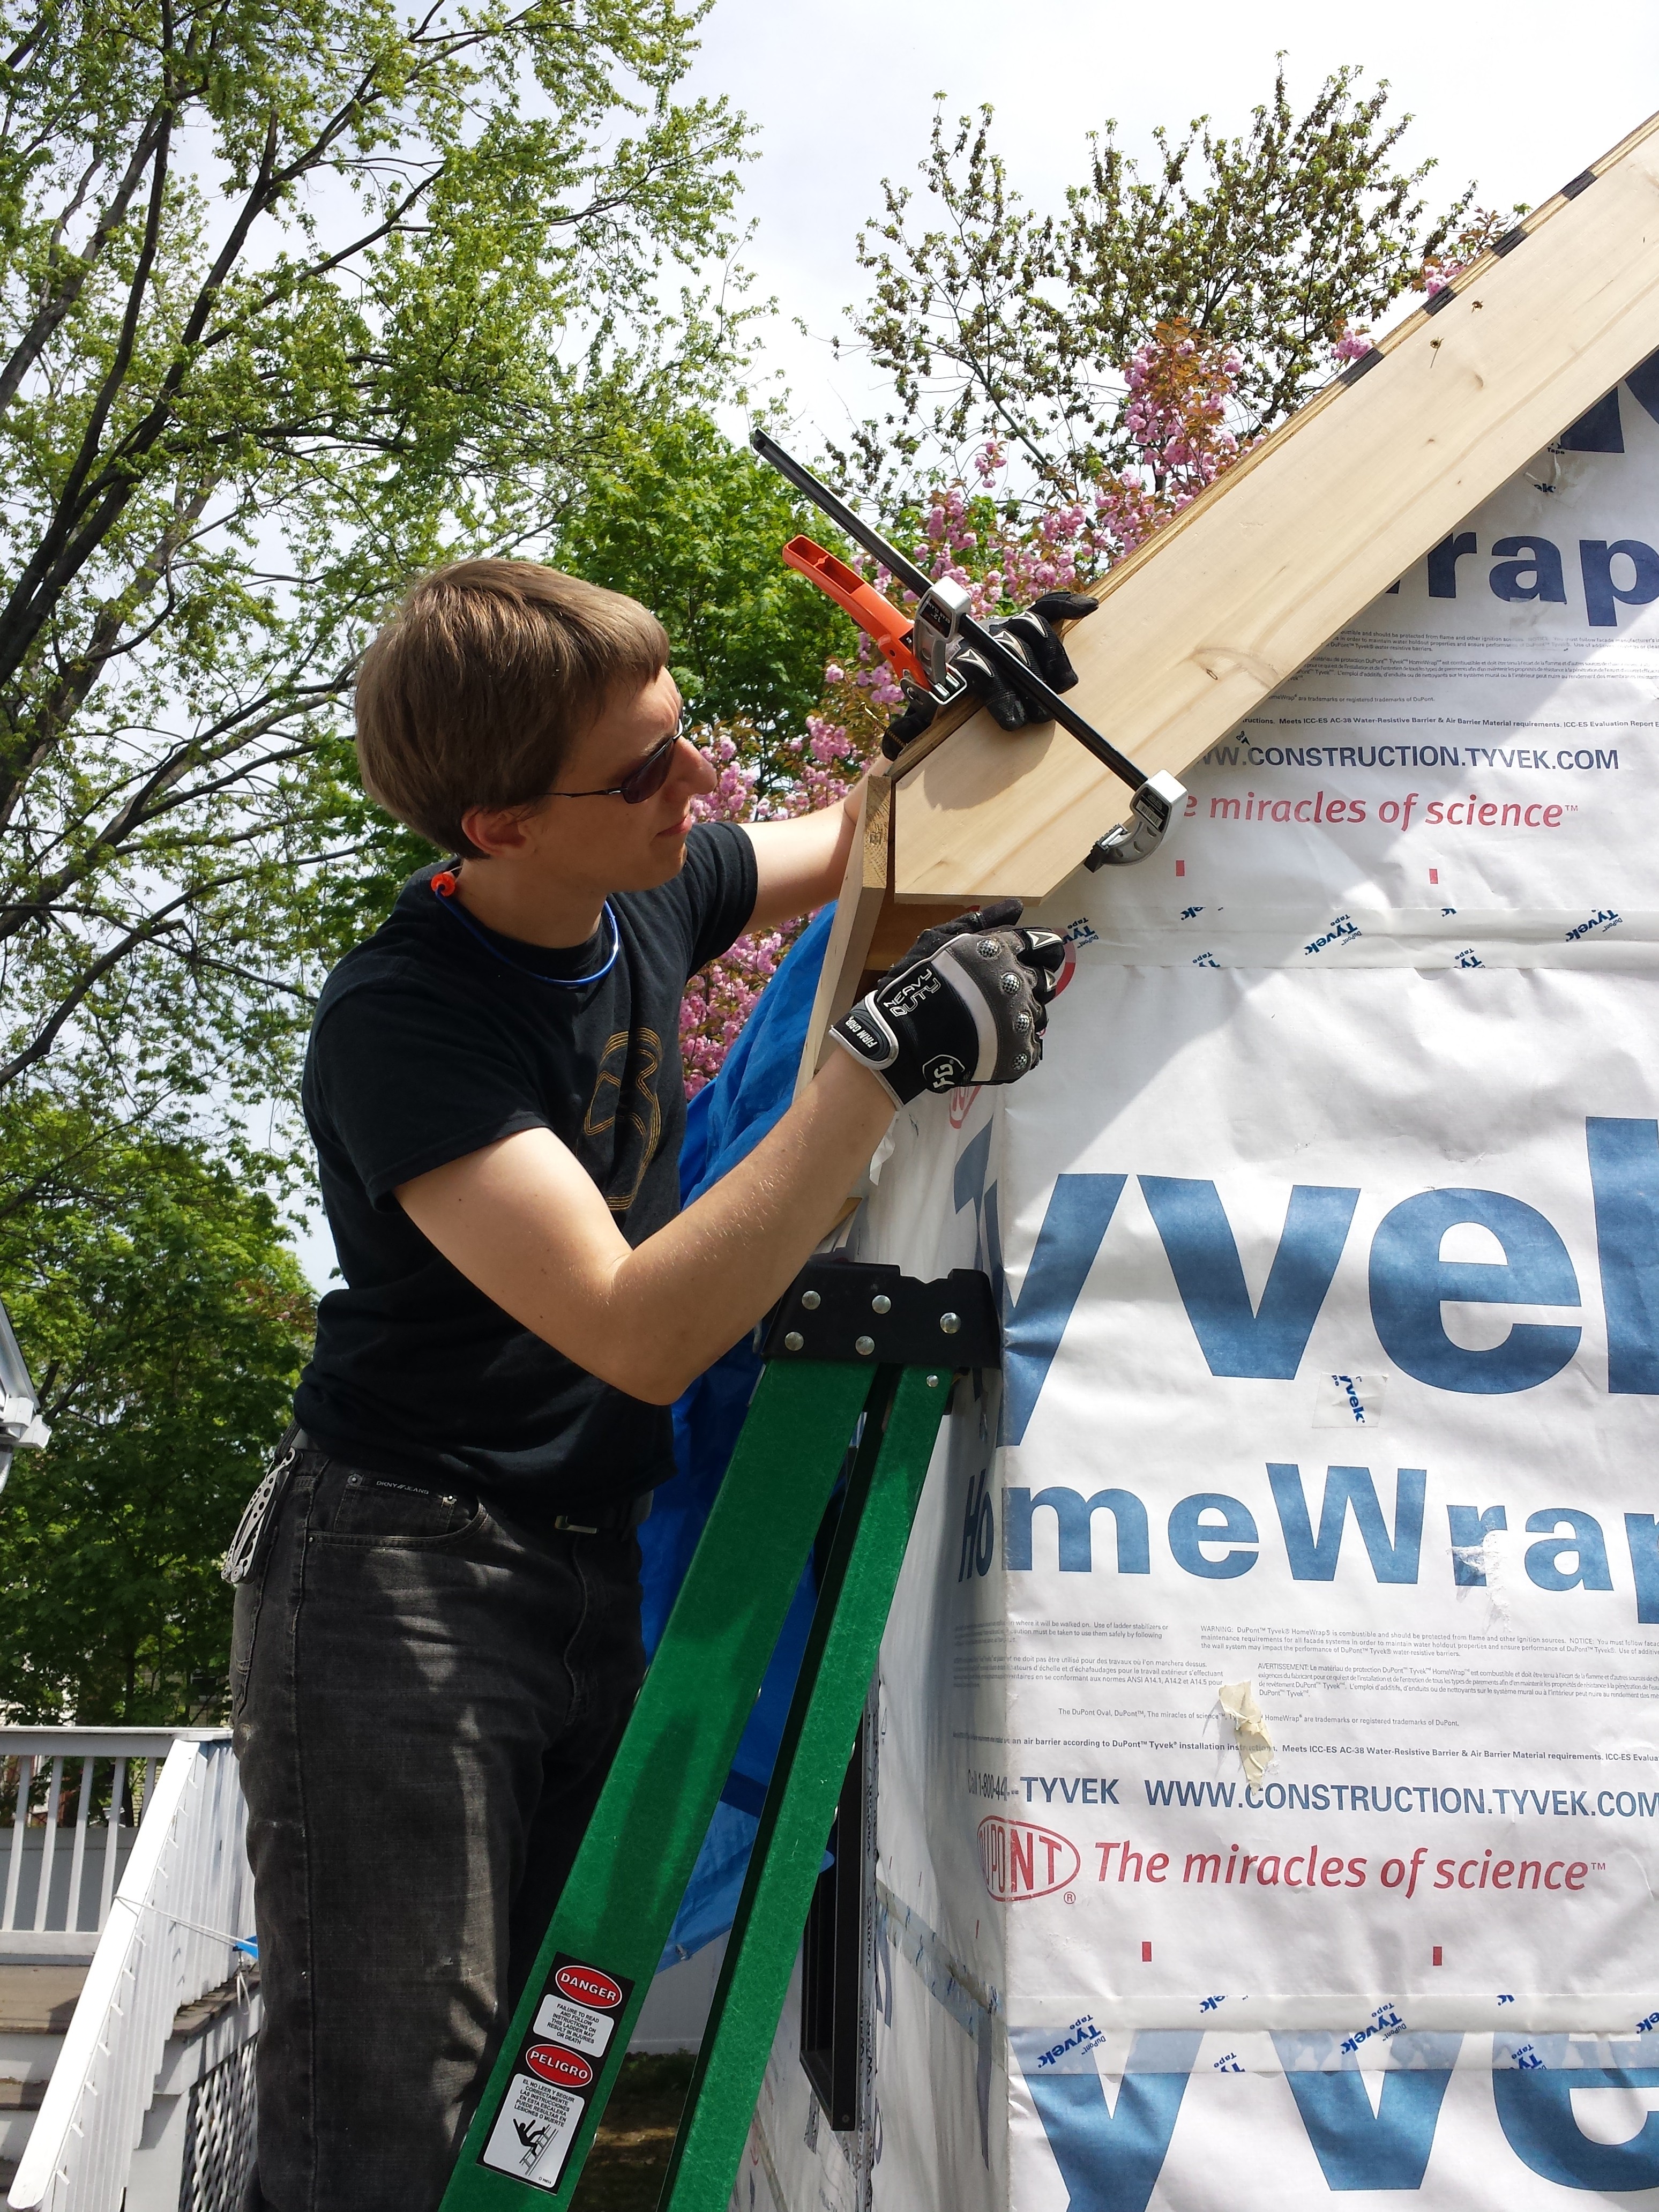
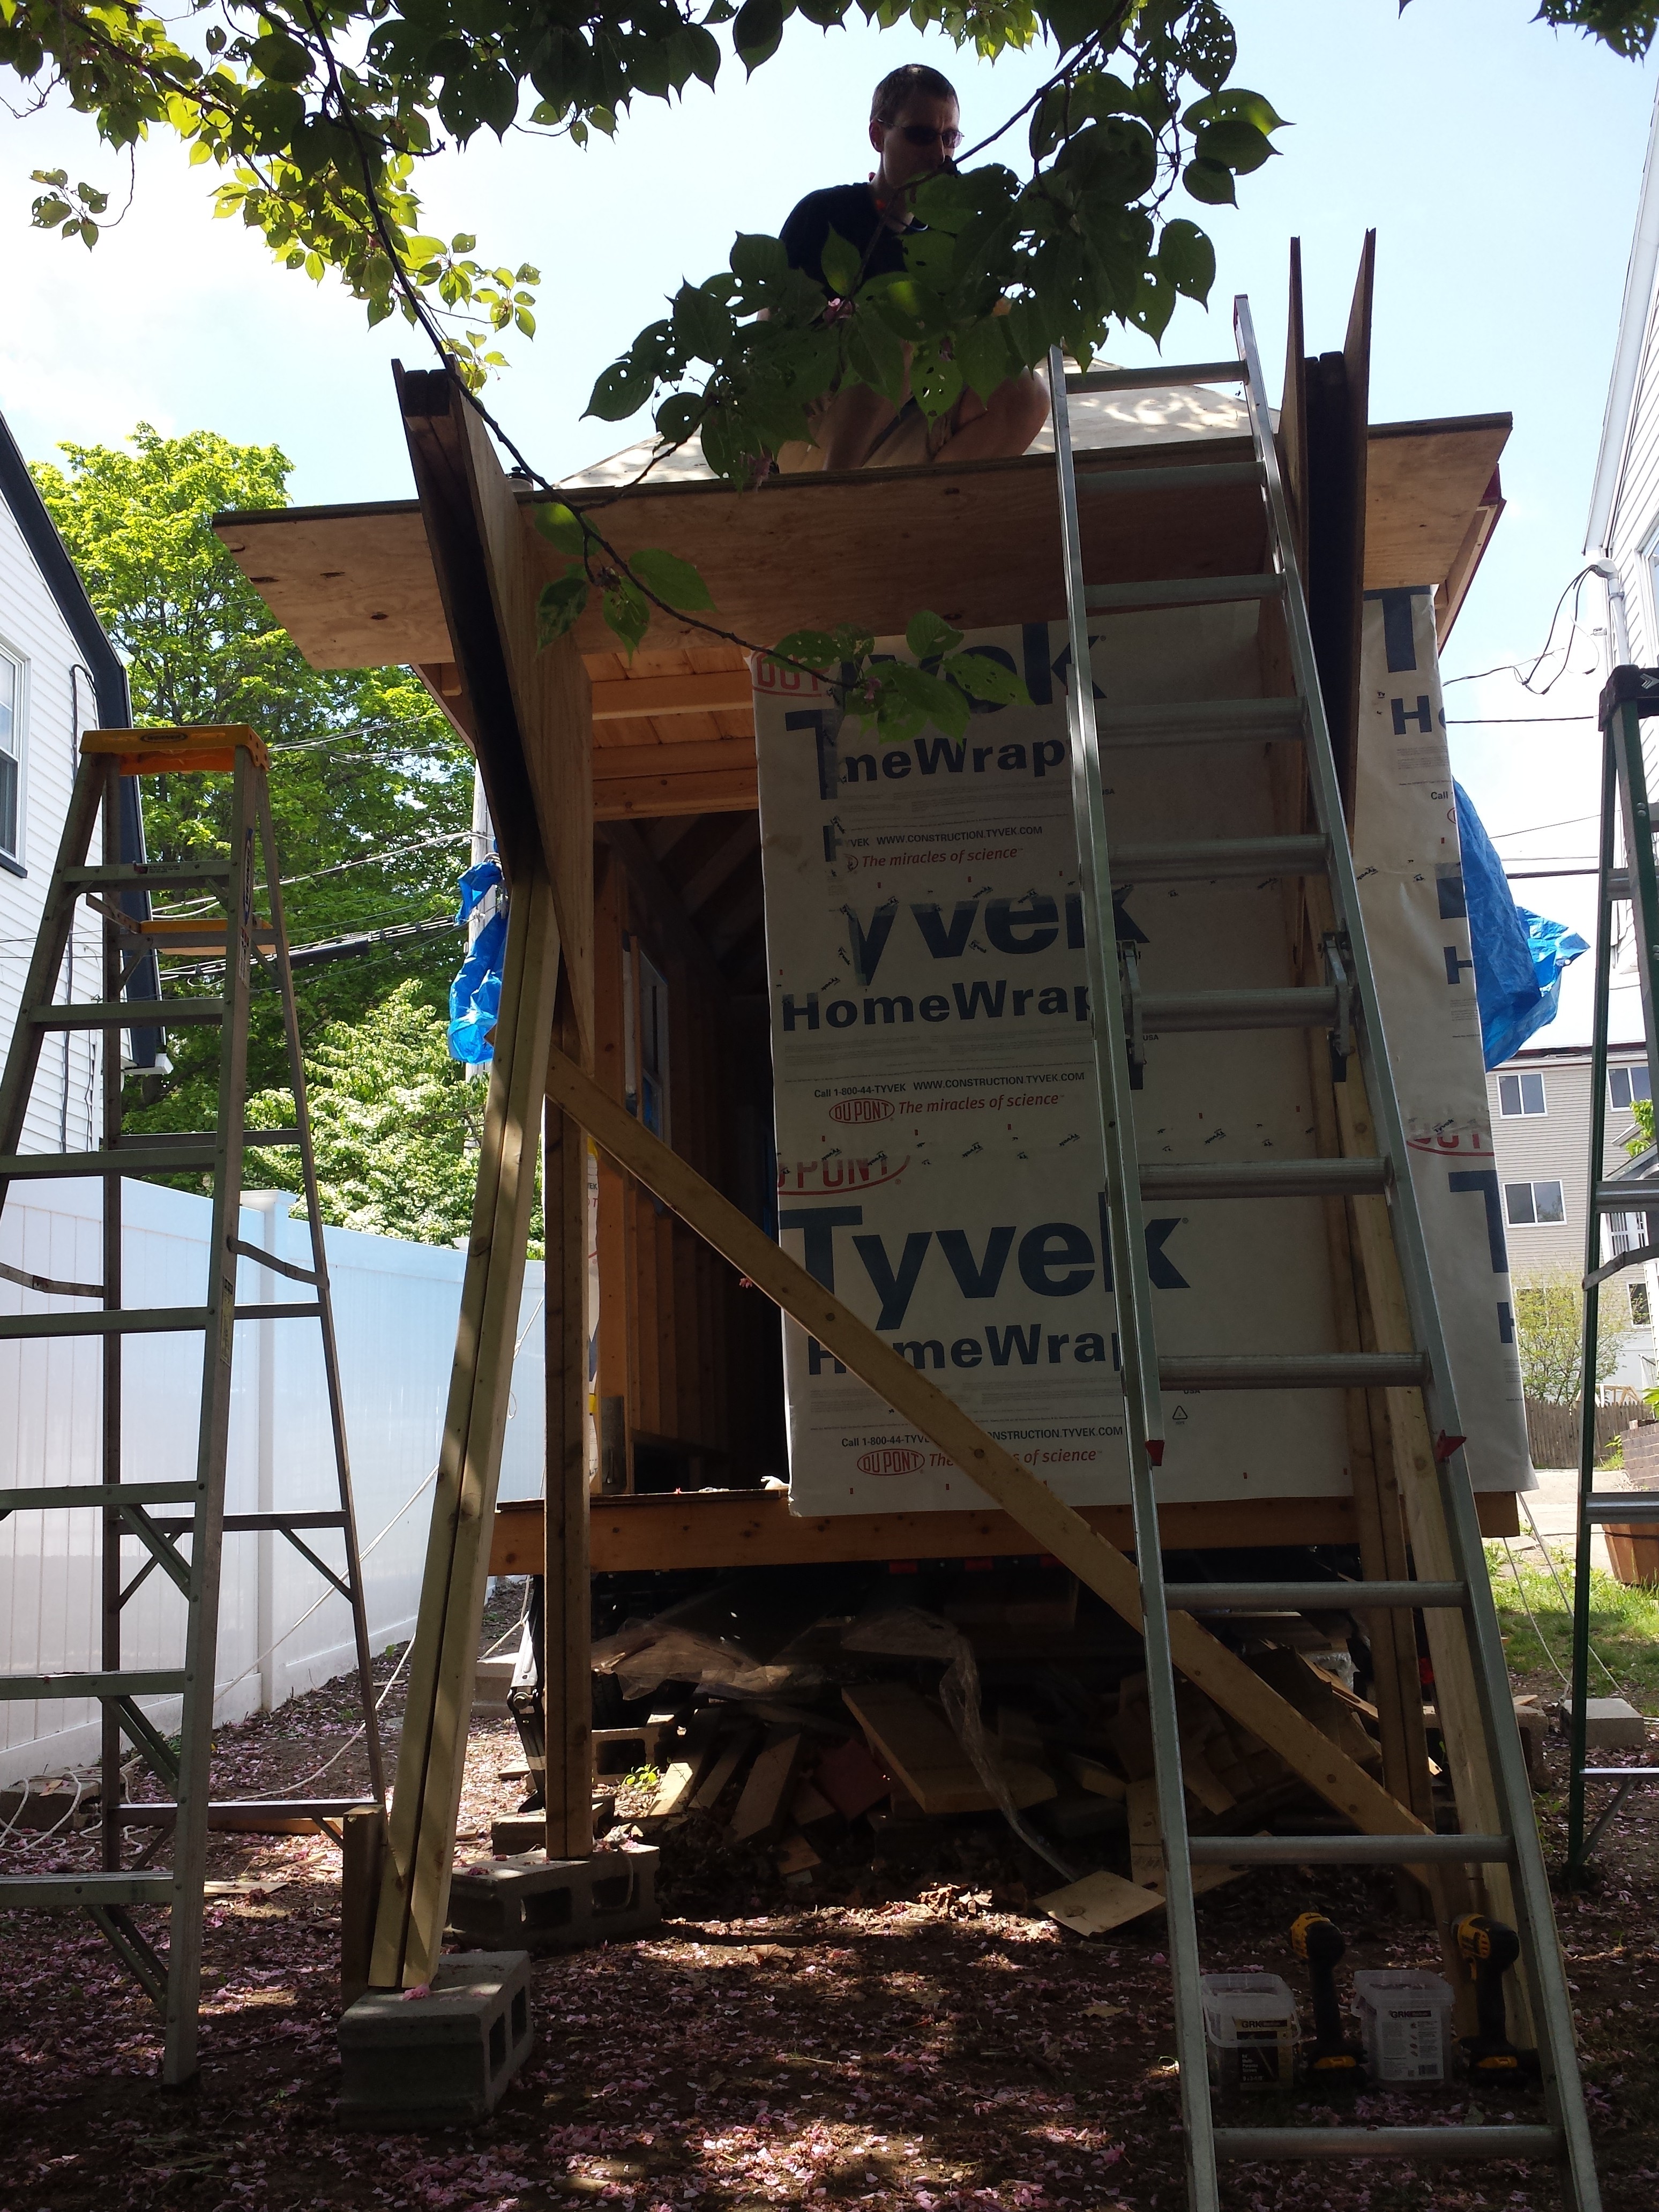
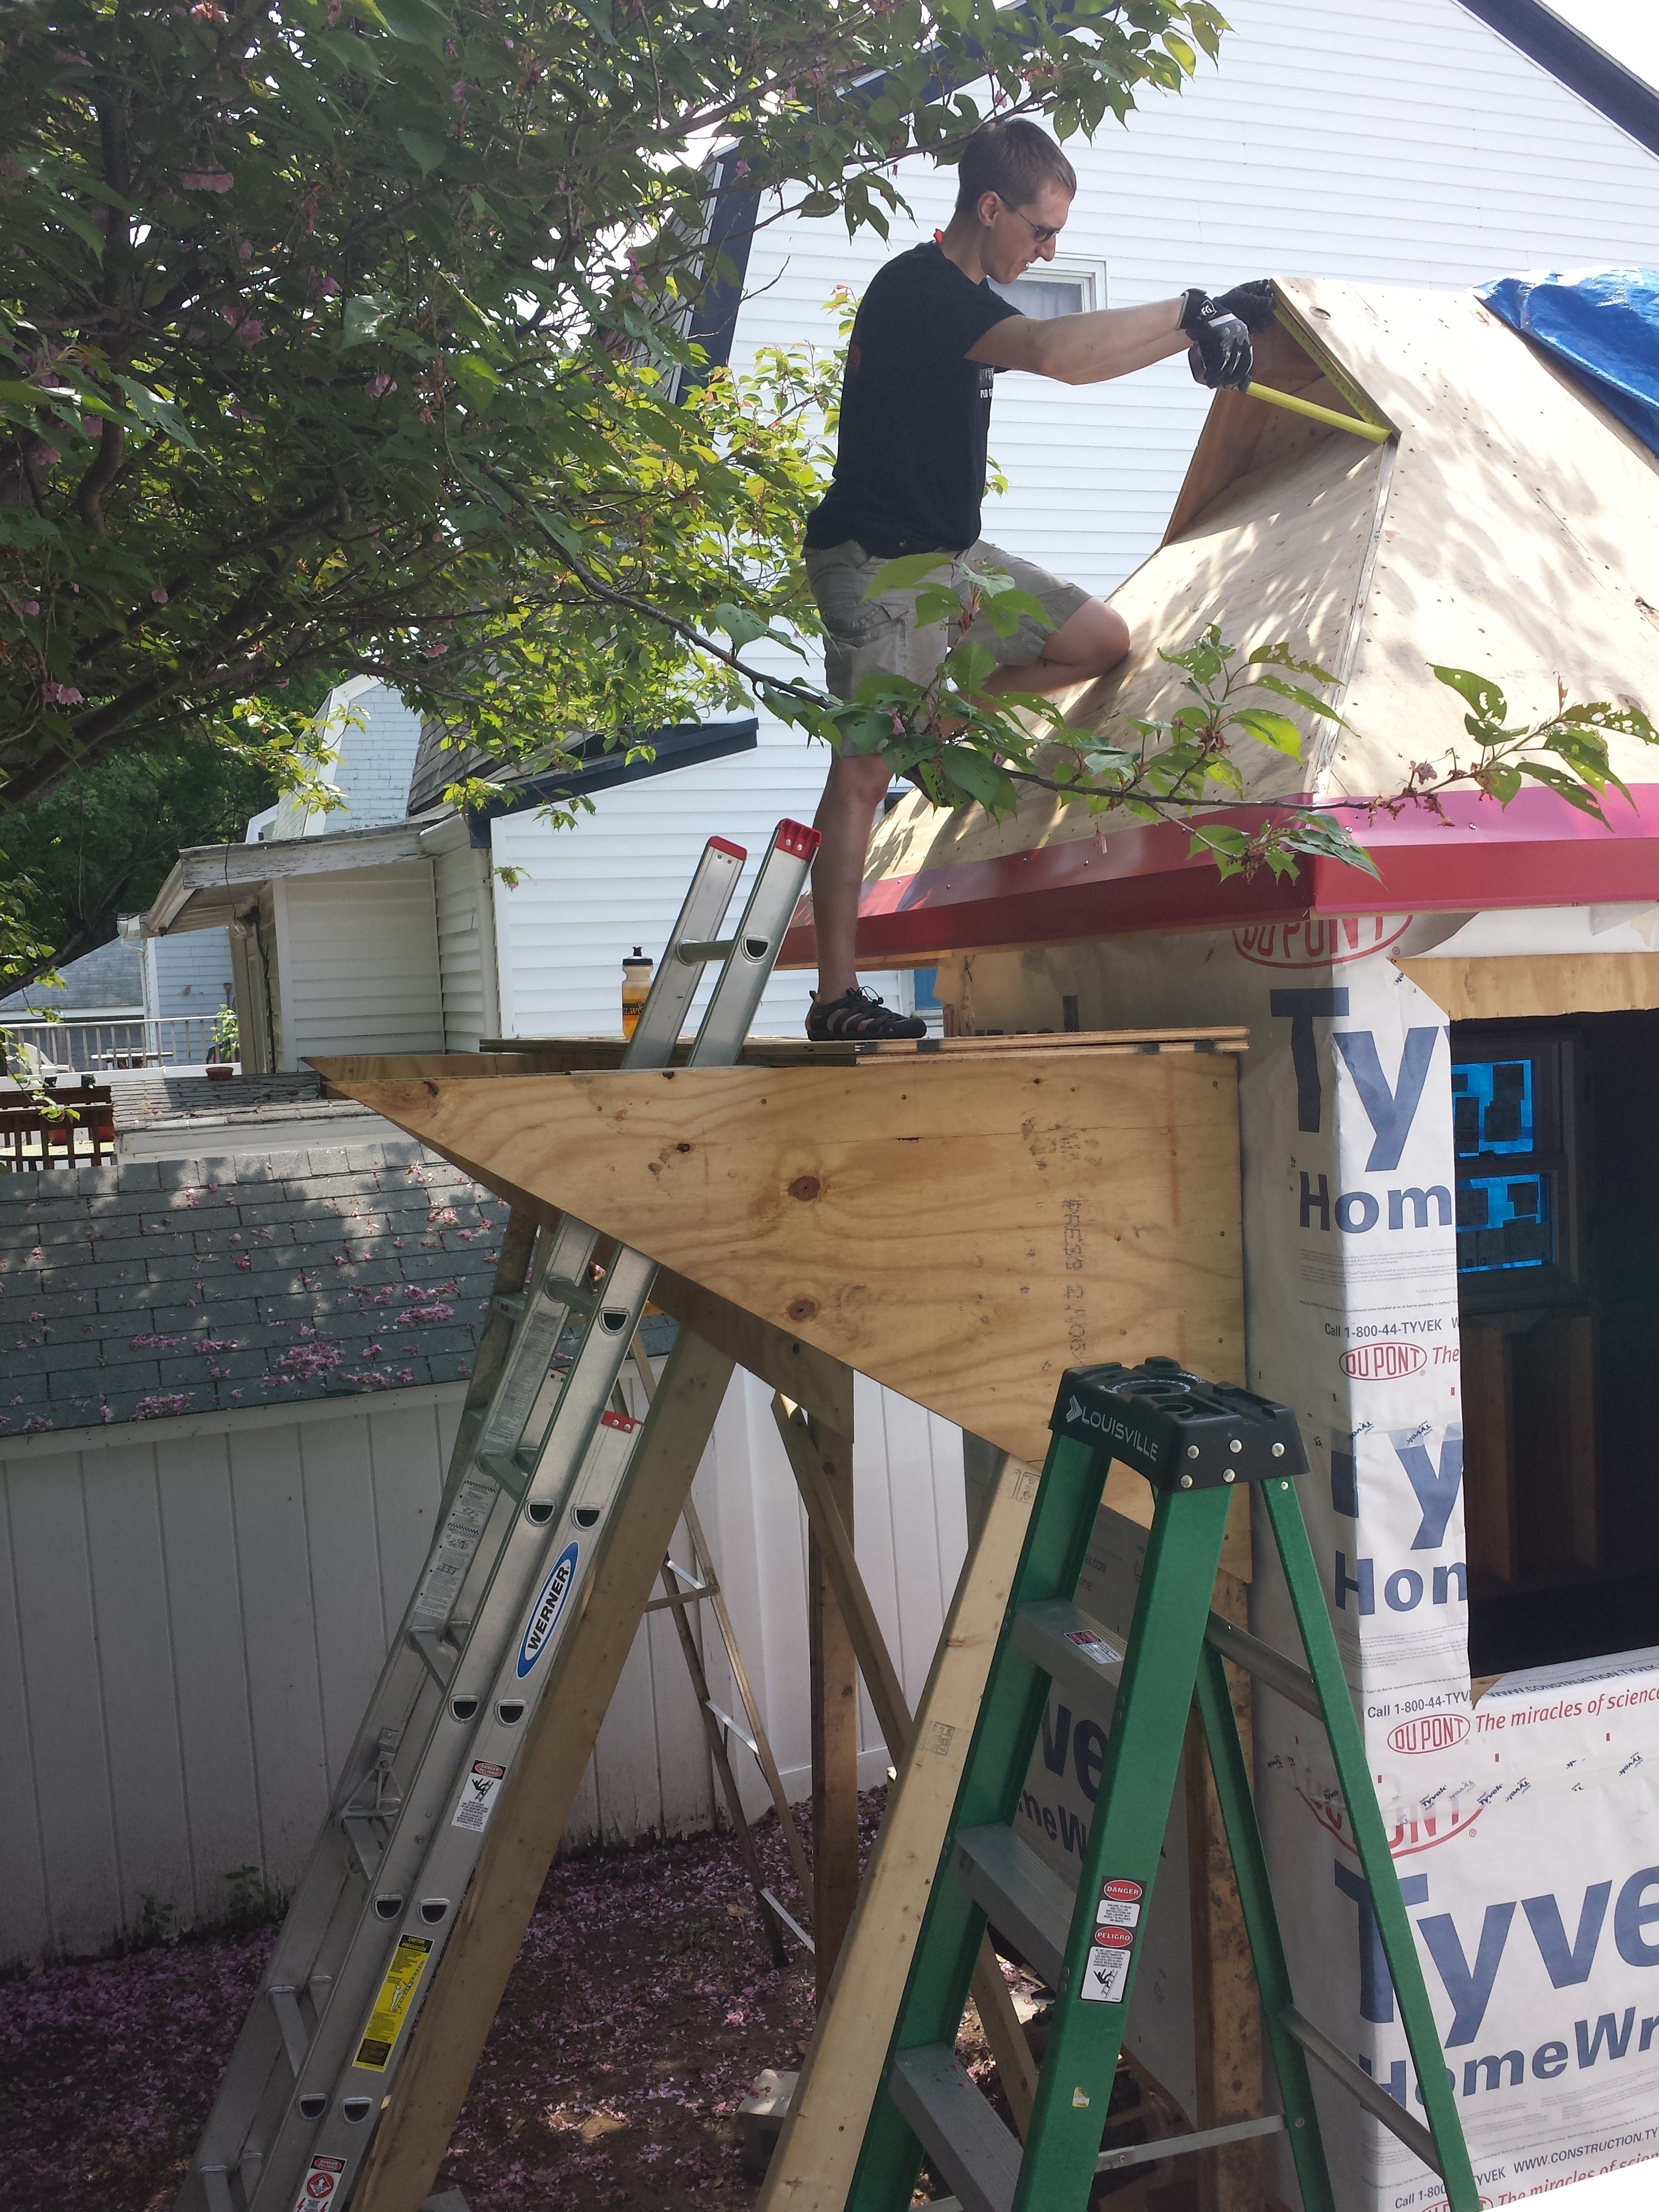
Because a roof is a dangerous thing to walk on, I built my own temporary scaffolding to make it easier to work up high. I borrowed the design from a clip of This Old House on youtube:

I bought so much extra wood last year, mine was entirely constructed from leftover pieces!

The scaffolding
The scaffolding
Measuring a detail
Measuring a detail
Underlayment installed

We hope to have all the underlayment installed over memorial day weekend, then we can start working on rake edges and the roofing panels.

Shopping, roof details, and weekly project meetings

This weekend we made a lot of progress. We went shopping for reclaimed wood to use for the exterior siding. We checked out a local specialty lumber yard, but we got the impression they were used to customers looking for wood for interior use, and we’re not sure we want to spend the money on wood that isn’t suitable for the great outdoors. We’re going to try another yard on the 26th before we come to that final conclusion.

We also went shopping for a stove.  We’re looking at the Hampton H15 stove which optionally comes with a kit to enable it to use propane instead of natural gas.  The challenge with the stove is, how do we (legally) fit the stovepipe to vent outside?  We could either have it go straight up, or out the side of the house.  The disadvantage to having it go straight up is that we’d have to cut a hole in the roof.  The guy at Black Magic Chimney said he was not even clear on the best way to do that on a metal roof.  If the pipe vented out the side instead, the house would be wider than the 8’6″ highway legal limit.  But such a vent might qualify as an appurtenance, which is an object that might not count toward the overall width, and therefore we wouldn’t be in violation. Owen is researching the topic.

IMG_20150509_121124
Owen coerces a rake board into place so it lines up with the fascia board it’s supposed to attach to.

The great thing about wood is that it’s flexible! What looked like a 1/2″ measuring error was completely eliminated by careful application of force.

IMG_20150510_170149
The red metal drip edge of the roof has been applied.
IMG_20150510_202134
Owen and Char hold one of their weekly meetings about progress made on the Tiny House.