Framing Learning Experiences

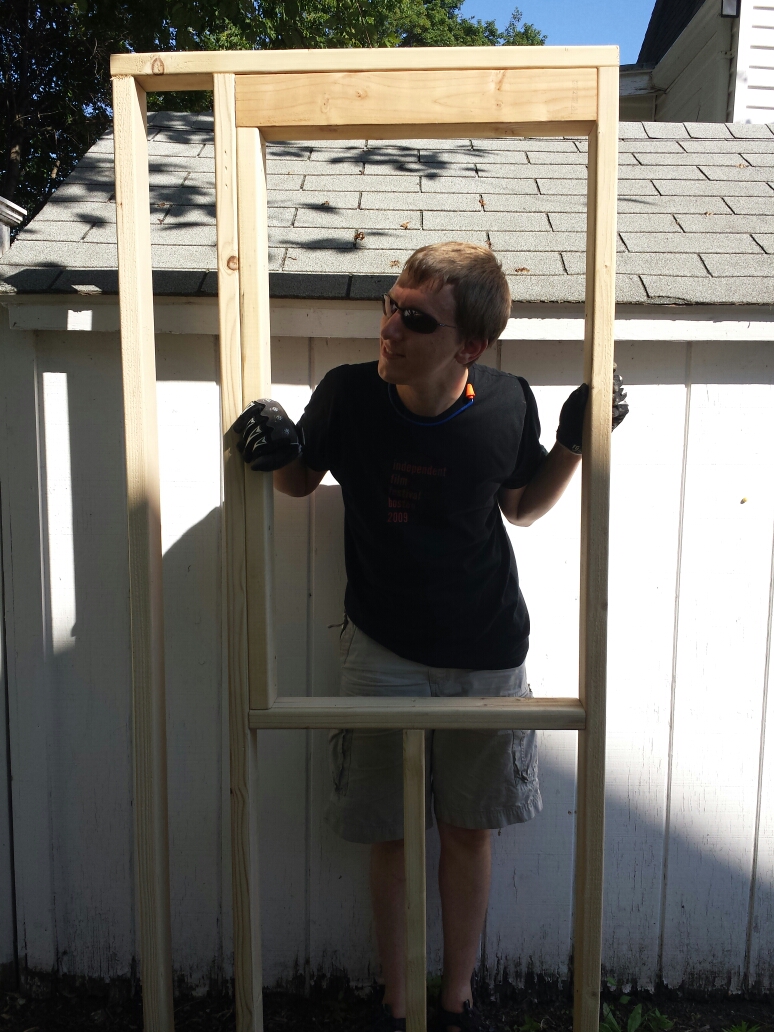
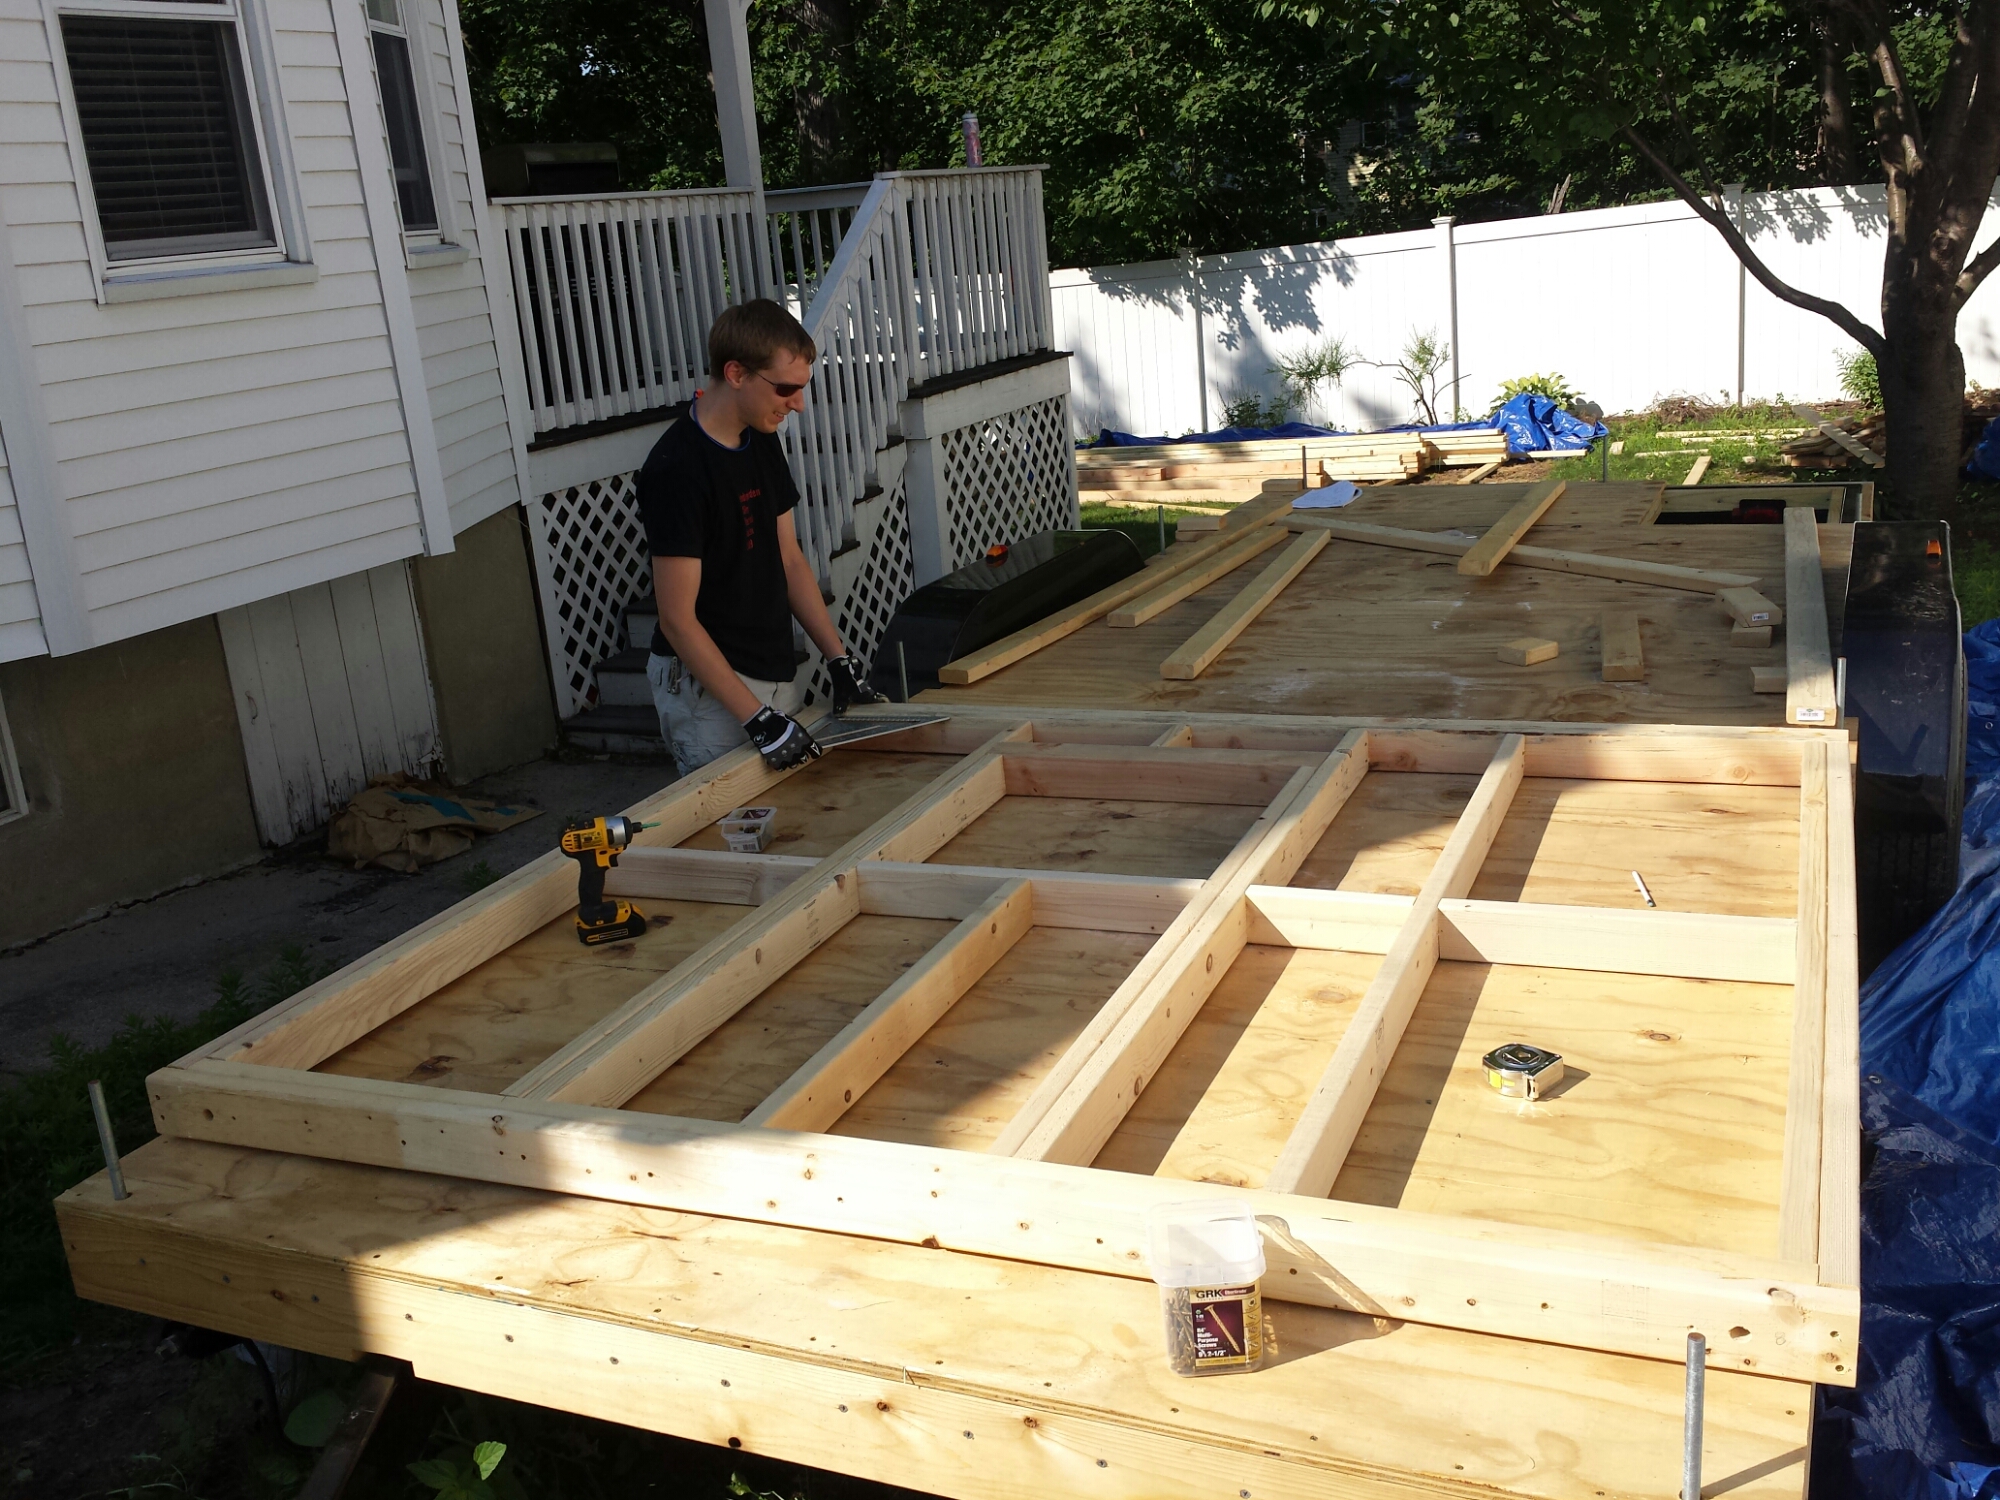
Today Owen finished framing one of the long port walls. The long length of the wall posed some new challenges, documented in this video.

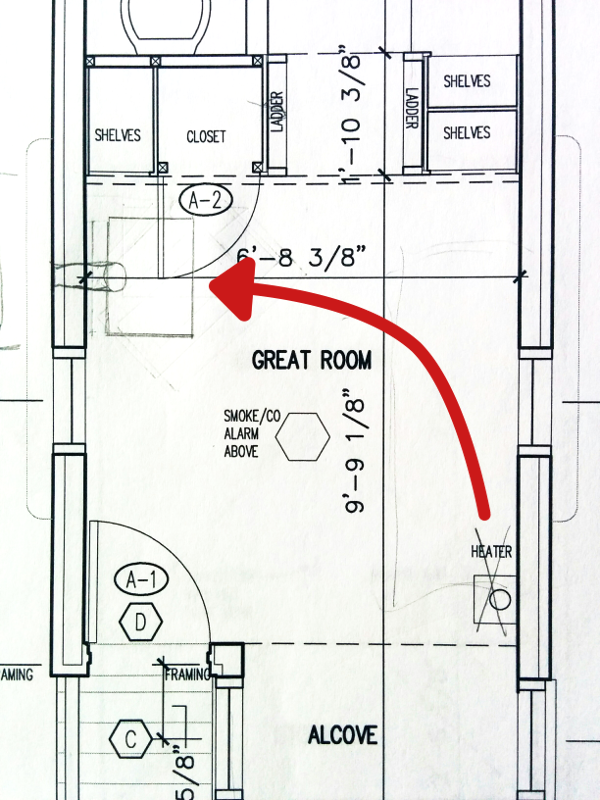
He also made some modifications to the wall, demonstrating the need to plan for interior details while building the exterior. While the Tumbleweed plans specify a marine boat heater for warmth, we’ve heard a few reports that the boat heater just doesn’t cut it in a New England winter.  An alternative we discovered is the Hampton series of propane stoves, one of which is small enough for a tiny house but puts out much more heat than the marine heaters.  Because of its larger size and clearance requirements, Owen needed to study the floor plans carefully to find a place the heater could fit.  Moving one of the windows freed up the right amount of space, and that required changing the framing of the port wall.

The red arrow shows how we changed the heater from being mounted on one side to a larger heater in the corner.

Put a tarp on it

Mike, Lea and Nicolle were over to do some more wall assembling, and to do the next step before framing can happen: setting up a tarp.  This will protect the wood from water damage from rain that may happen before the roof is complete, as that will be a process we cannot possibly do all in one day, and New England means rain.  Well, what we have to work with are our “regular” house’s deck and one tree.  We are going to create something akin to a carport.  Because there aren’t a lot of place to tie a tarp, we’ll be creating a support arch for the bow side of the Tiny House out of PVC and rebar, according to Mike’s experience.  More on that to come!

image
Owen climbs up to where the tarp corner will be held.
image
Yeah, we’ll need more support on the bow side of the tarp.
image
A peek at the finish, unraised walls underneath the tarp.


One frame assembled, another almost

After some vacation time away from home, we’re back.  Owen is happy to poke his head through Bay Wall 1, and another wall (the bow wall, which will be for the kitchen and bathroom) in which the pieces of wood are drilled together but the resulting frame still needs some metal reinforcement materials added, a strap and two holddowns.

wpid-wp-1405198582783.jpeg
Bay Wall 1: Future window

Owen adds:
Astute observers will see that the Bay Wall is a little strange — normally the header would also be supported by a jack stud so the force goes into the ground through wood and isn’t born just by the screws — however that’s what the plans show, so that’s what I did.

wpid-wp-1405198613495.jpeg
Bow wall. The “bottom” of the wall is nearest to camera.