Getting the brackets to fit; work-around for a tarp hole; and Tumbleweed DVD

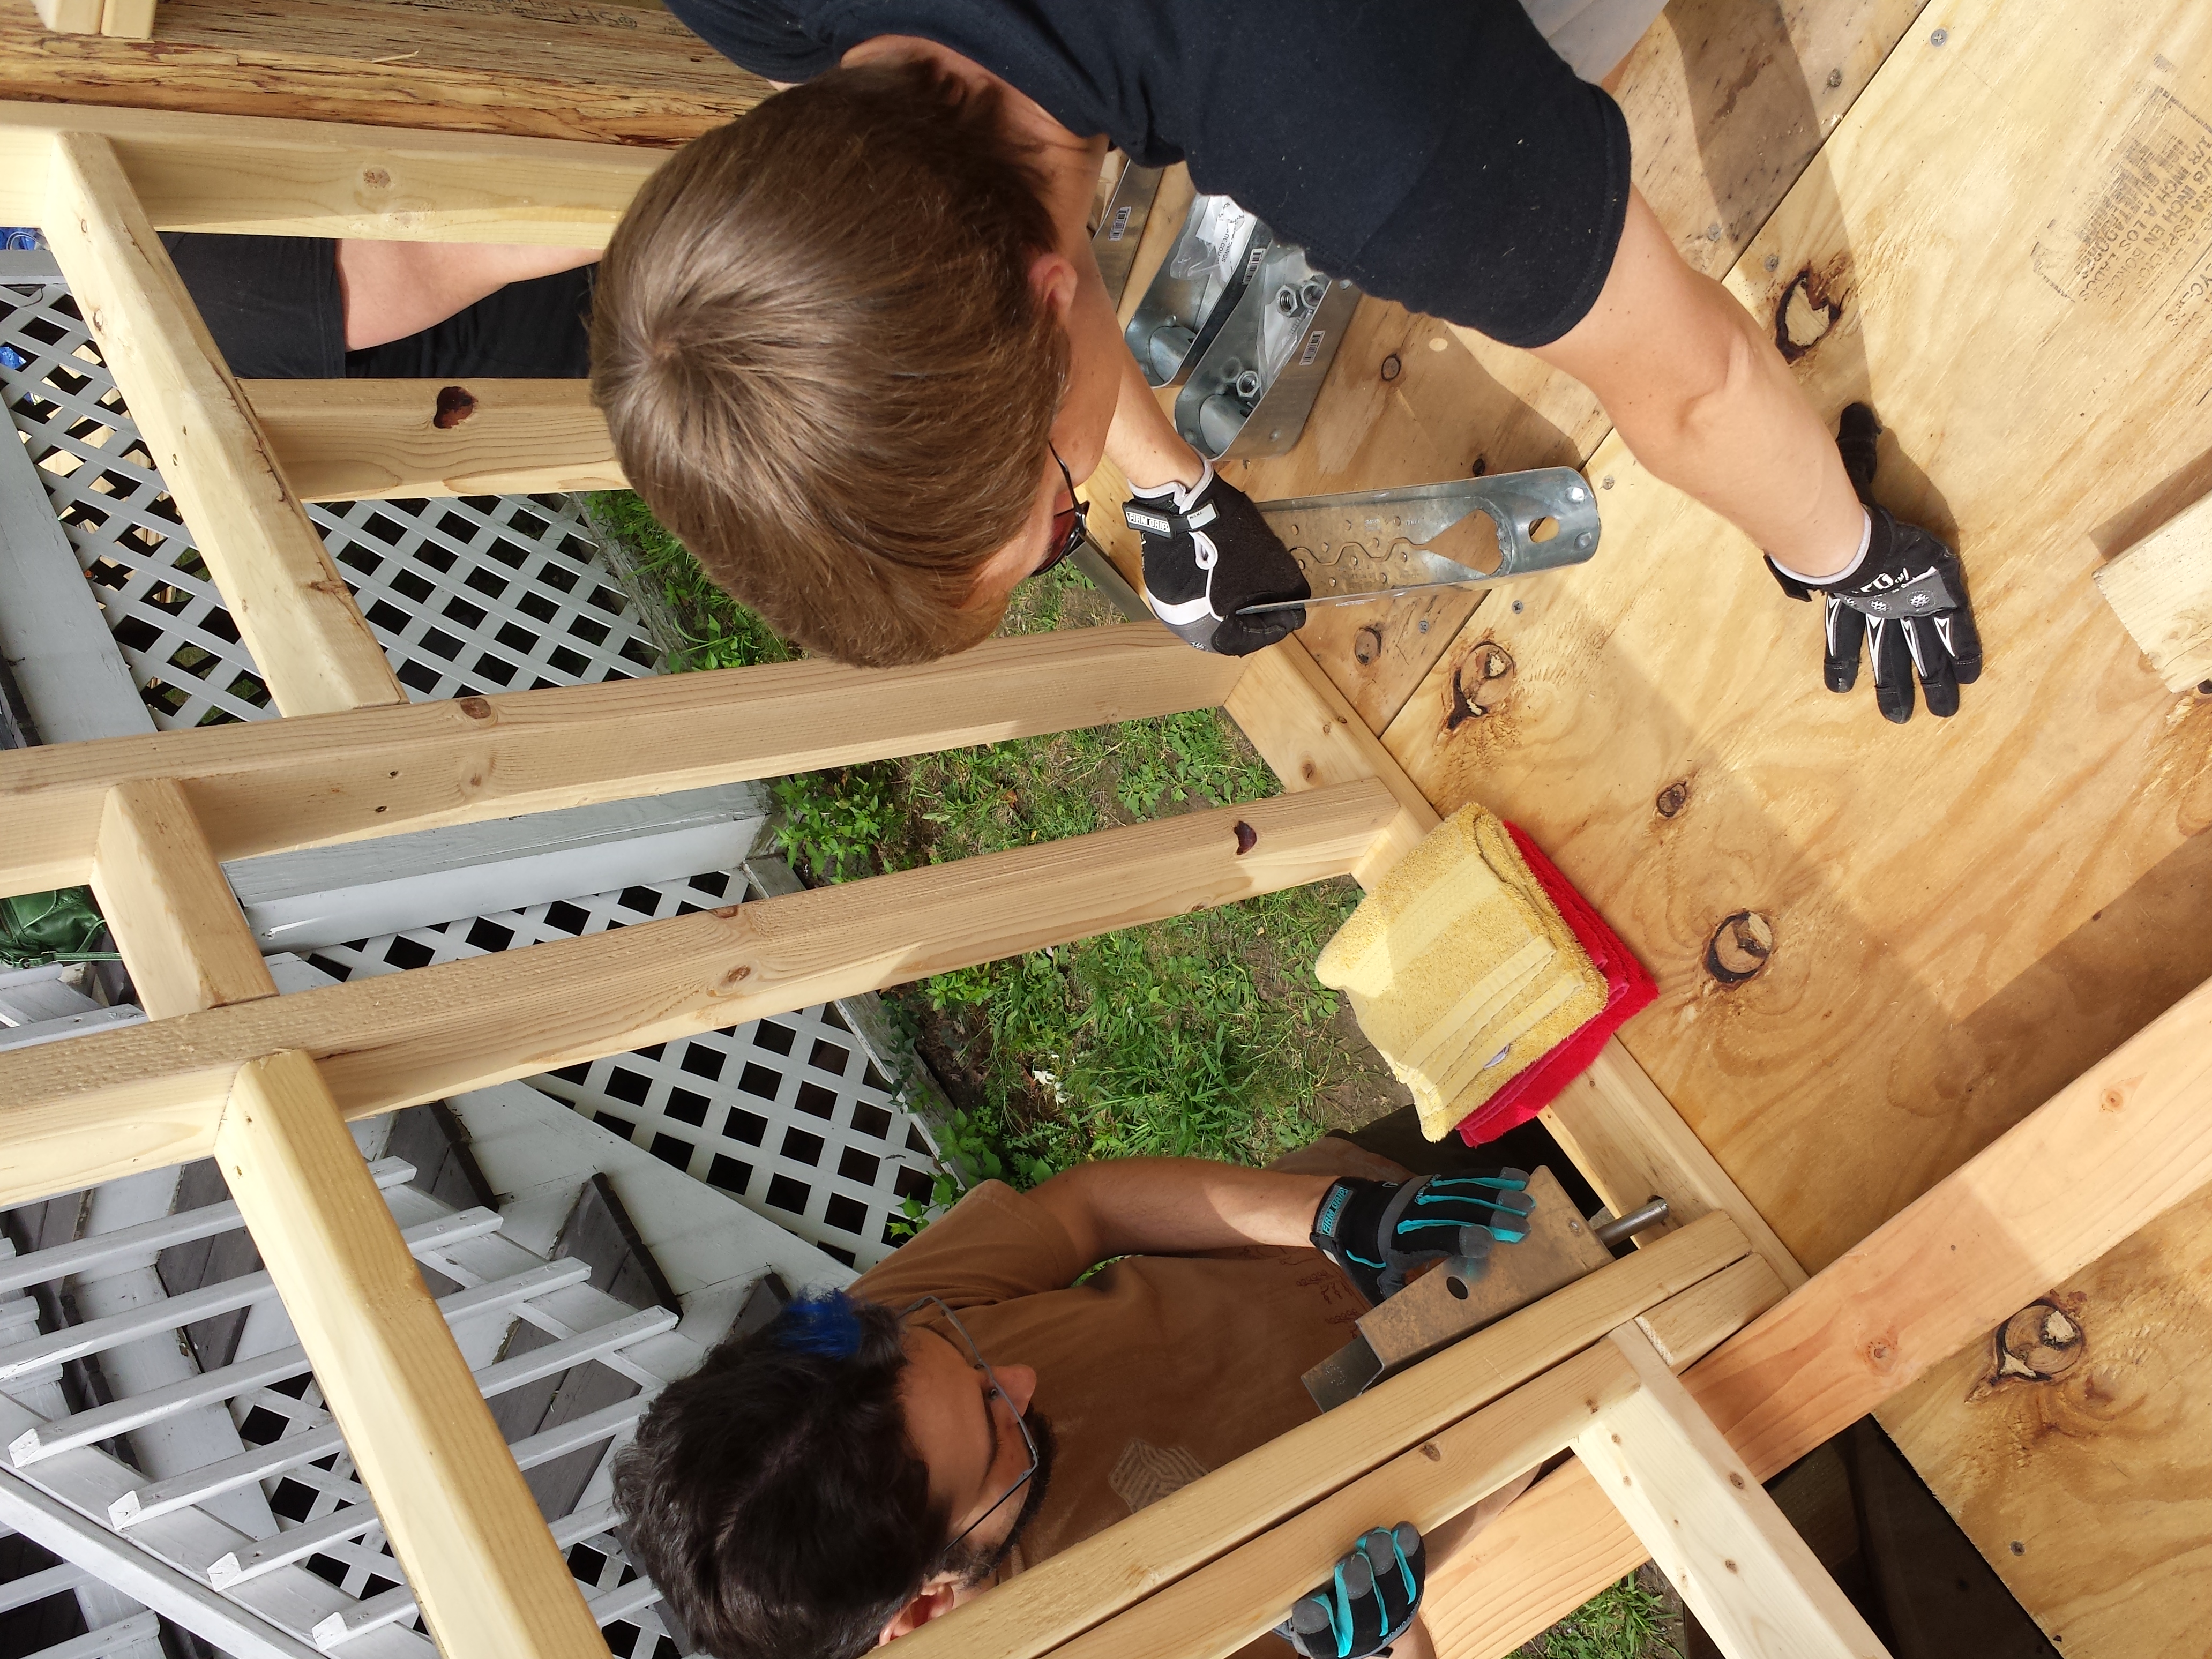
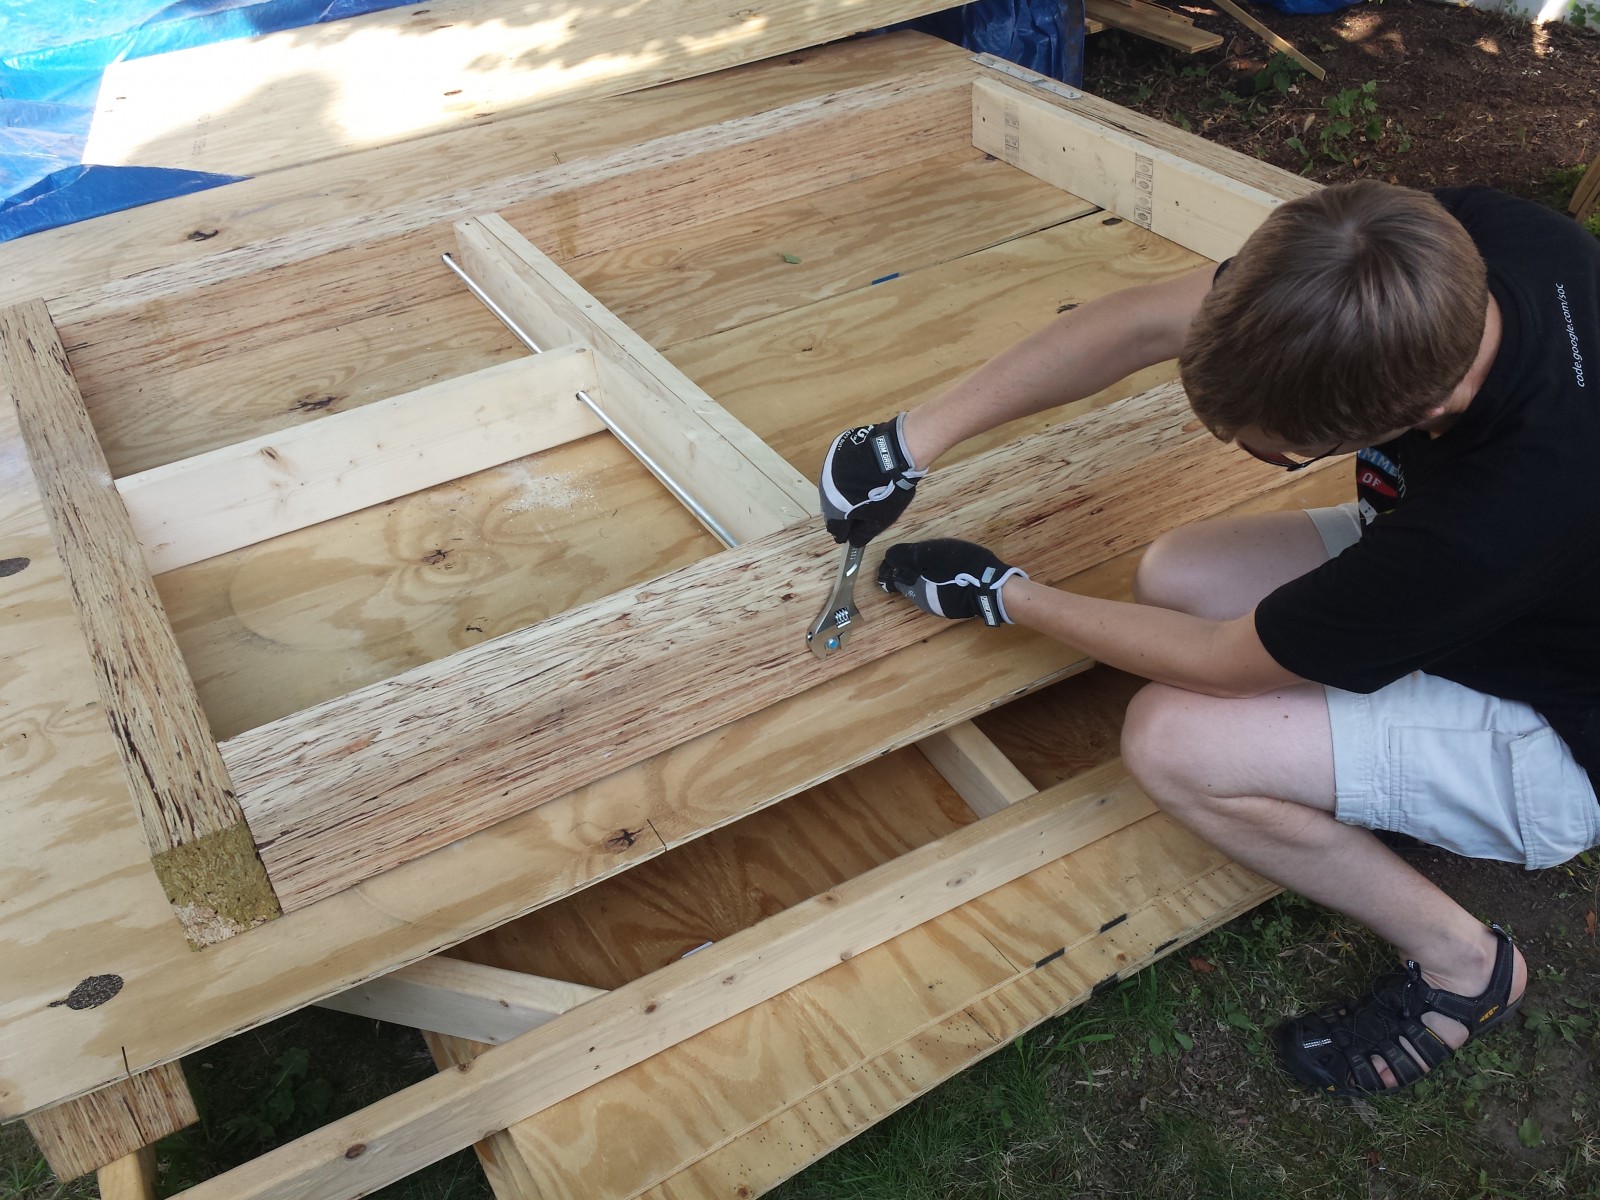
After last week, we were worried we’d have to do some sanding or cutting to make the metal hold-down brackets fit, which might require  a special tool and a lot of work, and/or trip to the Artisan’s Asylum, or the like.  In an attempt to get the non-fitting brackets to cooperate in a way that would cause less of a delay, Owen tried what he called “careful application of a hammer”, or what I call “banging metal a bunch of times”.  It worked.  All of the brackets now fit, so we screwed them into place.  What we now know is the brackets had tolerance built into them (they can be used with a range of measurements), so we could have helped ourselves out and made a wider distance from the threaded rod to the double stud to give us more flexibility.

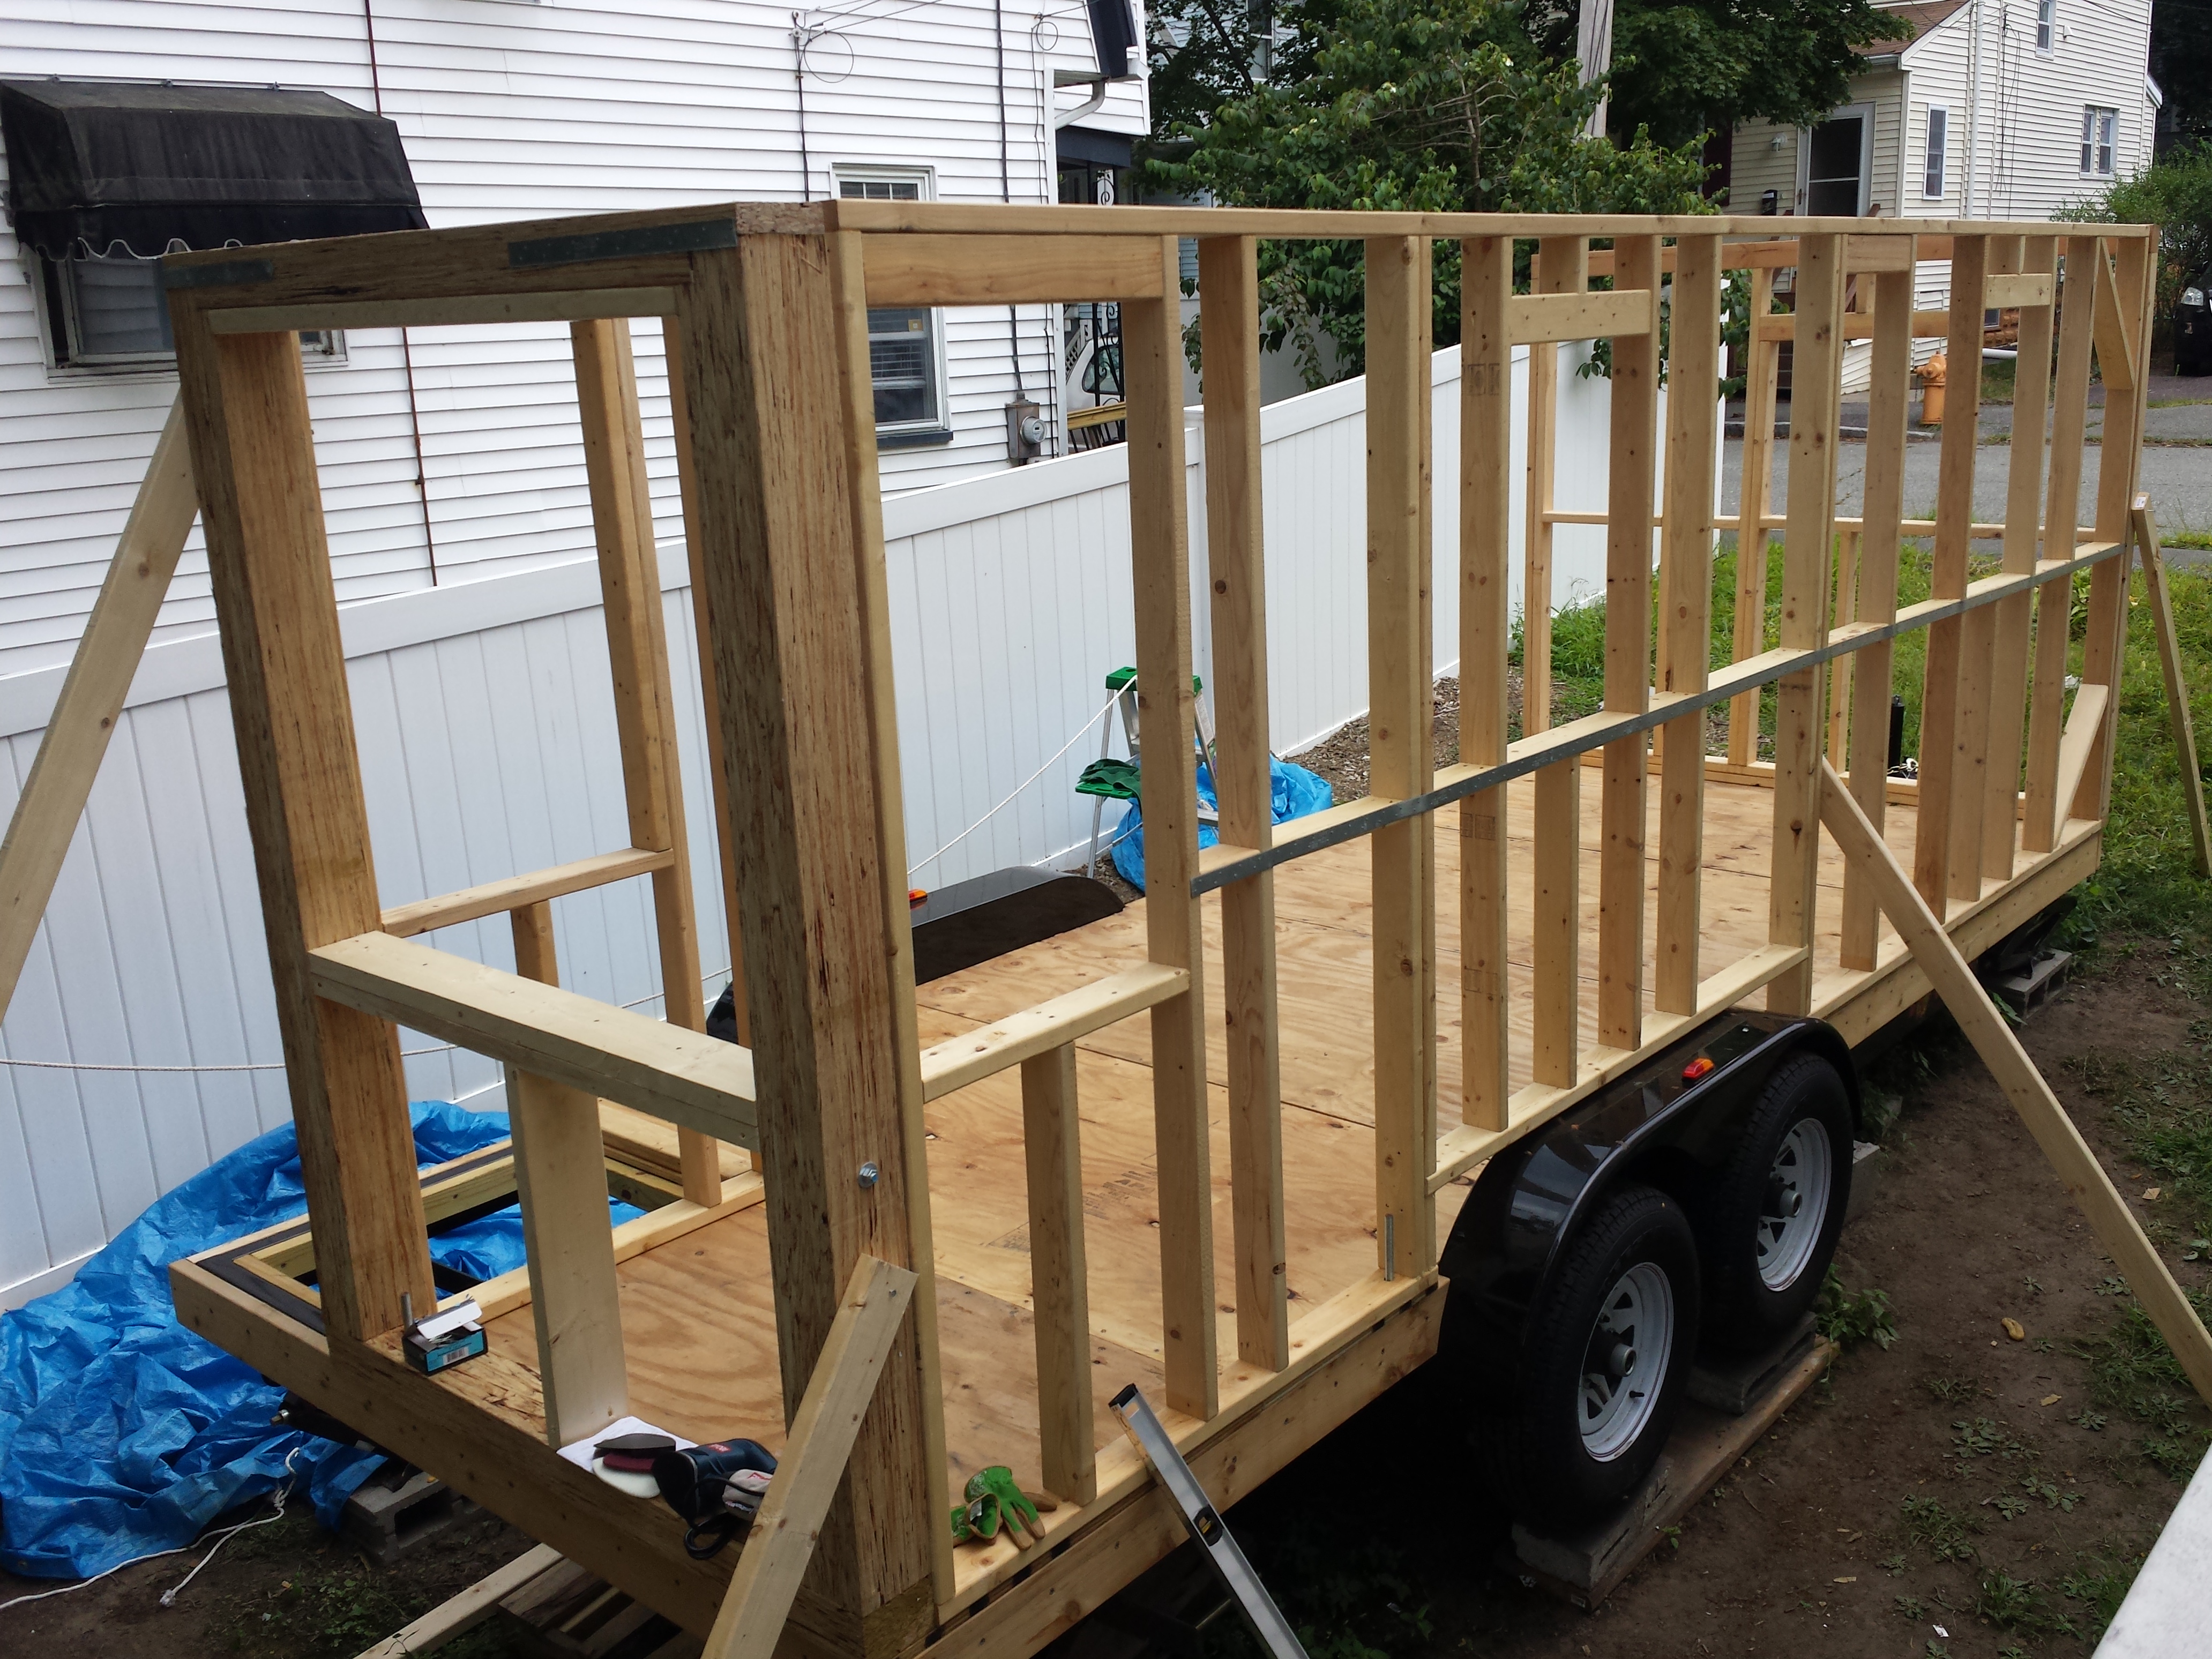
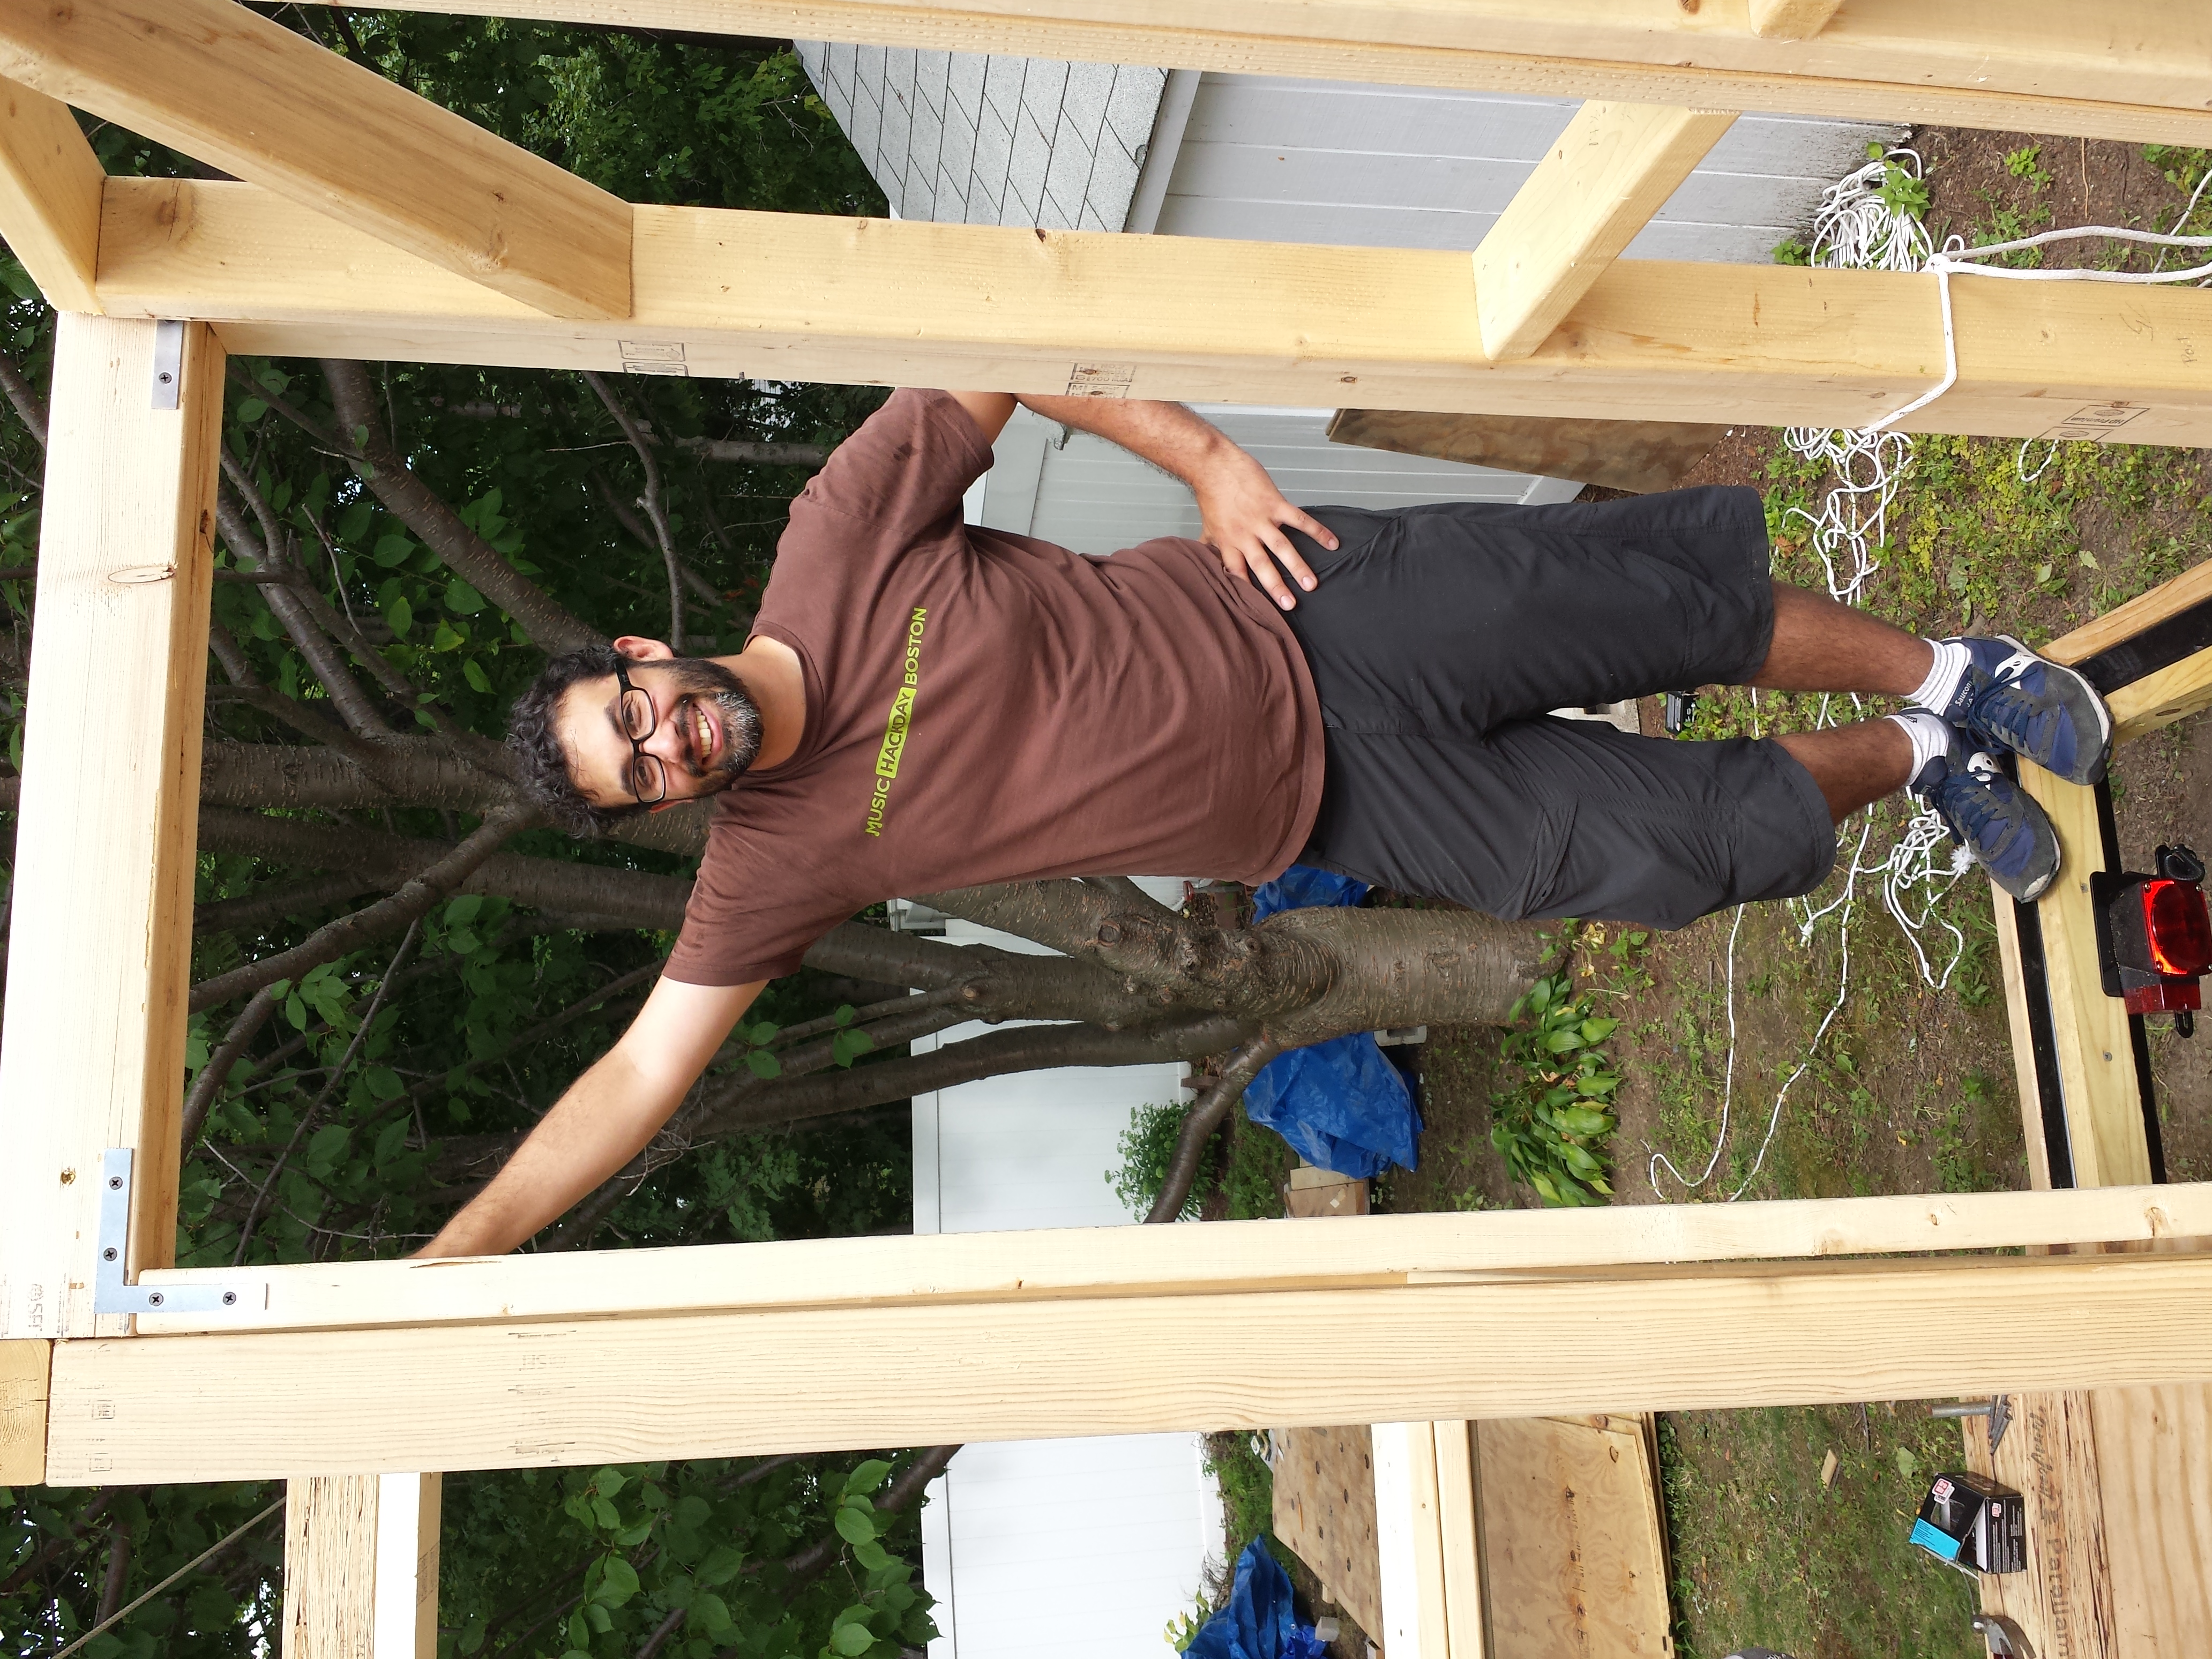
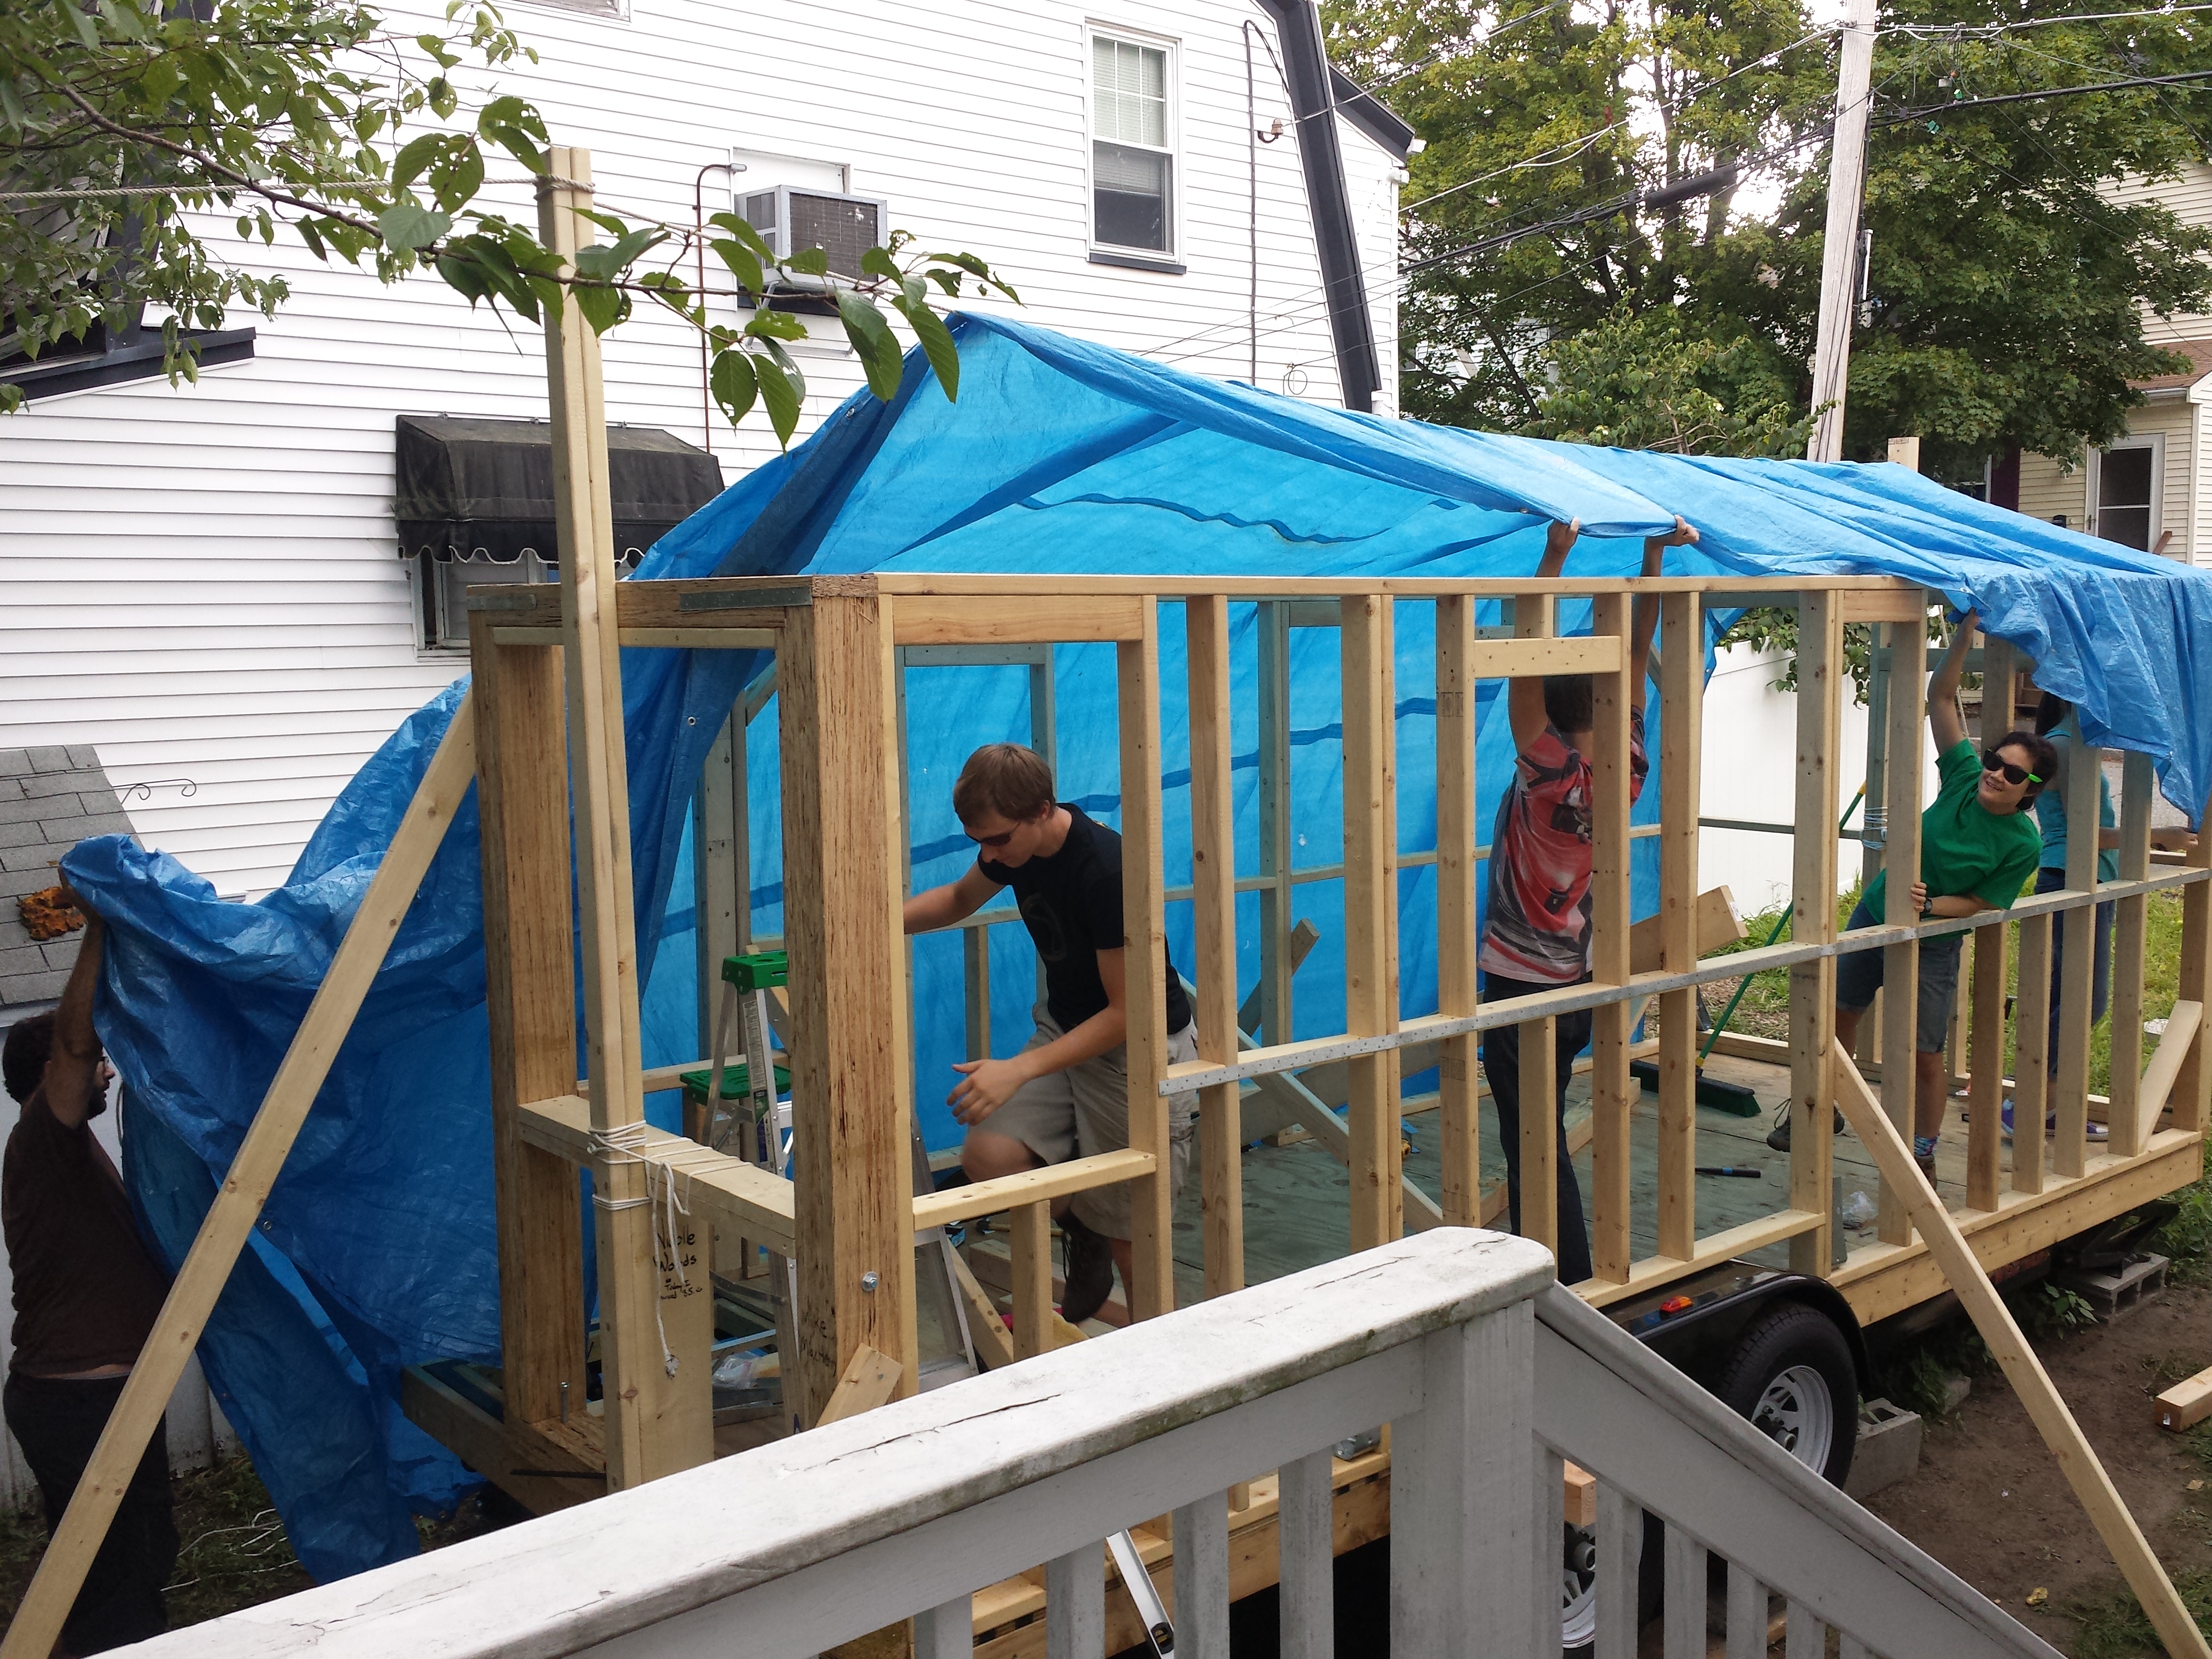
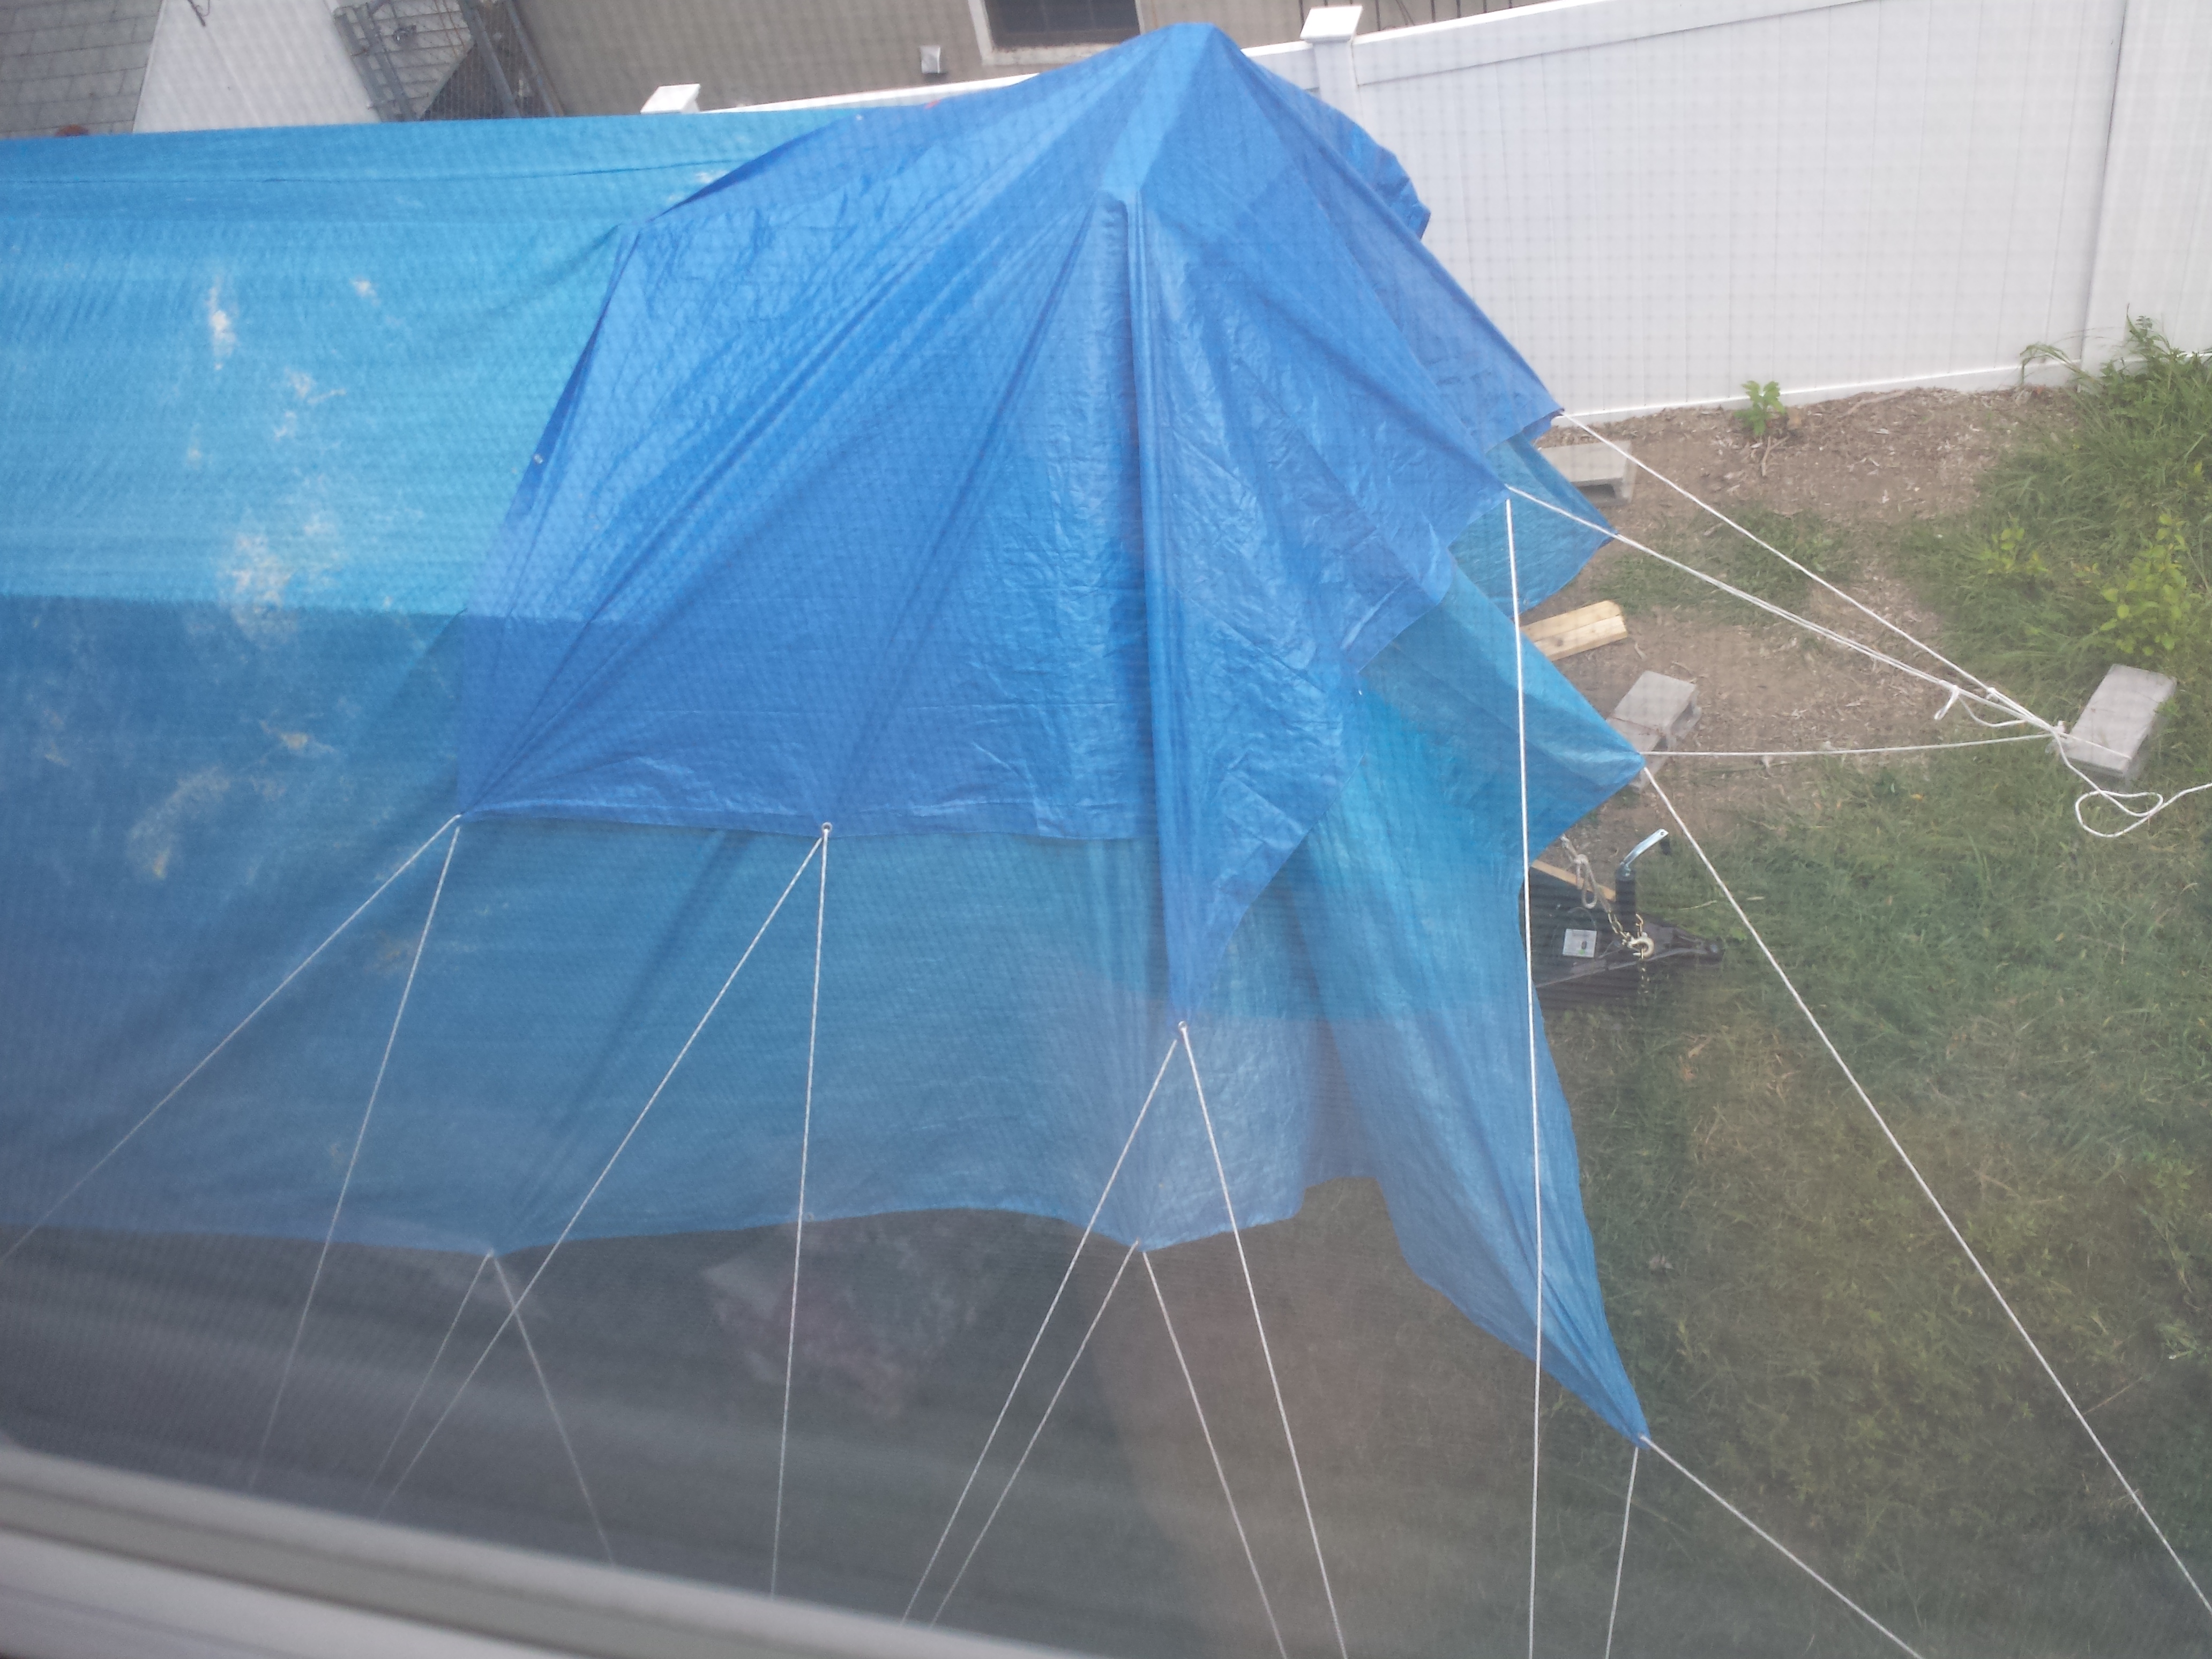
Tarp failure happened again, a couple days ago.  The towel that was wrapped on the top of a wooden post did not do a good enough job of softening the stress on the tarp.  A hole got poked through the tarp.  We had to think about how best to fix this, and prevent this from happening again, without sinking time into setting up a whole new tarp system.  I suggested duct tape but Owen said he tried that and it does not stick well to tarp when under stress.  Owen added a horizontal wood piece (perhaps 2 feet long) to the top of the post holding up the tarp.  He also added two smaller tarps:  One underneith the main one, and one over the hole (see today’s picture).  As of writing this, the one over the hole just got blown out of place by a strong breeze, so it took more than half an hour to get it back into place, more securely this time.  The tarp system only has to last a couple more months, possibly less, until the roof is on.

2014-08-31 15.51.21

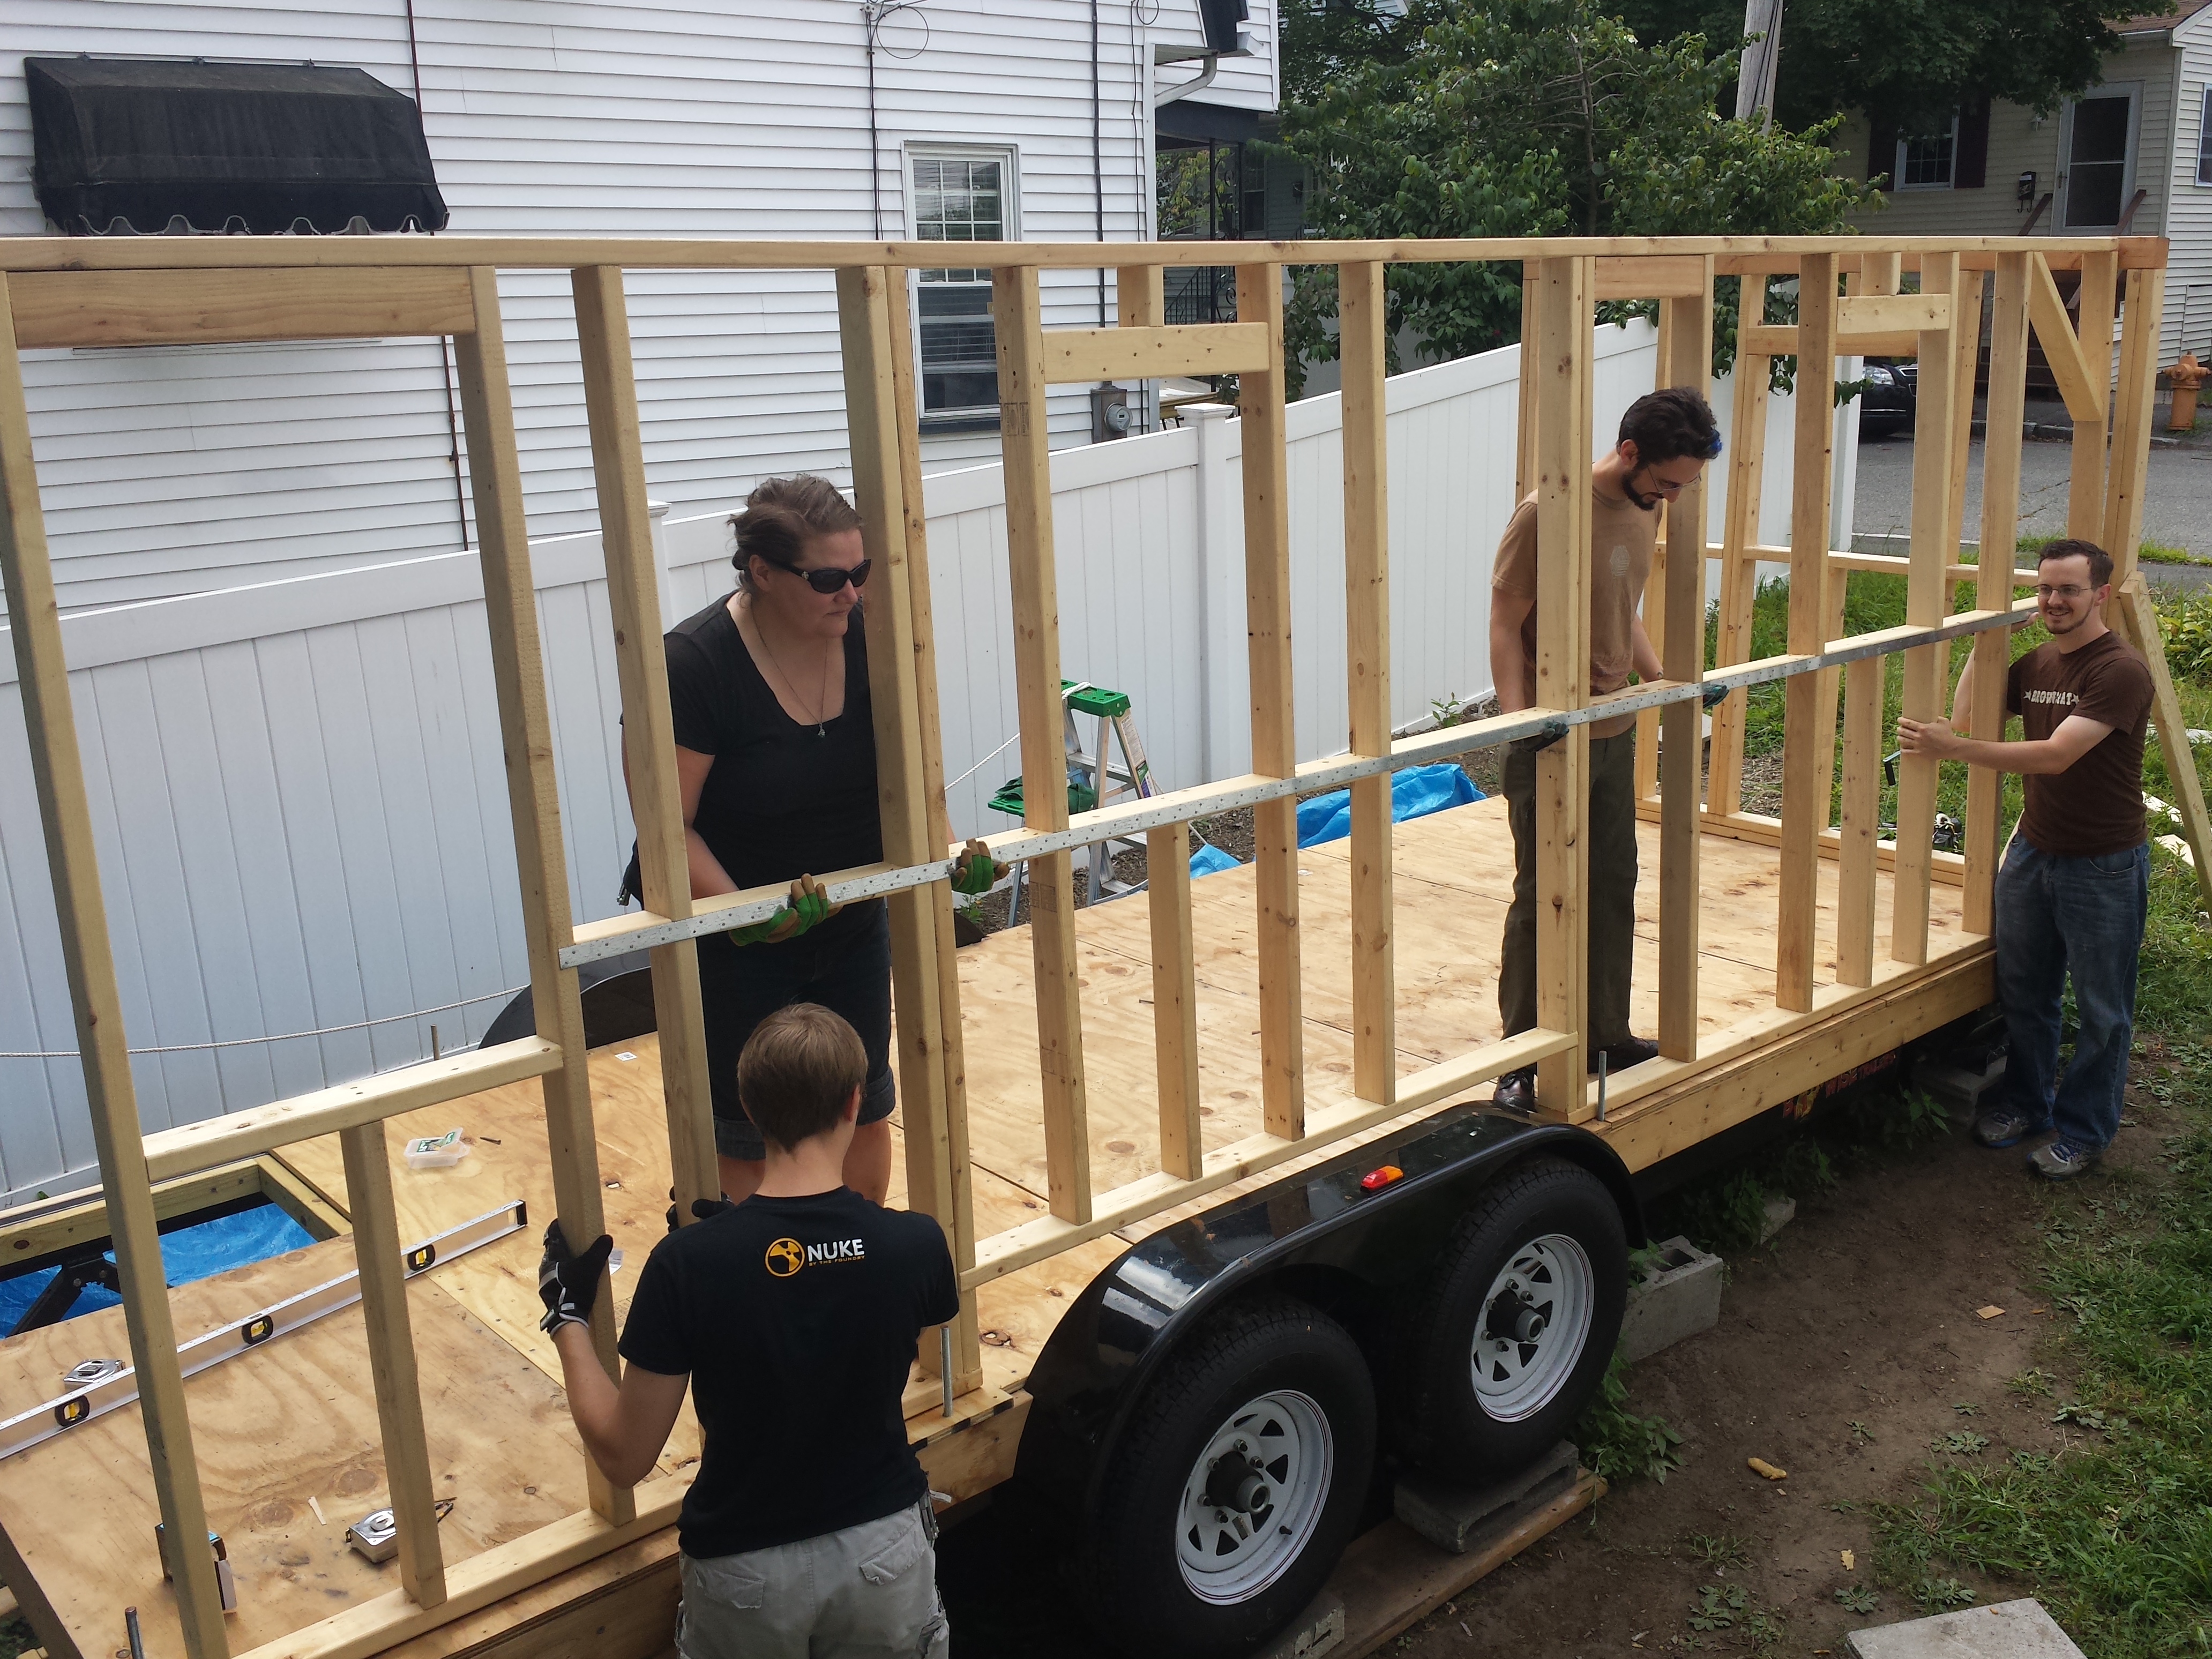
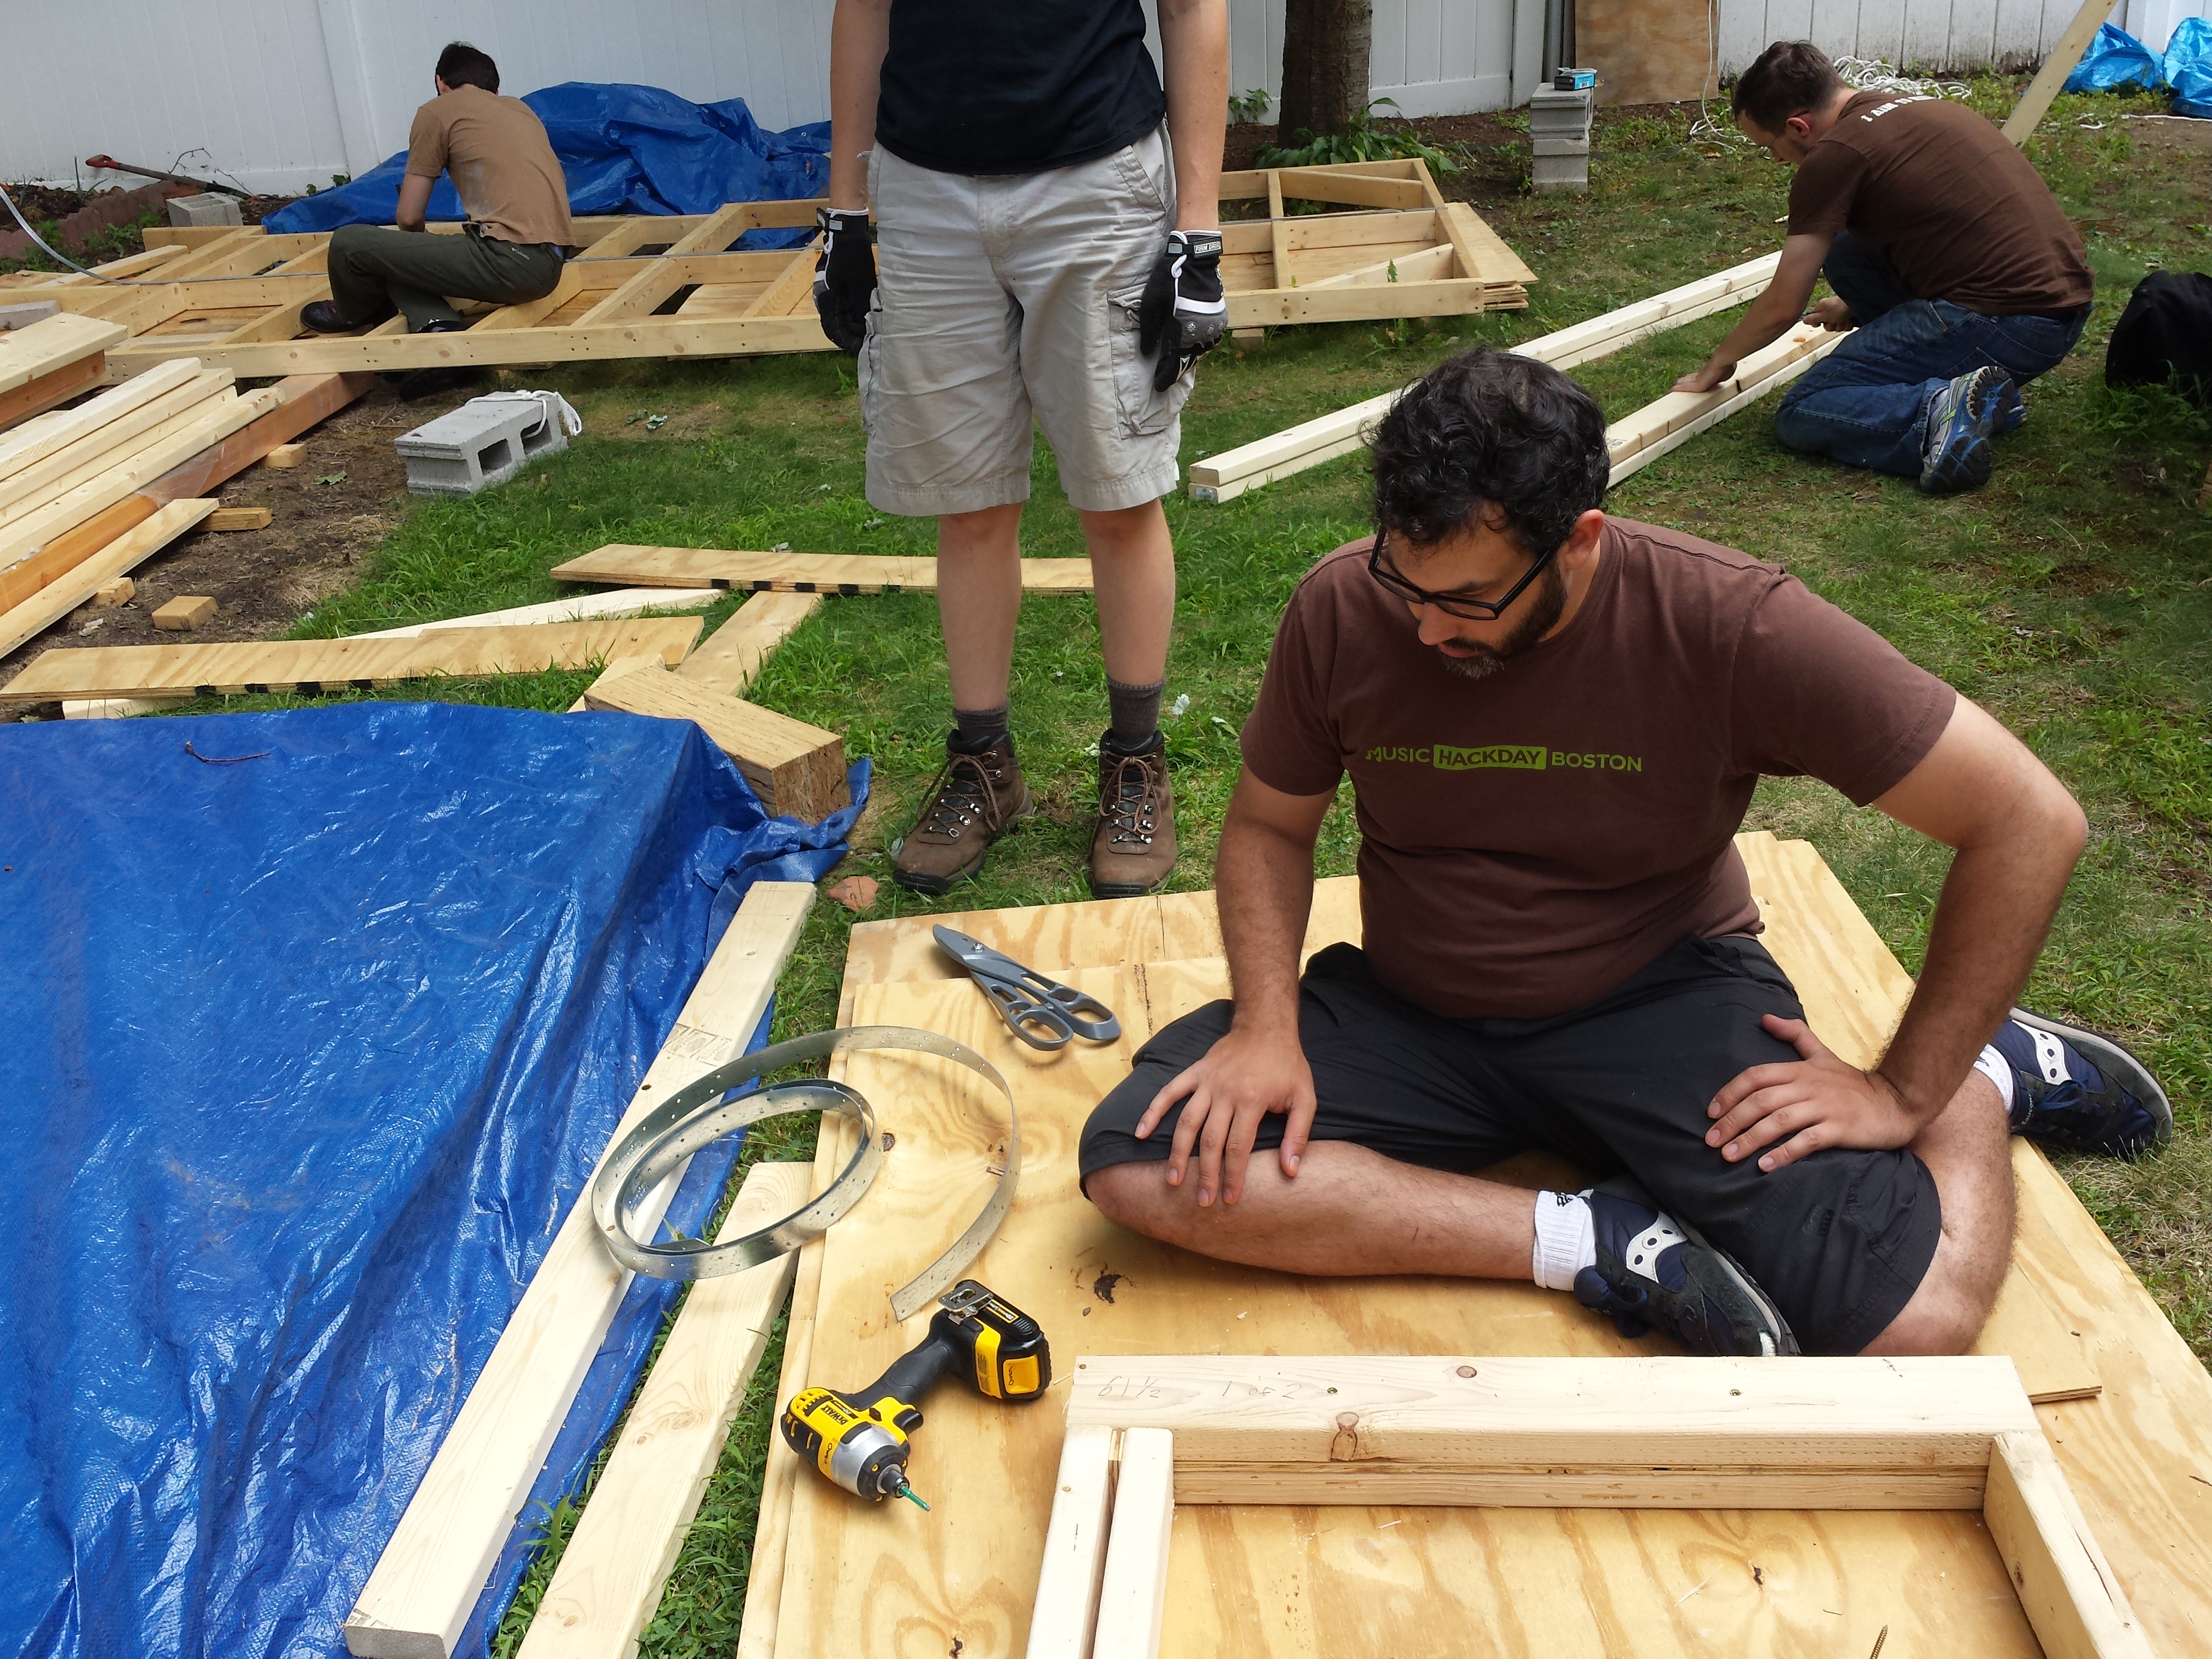
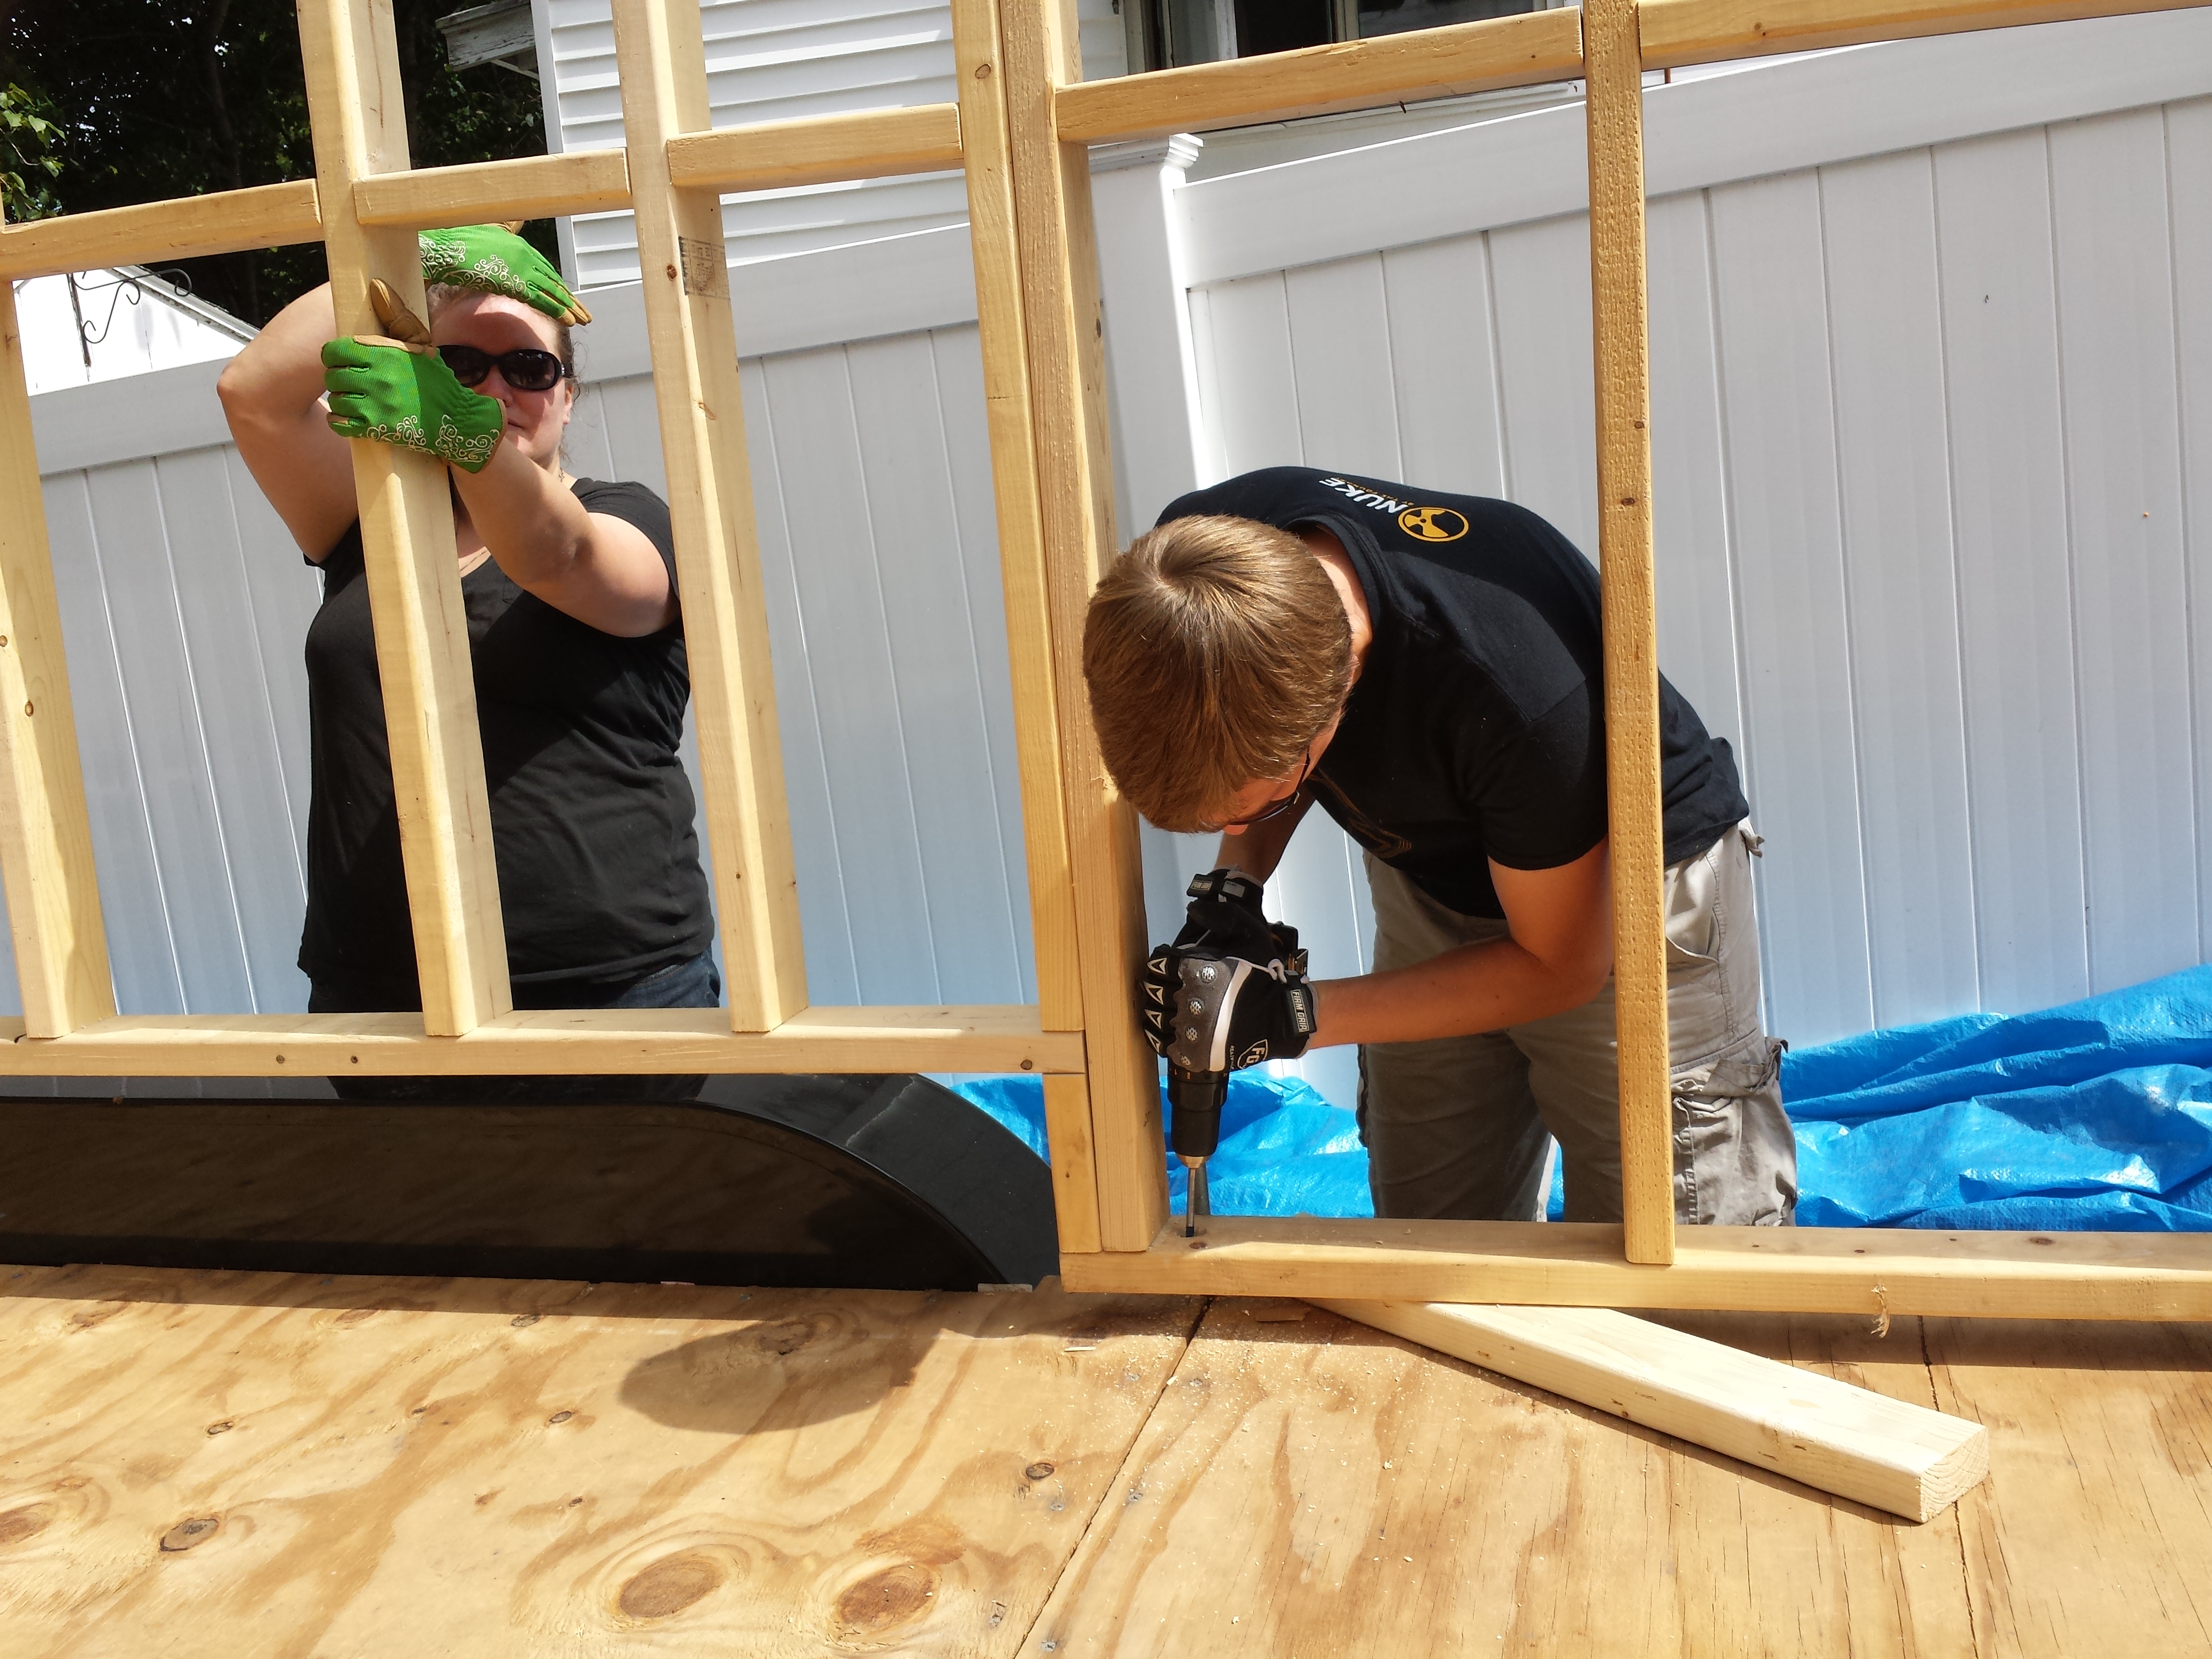
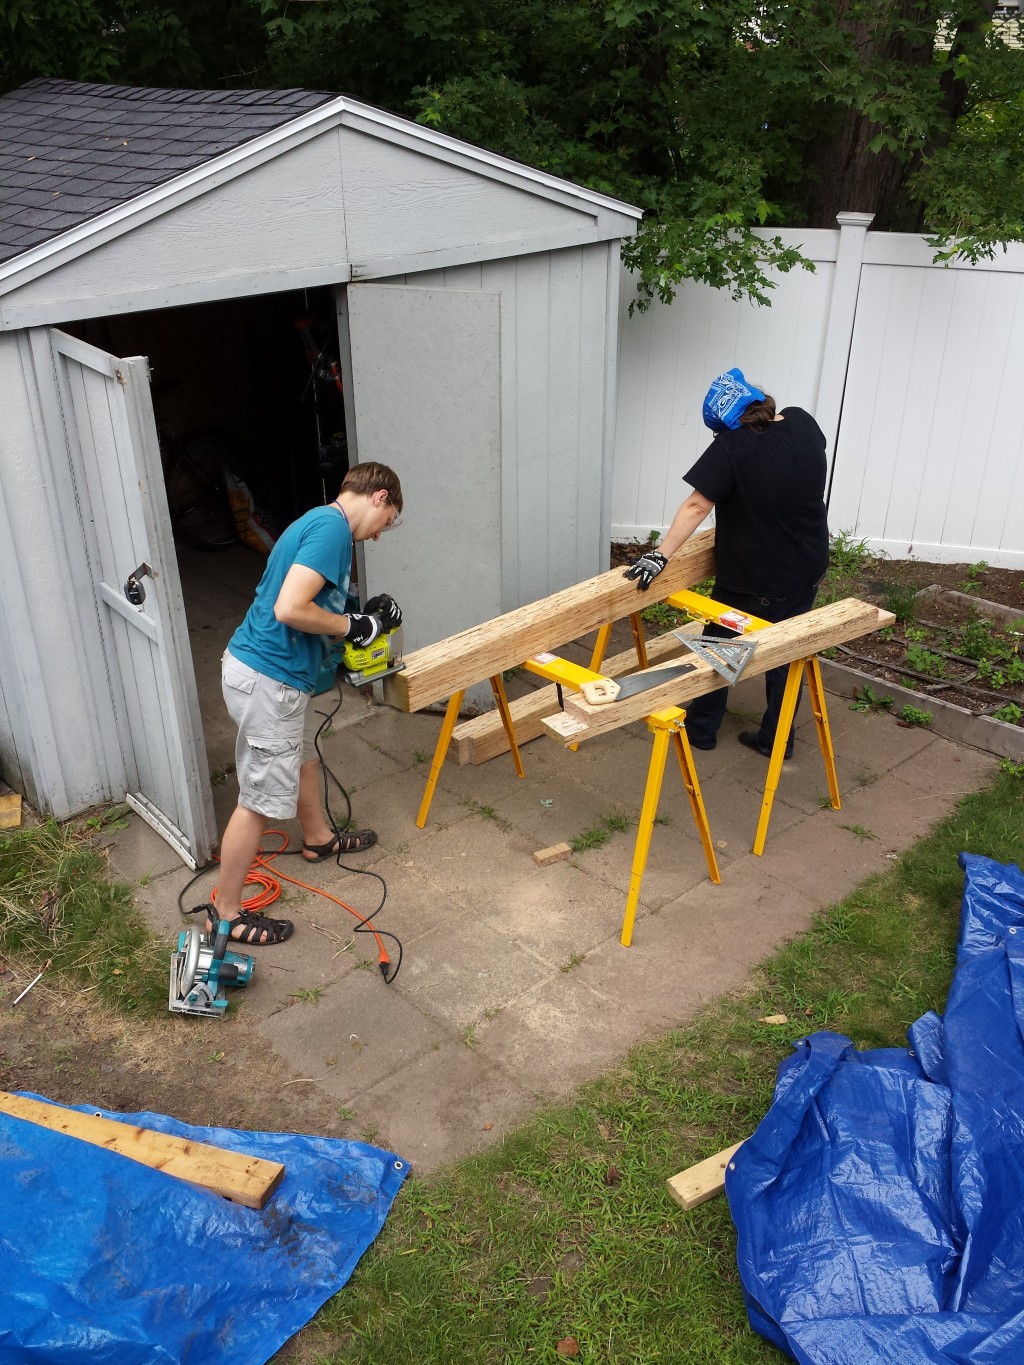
We bought the Tumbleweed DVD http://www.tumbleweedhouses.com/pages/video, an instructional video from the company in which we bought our plans.  Neither of us has watched all of it (mostly parts of Chapters 3. “Wall Framing”, and Chapter 4. “Loft and Roof”).  So far there has only been one “Ooooh, yeah!” moment of seeing something we forgot to do.  This was when they showed the technique for measuring whether a wall frame is square, prompting us to wish we had done before we raised the walls.  On the other hand, most of what the people in the video are doing is what we did (although they have fancier tools and indoor space — no tarp hassle!).  In fact, some of the closeups of the framing show that their results are rougher than ours.

We raised the walls

We reached a milestone for the project yesterday: “Framing party #2”. The house seemed to go from two-dimensional to 3D. Our scrappy, handy crew started coming over around 11am and the whole thing took about 6 hours (with breaks). Again we were blessed with perfect weather. Thank you Nicolle, Andy, David, Mike, Lea, May-Lee and Ben for your work, and I hope you had fun too!

Some challenges we encountered:

  1. The two long walls (starboard and port) did not line up with the places they were supposed to go.  The bottom corner of the starboard wall that touched the bow wall was 1/8th inch too big to even be squeezed in, and this wasn’t evident until four of us attempted to stand the wall into place. The solution: Enlarging one of the holes in the bow wall so that we could shift the whole wall a tiny bit.  Also, sanding the place where the two walls met.  The port wall had the problem of the threaded rods not lining up with the holes we drilled.  When either one of the two holes fit, that meant the other one was about 1/4 inch off.  The solution:  We raised the wall to rest on scrapwood so that the subfloor would not accidentally get drilled into, then we enlarged one of the holes with a drill until it fit.
  2. Unfortunately, because we changed the position of the threaded rod relative to the frame, the bracket no longer fits on the rod.  Instead, the bracket is jammed against the wall stud.  This was true for two out of the six brackets.  We will probably have to sand the wood, or bend the brackets to fit.  For now, the brackets are not secured into place.
  3. The tarp is big (approximately 20’x40′) but we have to use it in an effective way or else the tarp could fail in inclement weather.  Luckily, we had some experienced tarpmasters.  Mike has a lot of experience rigging tarps at Burning Man, and the techniques he used are summarized in here.  It’s a system called dynamic rigging, which ensures that the tension is evenly distributed around the edge of the tarp.
2014-08-17 11.41.54
Four people is a good number to move a wall into place. There is nothing to hold the wall upright until boards for them to lean against are temporarily nailed into them.
2014-08-17 12.04.24
Picture perfect! This is the bay wall, made mostly out of Parallam, which is a synthetic, compressed wood that is HEAVY.
2014-08-17 13.19.42
Four walls standing, two to go.
2014-08-17 13.21.26
Everyone is working! (Not pictured: Me. But I probably sweated less than anyone.)
2014-08-17 13.22.18
Mike is checking out the door wall, and he and Lea made a special trip to the hardware store to get some “L” brackets.
2014-08-17 13.47.40
Owen, and a monkey in a tree! (I’m up there because the rope had to be tied higher up.)


2014-08-17 14.33.33
Owen redrilled the hole where it was not aligned with the threaded rod.
2014-08-17 14.42.09
Mike showing us the door wall, in its place!
2014-08-17 14.42.57
The walls are adjusted, but some of the brackets don’t fit.
2014-08-17 15.47.56
Our new tarping system is unstoppable.

The Bay Window Wall

The last wall I constructed is the one that holds the bay window.  Since this wall has a large span with no structural supports, it has to be super reinforced so it can hold the weight of the roof (plus any snow there might be).  The two main sources of reinforcement are extra large beams made out of a synthetic wood called Parallam, and a steel rod which keeps the posts from spreading apart.  There are also extra-large screws, double boards for the window sill, and metal straps at the top.

Tightening the threaded rod

I left this wall for last because the Parallam boards are special-order and I didn’t want to make any mistakes.  I nearly did, though.  I didn’t do a great job of drilling the holes for the rod, and there was a good 15 minutes where the 5/8″ drill bit was trapped in the post.  I eventually used a socket wrench to get it moving again, so it turned out all right.  Sometimes I like working with other people so we can get more done, but sometimes I like to work alone so no one sees how close I come to disaster.

IMG_20140810_162404
Checking the strapping

The longest piece of wood

image

At 18′, this $150 piece of cedar (that had to be special ordered via Home Depot) is the longest single piece of our house.  “Crowning” is a new concept for me, which means making a conscious choice about which side of the piece of wood will face up (well, it will face up once the wall has been put in an upright position).  Since wood is organic matter each piece is a bit of a special snowflake. It is supposed to make the house stronger in the long run if the “rounded” side of the wood is facing up.

Although the beam looks very bent at first, once it’s actually screwed into place it takes the right shape:

2014-08-03 19.02.25-beam-in-place
Looking much better now

Workin’ in the rain

Building a tiny house in New England means anything short of a tornado is by necessity “on the table” to be a workday. Speaking of a tornado, there was one in the Boston area on Monday. While it didn’t hit our town, the accompanying storm got the best of our tarp setup and caused some water damage to one section of the sub-floor, so the plywood will now have to be replaced. Another delay.

Yesterday, we had an 8am delivery from Home Depot of wood we’ll need for roofing (1/2″, 3/8″ and 3/4″ plywood, 2x4s), with light rain the whole time. Our yard is in a stage of what Owen is calling “the part of the entire building process that has the most lumber in the yard”. Hopefully this is true because space is hinting at getting tight. Nicolle came over and she, Owen and I arranged some of this wood in such a way that the completed walls were not on the trailer, so that we have room to build the Starboard wall there. Then Nicolle took inventory of already-cut wood.

The yard being full of tarps is the reality of this build
(Click for bigger version!) The yard being full of tarps is the reality of this build. (Also, this photo will give you the mistaken impression that our yard is not L-shaped.)
2014-08-02 11.22.08
Notches made to this post with a circular saw and a jigsaw have to be done carefully because a mistake could require a new piece of special-order Parallam wood.

Despite our New England hardiness, the rain got to us so we wrapped up work early.

Water

What kind of water system should we have?  It turns out this needs to be decided sooner than originally planned because at least one possible choice means a change in the structure of two walls, notably, adding a dormer to the port side, a dormer which would need to be framed before the roofing.   Right now our options are:

  1. What seems to be the most common model for Tiny House plumbing is putting a tank on the ground floor, and using a 12-volt pump to move the water around the house (to the sink and shower).  Usually the tank is in the corner of the house under the kitchen counter.  This would mean running the generator any time running water was wanted, and that’s something Owen would like to avoid.
  2. The second option is building a gravity-powered water system.  This would avoid using a battery-powered pump, because the water pressure would be created by THE MASS OF PLANET EARTH.  But given the small size of the loft area, this would require adding a dormer to the port side to house the water tank.
  3. ???

Questions to ponder:

How exactly does new water get added to the system?  We have a garden hose but where does it hook up?  How often would this need to be done?  And then there’s the problem of getting new water up into the tank.  Hand pump?  Twelve-volt pump only operated when the tank is empty?  Bicycle-powered flywheel?

Is there enough water pressure from a lofted tank to trigger the tankless hot water system and provide a decent shower?

Is there any risk of this system freezing in winter?

How can the system be built so as not to cause an overflow everytime the lofted tank is filled?

Is this system tedious to use?


Thoughts and opinions on this are welcome!