I am tired of the tarp. It’s been up for over half a year and it’s full of holes. So, we are prioritizing roof work — it must come above all else (get it?). Roofs are the first line of defense from the rain and snow. So, the “order of operations” for installing all the roof parts must be followed, or else the finished roof may leak. For our roof, the order is:
- Eave drip edges
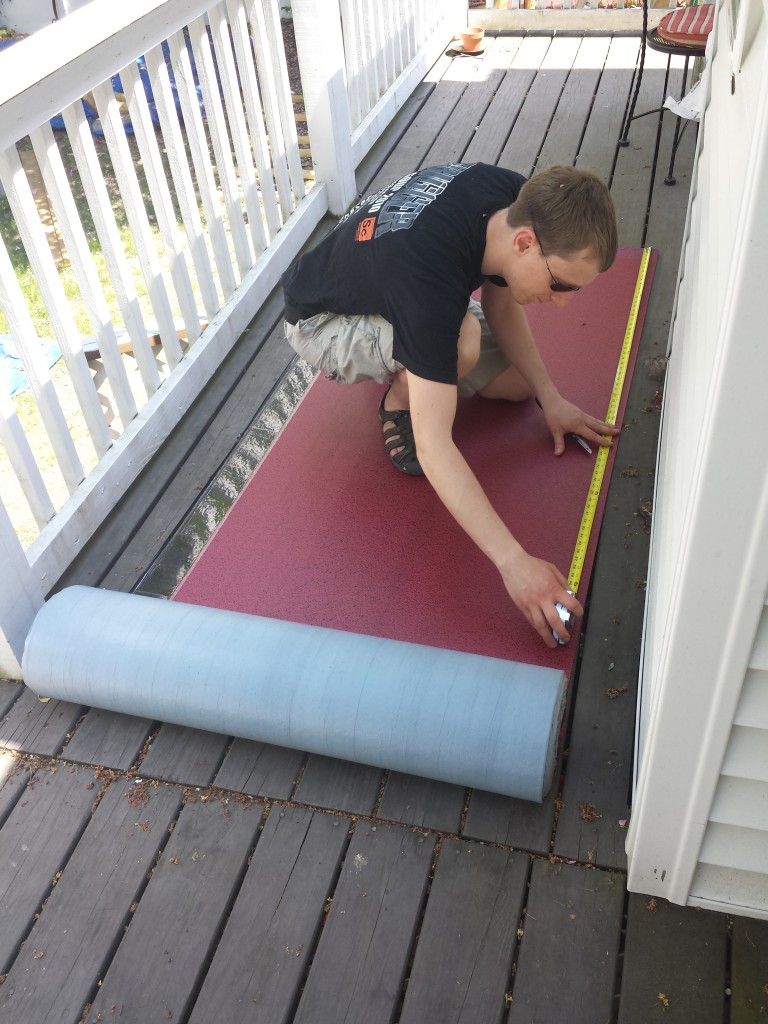
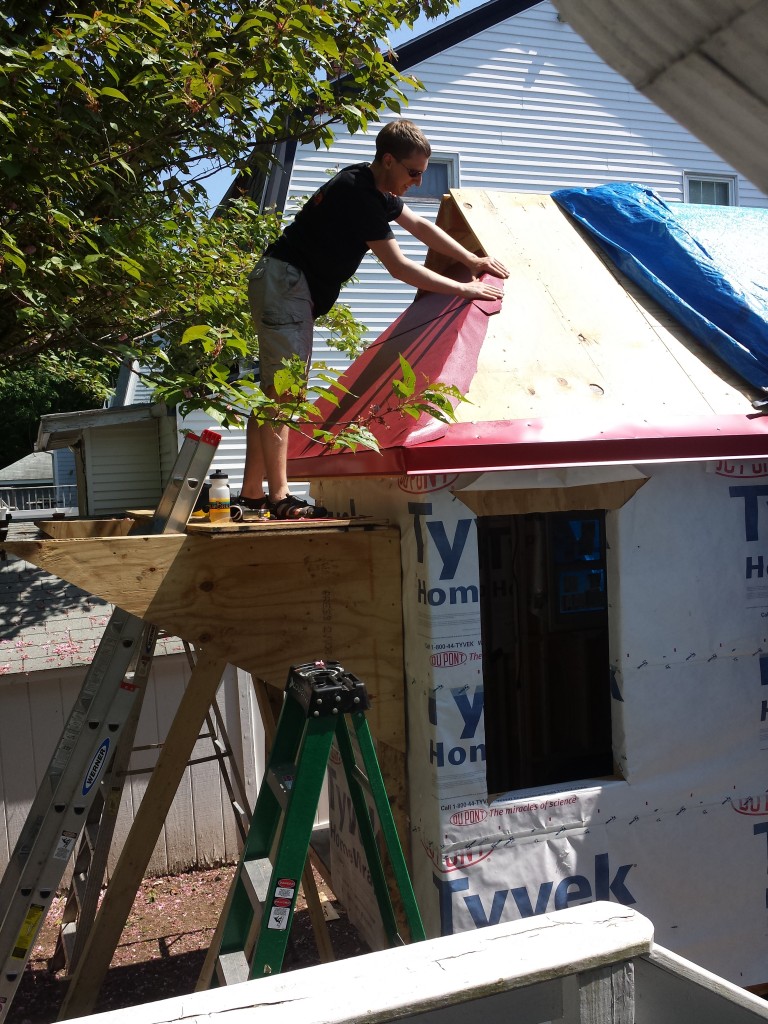
- Underlayment ((A waterproof, heatproof, self-adhesive rubber layer that says in big letters that it contains cancer-causing agents. This is what really keeps the house dry))
- Rake drip edges
- Roofing panels
- Hip ridge covering
- Roof ridge covering
With each of these steps, we have to do the installation low-to-high, and back-to-front. So the very first things to install are at the back of the house close to the edge, and the last things to install are at the front of the house toward the ridge. At every step of the way, a raindrop should fall gently from one surface higher up to a lower surface below. At no time should a drop of rain encounter a seam where it could puddle and leak.

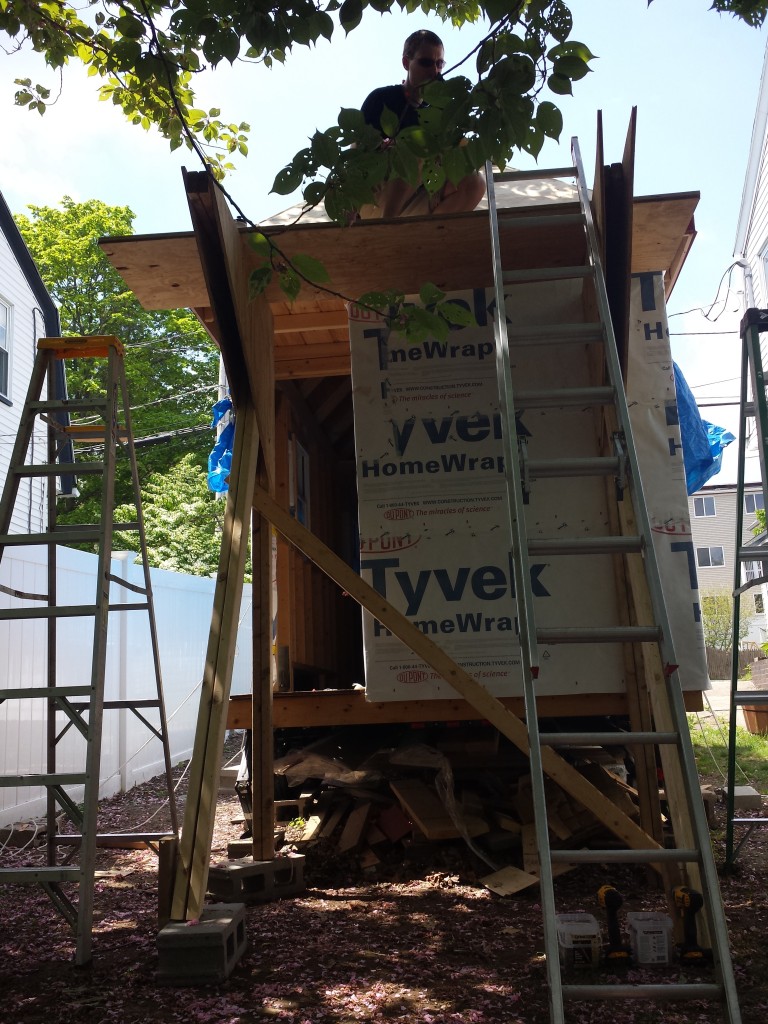
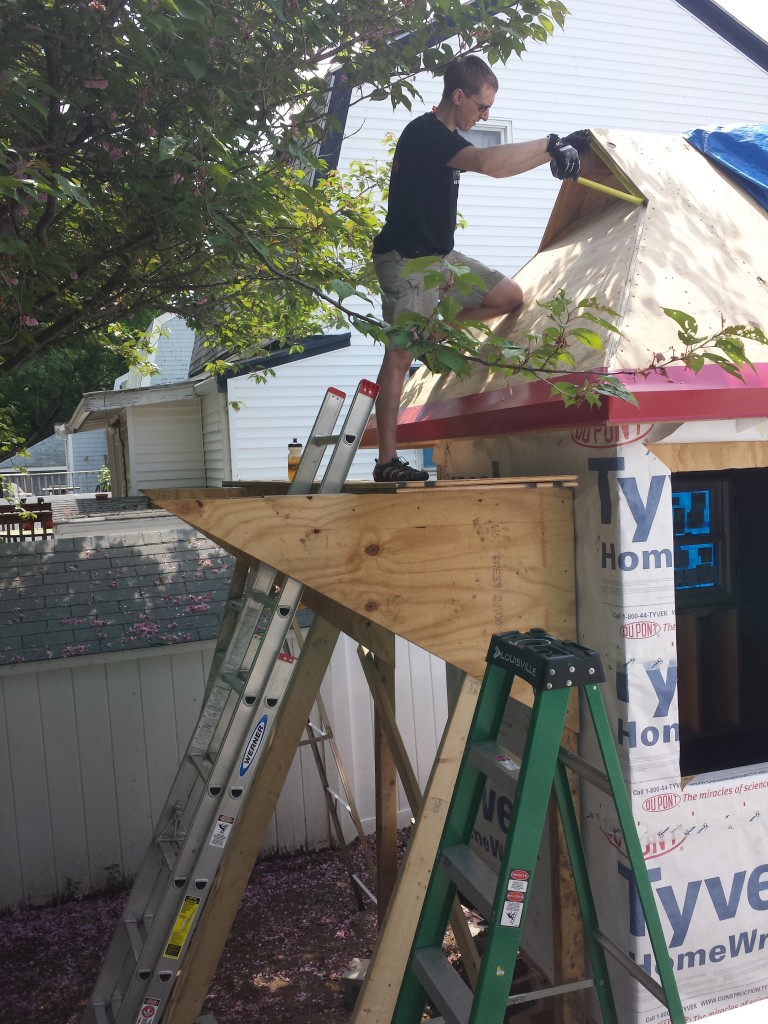
Because a roof is a dangerous thing to walk on, I built my own temporary scaffolding to make it easier to work up high. I borrowed the design from a clip of This Old House on youtube:
I bought so much extra wood last year, mine was entirely constructed from leftover pieces!


We hope to have all the underlayment installed over memorial day weekend, then we can start working on rake edges and the roofing panels.
