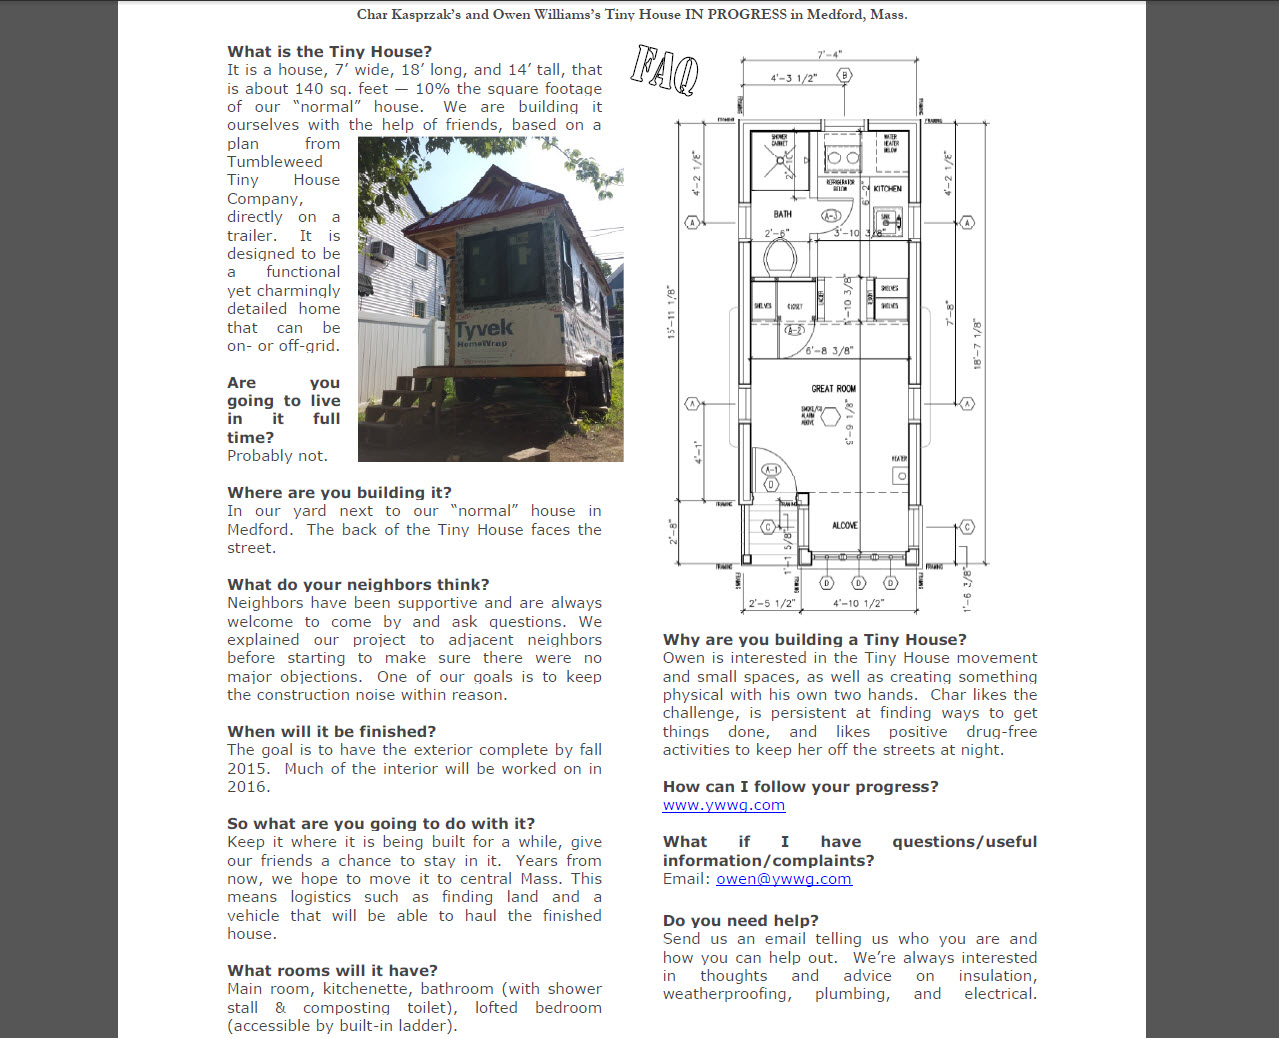
Presenting the new FAQ. Importantly, it reflects that we aim to have the exterior done this fall. I was thinking of putting a box of these out front by the sidewalk. Whenever we work on it, people walking their dogs and such always give us compliments and questions, now that it is recognizable as a tiny house!
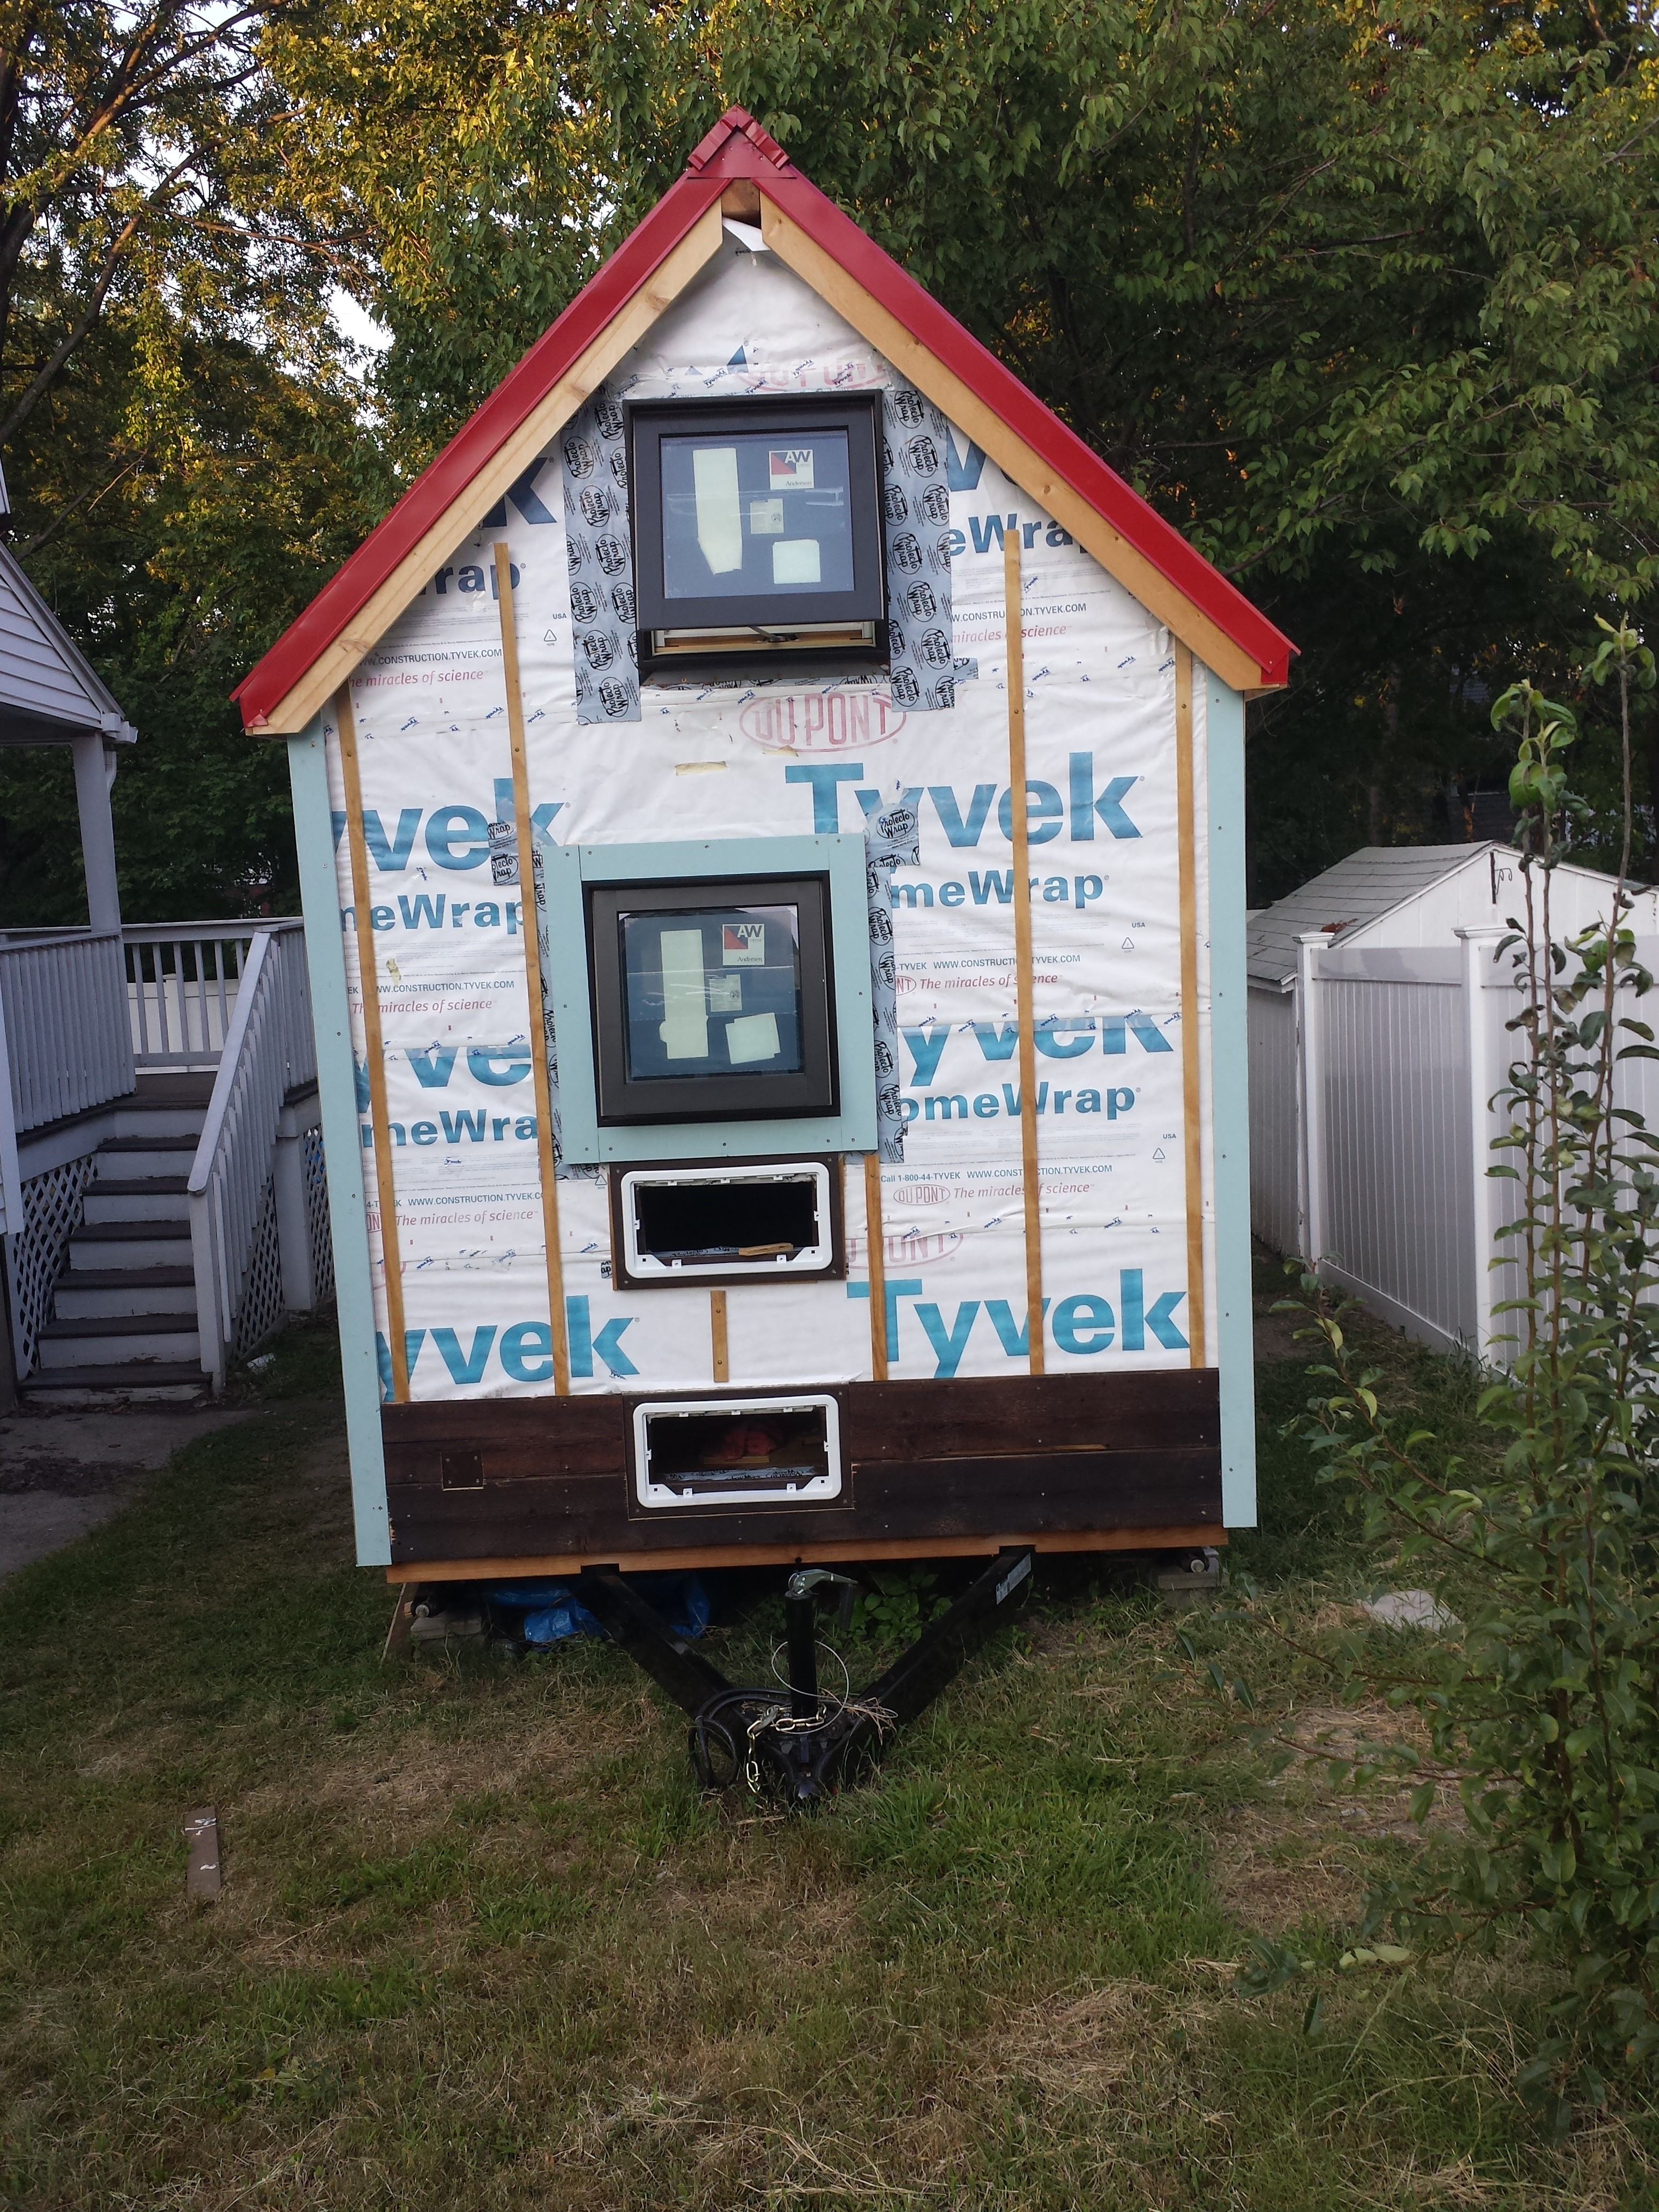
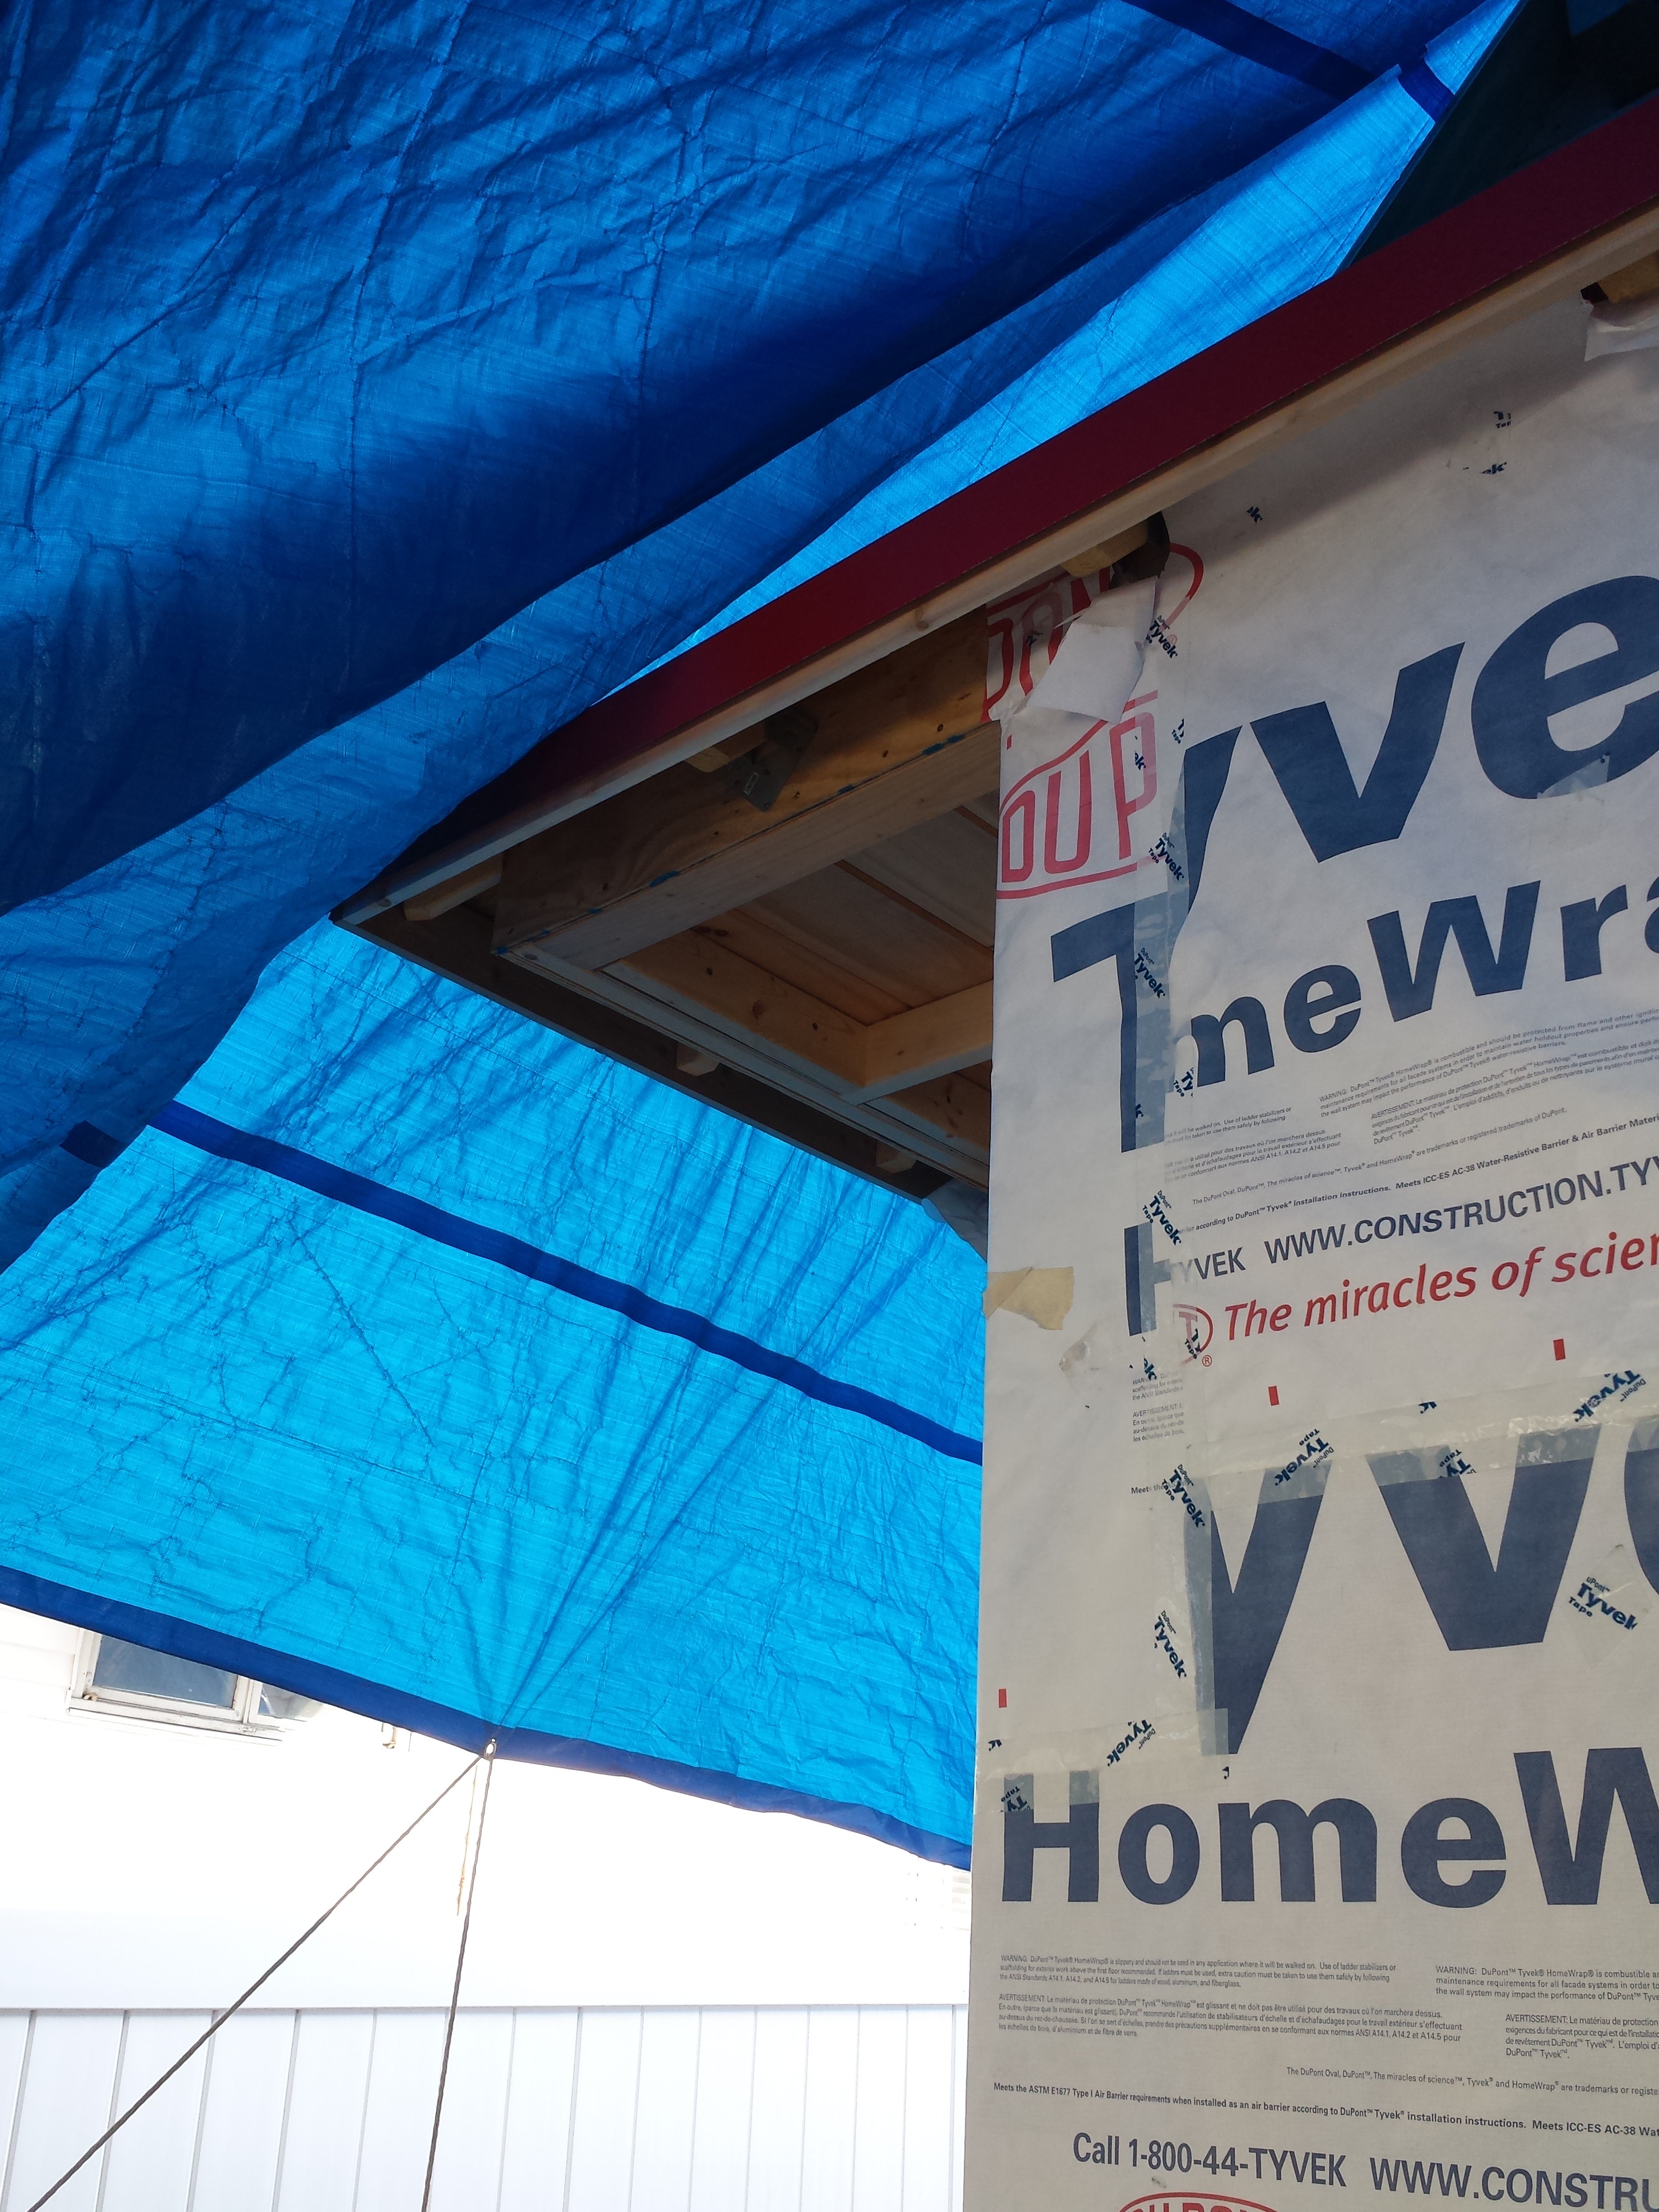
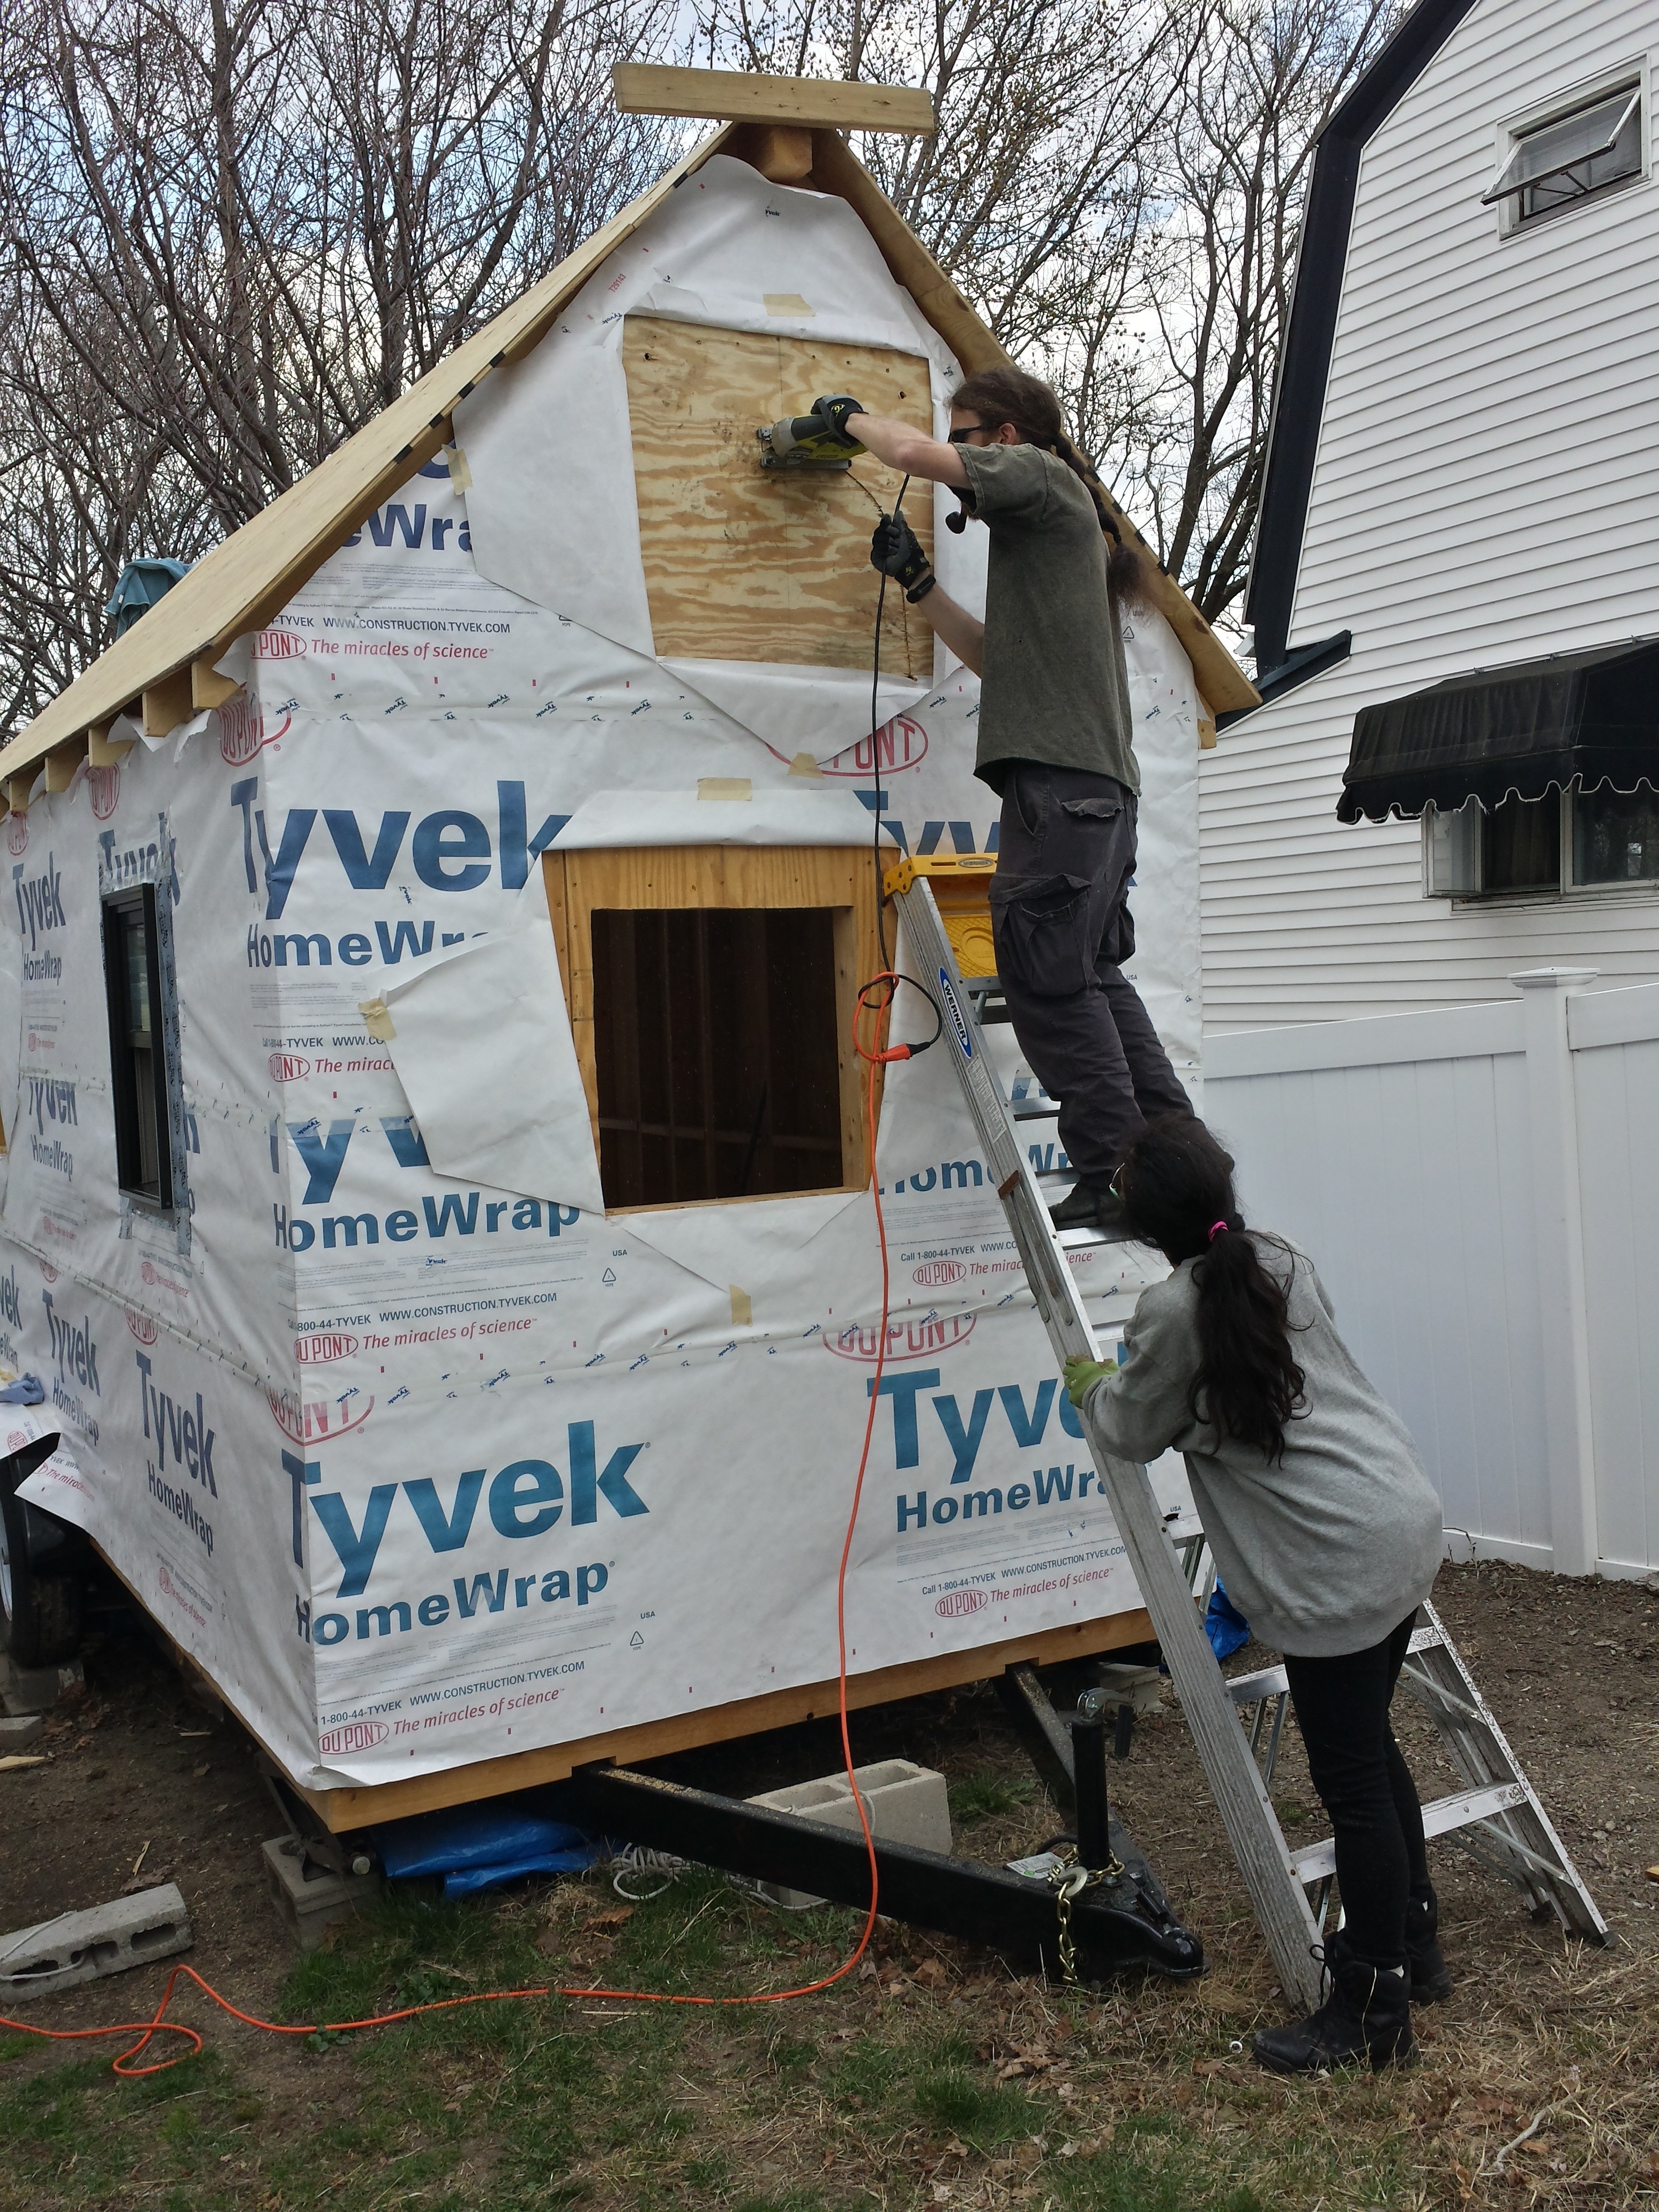
The bow end, now featuring edge trim, and the first trimmed window! Singed wood siding sneak preview! The two holes with the white frames are vents, as that is where the back of the little refrigerator will be. The little brown square at the lower left (you didn’t see it at first did you? Good!) is how propane will get into the house. There will be two propane tanks, just like ones you’d use for a barbeque grill, sitting outside the house. The gas will be piped through a to-be-drilled hole in the little brown square. The little refrigerator and other things will be powered by this propane.
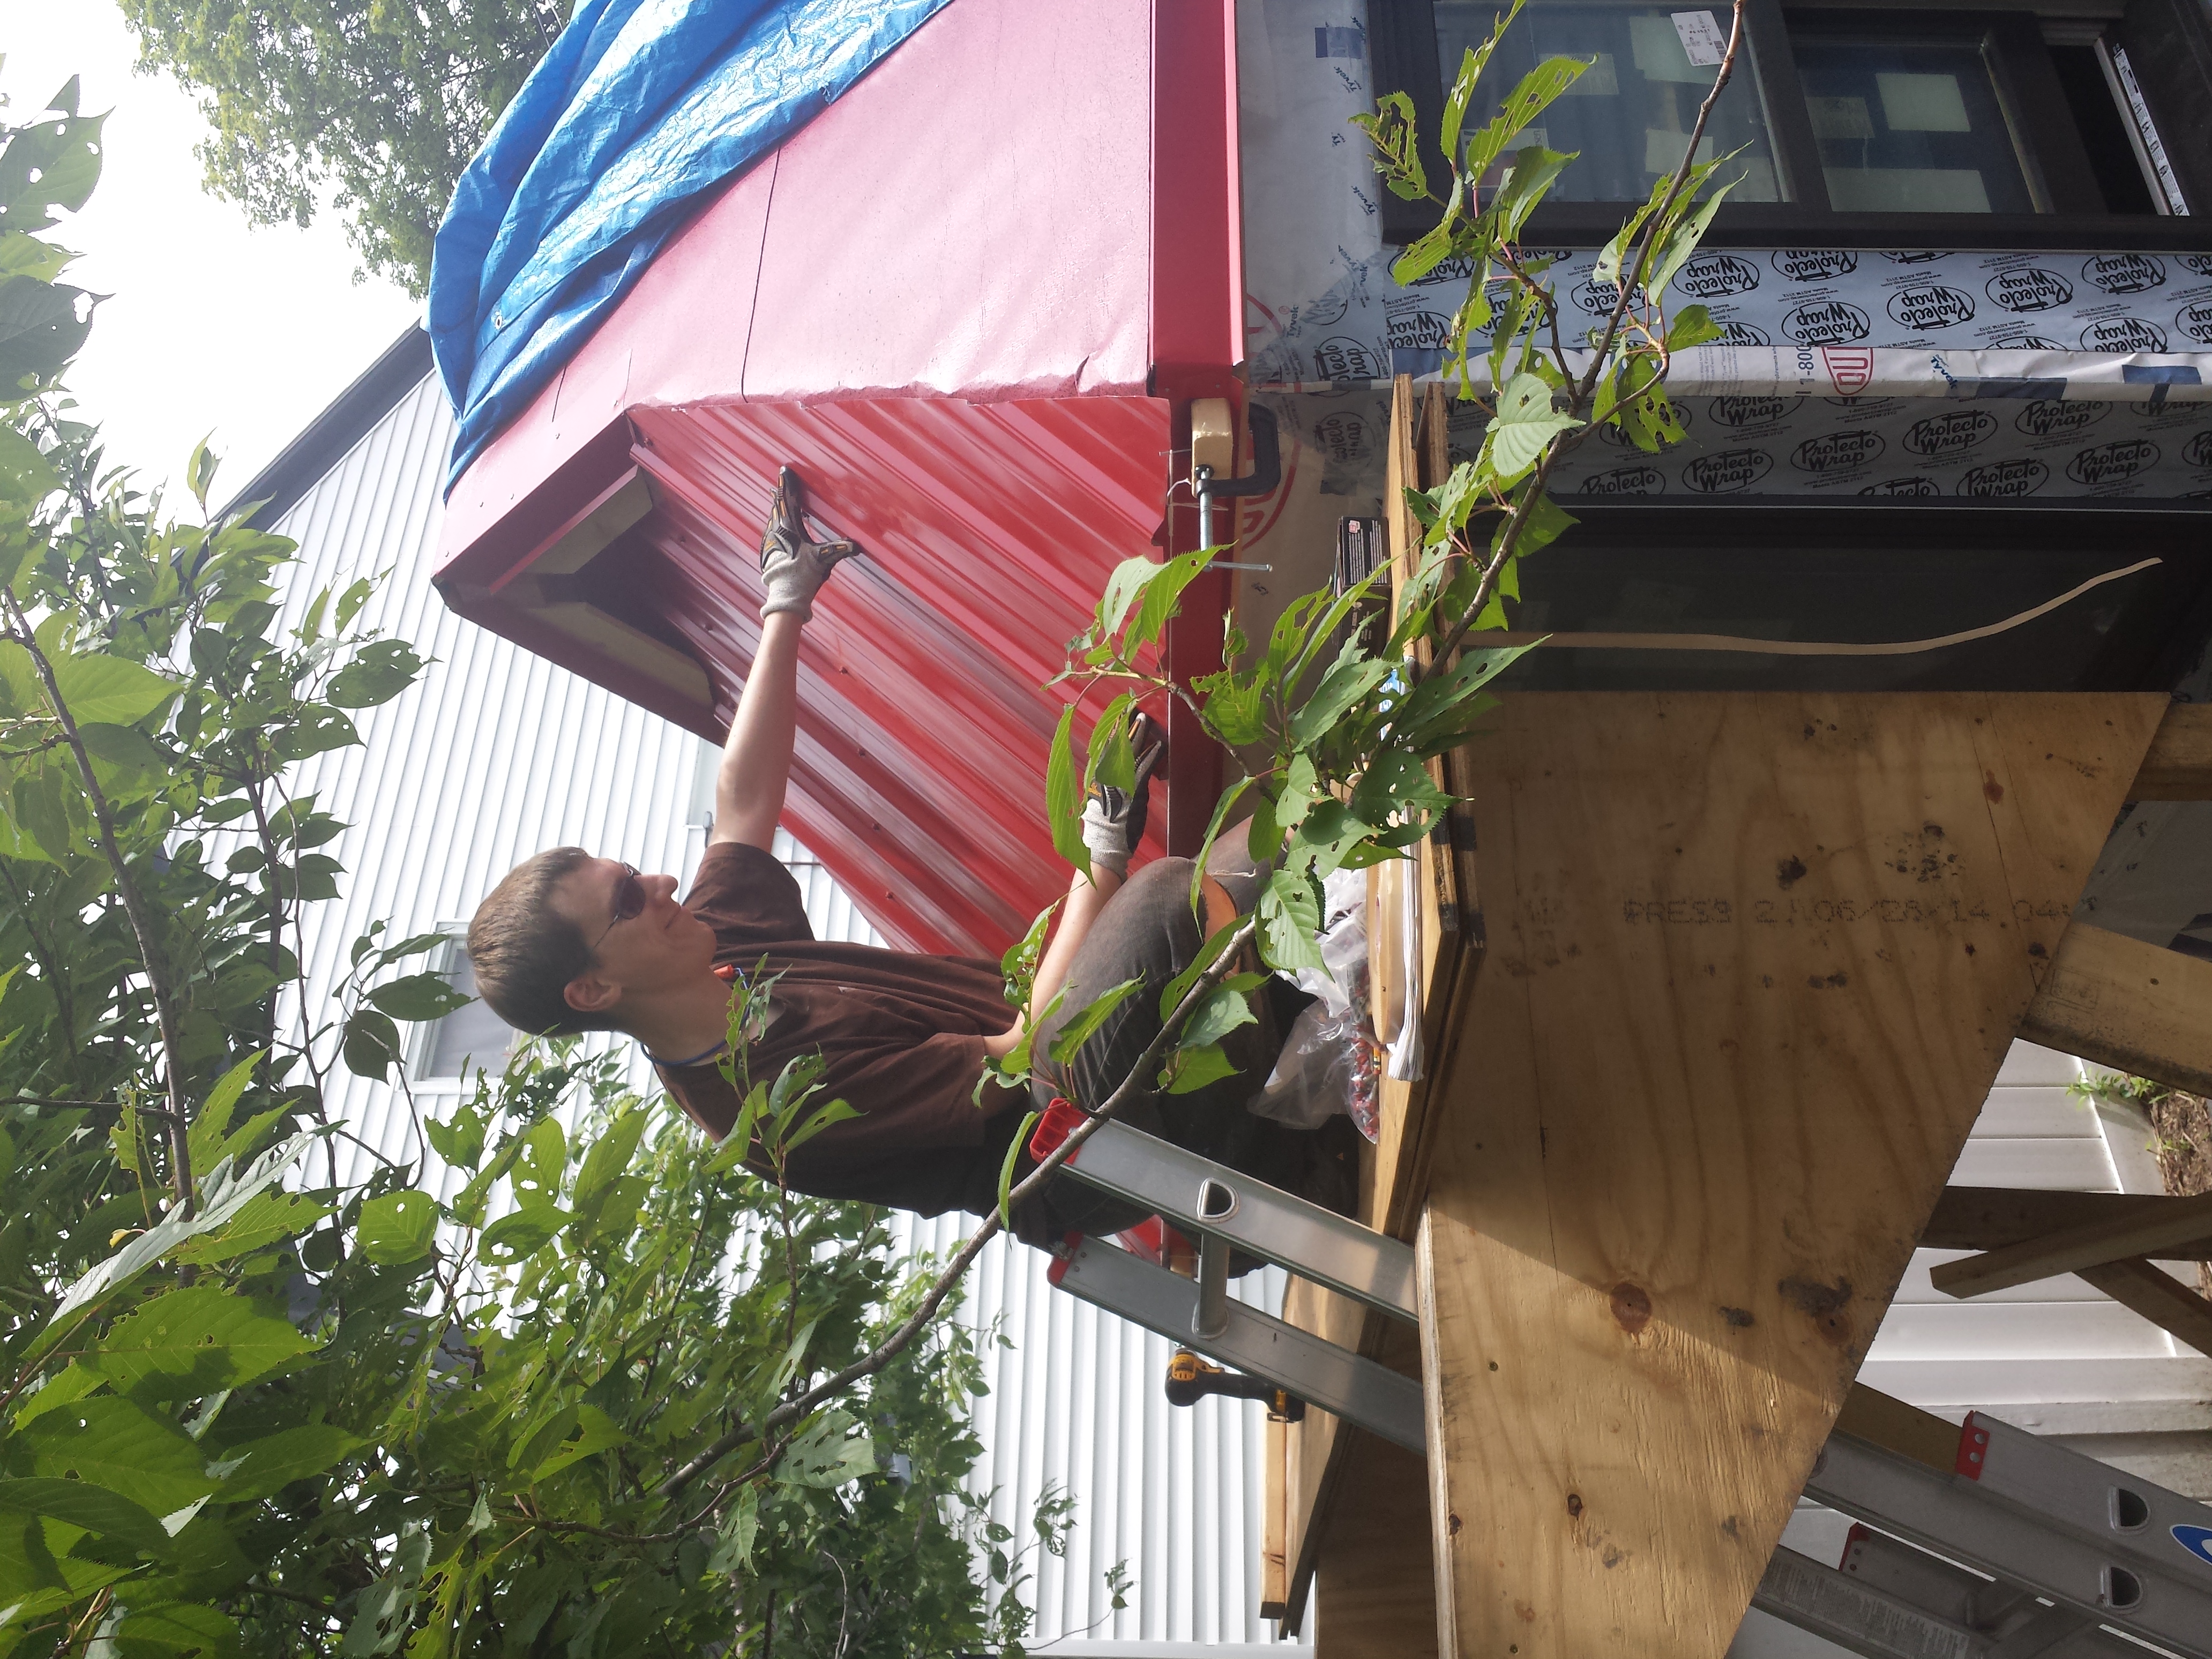
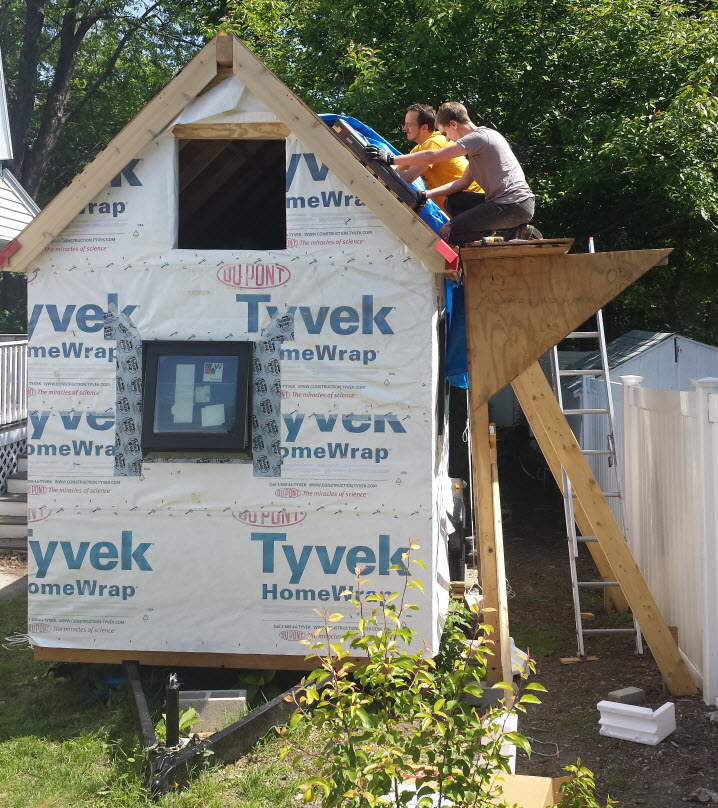
Summer has been a busy time with work, BBQs, etc., but this weekend (and the weekend of June 20th and 21st) we made time to work on the metal part of the roof. We went with a classic red. (Officially, “Patriot Red”.) June 20th and 21st, we did the hip roof at the front of the house, yesterday we did the entire port side, and today we did most of the starboard side, save the part around the skylight. Work on the port side actually started a couple weeks ago, but Owen didn’t get very far working by himself. Between holding the metal down tight and working the screw driver, it’s really necessary to have two people on the job.
The most difficult part about installing the roof is the lack of margin for error. Once the screws have been installed, it’s not possible to remove them and try again. The first hole will still be there and happily leak water into the space below. So once a piece is down, it’s down.
Another tricky part about installing a standing seam roof is that each metal panel overlaps with the previous panel, so that any error in alignment is propagated down the entire roof. This can cause, say, the roof to overhang much more at one end than the other.
Owen says: I used online tutorials by Roofing Intelligence to fill in the details of how to install my roof. Luckily the metal they use in the videos is exactly what I ordered, so it was easy to apply the lessons to our own roof.
Ultimately the roof has some flaws and looks amateurish, but I believe that it will function correctly: no leaks! We have removed the tarp, and it is supposed to rain this week, so we’ll find out for sure soon enough.
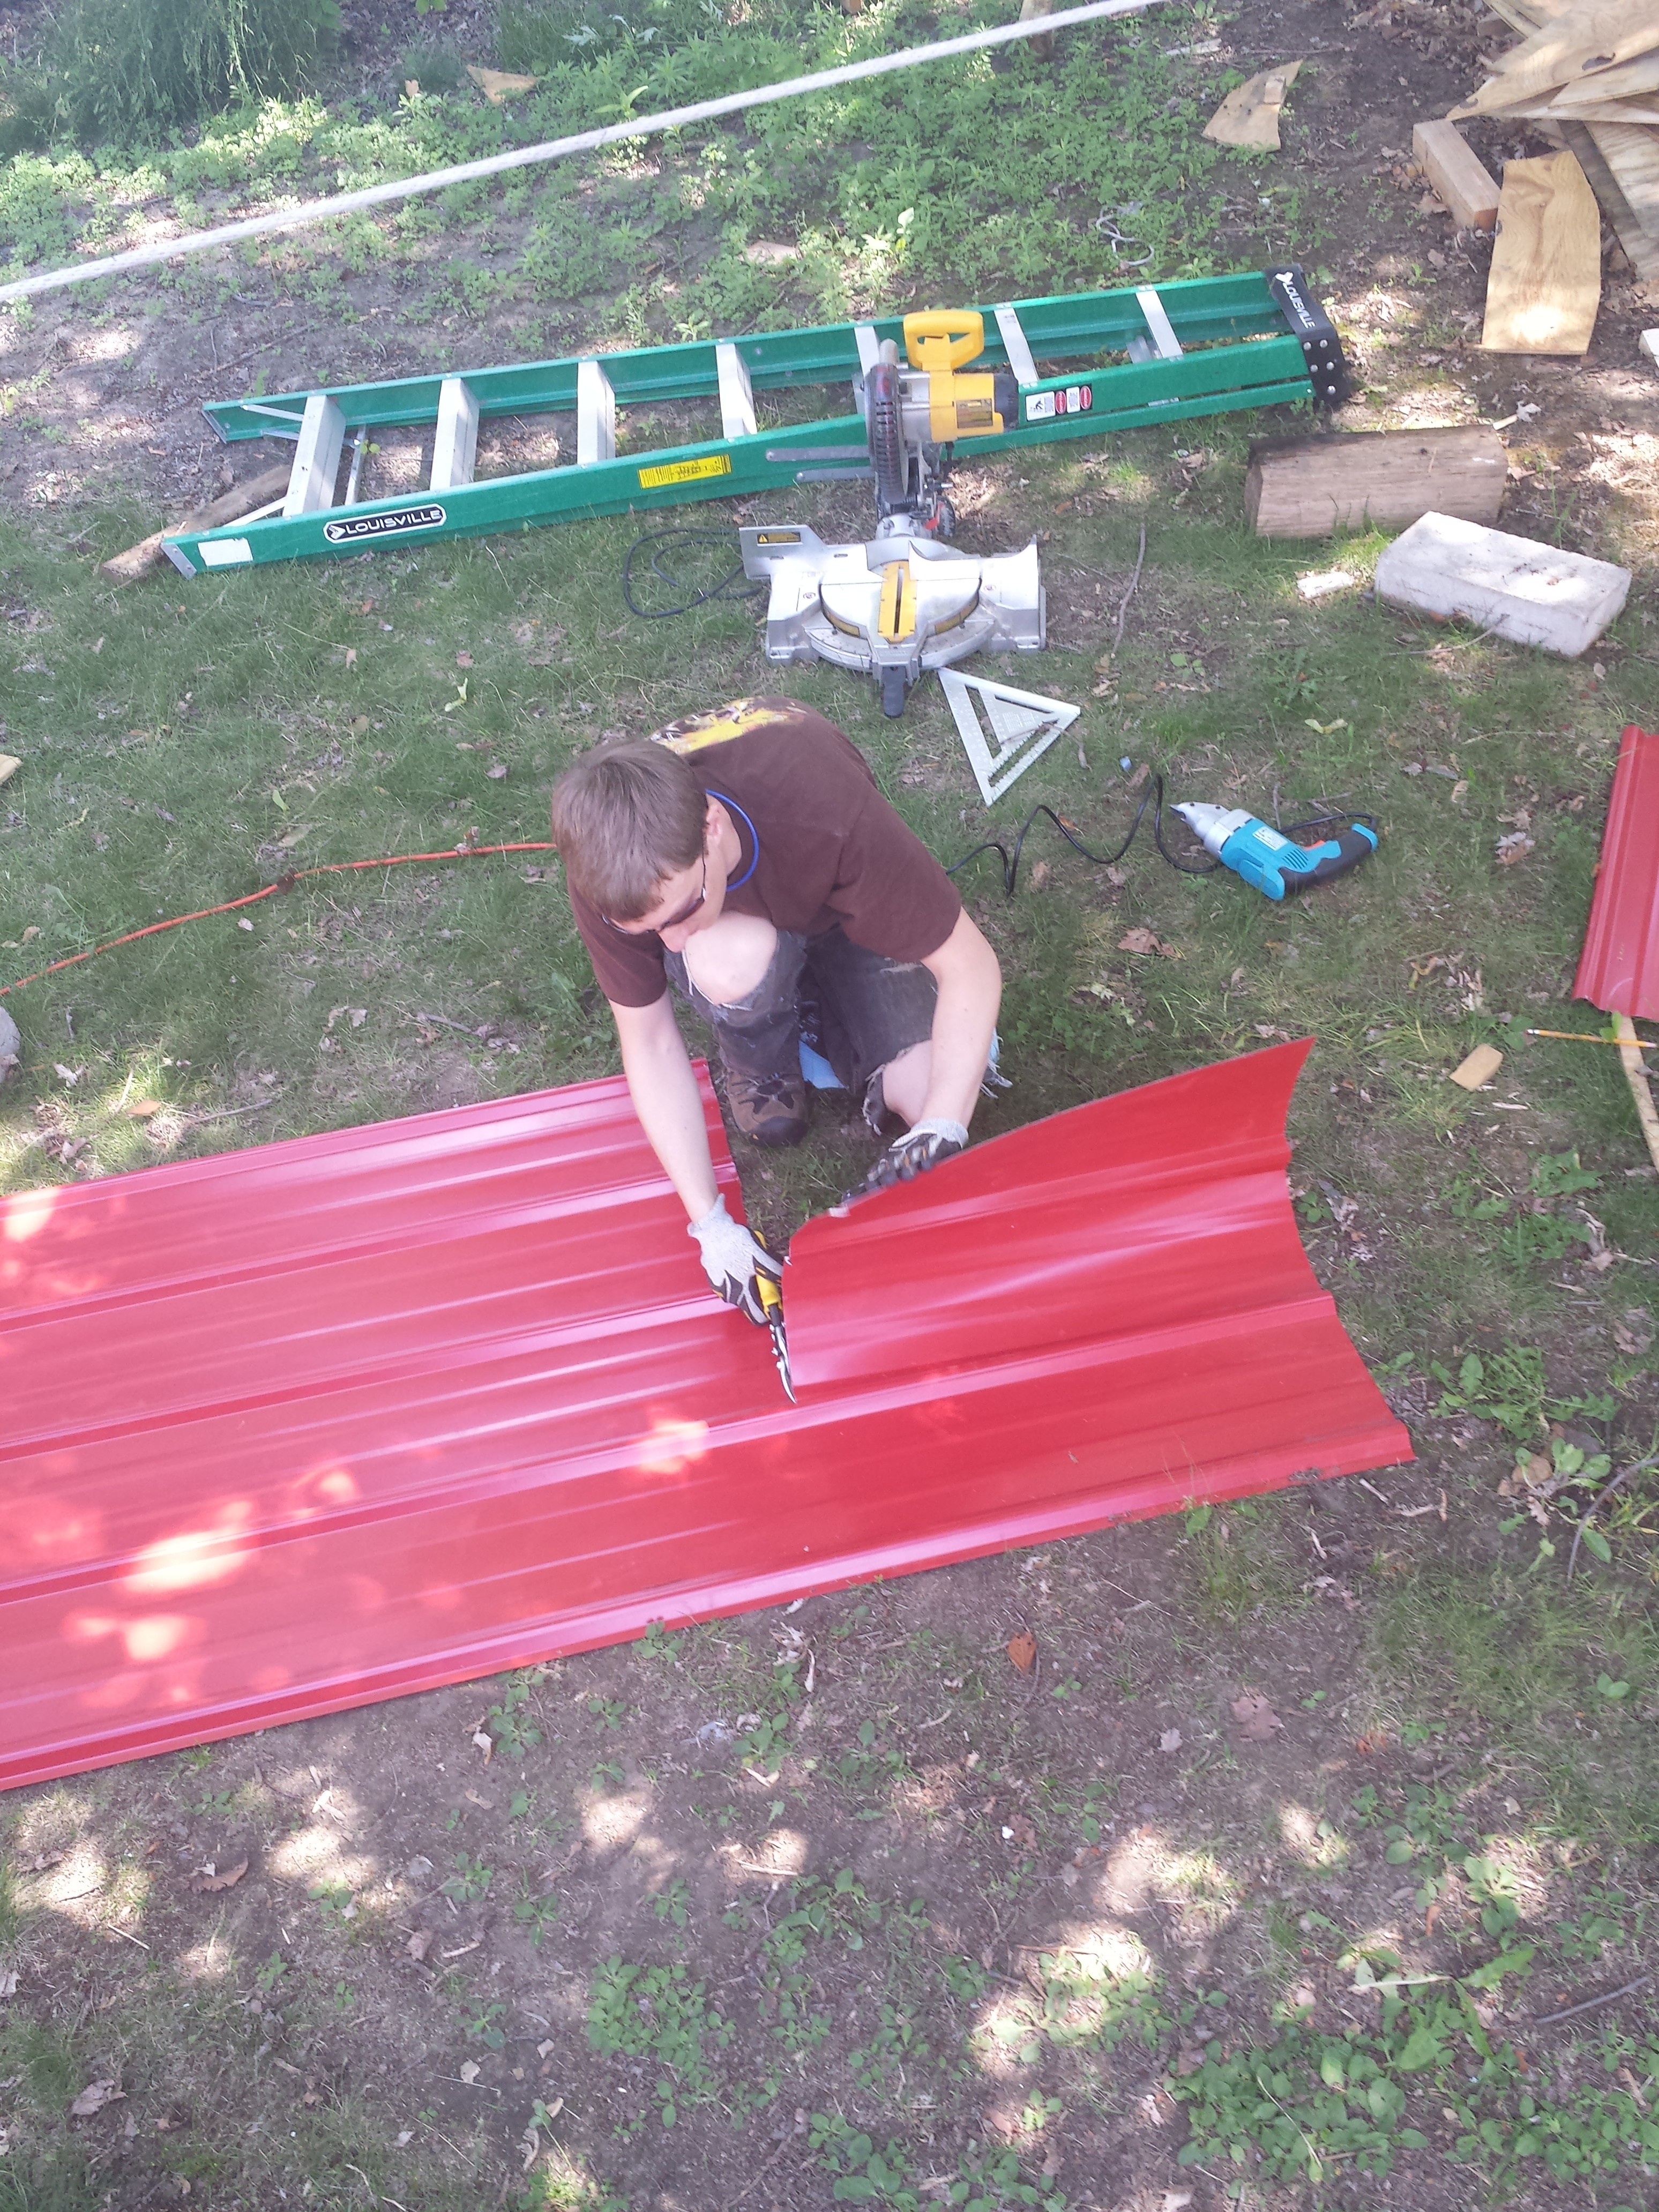
Cutting the metal with metal shears. The electric ones (the blue device in the photo) work well for some tasks but not others.Each section of metal for the oddly-shaped hip roof had to be cut on the ground before walking it up to roof-level, and then making sure it fit exactly before being drilled down.
The tiny house at the end of the build day, July 11th.
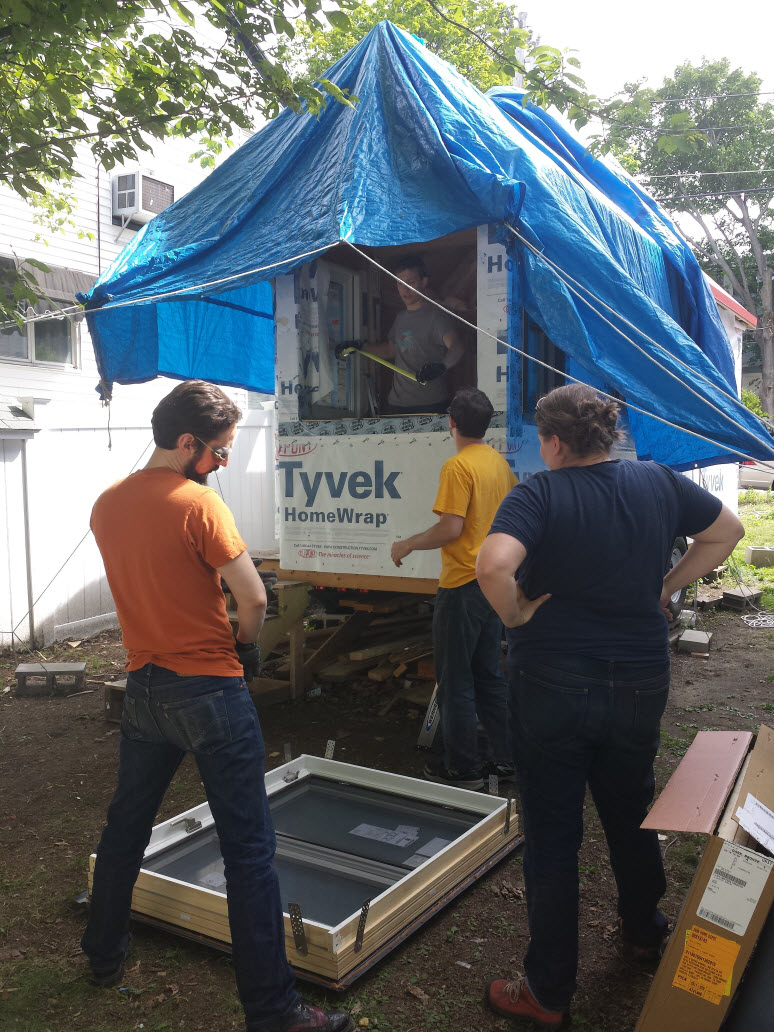
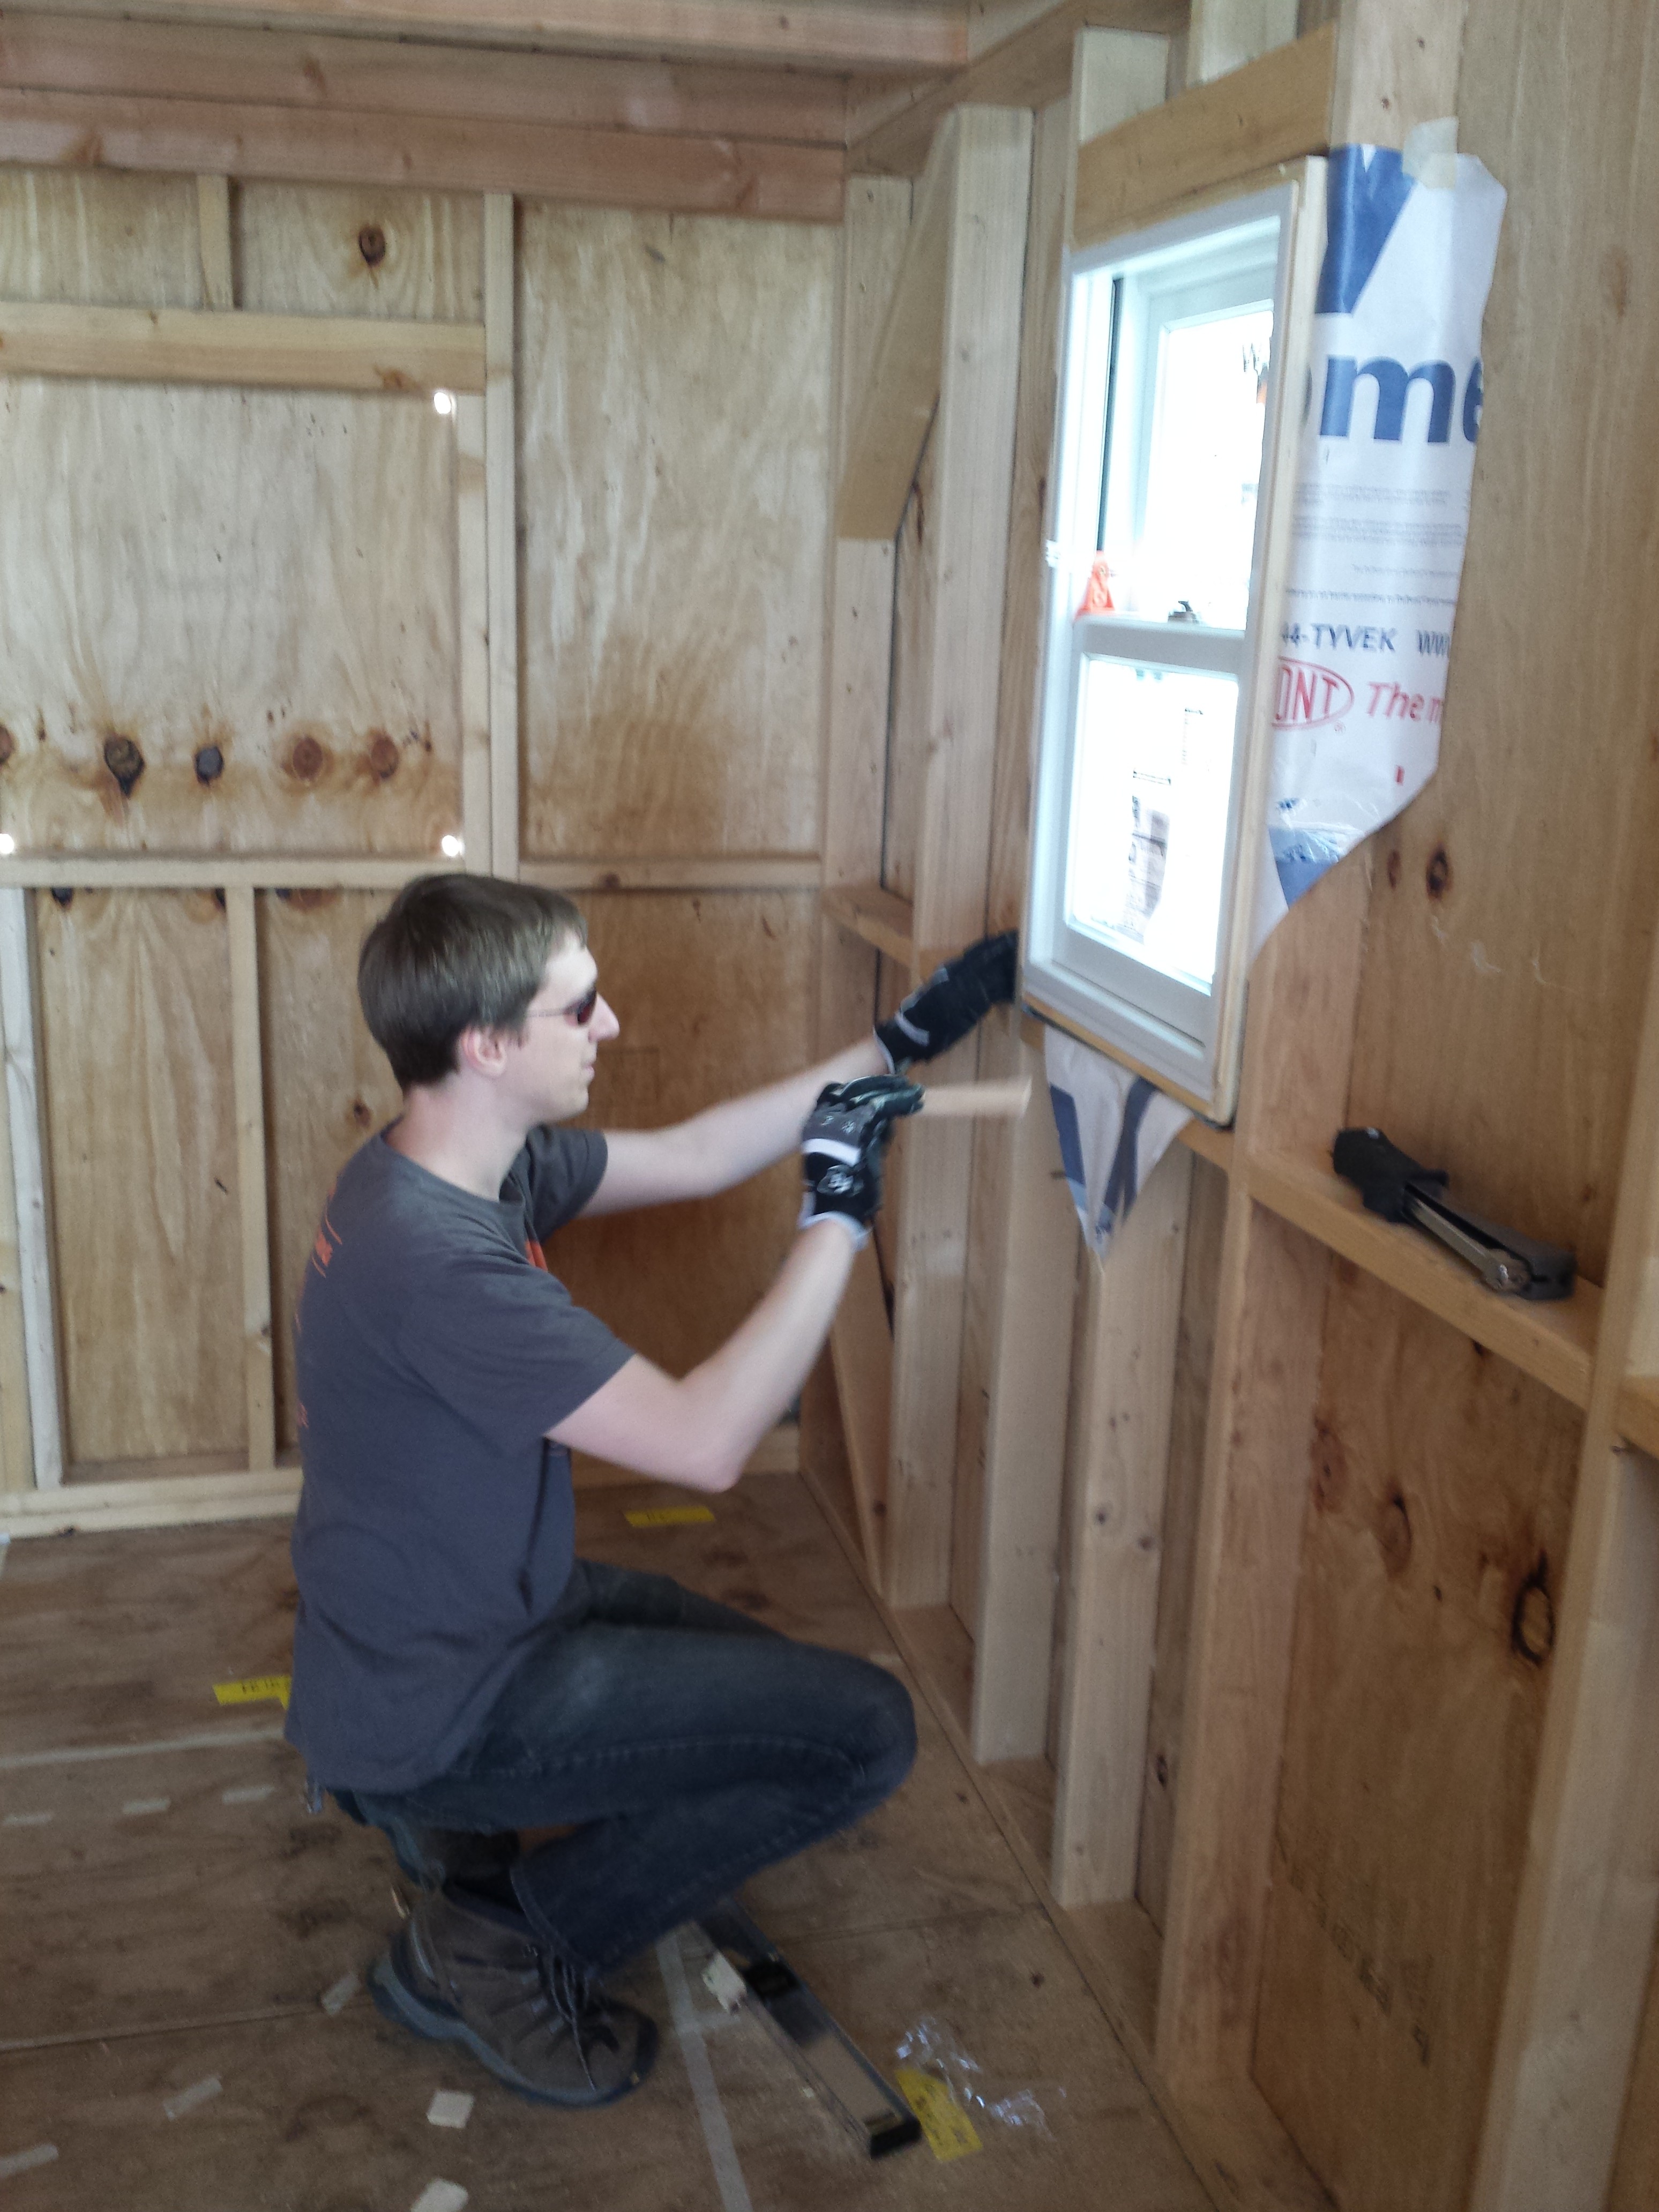
This weekend, blessed with perfect weather, we invited our crew of handy friends over and installed the final four windows in the Tiny House. Two of the windows were not very different from other windows already installed in the tiny house, but the skylight and the bay window were special challenges.
The double-hung window near Char was the easiest of the bunch and made for a good warm-up.
The skylight was a challenge because of its placement on the roof. It wasn’t particularly difficult, but the installation method was different than all the other windows, and the waterproofing steps are much more detailed (and critical). The final flashing of the skylight can’t be done until we’re installing the roof, but most of the work is complete.
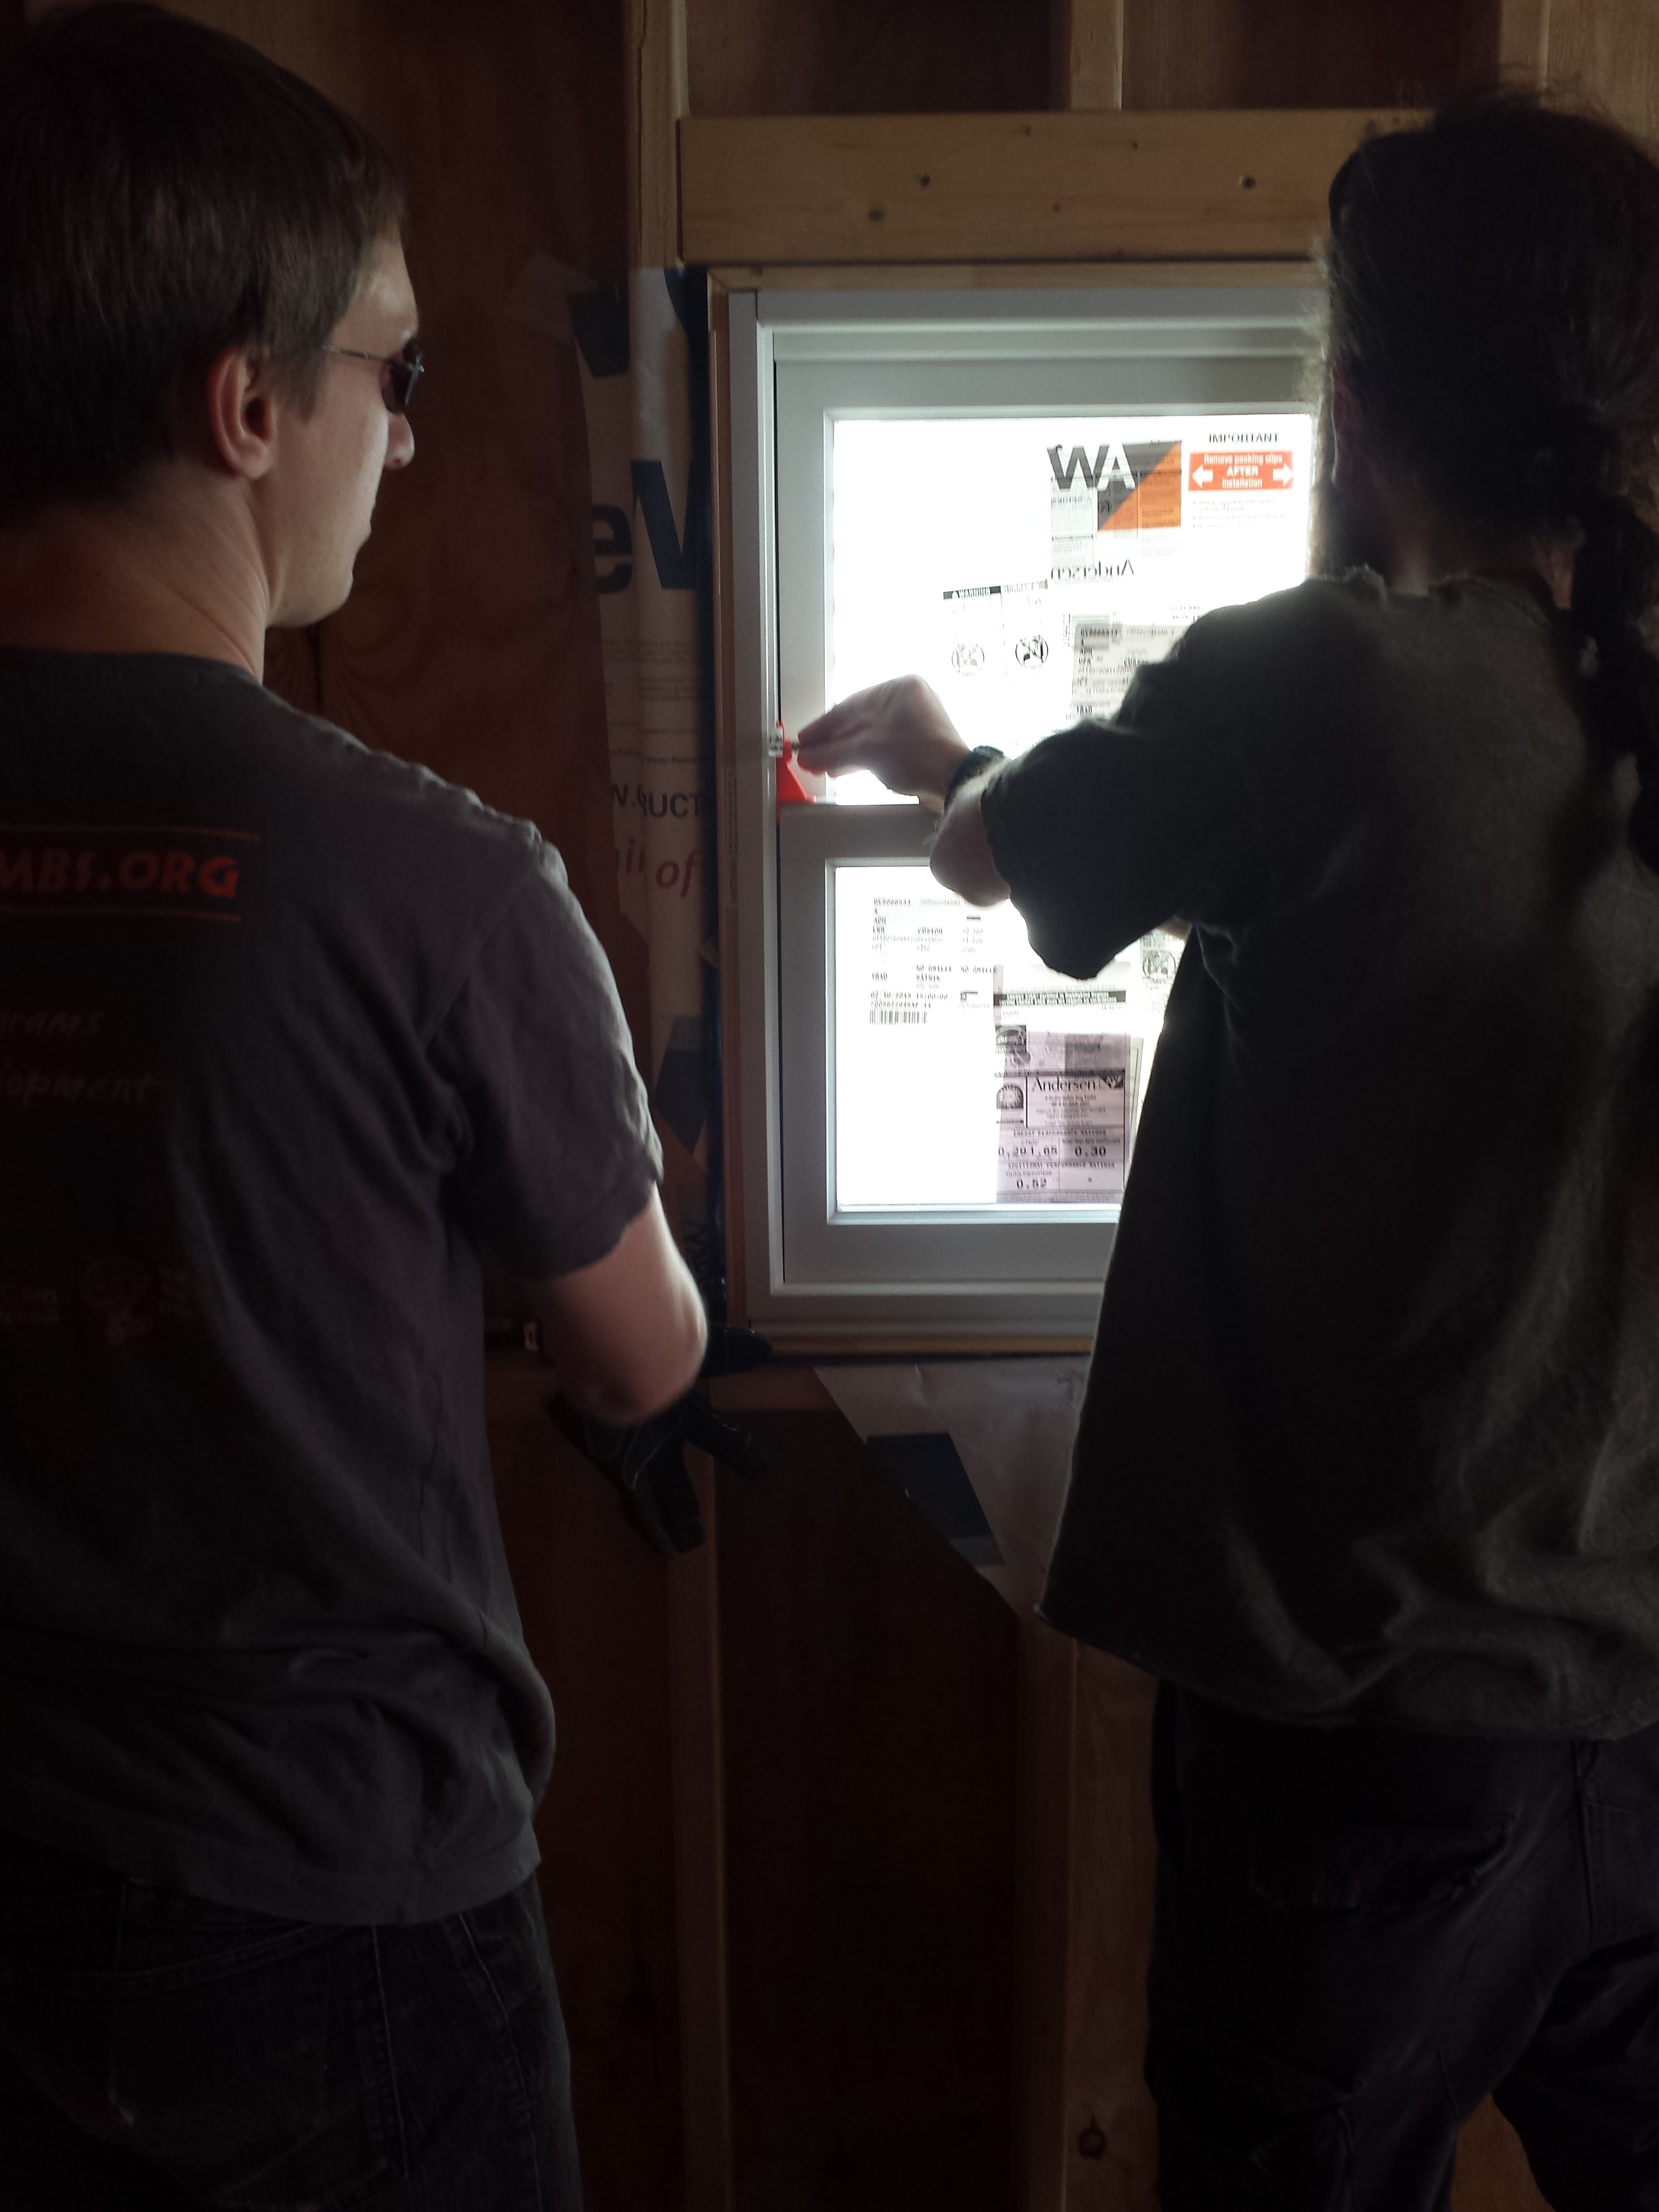
Andy and Owen carefully level the skylight
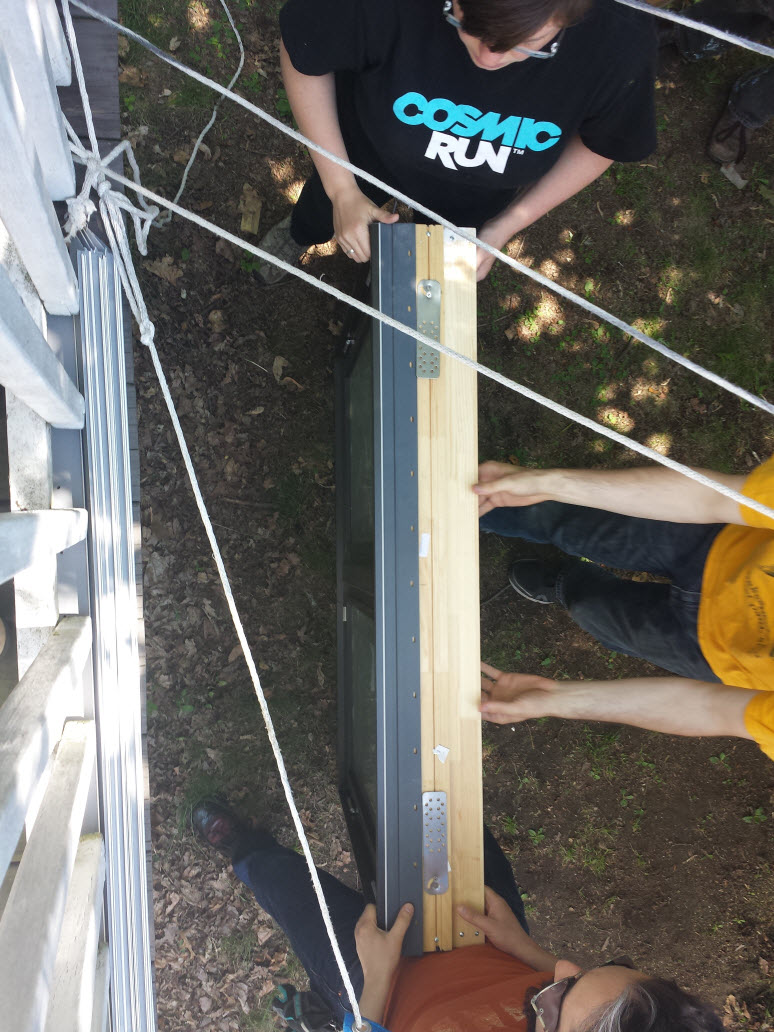
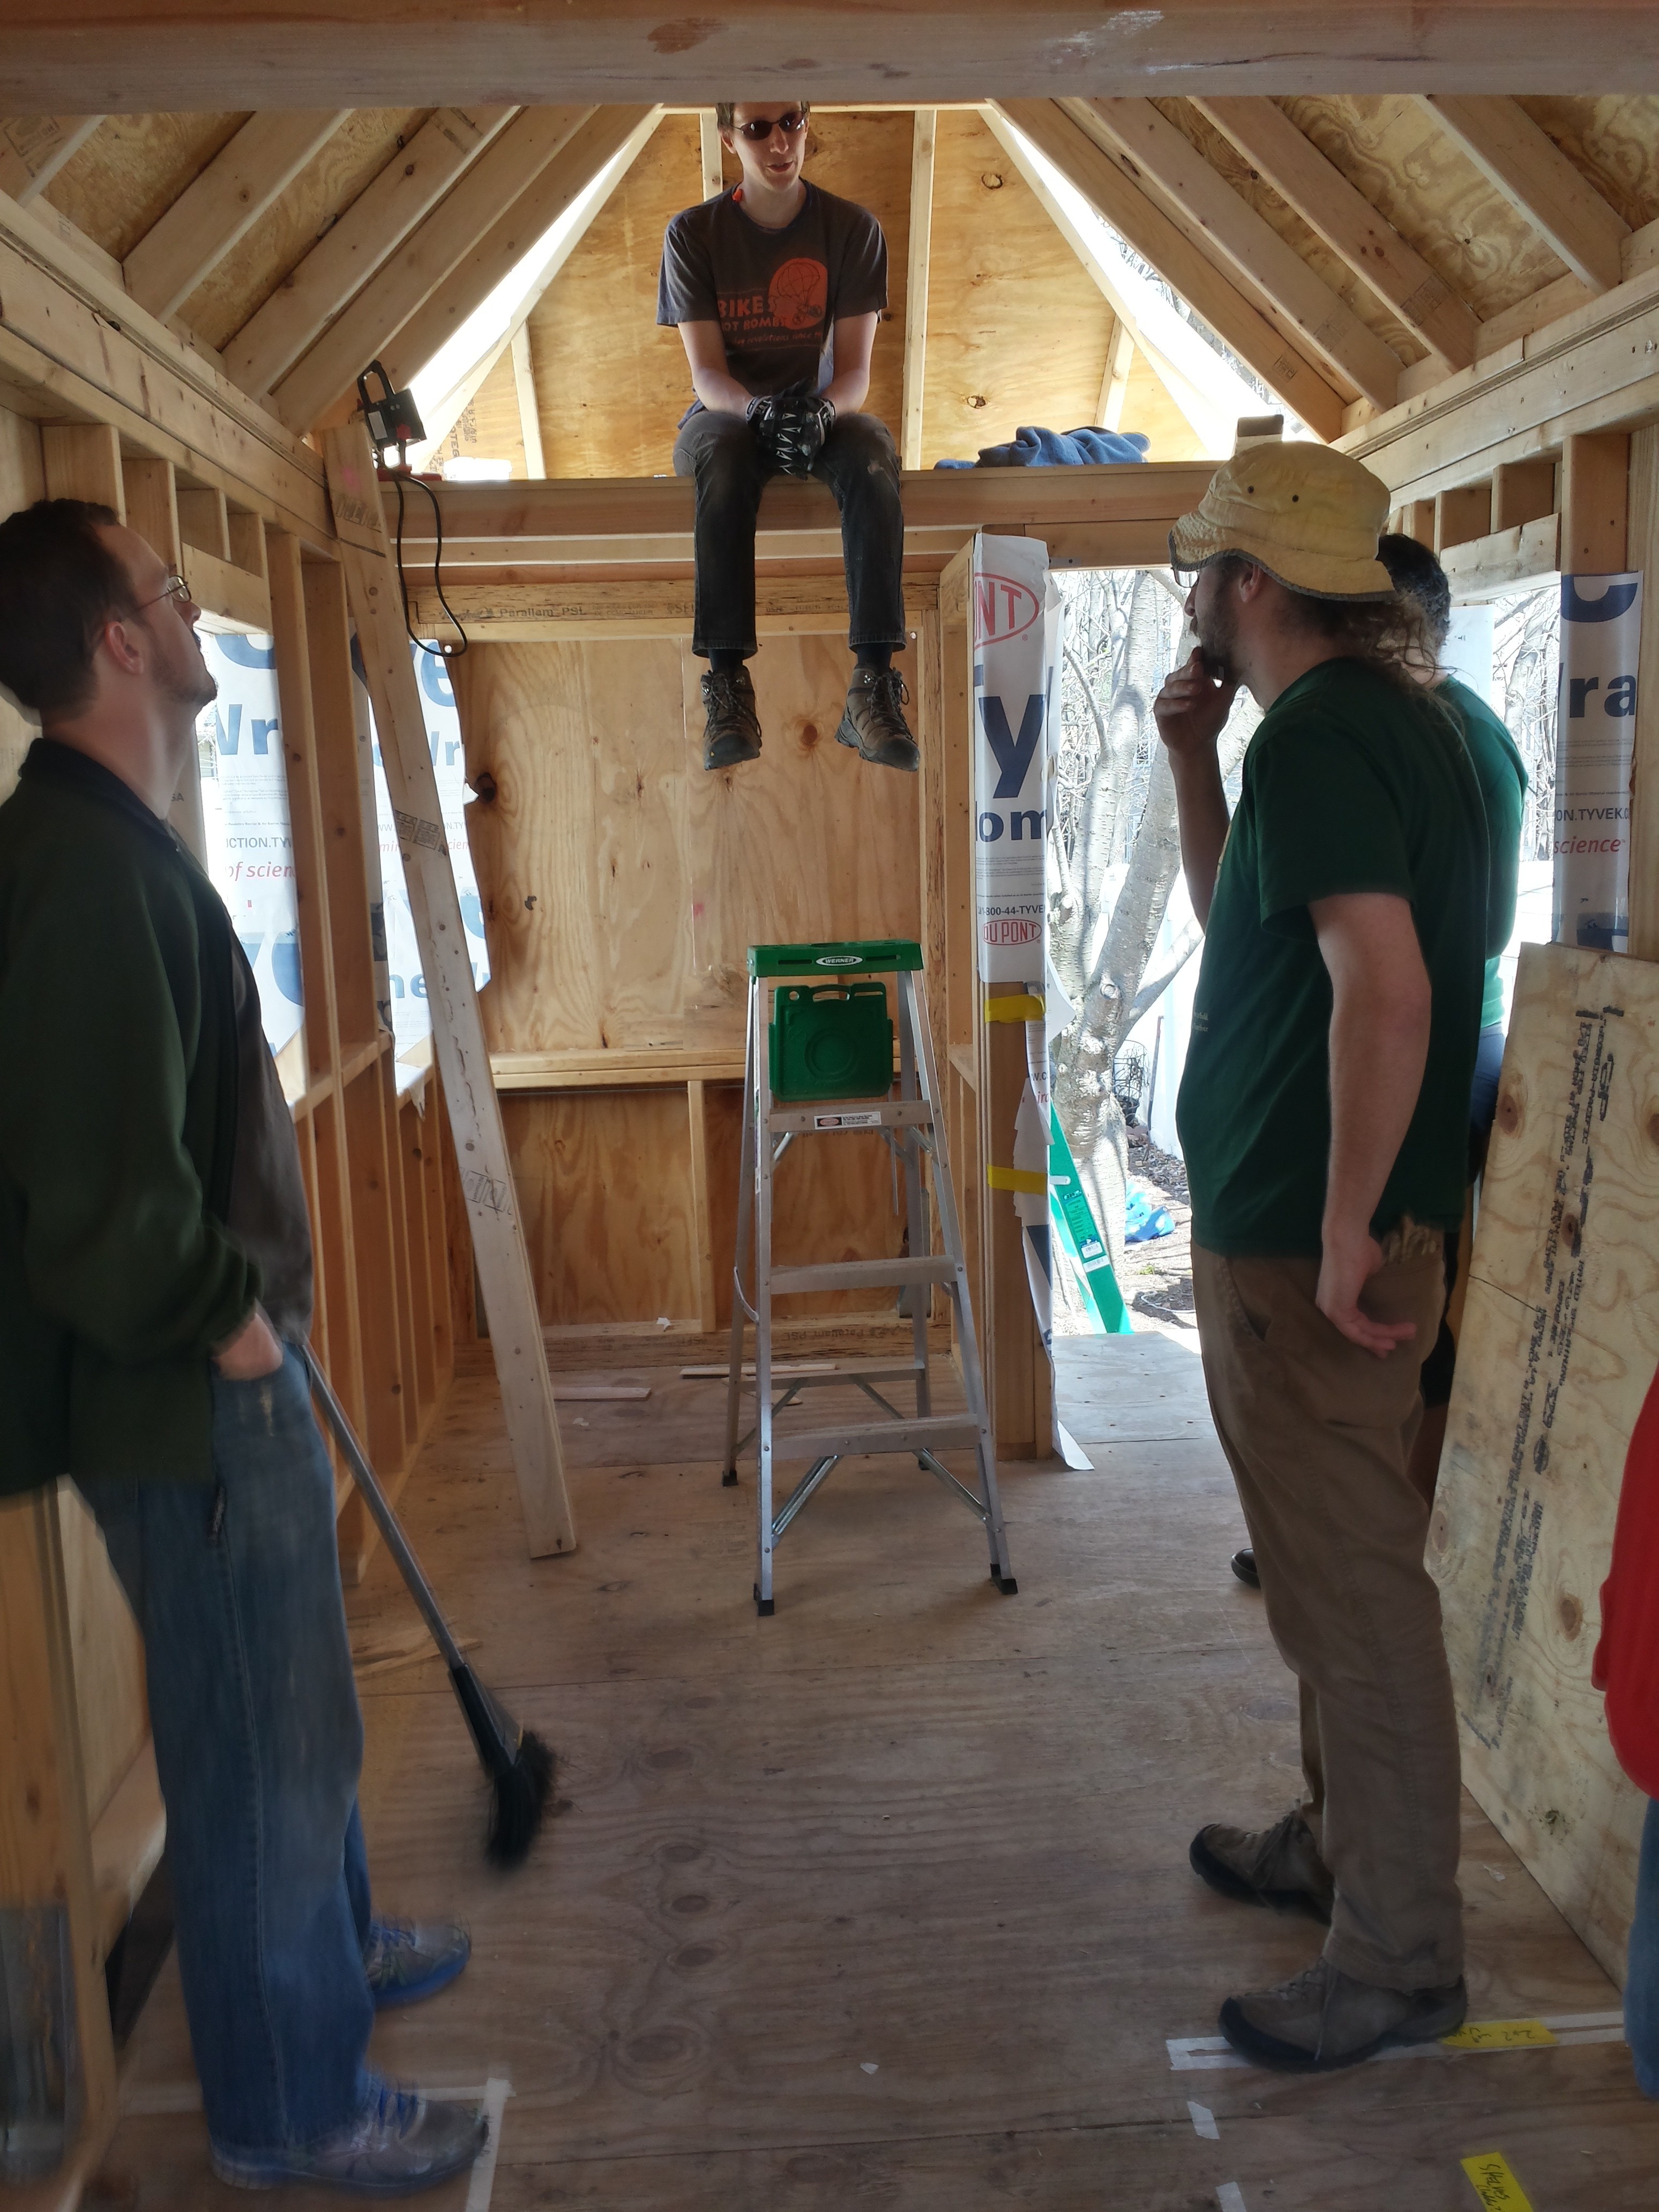
The bay window was a challenge because it takes two people to lift just to move it at all, and a third person is needed to keep it in place when hanging it. While it is on the “first floor”, it is high enough up that a ladder and our moveable staircase were needed. Since it is so large, and the entire window can swing open, it’s much more subject to flexing. Right now the righthand pane doesn’t quite close correctly, and it may be necessary to rehang the hinges if it continues to be a problem.
Carefully…
Measure twice…
Special thanks to our friends Andy, Nicolle, David, and Jess. We could not have accomplished installing four windows (three of them high up, one of them super-heavy) in one day without their lifting, caulking, drilling, flange-placing, Tyvek-taping, underlayment cutting and installing.
This weekend we made a lot of progress. We went shopping for reclaimed wood to use for the exterior siding. We checked out a local specialty lumber yard, but we got the impression they were used to customers looking for wood for interior use, and we’re not sure we want to spend the money on wood that isn’t suitable for the great outdoors. We’re going to try another yard on the 26th before we come to that final conclusion.
We also went shopping for a stove. We’re looking at the Hampton H15 stove which optionally comes with a kit to enable it to use propane instead of natural gas. The challenge with the stove is, how do we (legally) fit the stovepipe to vent outside? We could either have it go straight up, or out the side of the house. The disadvantage to having it go straight up is that we’d have to cut a hole in the roof. The guy at Black Magic Chimney said he was not even clear on the best way to do that on a metal roof. If the pipe vented out the side instead, the house would be wider than the 8’6″ highway legal limit. But such a vent might qualify as an appurtenance, which is an object that might not count toward the overall width, and therefore we wouldn’t be in violation. Owen is researching the topic.
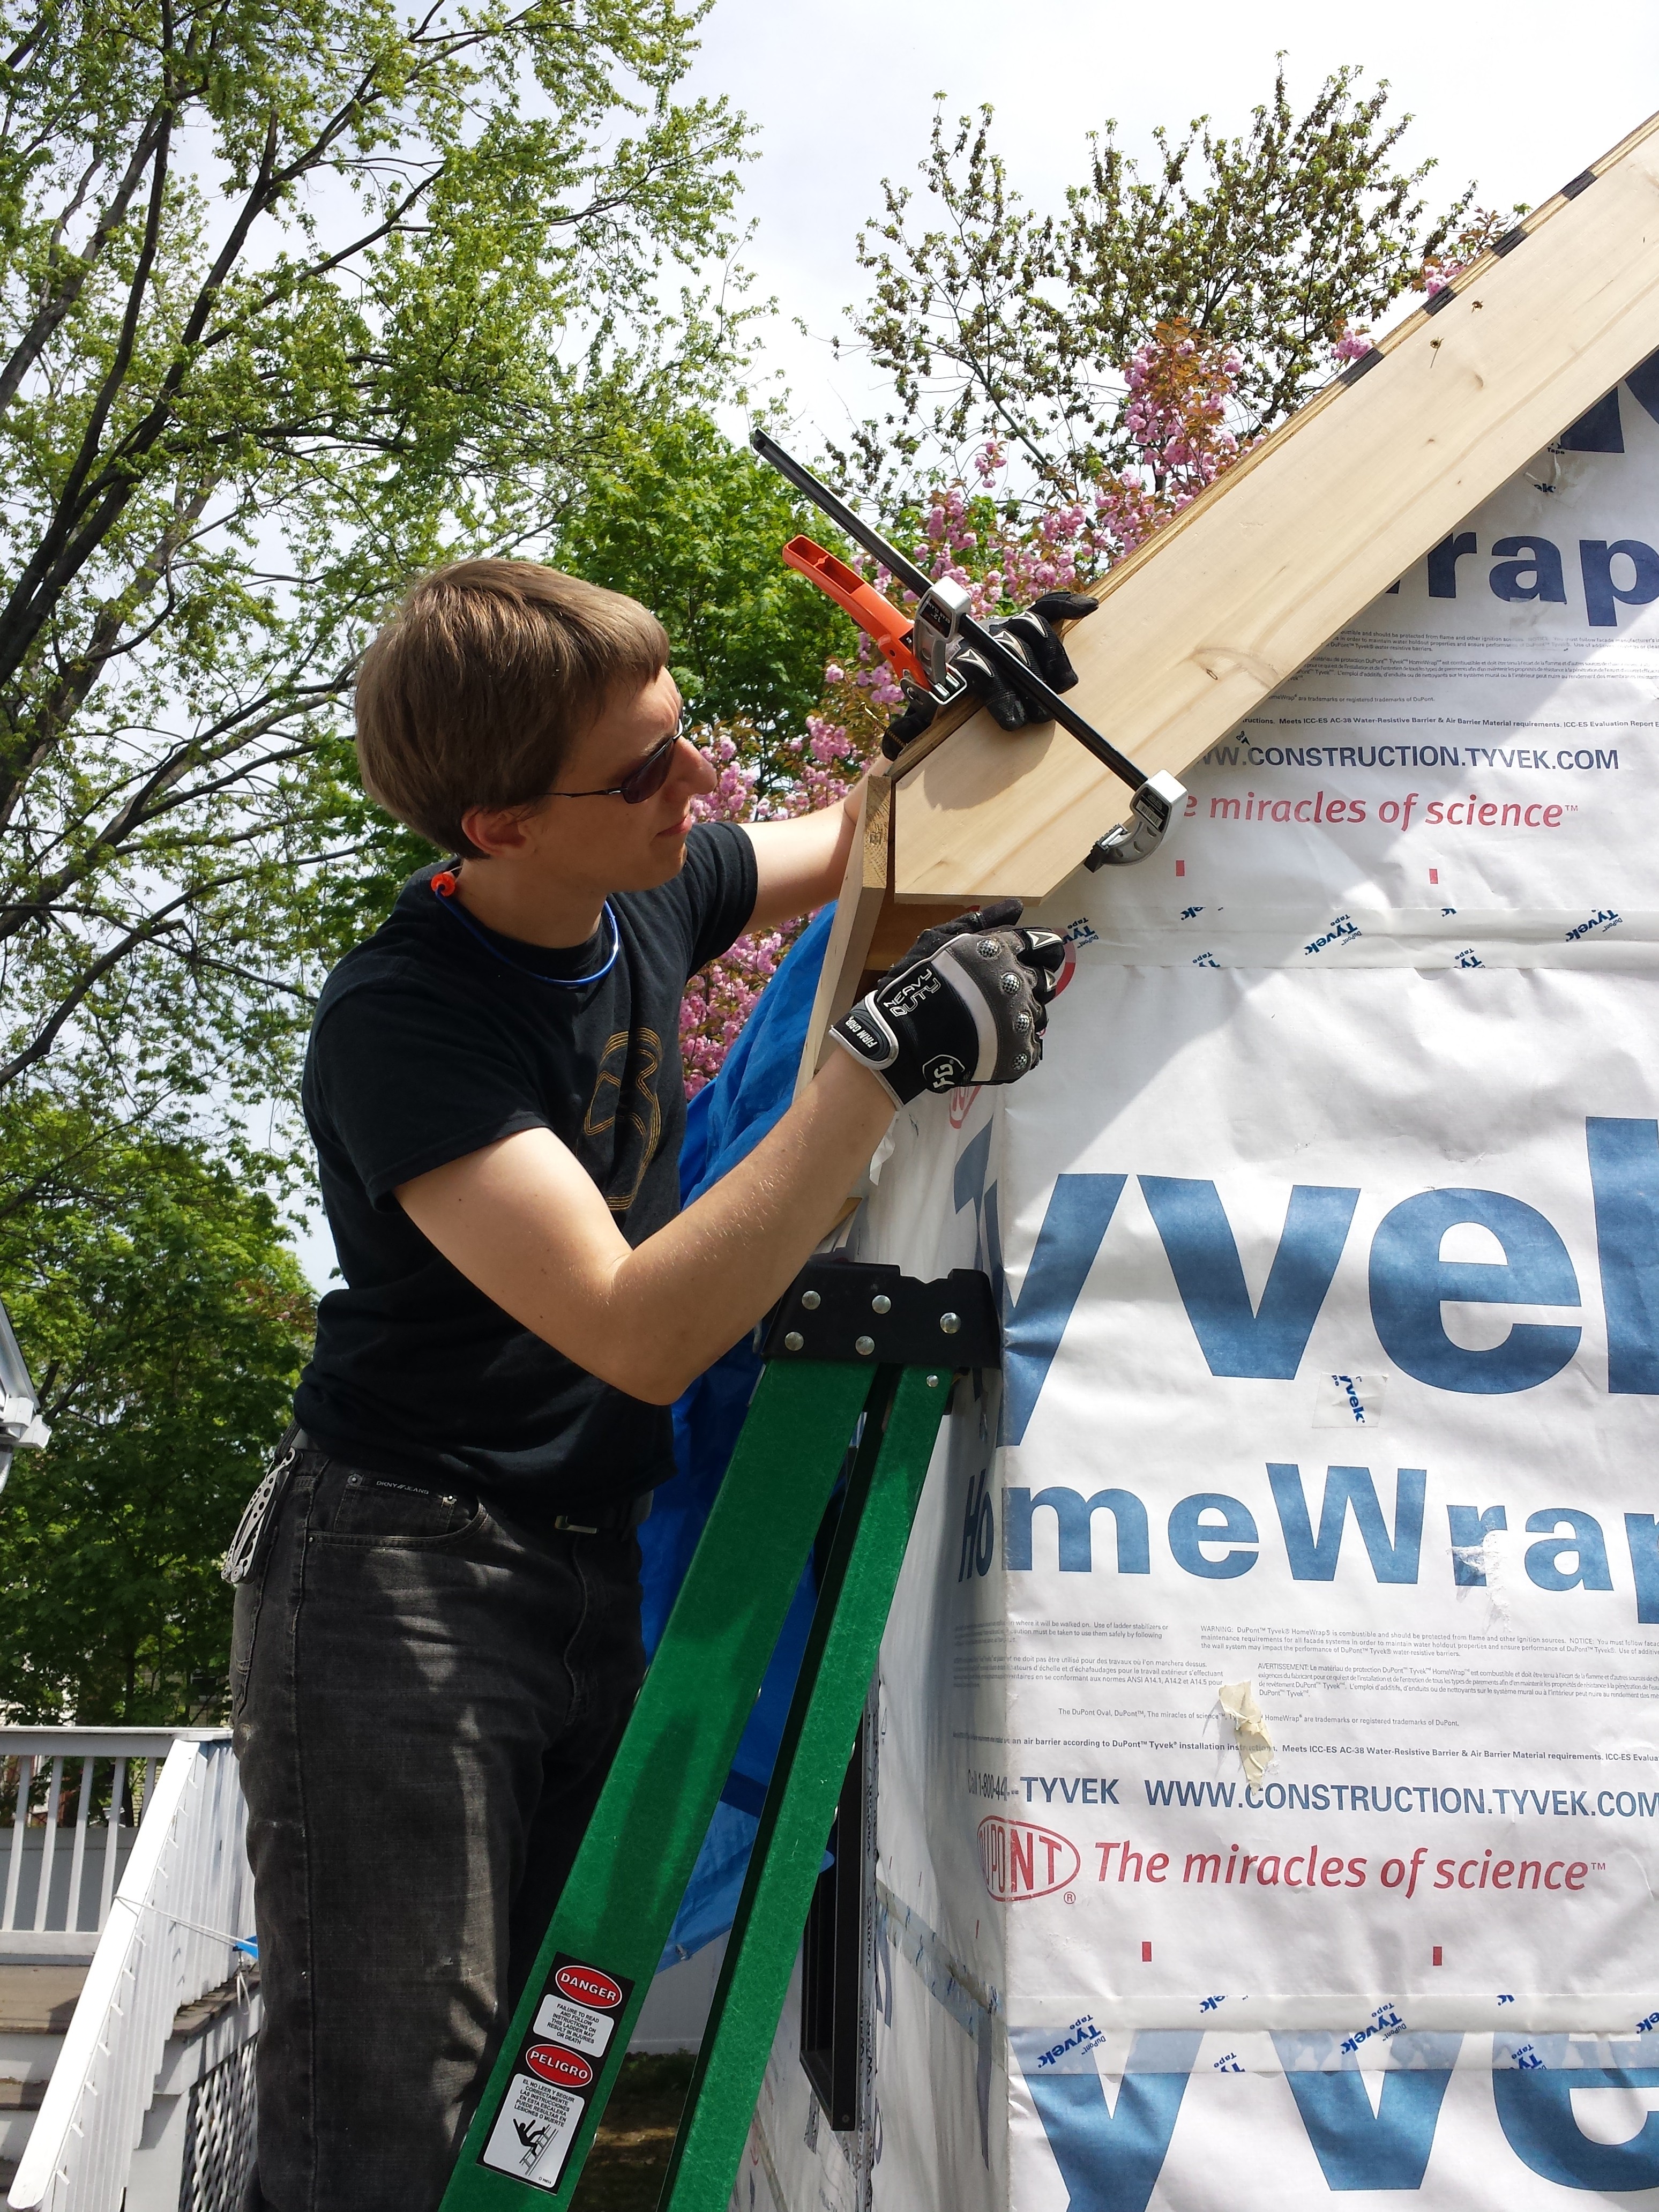
Owen coerces a rake board into place so it lines up with the fascia board it’s supposed to attach to.
The great thing about wood is that it’s flexible! What looked like a 1/2″ measuring error was completely eliminated by careful application of force.
The red metal drip edge of the roof has been applied.Owen and Char hold one of their weekly meetings about progress made on the Tiny House.
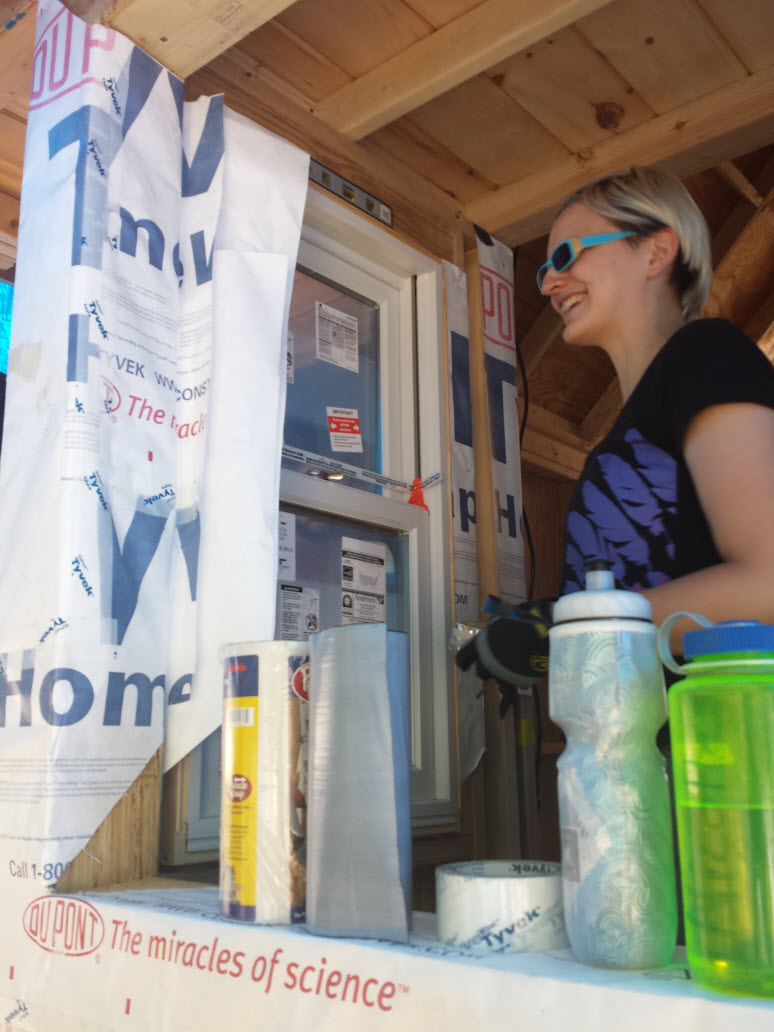
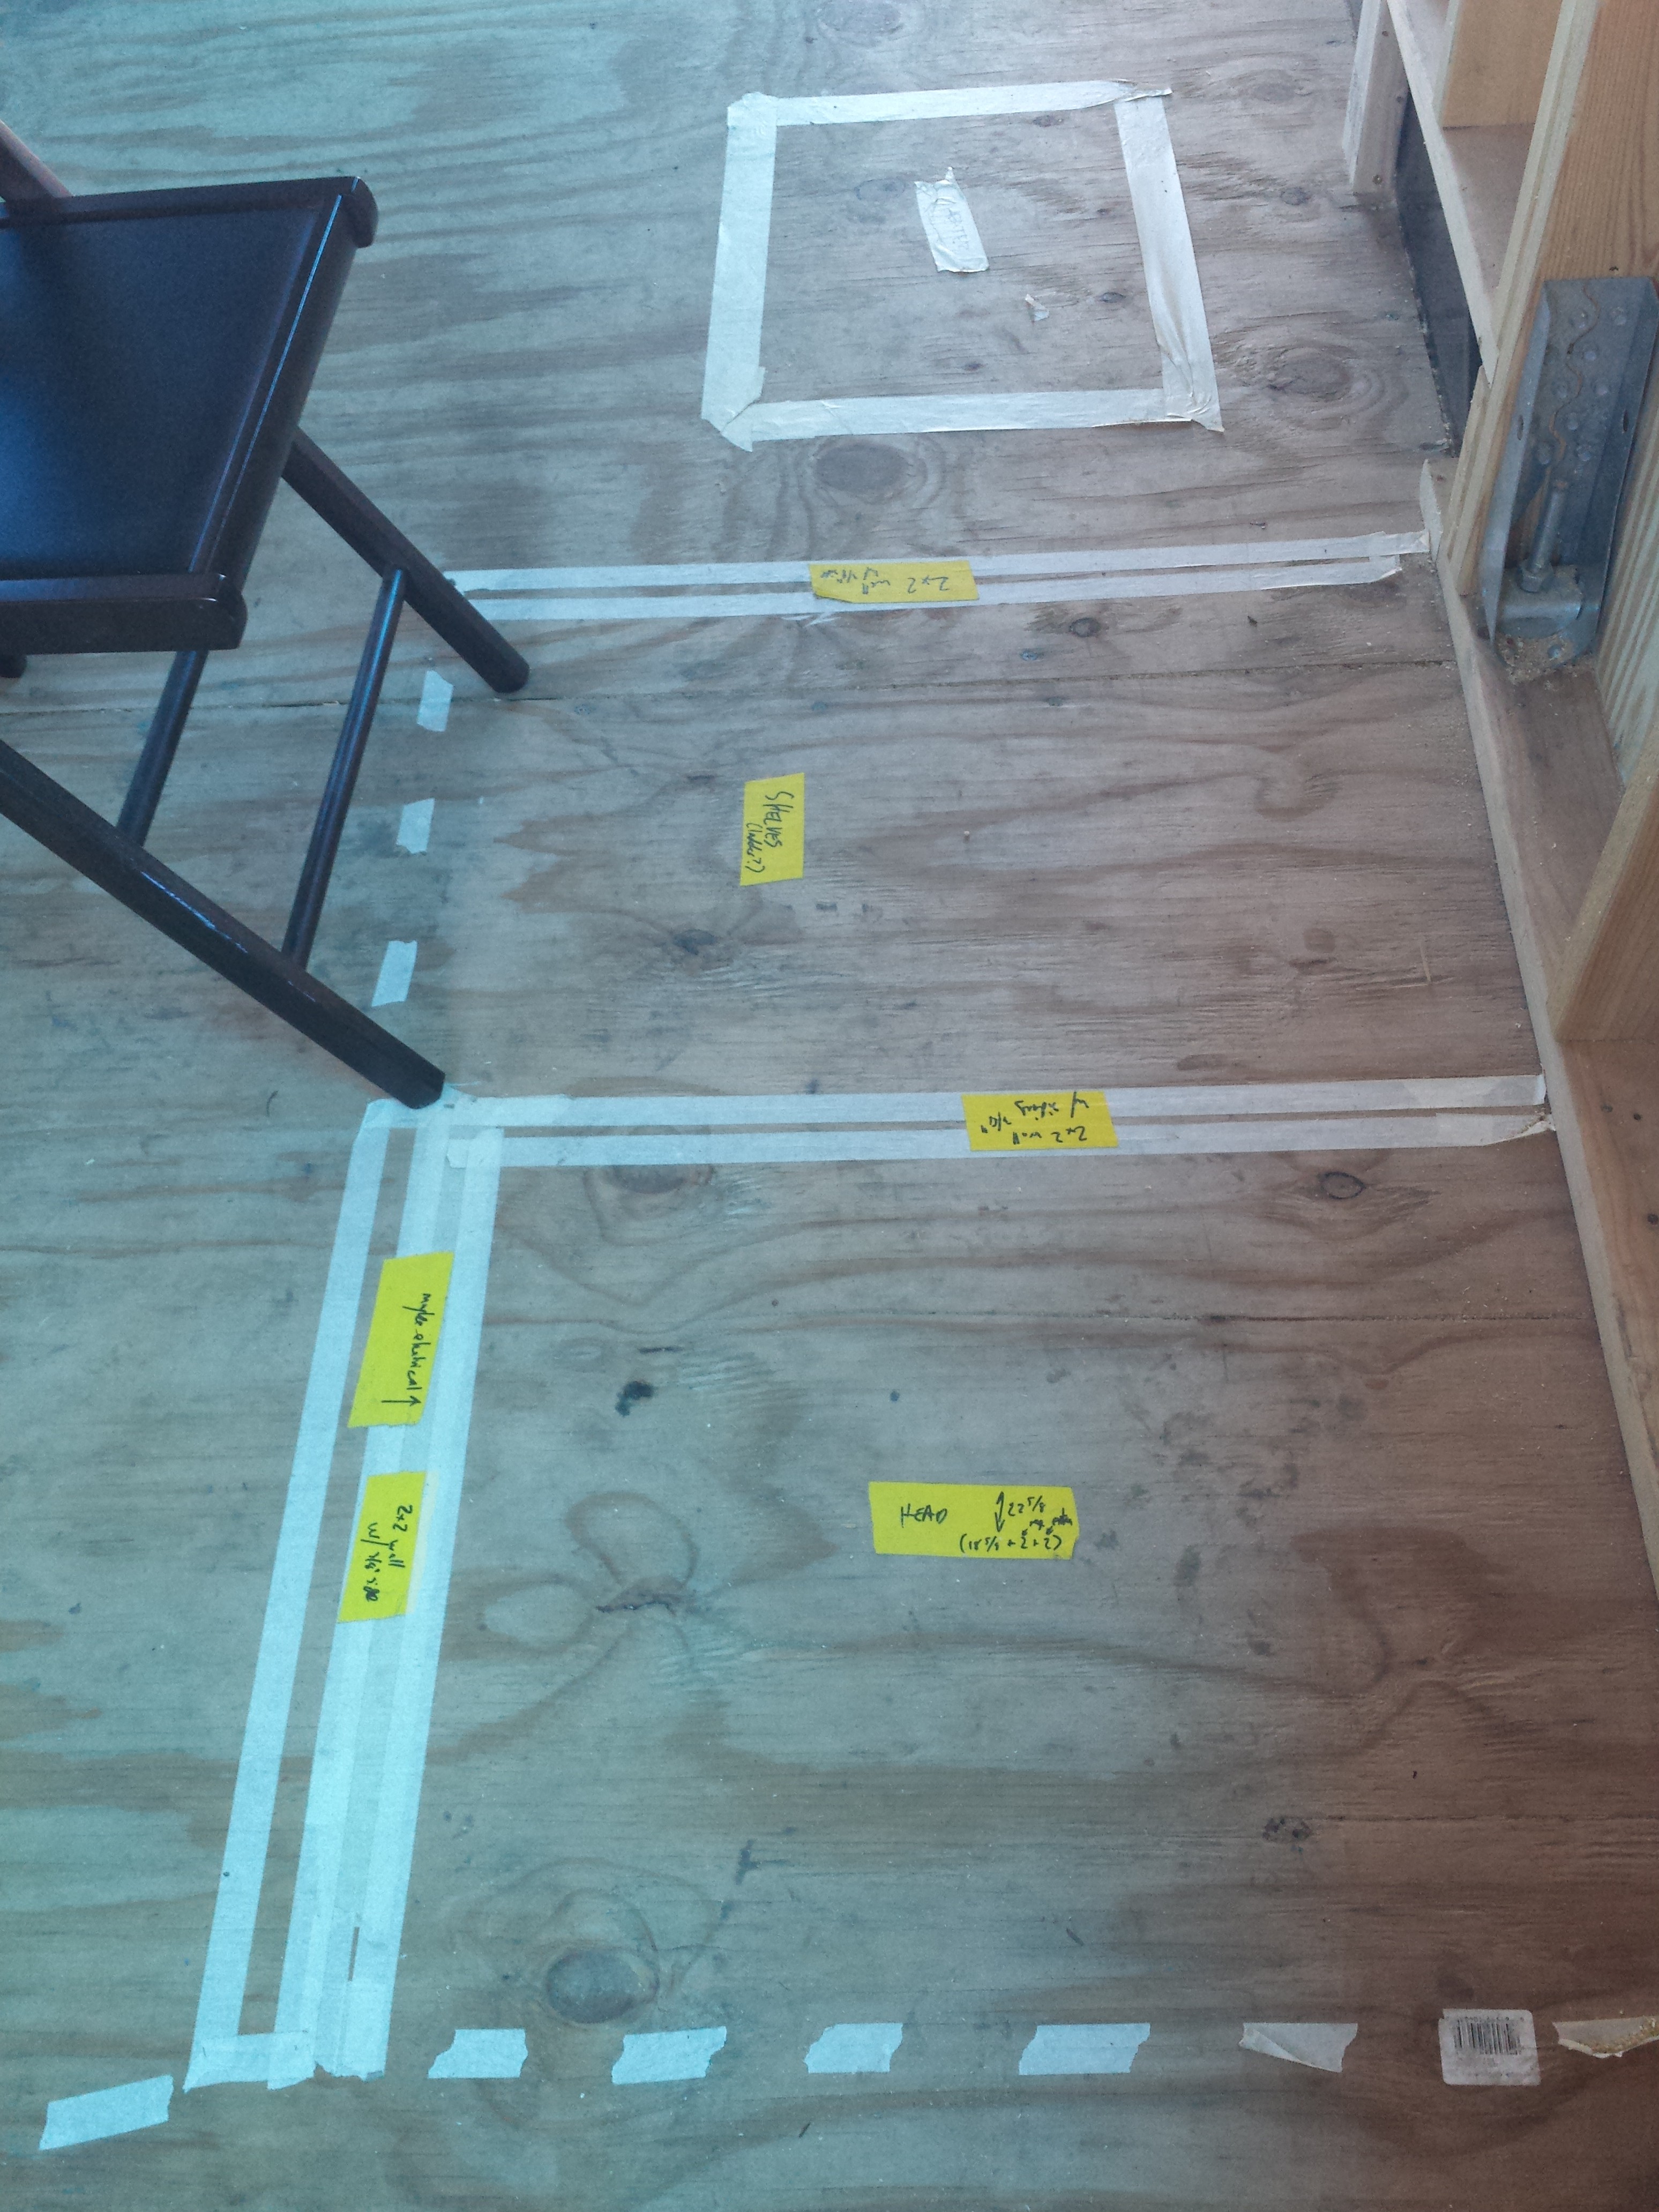
Masking tape and a ruler are our tools for sketching out how the interior of the tiny house will be laid out. This is important for figuring out practical things like: how deep can the counters be? Can we have a door that swings open in a certain direction and does not hit things? Can we avoid putting in a bathroom door that would be hinged on the left and make it impossible to get into the bathroom? We are also thinking about intangibles like how the space will feel, and what the “living room” part of it will actually be used for. Right now we are thinking tray tables will be essential. They are so versatile and easy to fold away when not being used. As long as we remember to leave about a half foot of space somewhere to stash them! (Little things like this will add up.)
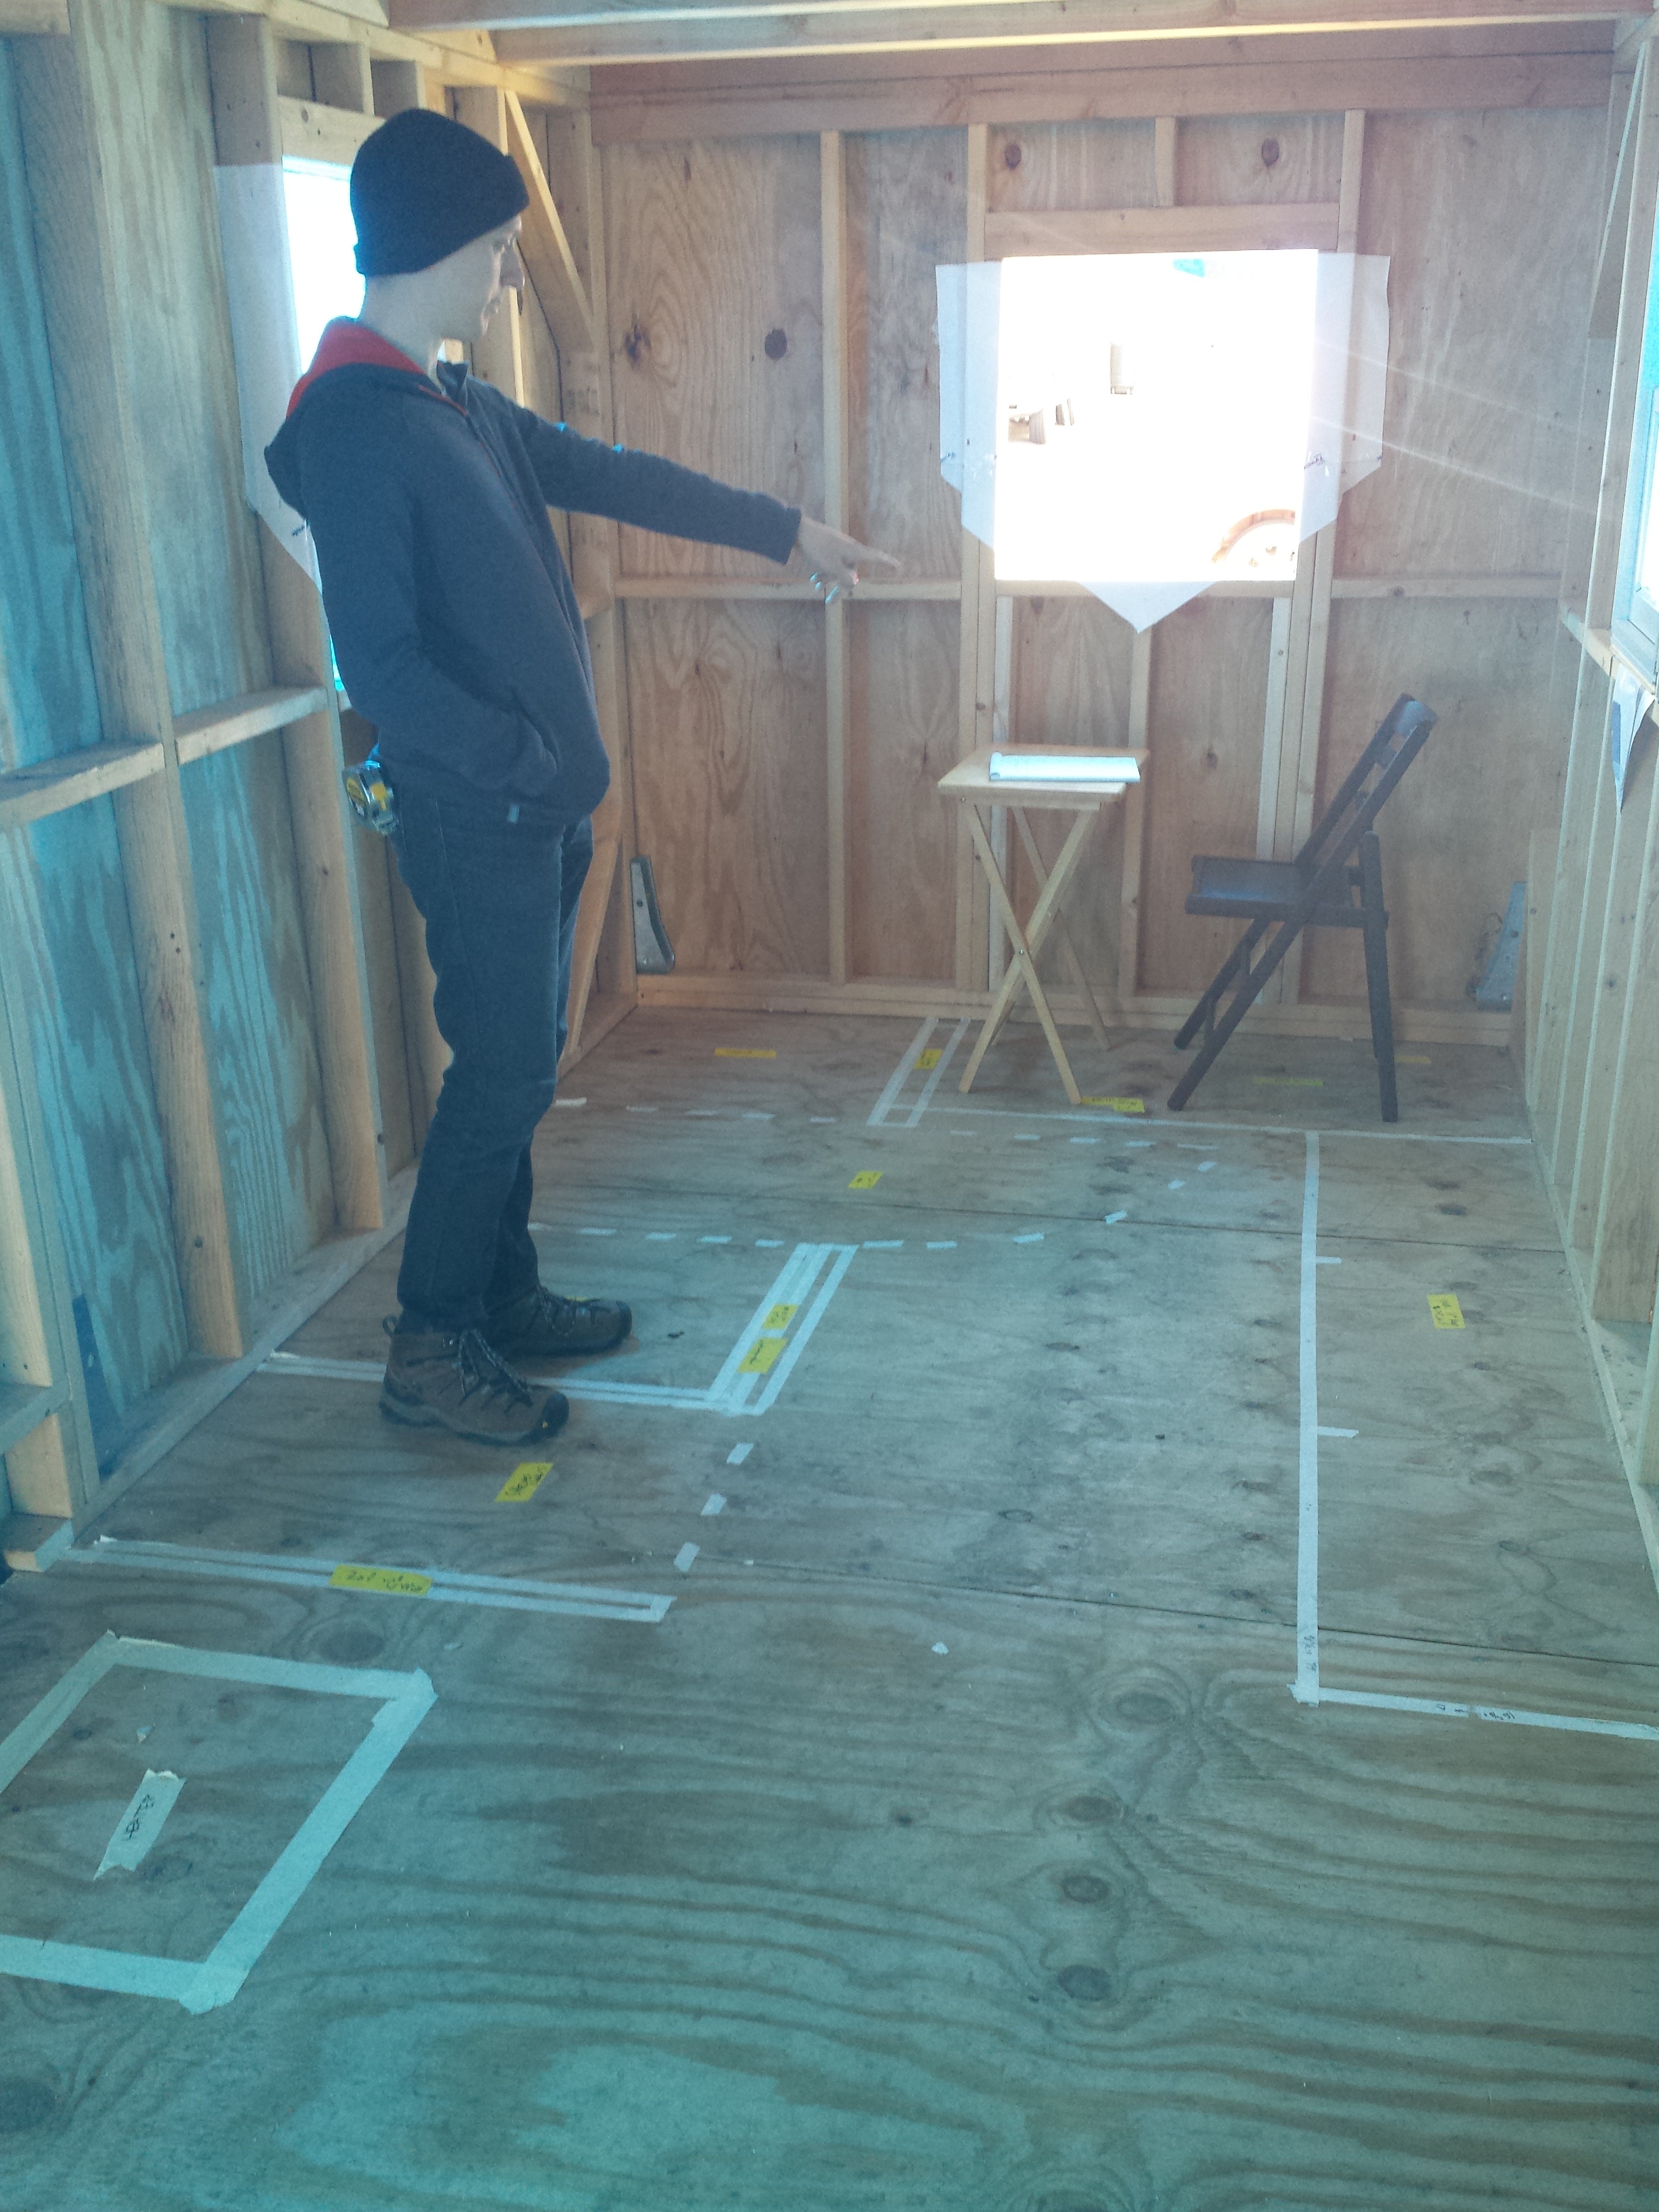
The areas are detailed with solid and dotted lines.Owen points to where cabinets above the level of the kitchen counter could be. But do we need them? It may make the kitchen feel too cramped, so we are leaning towards a row of hooks for pots and pans instead.
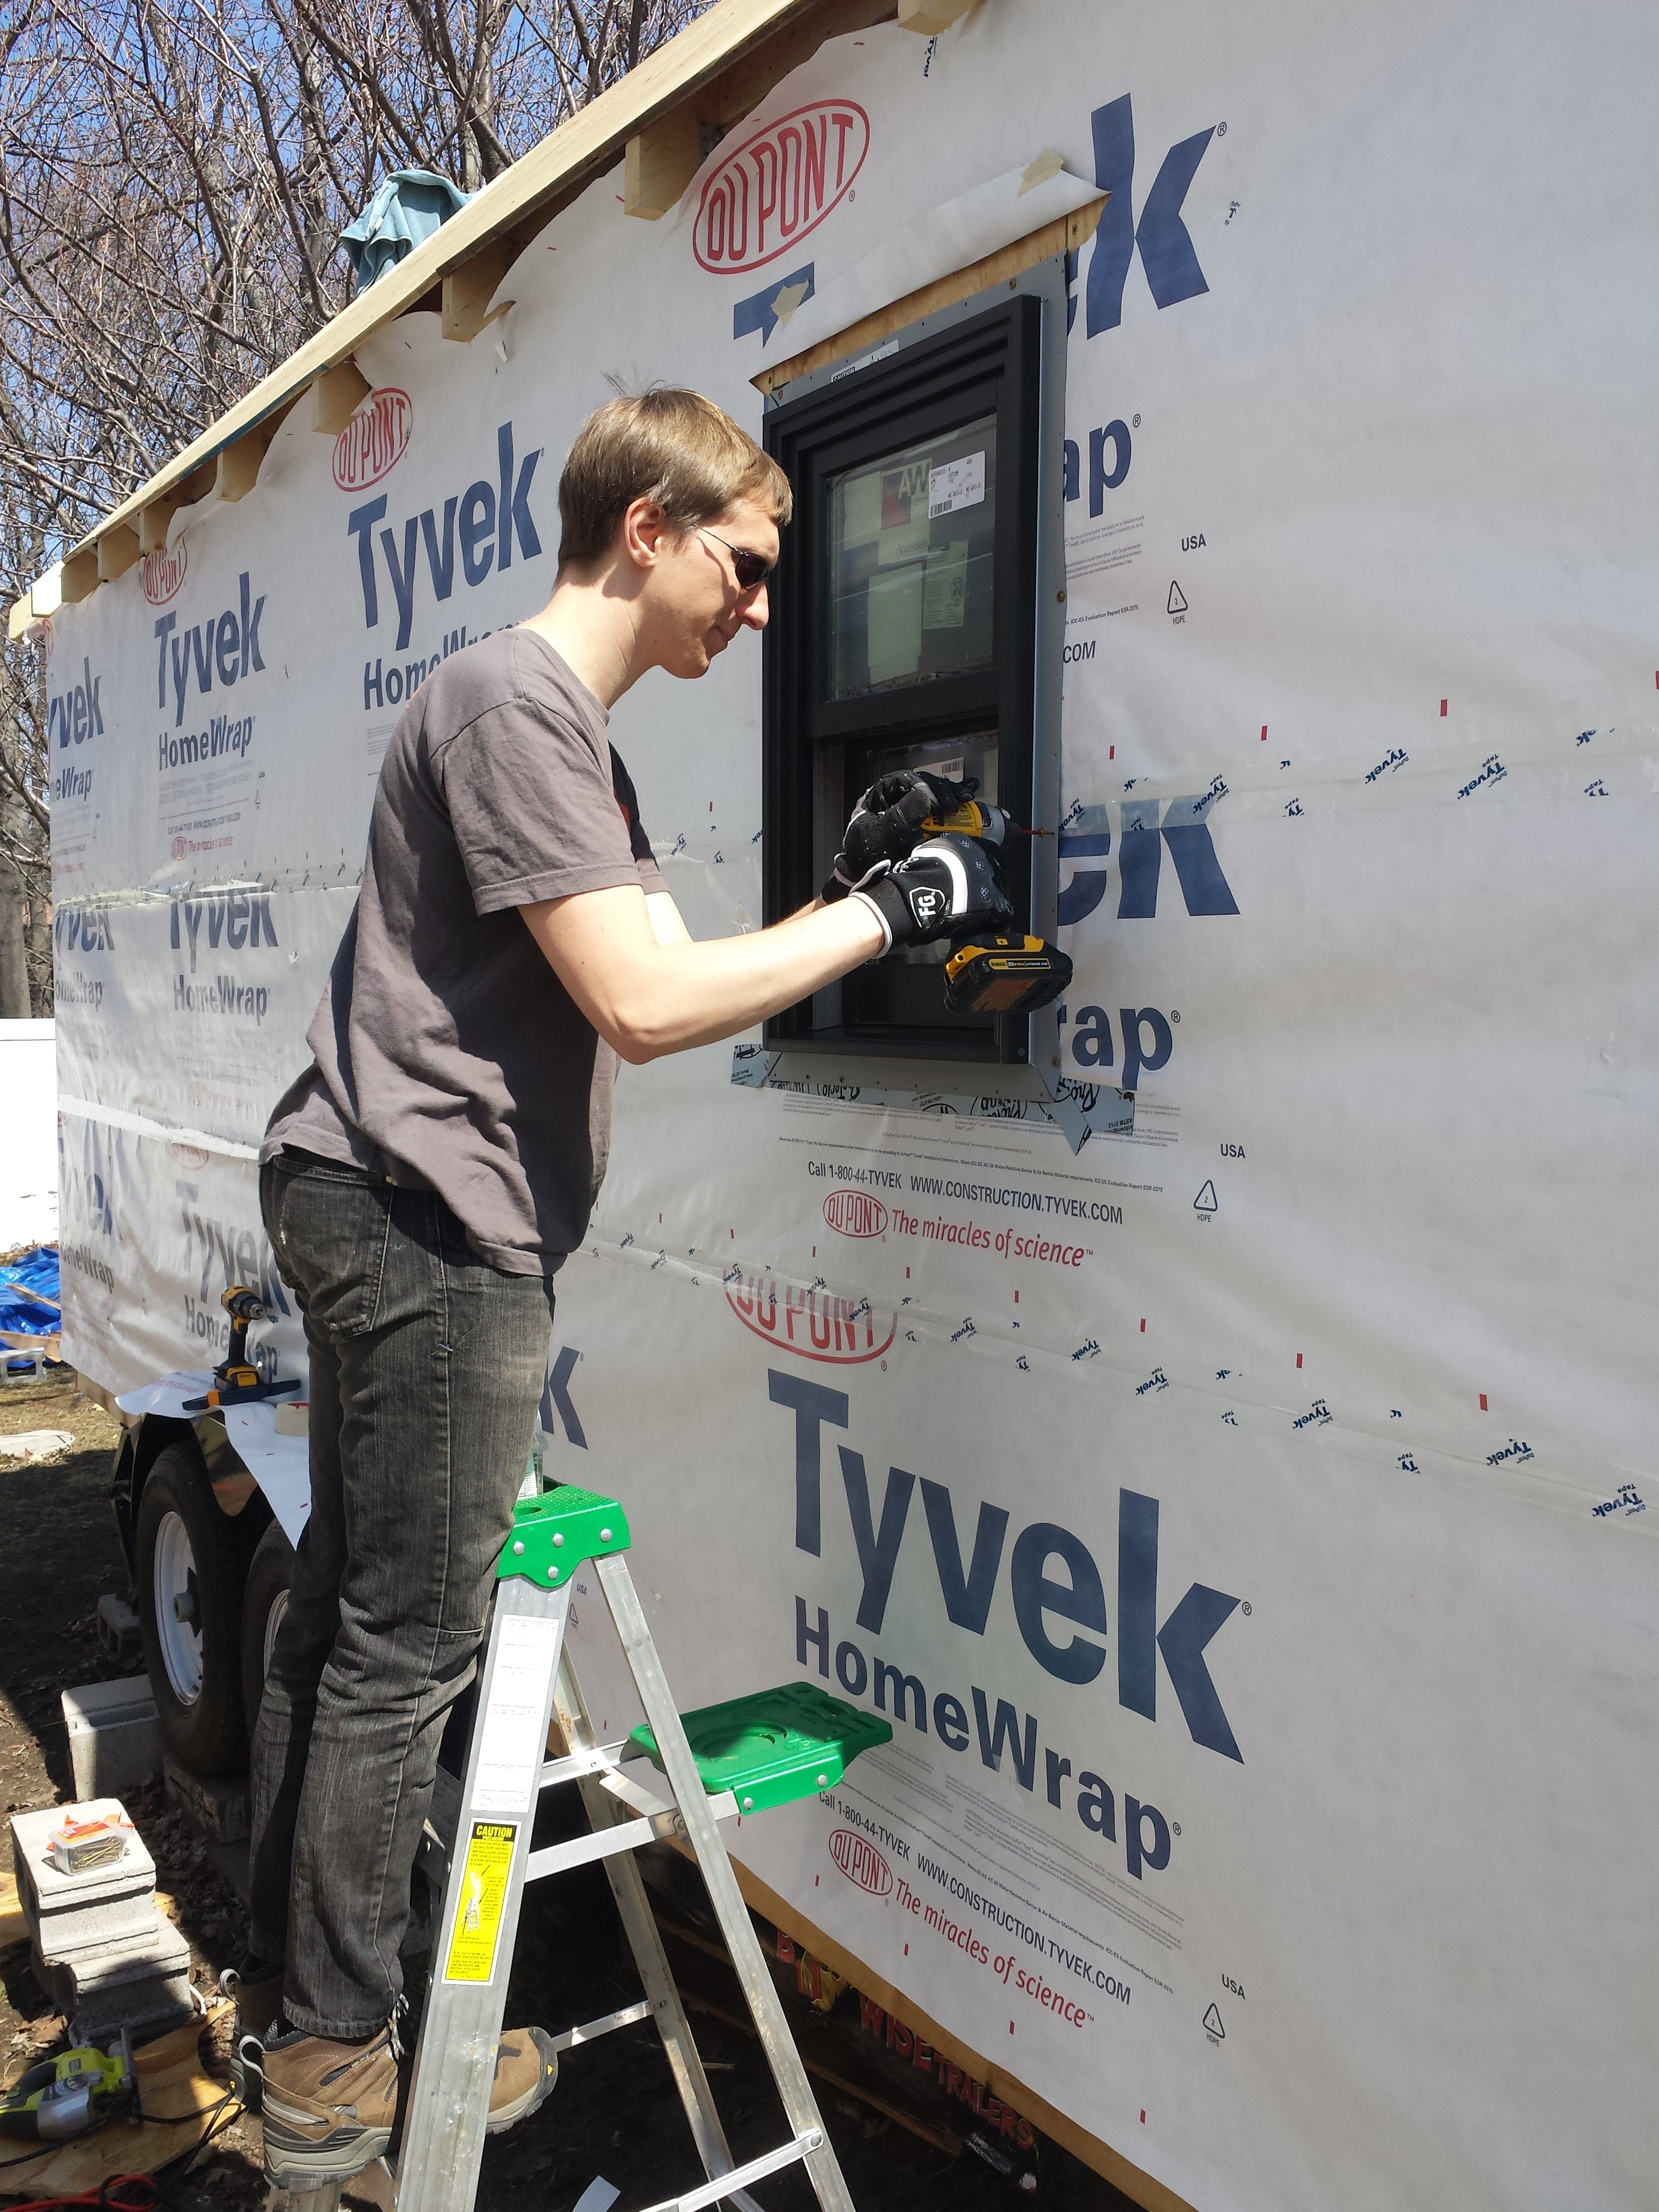
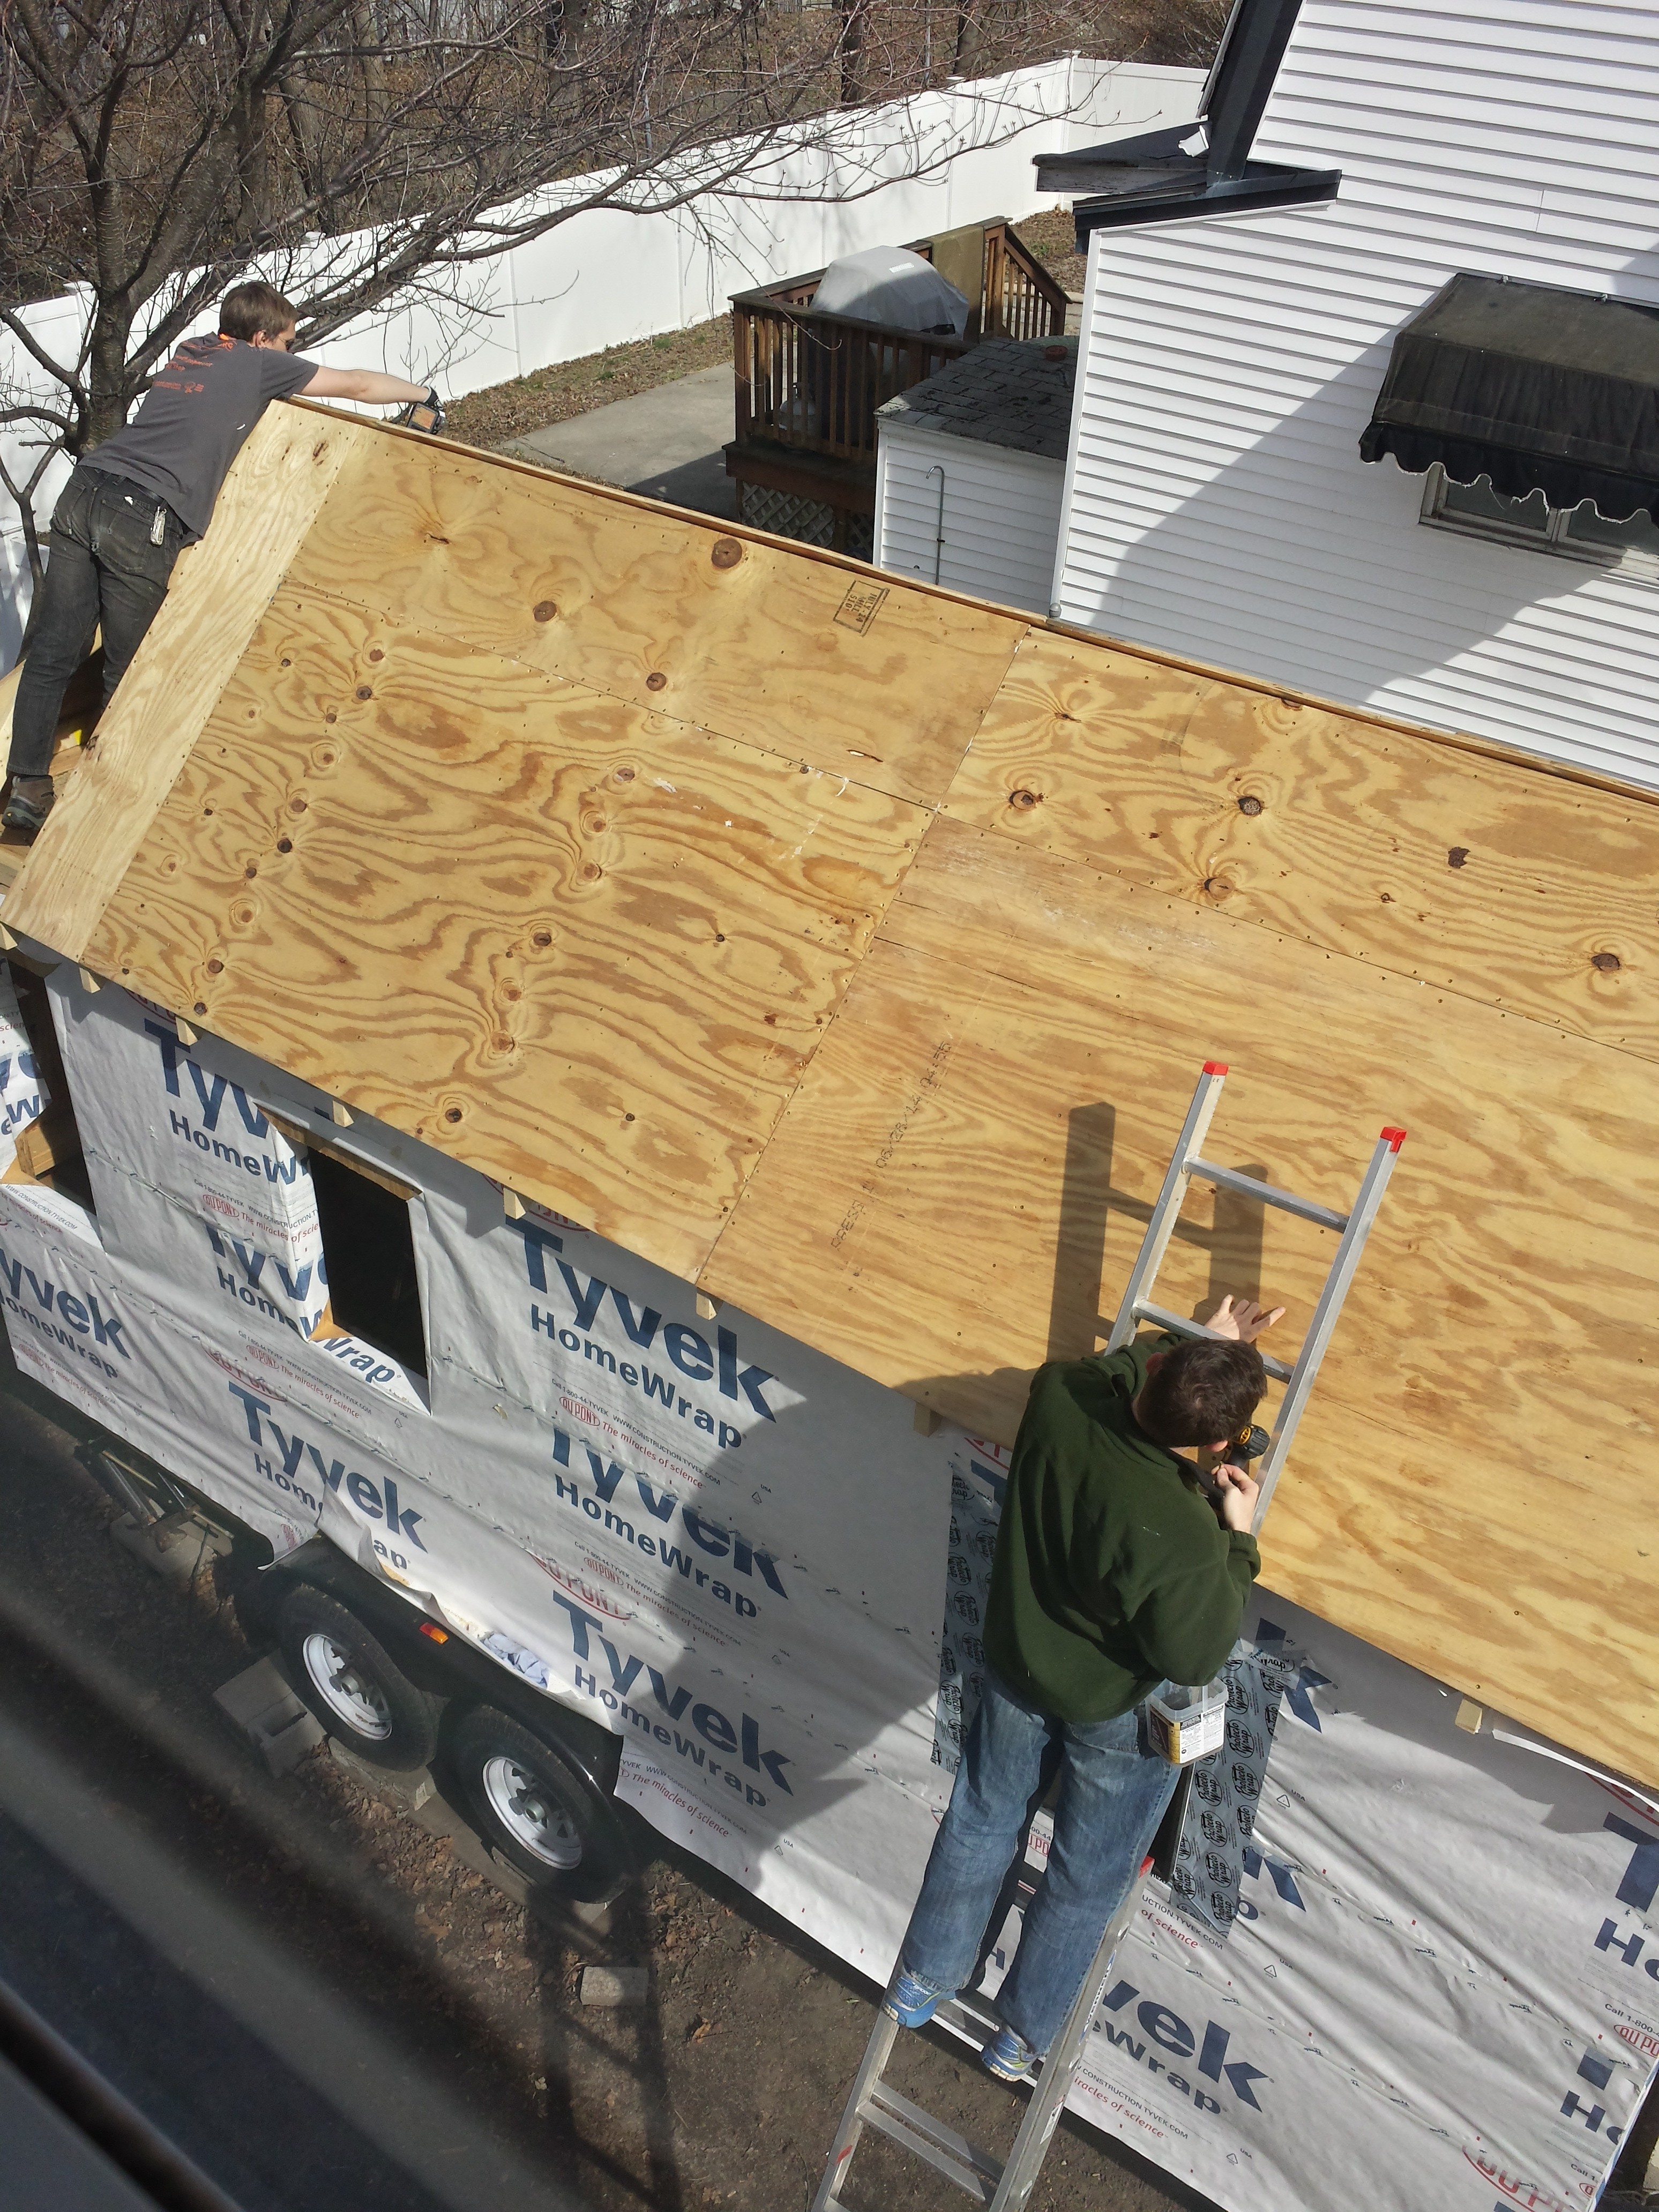
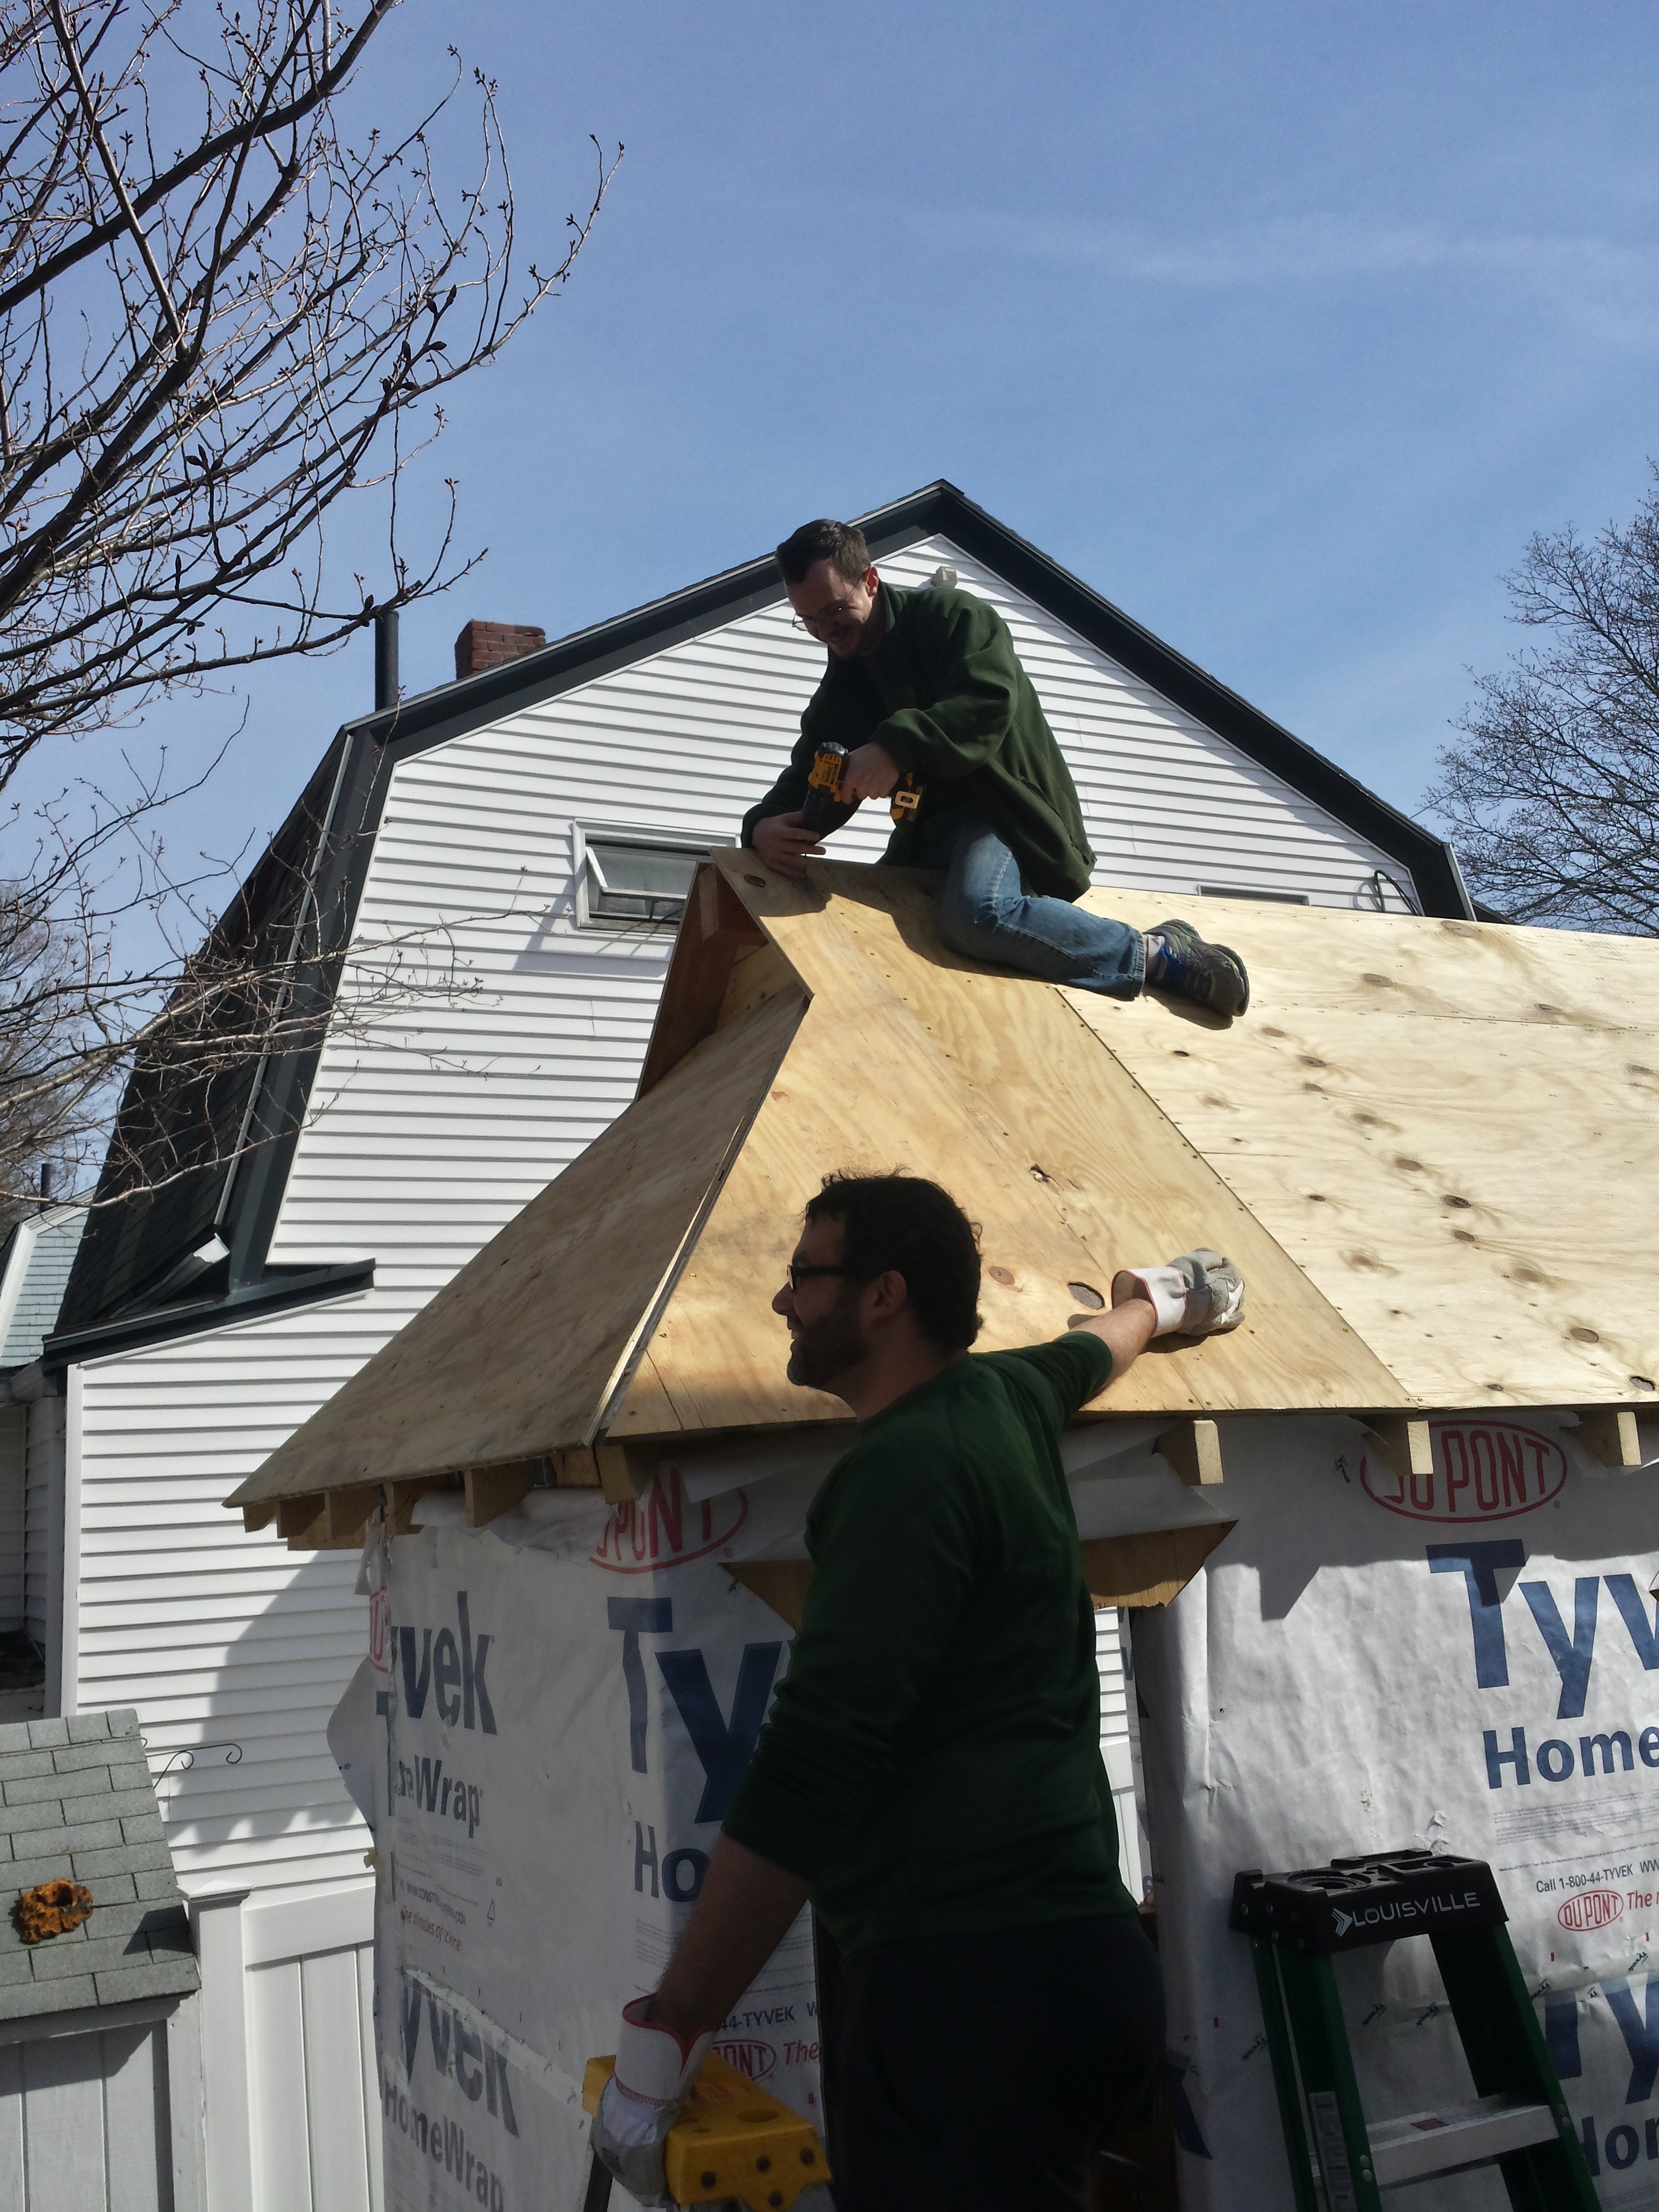
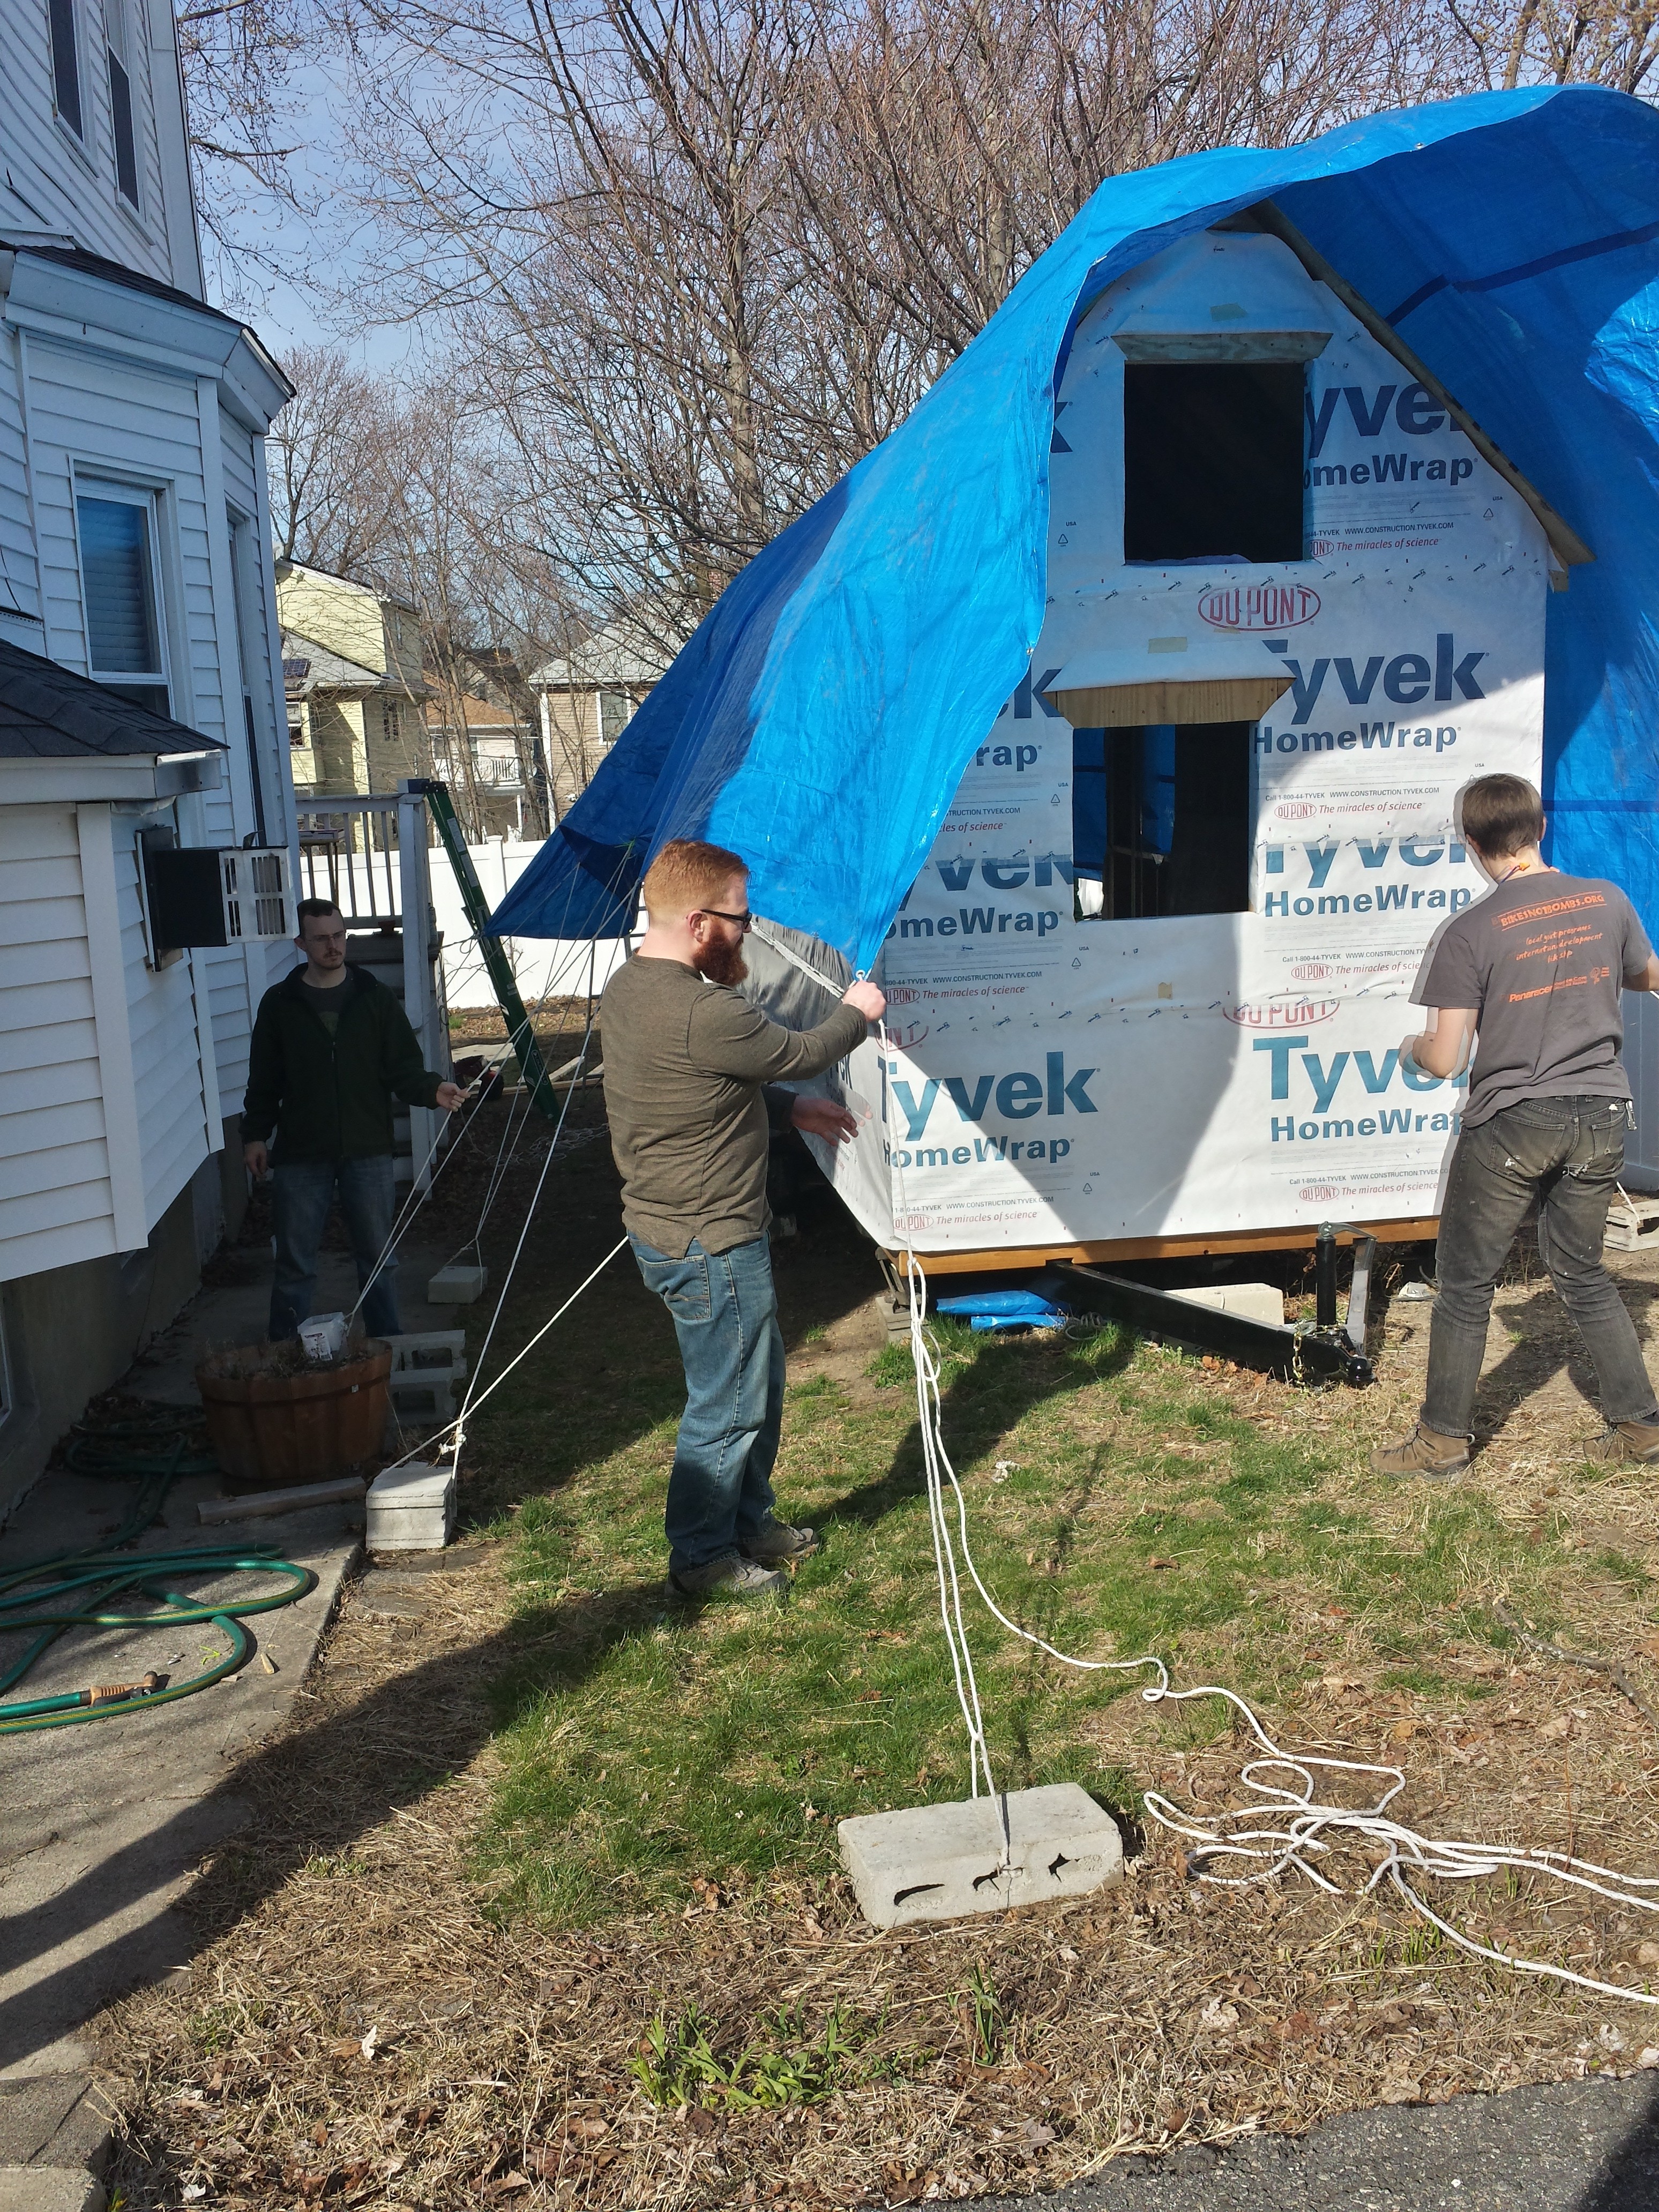
We made major progress on the tiny house this weekend thanks to our many handy friends (and the almost perfect cooperation of the weather). We hung the first window. Special thanks to James Fraumeni, who brought exactly the knowledge and experience we needed for hanging windows and the spirit of sharing his time and energy to show us how it’s done. We were able to prep most of the other windows (holes cut, house wrap taped back). We finally sheathed the hip roof, the hardest part of the roof to measure, and because it was the final part, the hardest part to drill into place. Our friends drilled down the entire roof sheathing, which required hundreds of screws to be drilled into place, some in tricky-to-reach places. The tarp came off and went back on again.
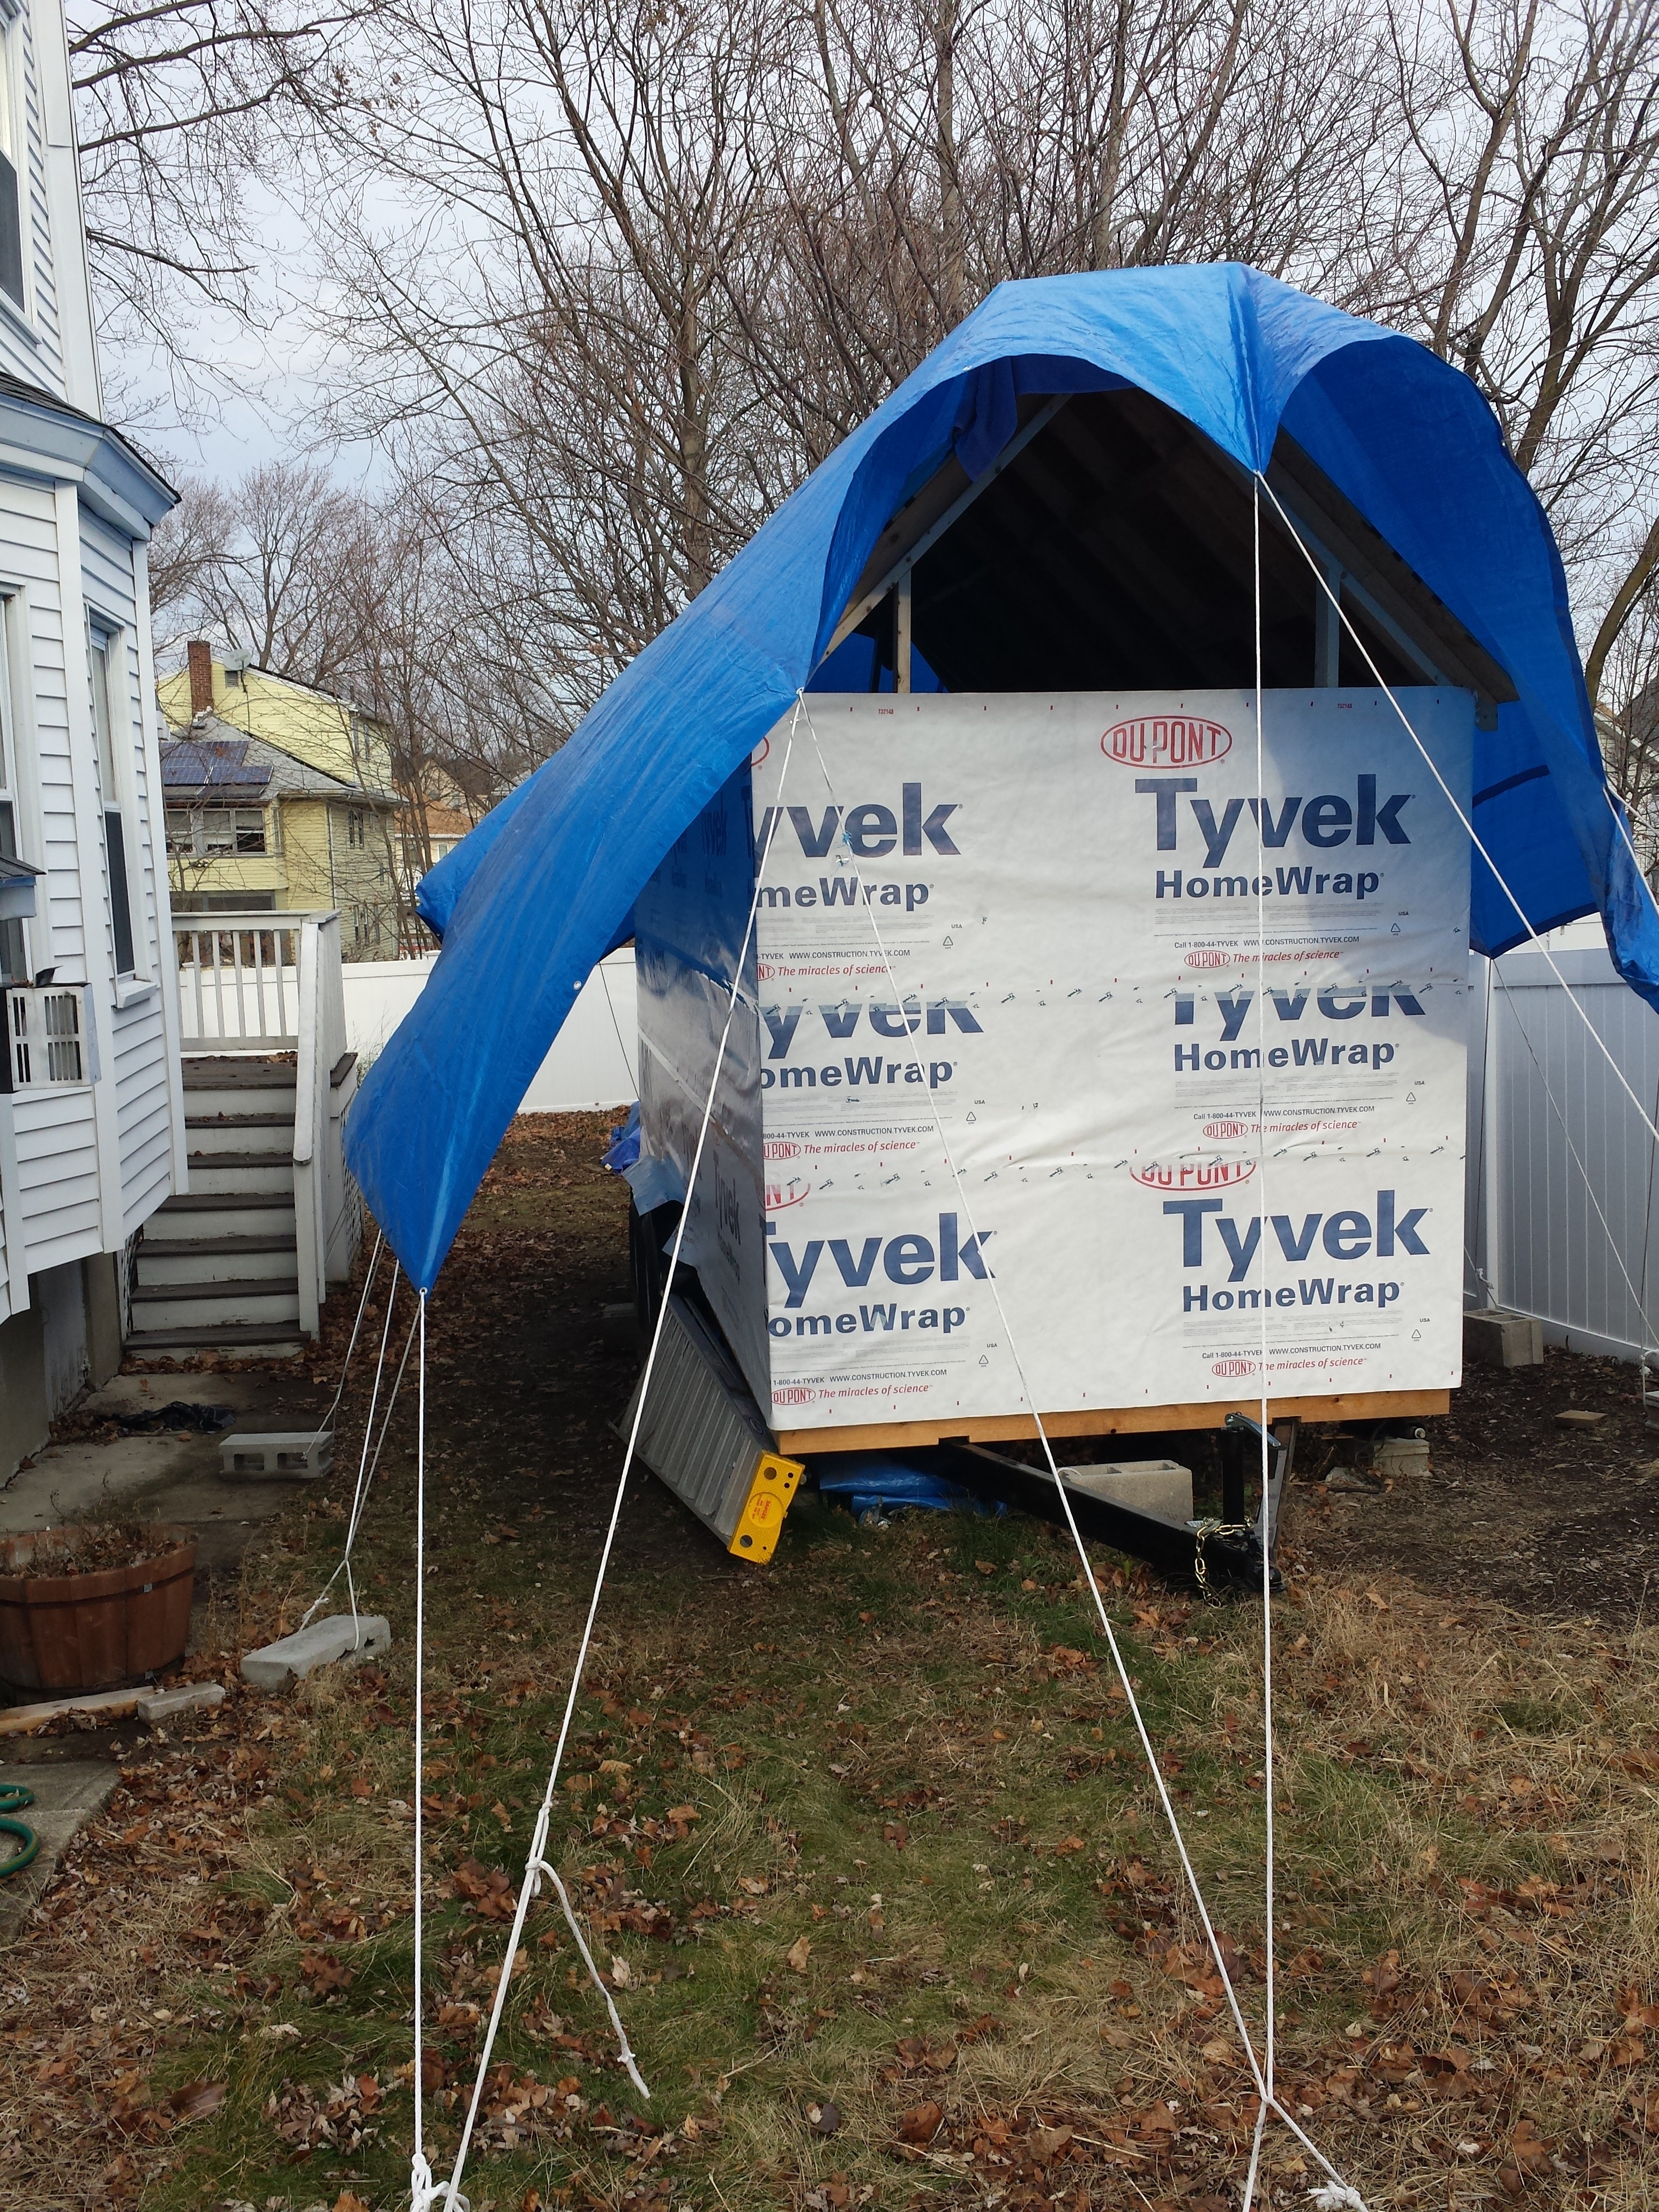
This weekend, despite the December cold, Owen wrapped the house. As a timesaver, no holes were cut for the windows. That will have to be addressed later. The tarp has been holding so far.
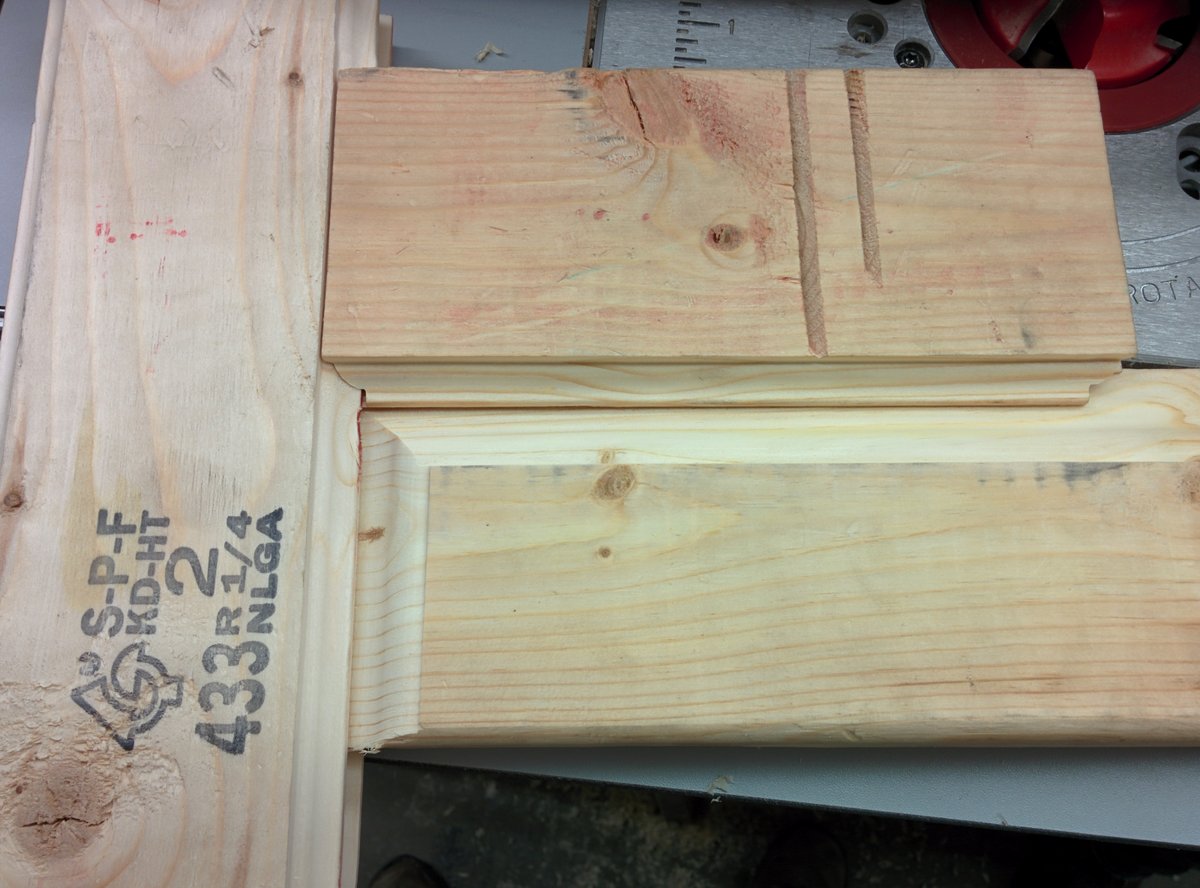
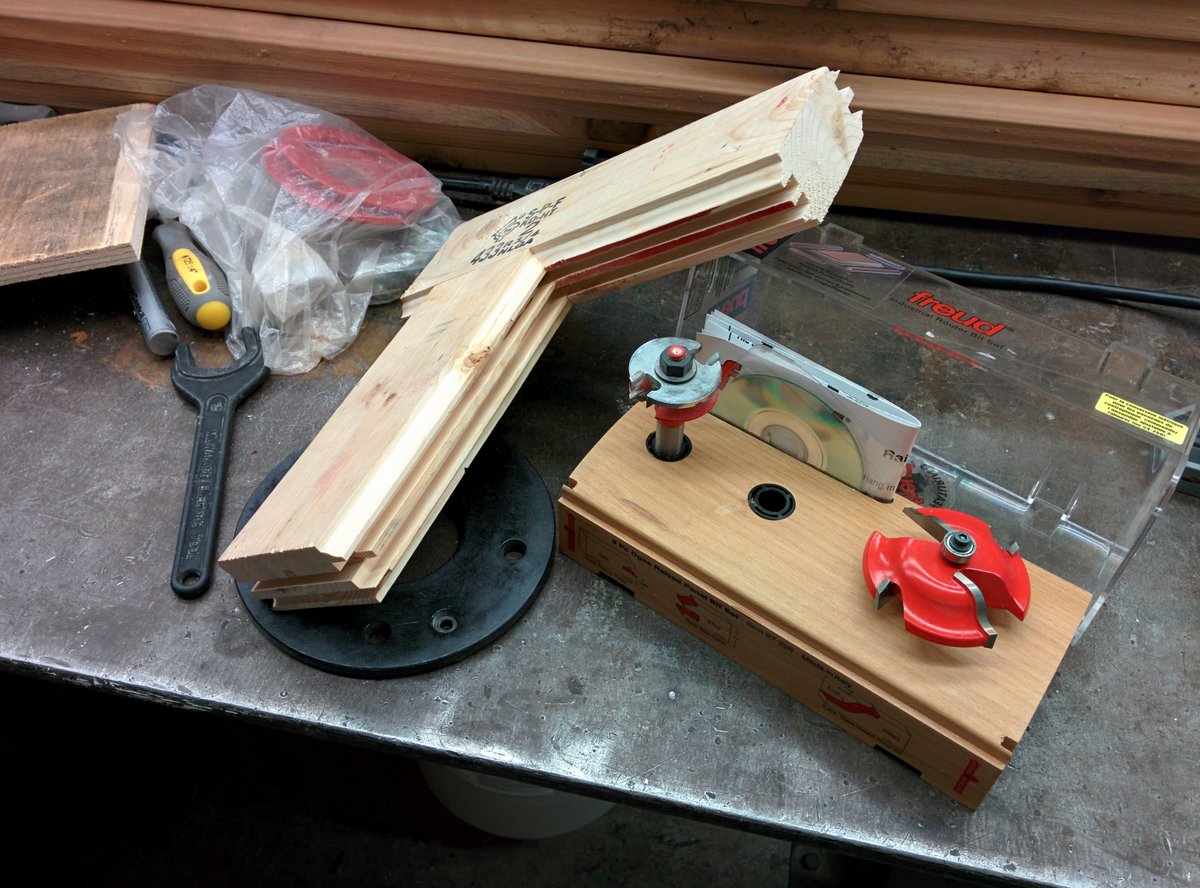
A piece of the advice from the Tumbleweed workshop we went to in April 2013 is: While we tiny house builders can build most of the house ourselves, certain things are best left to experienced craftspersons, if you can find one. They suggested the top of this list is the door, which needs to be sturdy, weather-resilient, and fit (it’s smaller than any standard sized house door). Hopefully also stylish. Marc, a maker from Toronto, is making our door! There may be some fun details to this (more on that later). Here are some pictures he sent from his work on it yesterday.
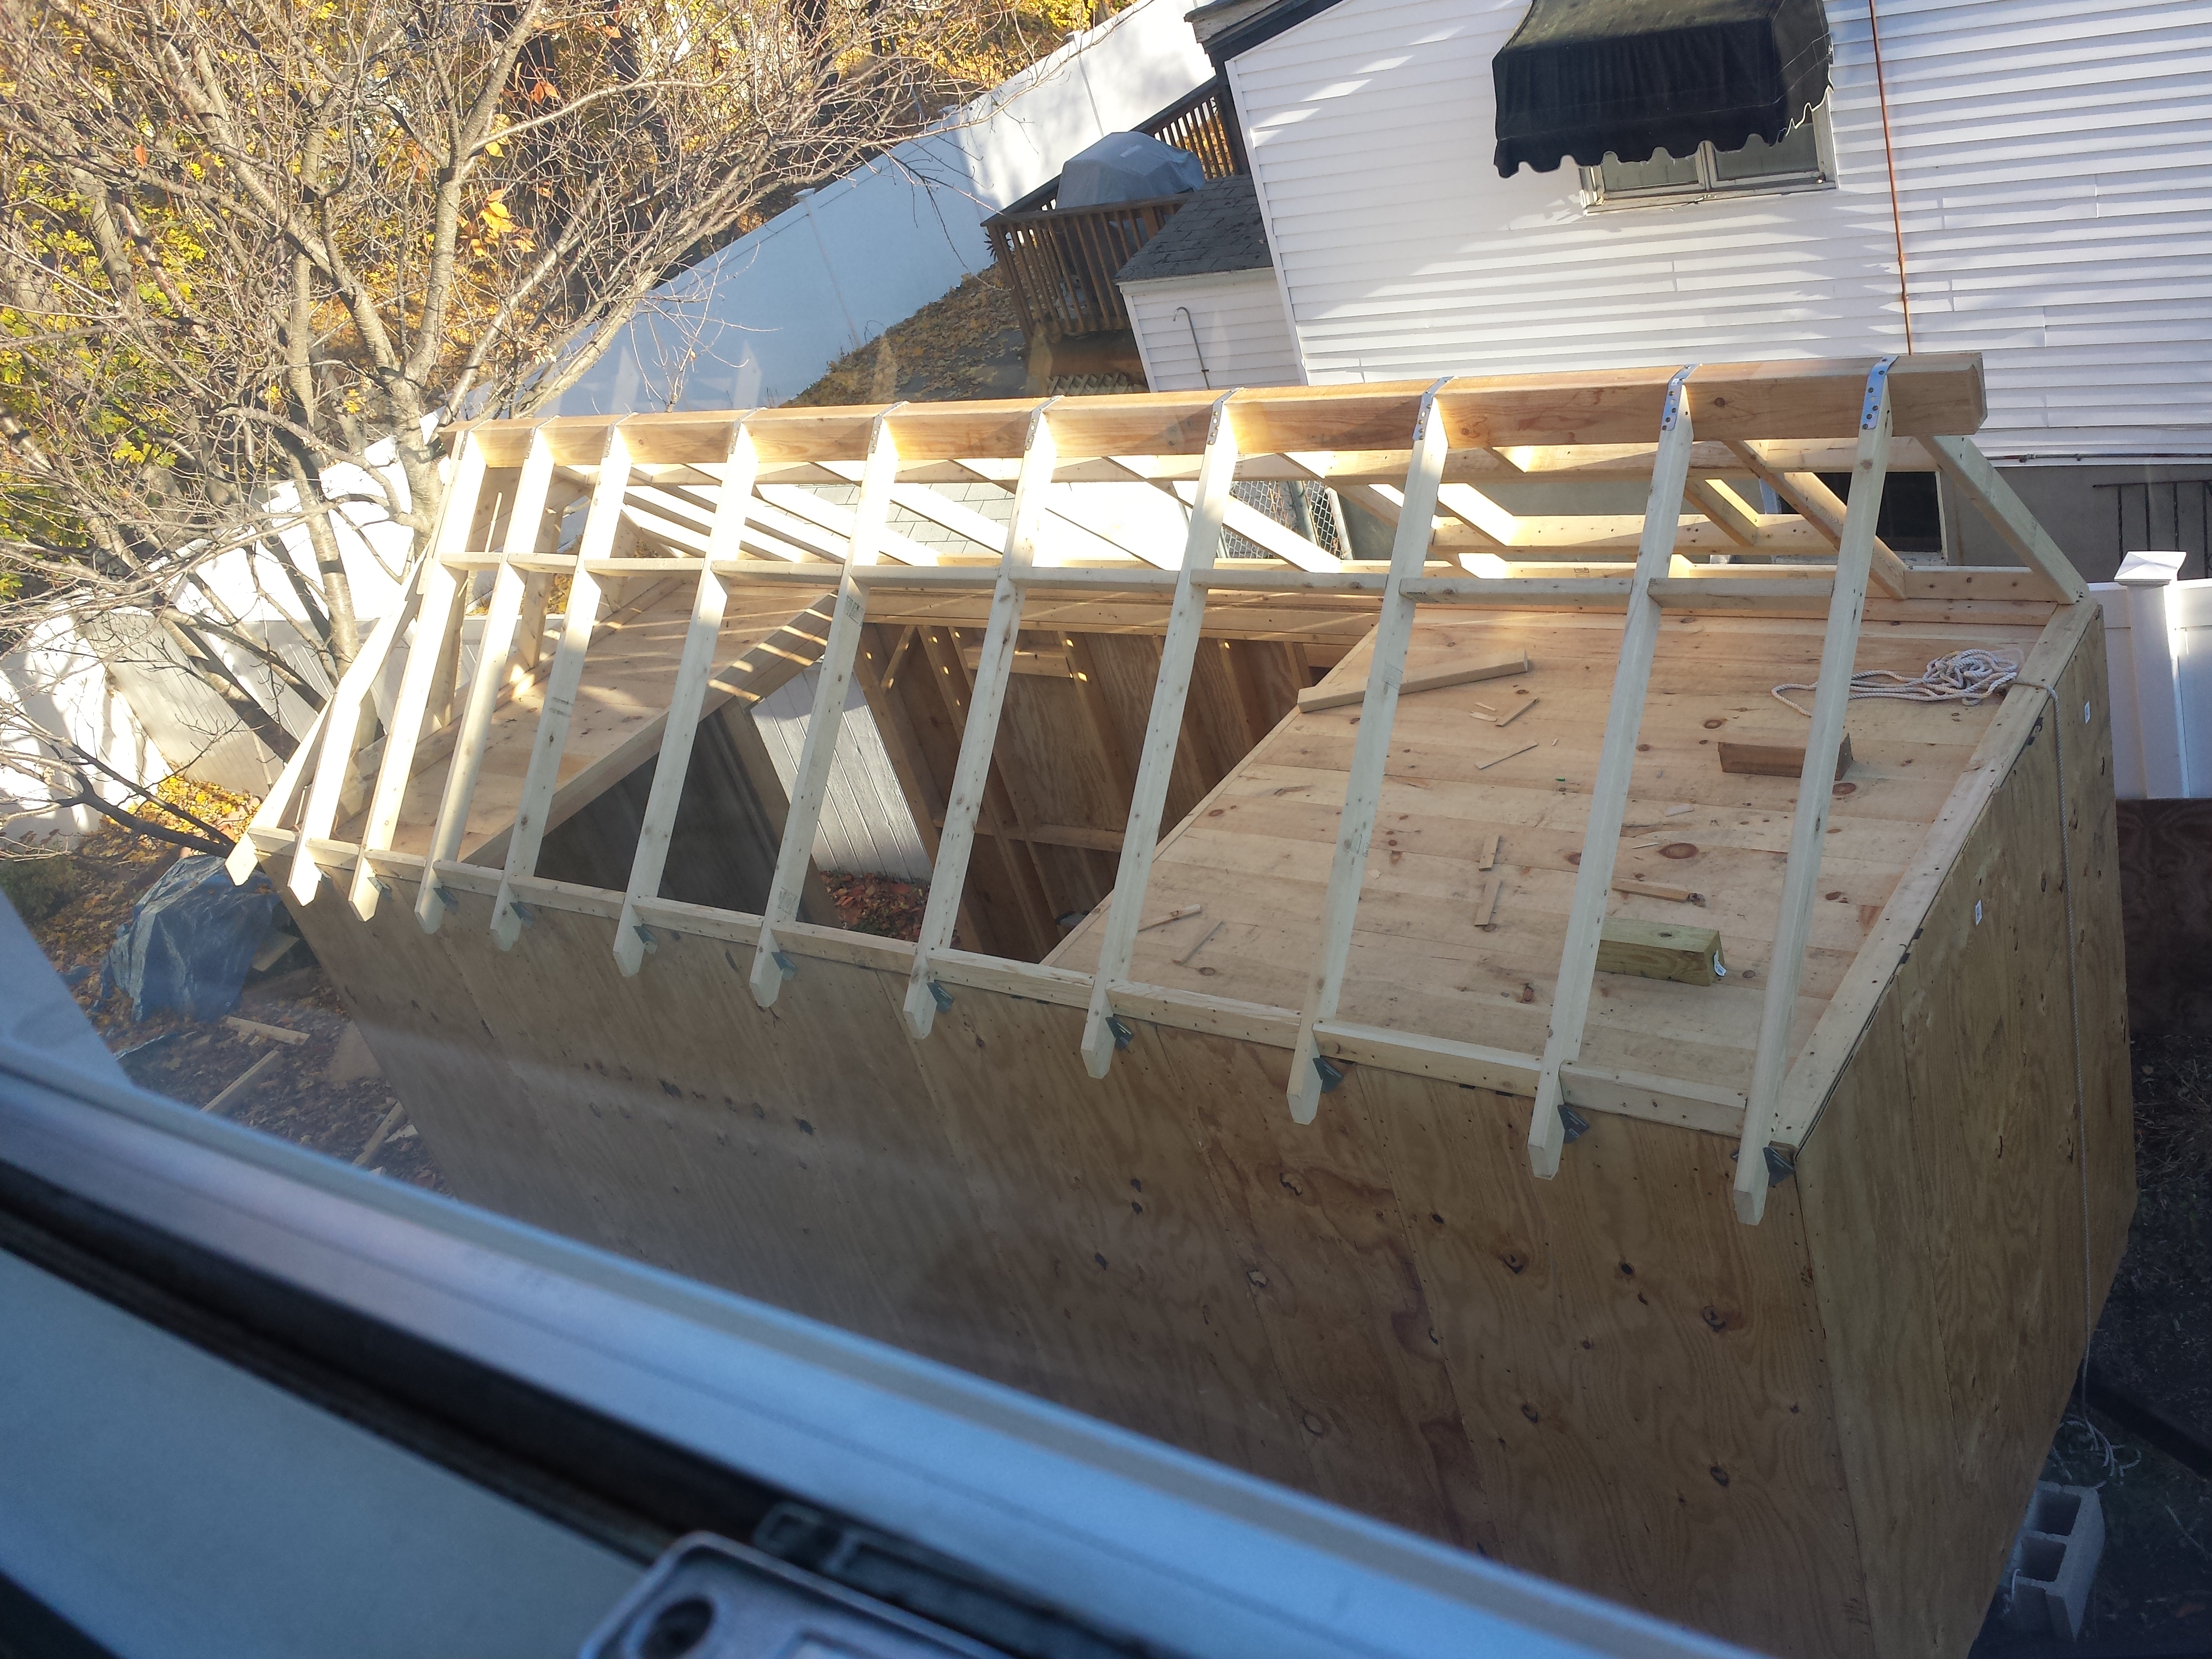
“Today I finished framing the roof, including the hip roof. The hip roof was probably the most difficult thing the project has required so far. The plans are too vague about how big the hip roof should be. I made it too small. Therefore, the rafters were supposed to be at 45 degrees, but they were not able to be. After much trial and much error, I was able to construct rafters that look ok from a distance, although up close you can see how they are imperfect. Others who have built the FENCL eliminate the hip roof. Now I know why.
“I think the way I was able to construct it is ok, but we won’t know for sure until we try to put the plywood sheathing on it tomorrow.
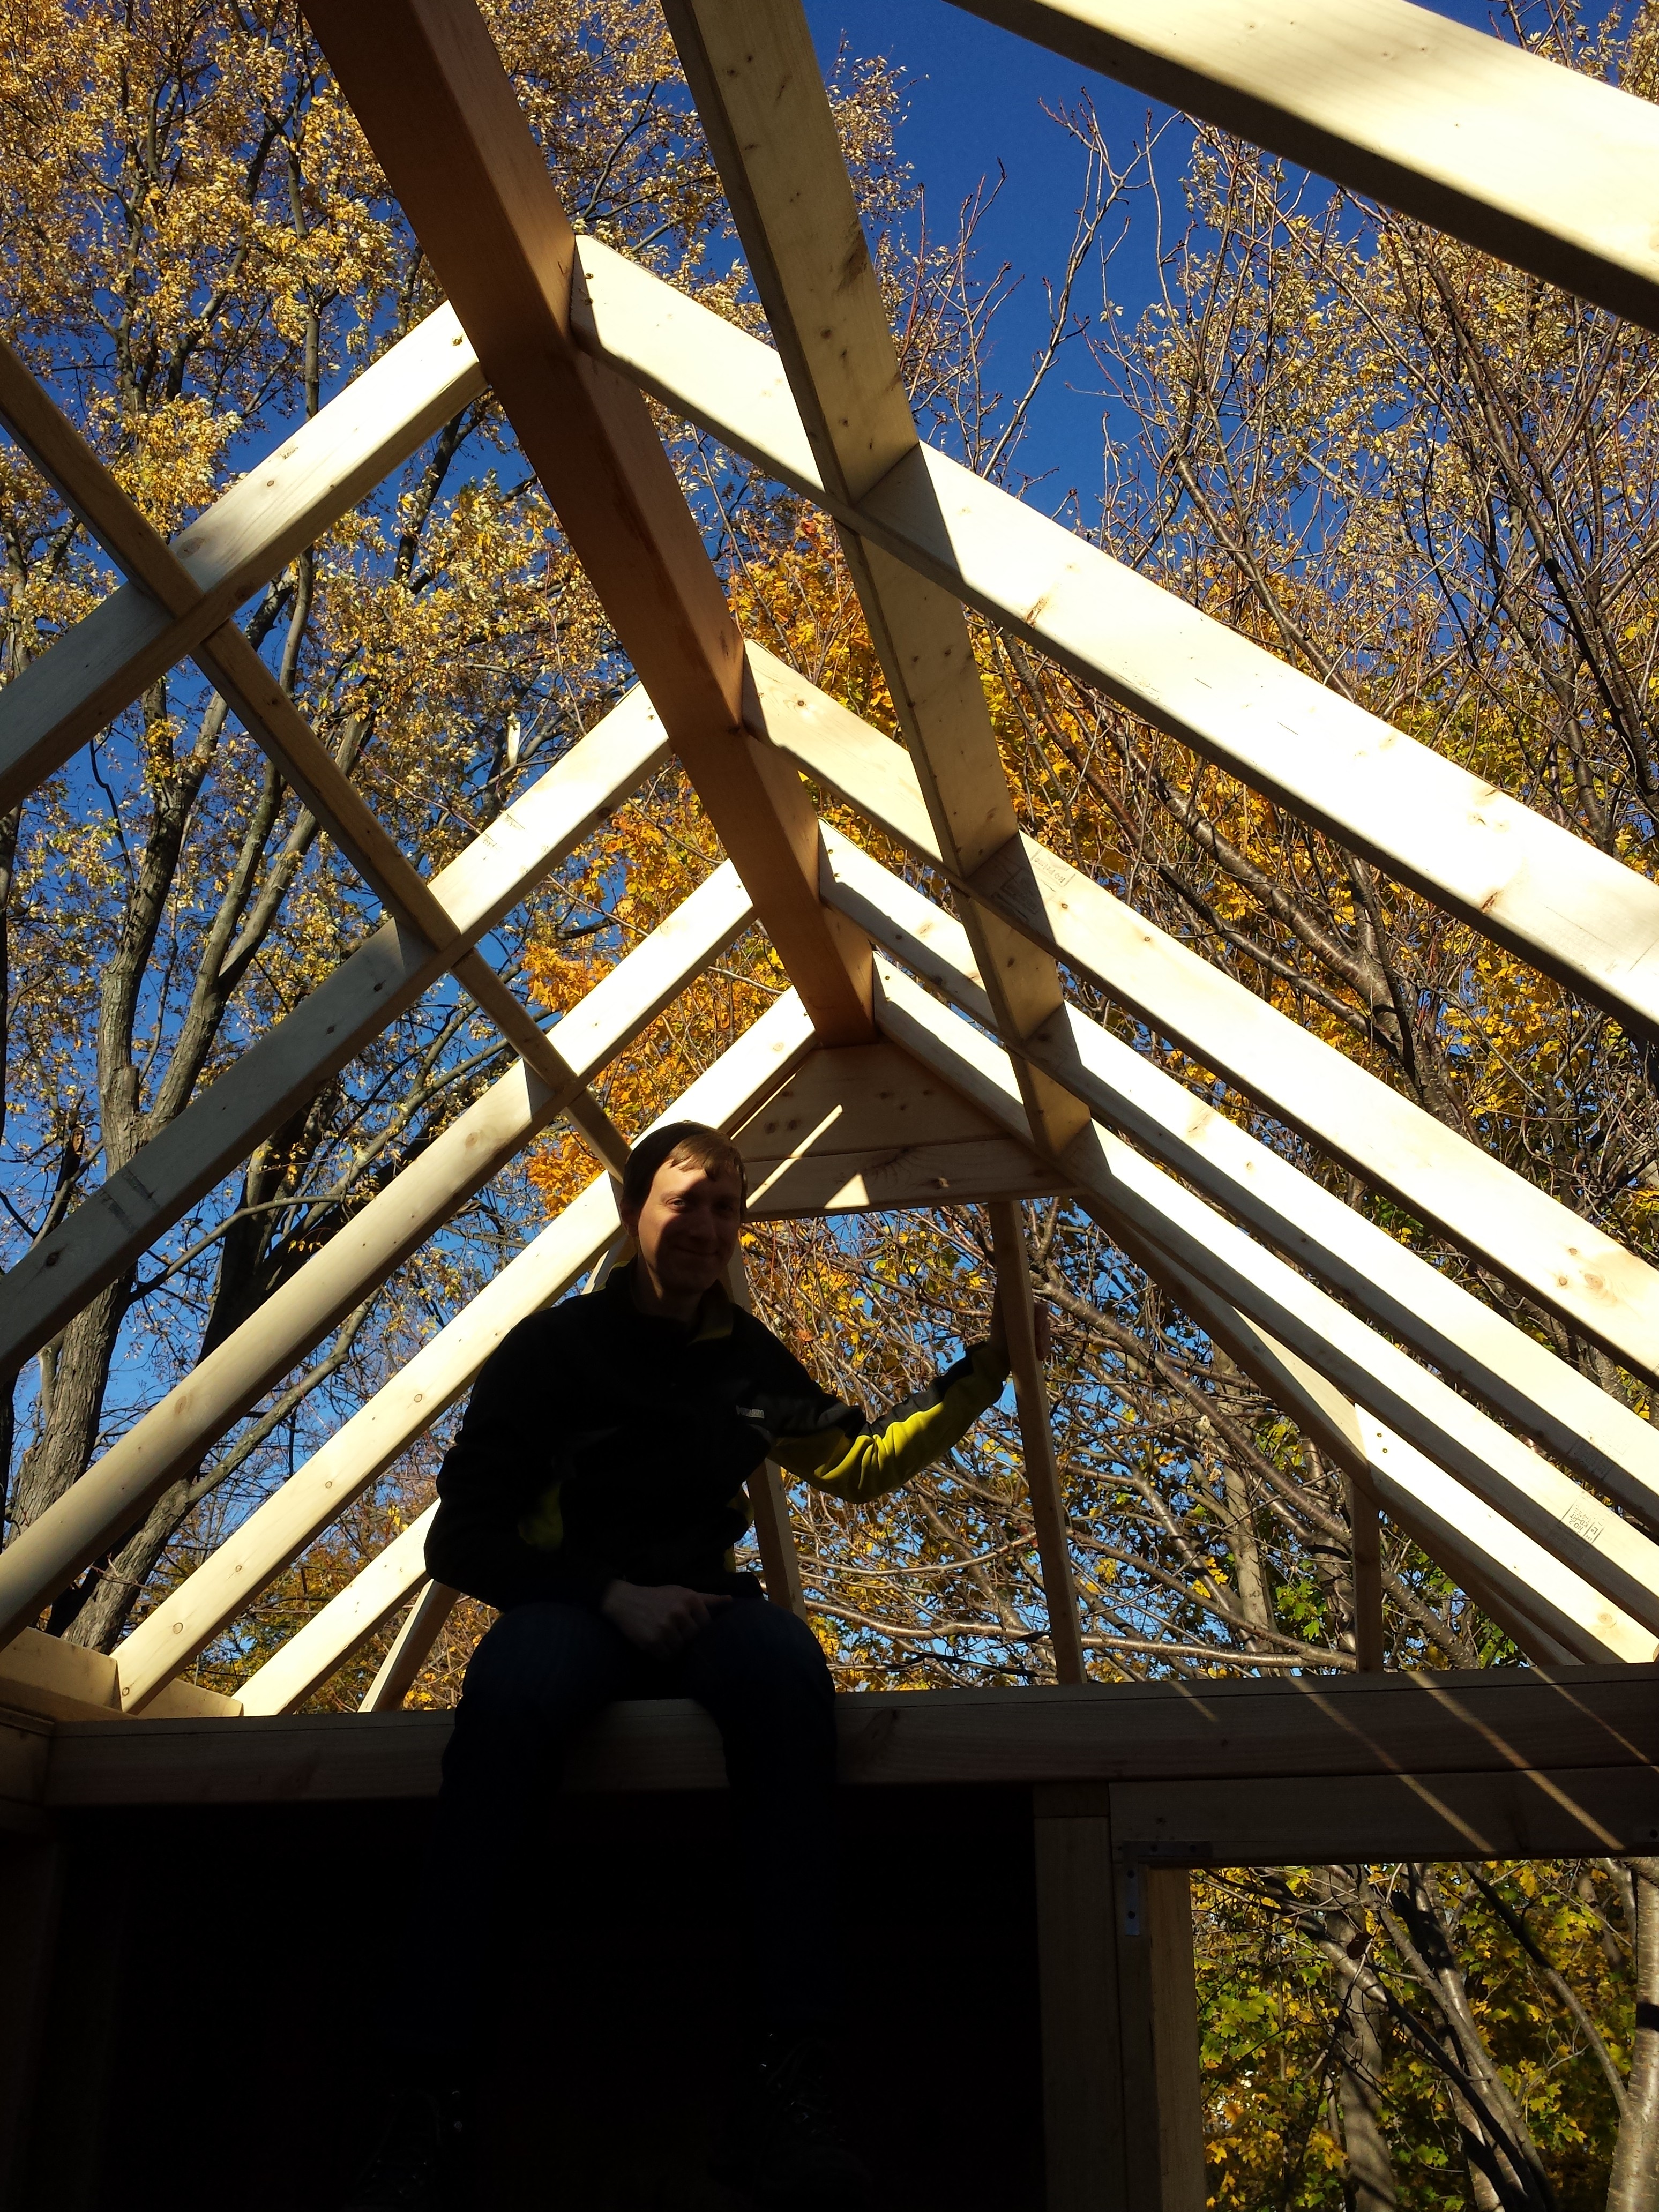
“Hip rafters are difficult to cut because they require compound cuts. This is a cut that is at an angle in two different directions. For each individual rafter, I probably had to cut ten practice cuts on scrap wood, trying to find the right pair of angles. There were 6 rafters, all different. Two weekends were spent trying to get these angles right. I eventually gave up on trying to measure the pieces, because it wasn’t producing good, consistent results.”
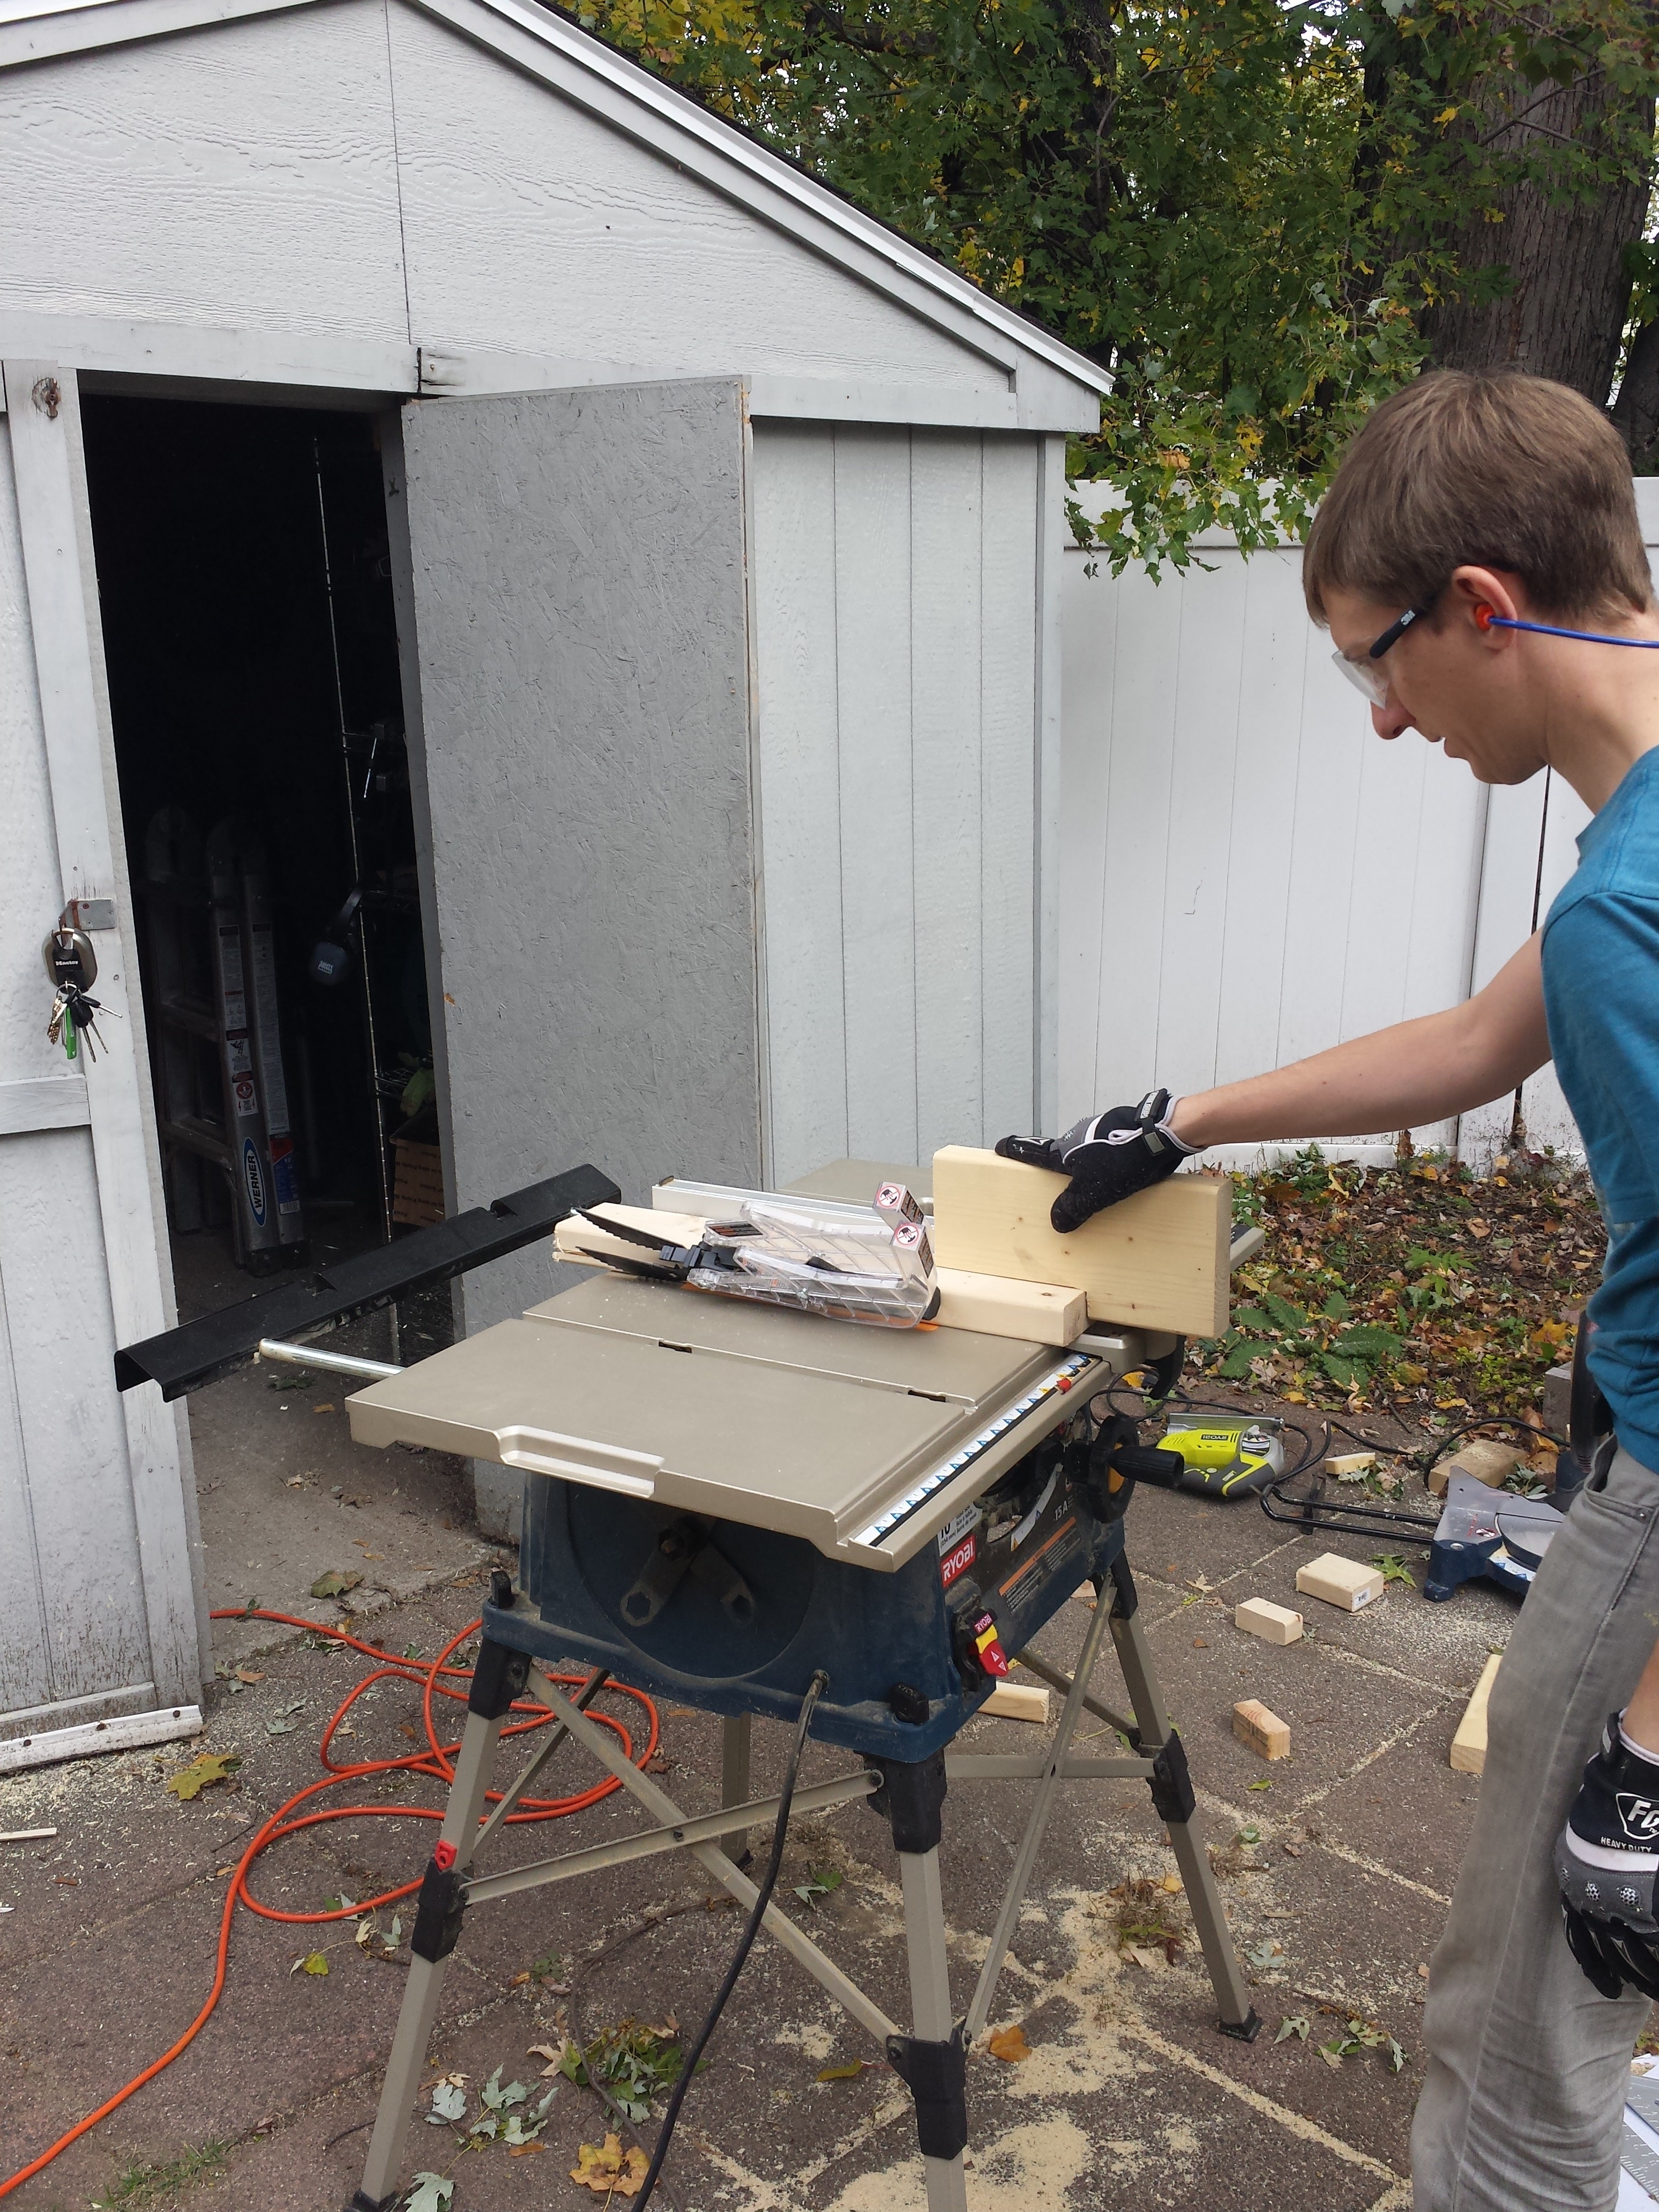
Today Owen “ripped” boards with a table saw (thanks David, for lending us that!). YouTube has lots of videos about power tools, but it can take some time to find a really good one. Here’s the video I used to learn a safe technique for ripping 2x4s.